
Free Crochet Milkshake Pattern That Everyone Is Talking About
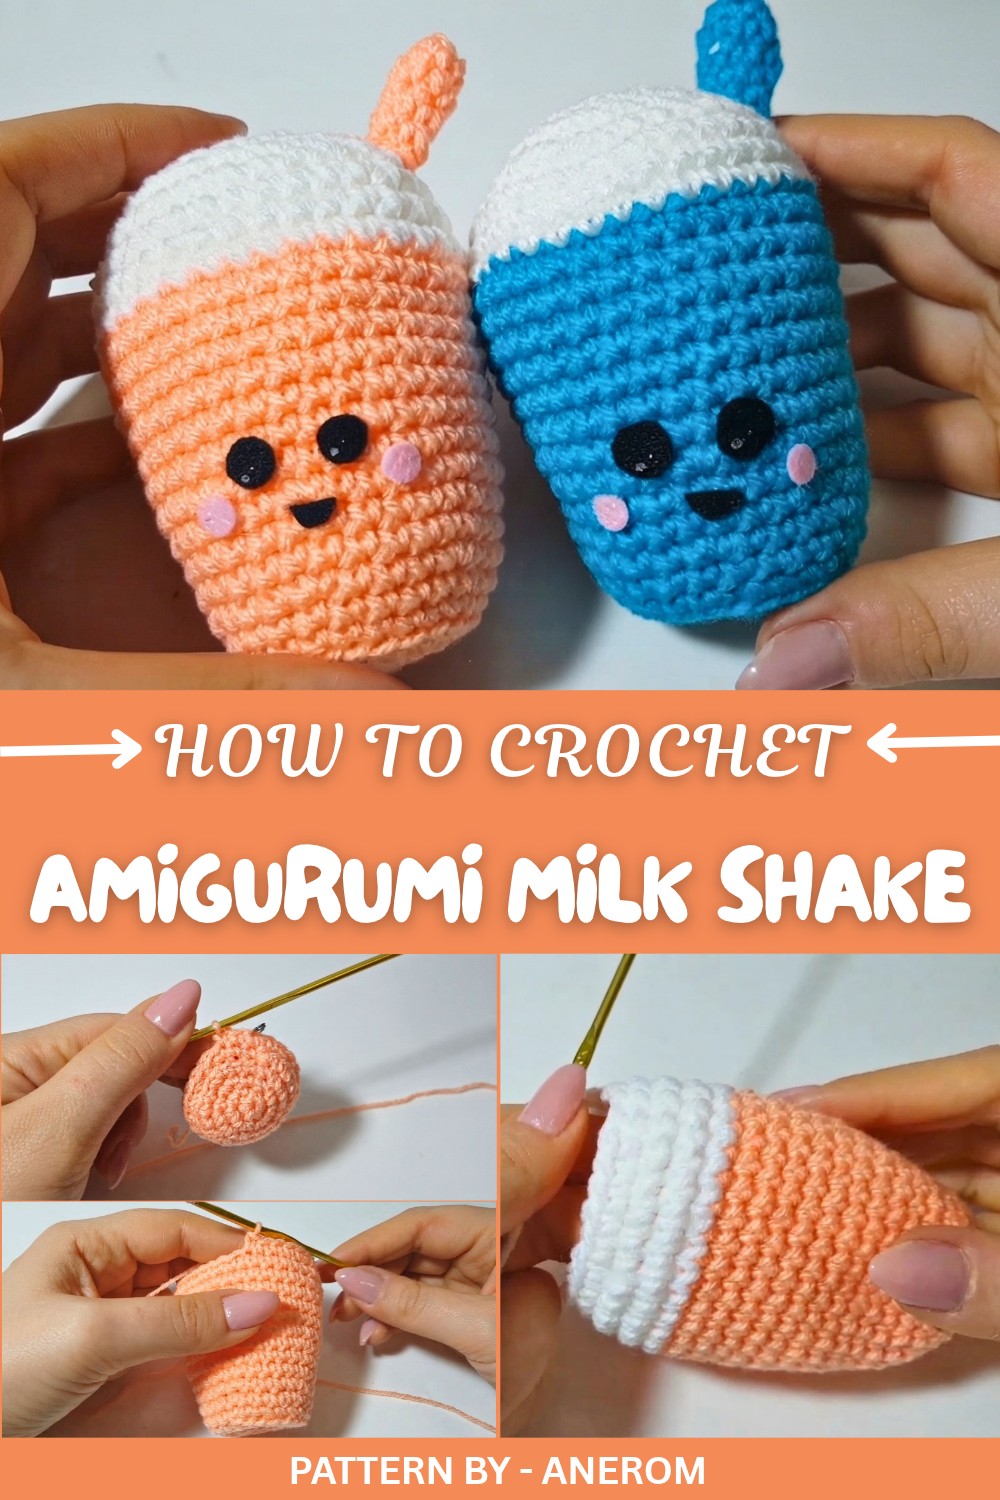
Level up your cafe photo shoots with this Free Crochet Milkshake Pattern, a cute yarn drink with a straw that adds charm to every picture.
Pattern By Anerom
Who doesn’t love a cute little milkshake sitting on their shelf? This yarn creation is not just adorable but a perfect conversation starter for your desk or coffee table. With its tiny straw and colorful swirls, it adds a refreshing charm that’ll make anyone smile. Made using simple stitches like single crochets, decreases, and increases, it’s beginner friendly and a fantastic way to relax while working on something cute and fun. Plus, you can match the colors to suit your personality or your favorite milkshake flavor, how awesome is that?
This project will teach you how to shape objects by working in continuous rounds, handle small details like the straw, and even add optional touches such as faces or decorations. These same easy techniques can help you create all kinds of mini treats, cupcakes, donuts, and even tiny ice creams. Think of all the fun little creations you can add to your collection or gift to friends.
Add This Adorable Free Milkshake Crochet Pattern to Your List
Sometimes the yarn feels tricky to manage, especially when working with the magic ring or small components like the straw. The trick is to take it slow and use a slightly bigger hook to make the loops easier to work with. For sections where stitches feel loose, switch to a smaller hook for more control. A little patience and a few adjustments will work wonders.
This project is like sprinkles on top of your crochet skills. With its playful vibe and endless customization options, you’ll not just crochet a cute milkshake but also master techniques that open doors to making even more adorable amigurumi creations.
Milkshake Amigurumi Crochet Pattern
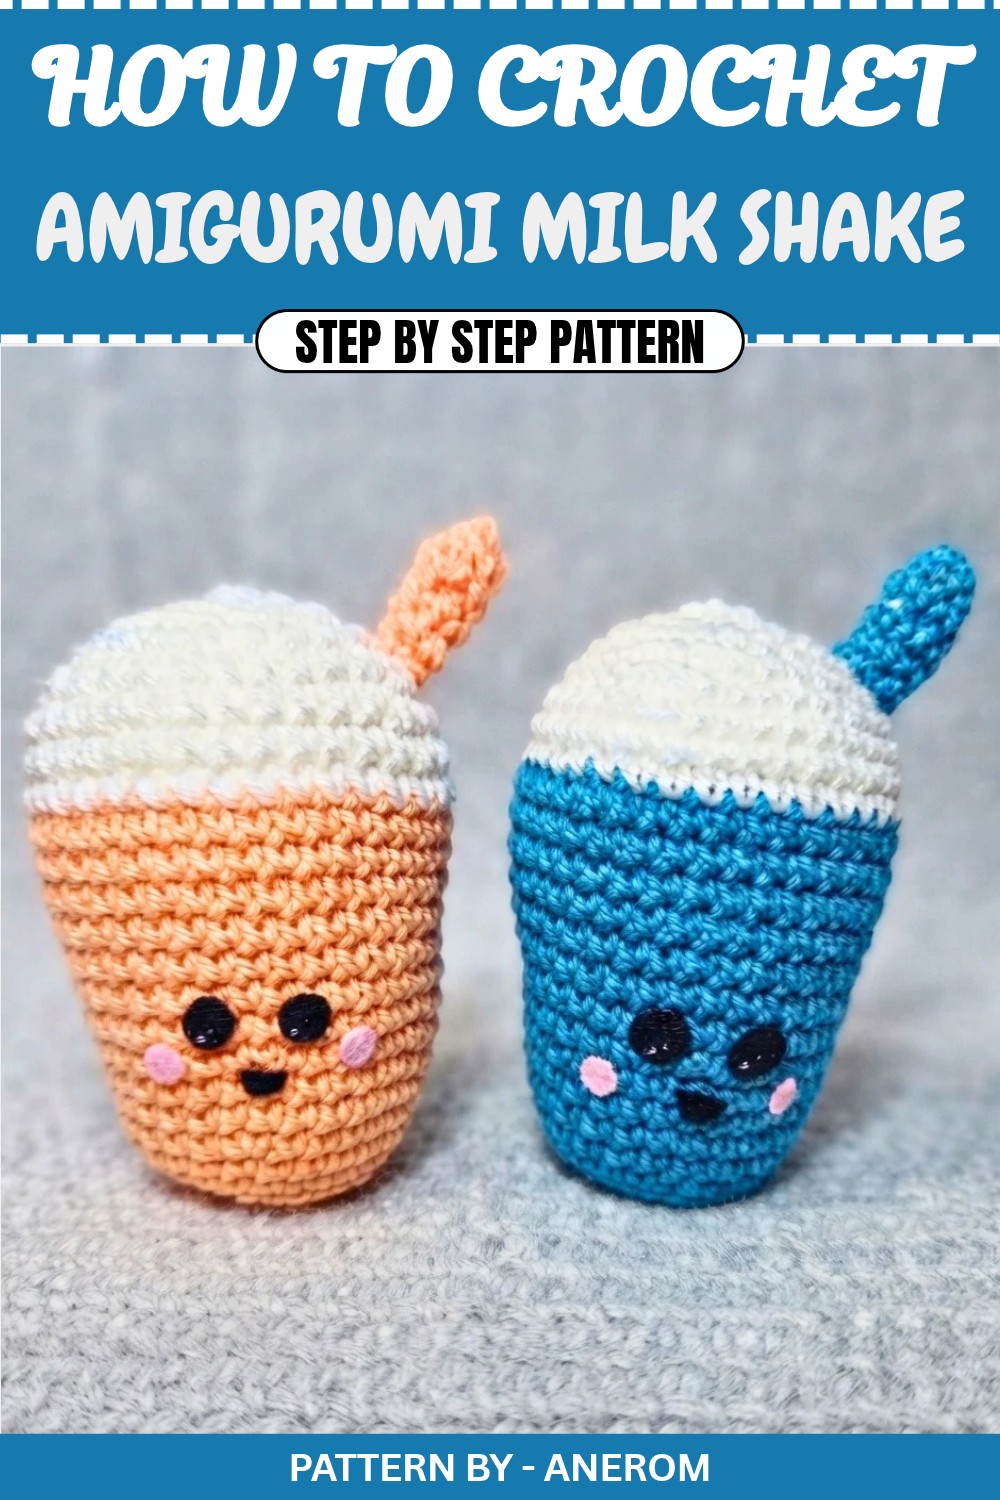
In today’s tutorial, I will walk you through how to make these adorable milkshake amigurumi using crochet. The design is super cute and reminds me of the milkshakes from McDonald’s. I’ve created them in two color variations to show you the difference, but feel free to choose whichever colors you prefer. The process is fast, simple, and customizable to your taste.
Quick Overview of the Pattern
- Crochet a milkshake base with two contrasting colors.
- Add optional features like a straw and a face to personalize the design.
- Work through increases, decreases, and details while shaping the project.
- Finish the piece with optional embroidery and assembling parts.
Notes
- The face and straw are optional additions. You can skip them or customize however you like.
- The colors used are entirely your choice, though color contrast with white works best for the milkshake look.
- This pattern uses the amigurumi method — always work in continuous rounds unless otherwise specified.
Skill Level
Beginner-friendly with some basic crochet techniques (magic ring, single crochet, increase, decrease, slip stitch).
Materials
- Yarn: Two contrasting colors of your choice (e.g., white for the milkshake and another color for the base).
- Hook: Crochet hook suited for your yarn (commonly 2.5mm or 3mm for amigurumi).
- Stuffing: Polyester fiberfill for shaping the milkshake.
- Needle: Tapestry needle for weaving in ends and sewing parts together.
- Optional Accessories: Felt for the face decorations (eyes, cheeks, mouth), fabric glue, and white nail polish for tiny highlights in the eyes.
Measurements/Sizing
The milkshake base measures approximately 10–12 cm in length. You can adjust the size by altering the number of rounds or using thicker yarn.
Gauge
Gauge is not critical for this project; however, your stitches should be tight enough to keep the stuffing inside.
Stitch Abbreviations
- MR: Magic Ring
- sc: Single Crochet
- inc: Increase (2 sc in one stitch)
- dec: Decrease (single crochet 2 stitches together)
- sl st: Slip Stitch
Special Stitches
- Back Loop Only (BLO): Working into only the back loop of the stitch (used for texture on base section).
The Crochet Pattern
Milkshake Base
Round 1:
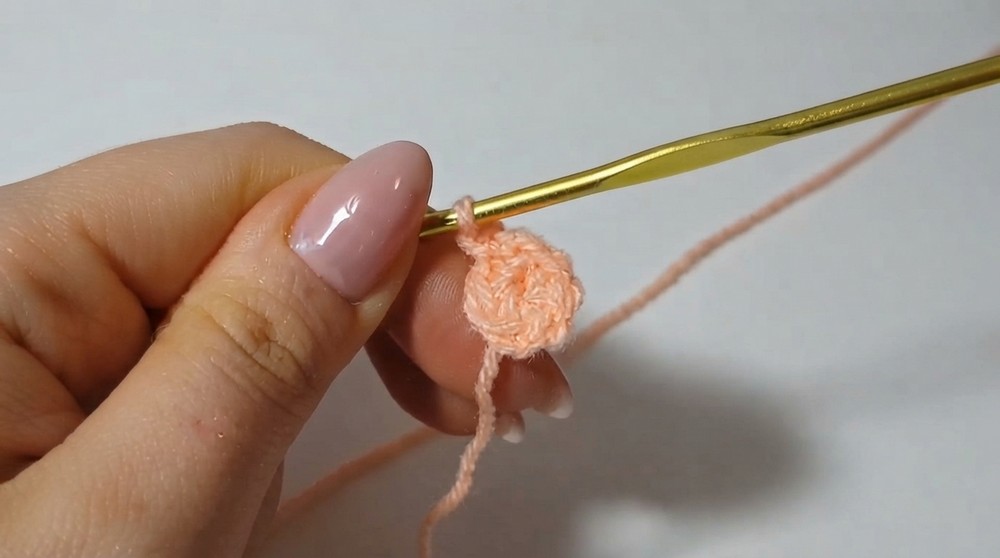
Make a magic ring. Crochet 6 sc into the magic ring. Tighten the ring. (6 stitches)
Round 2:
Work 1 inc into each stitch. (12 stitches)
Round 3:
Alternate 1 sc, 1 inc, and repeat around. (18 stitches)
Round 4:
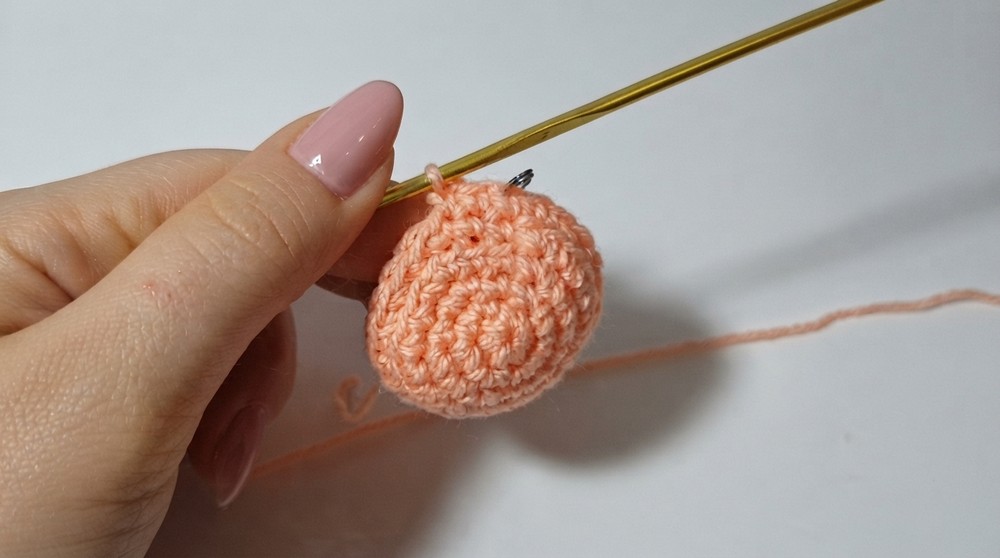
Alternate 2 sc, 1 inc, and repeat around. (24 stitches)
Round 5:
Work into BLO: Crochet 1 sc into each stitch around, working only in the back loops. (24 stitches)
Round 6:
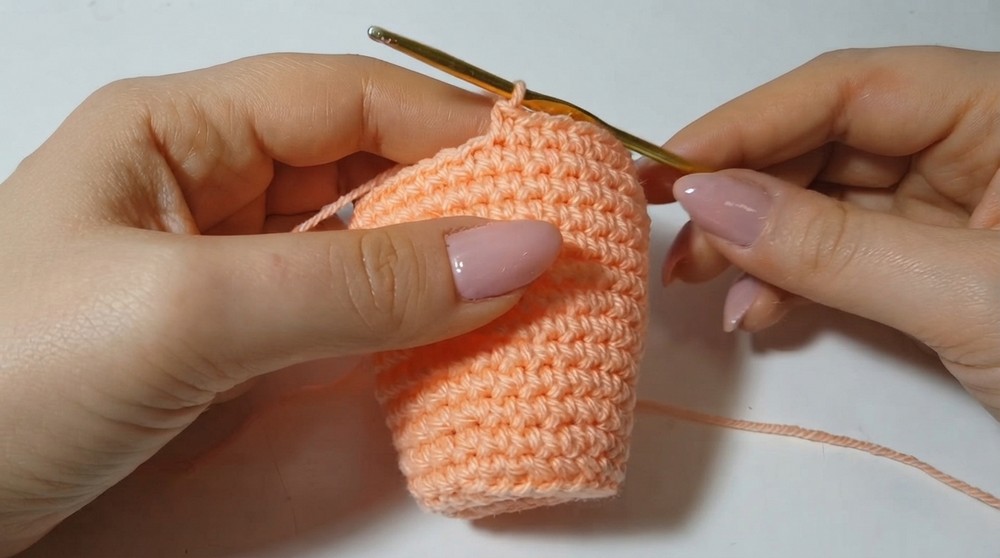
Work 1 sc into each stitch normally (both loops). (24 stitches)
Round 7:
Alternate 3 sc, 1 inc, and repeat around. (30 stitches)
Round 8–9:
Work 1 sc into each stitch around for 2 rounds of 30 sc.
Round 10:
Alternate 4 sc, 1 inc, and repeat around. (36 stitches)
Round 11–17:
Work 1 sc into each stitch around for 7 rounds of 36 sc.
Round 18:
Sl st into the next stitch. Fasten off. Leave a long tail for weaving in.
Stuff the base lightly with fiberfill.
Milkshake Lid
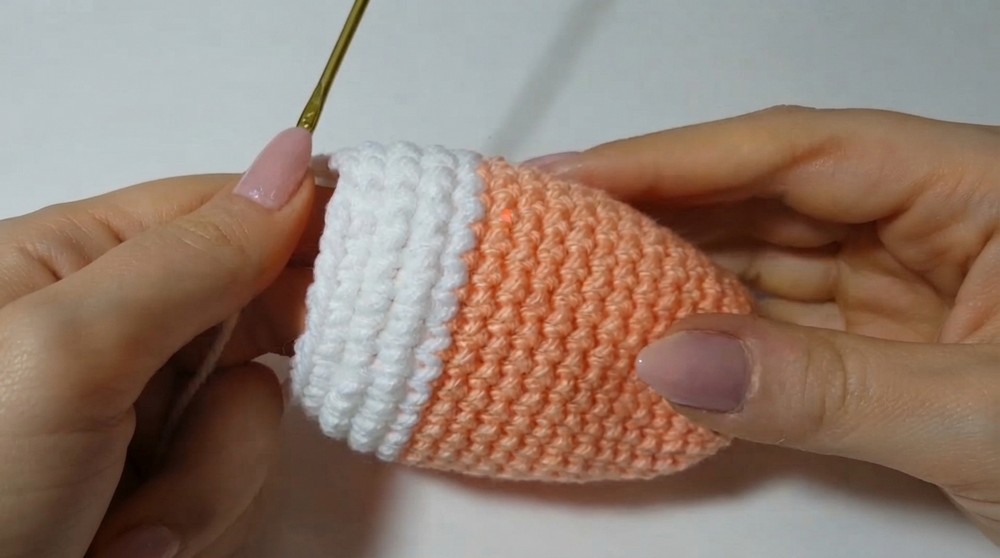
Switch to white yarn.
Round 1:
Attach white yarn to any st on the base with a sl st. Work 1 sc into each stitch around (36 sc).
Round 2–3:
Work 2 rounds of 1 sc into each stitch (36 sc per round).
Round 4:
Alternate 4 sc, 1 dec, and repeat for the round. (30 stitches)
Round 5:
Alternate 3 sc, 1 dec, and repeat for the round. (24 stitches)
Round 6:
Alternate 2 sc, 1 dec, and repeat for the round. (18 stitches)
Round 7:
Stuff the lid lightly. Alternate 1 sc, 1 dec, and repeat for the round. (12 stitches)
Round 8 (Closing):
Work consecutive 6 dec, then pull the yarn tail through the remaining stitches with a tapestry needle to close the small hole. Weave in the ends.
Straw
Switch back to the colored yarn.
Round 1:
Make a magic ring. Crochet 6 sc into the ring. Tighten and close. (6 stitches)
Round 2–4:
Work 4 rounds of 1 sc into each stitch (6 stitches per round).
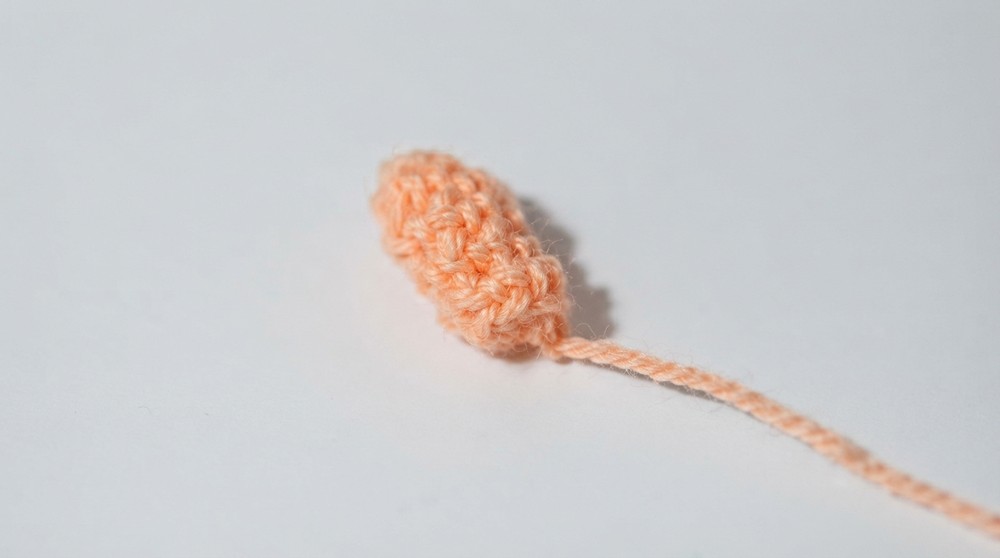
Use a small amount of stuffing to lightly fill the straw and make it rigid. Sl st to finish and leave a long tail to sew down the straw to the lid later.
Optional: Add the Face
Using felt, cut out small shapes to form eyes (black felt circles), cheeks (pink felt circles), and a cute smiling mouth. Use fabric glue to attach them to the front of the milkshake base. You can add tiny white highlights to the eyes using white nail polish, a dotting tool, or a toothpick.
Assembly & Finished Size
- Sew the straw onto the side of the milkshake lid using the long tail of yarn left. Alternatively, glue it in place with hot glue for faster assembly.
- Adjust the stuffing inside the milkshake base and lid to ensure the piece is firm but not over stuffed.
- Attach the lid securely to the milkshake base.
- Add optional decorations (e.g., a face or other embellishments).
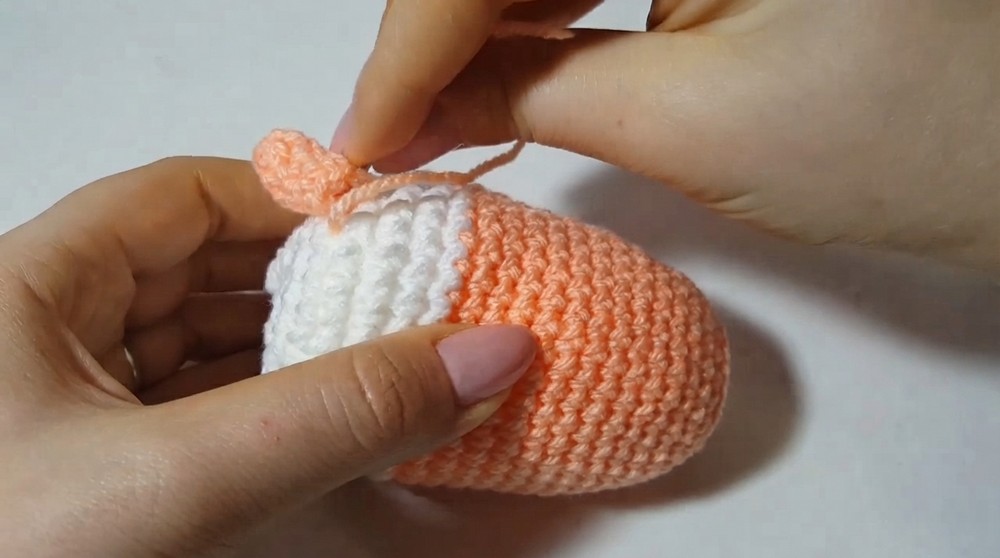
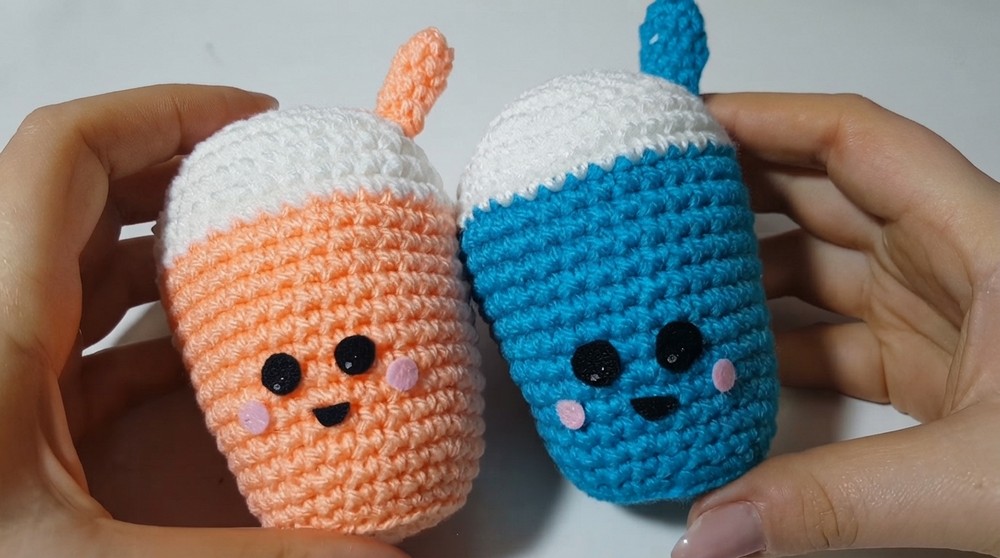
Final finished size is approximately 10–12 cm tall, depending on your yarn and tension.
Conclusion & Ending Words
Thank you for following this fun and easy milkshake amigurumi pattern. These adorable creations are perfect for adding a splash of cute decor to any space or as gifts for loved ones. Don’t forget, you can customize the colors, face, and straw length to make each milkshake unique.