
Free Quick Crochet Easter Basket Pattern for Holiday Magic Ideas
Float through happy family holiday brunch gatherings using a Free Quick Crochet Easter Basket Pattern because charming woven bins hold soft boiled eggs.
Tiny baskets are a beautiful way to add charm to your Easter celebrations. Whether used as cheerful table decorations, gift holders, or filled with colorful treats, these crochet Easter baskets bring both style and utility. Their vibrant colors and compact design make them ideal for holding small items like candies, decorative eggs, or even some faux spring flowers. They brighten up any space while keeping everything neatly organized.
Wow Everyone with a Stylish Crochet Easter Basket Pattern Free
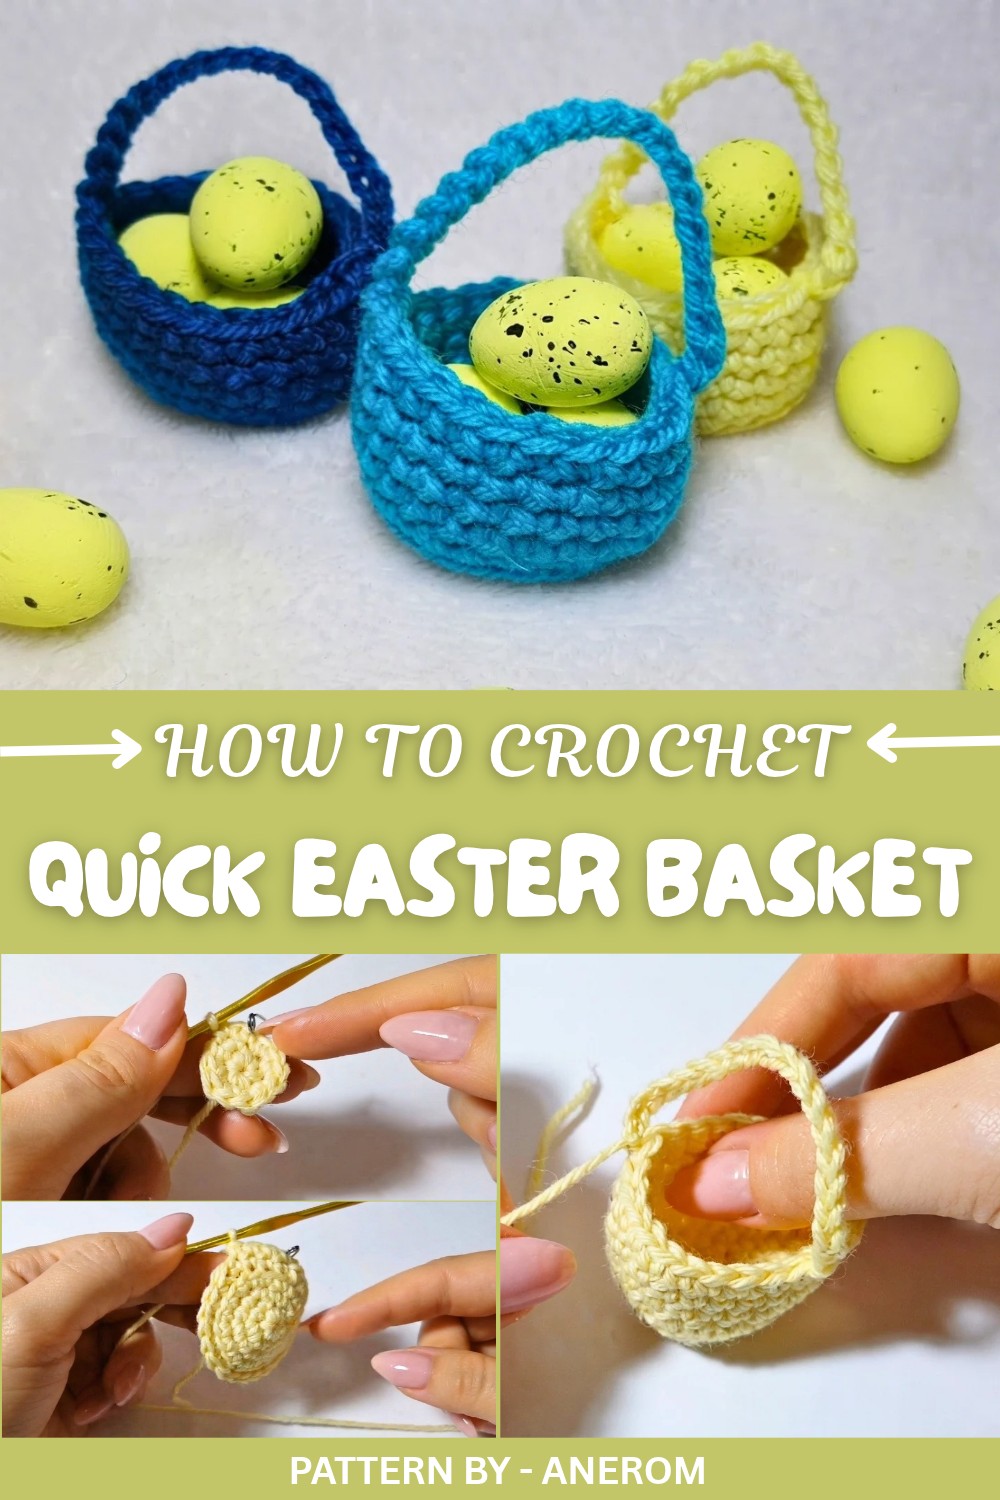
What makes this particular basket stand out is its clever structure and pattern. The base is worked in rounds, beginning with a magic ring that creates a smooth and sturdy foundation. The walls of the basket are built using single crochet stitches and the back loop only technique, which adds a subtle but striking texture to the design. As a finishing touch, the handles are crocheted with simple chains, giving you a quick yet sturdy way to carry or display the basket. With its neat shape and textured finish, it’s hard not to admire how well every detail comes together.
Anerom, a skilled creator, shares a thoughtful step by step demonstration on her YouTube channel to make this project achievable for crocheters of all skill levels. In her video, she shows how to tweak the size by adding extra rounds or change the look with different color combinations. Choosing an acrylic yarn with a soft but sturdy texture works best for this project, allowing the basket to hold its shape beautifully.
Perfect for Easter themed gifts or home décor, these baskets are a quick and enjoyable project that you can customize to suit your style. Fill them with treats, tiny trinkets, or festive decorations, and they’re sure to spread joy during the holiday season.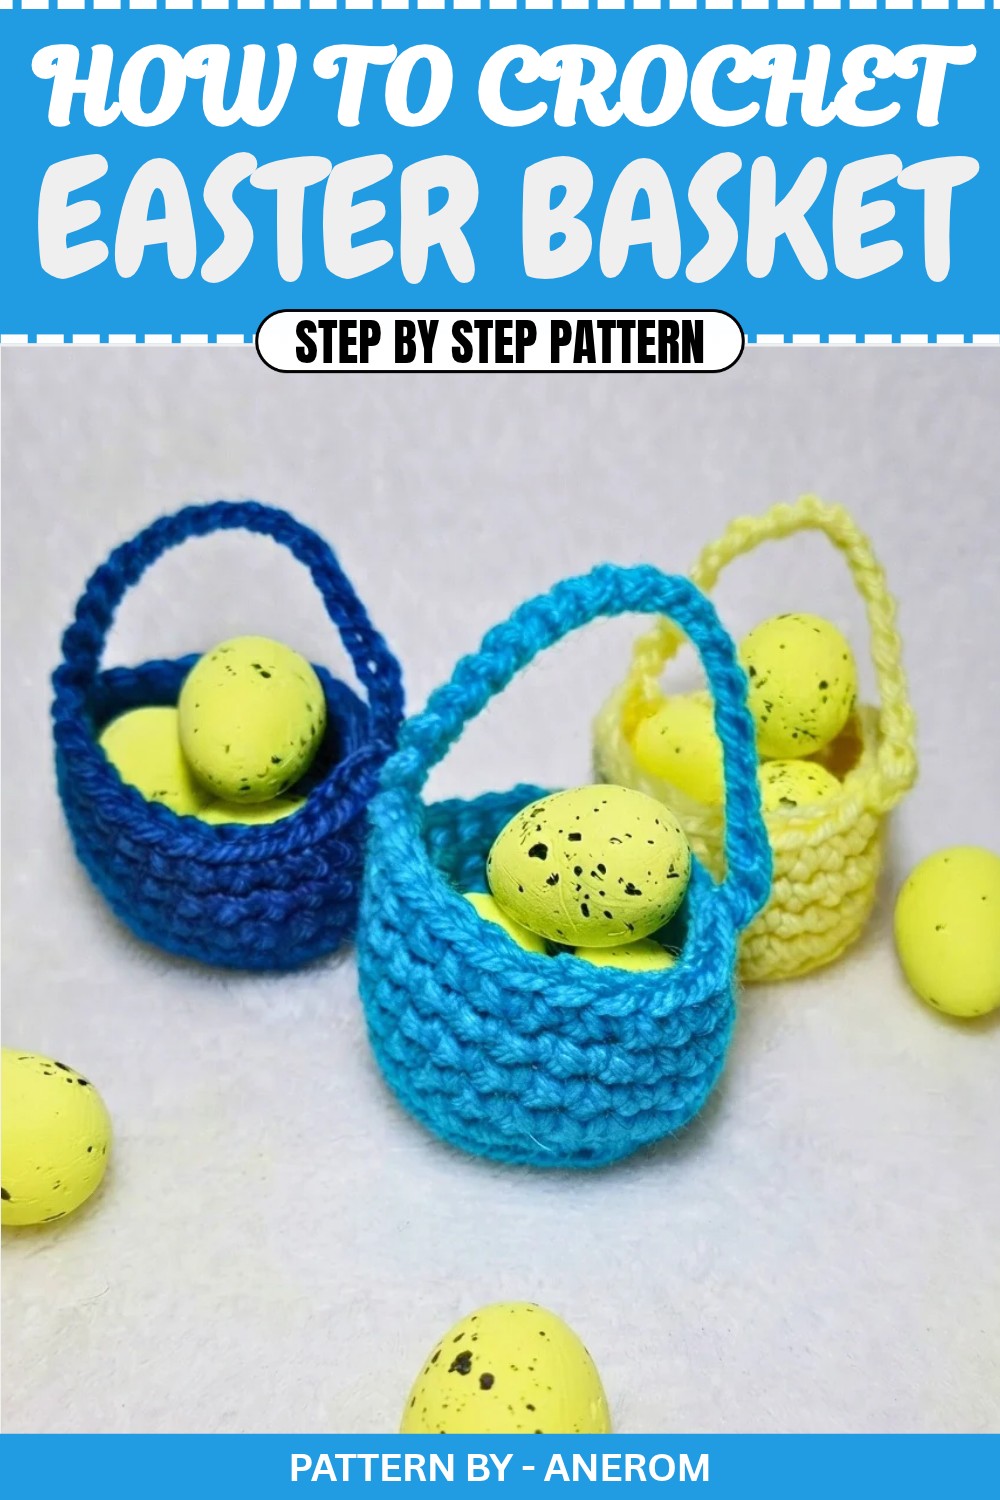
Free Crochet Pattern: Mini Easter Basket for Decorations
Quick Overview of Pattern
- Type of Item: Mini Crochet Easter Basket
- Purpose: Home decoration, Easter gifts, or small treats holder
- Stitch Focus: Single crochet and back loop stitches
- Rounds: 6 foundation rounds with additional handle work
Notes
- Experiment with colors to match your Easter decor or personal preference.
- Use real or decorative candies or eggs to fill the basket for gifting or decorating.
- To adjust the basket size, increase the number of foundation rounds before reinforcing the sides.
Skill Level
Beginner (Requires knowledge of magic circle, single crochet, back loop single crochet, and slip stitches).
Materials
- Yarn: Acrylic yarn in a color of your choice (light pastel tones work well for Easter themes).
- Crochet Hook: Size 3 mm hook (adjust hook size for your yarn if necessary).
- Scissors: For cutting yarn.
- Tapestry Needle: For weaving in loose ends.
- Optional Fillers: Foam or real Easter eggs, chocolates, or small decorative treats.
Measurements / Sizing
The described pattern creates a small basket approximately 6–8 cm in diameter. You can increase the size by adding more increase rounds in the base.
Gauge
Gauge for this project is not critical since it’s a 3D decorative piece. Aim for even and tight stitches to provide structure to the basket.
Stitch Abbreviations
- ch: Chain
- sc: Single Crochet
- sl st: Slip Stitch
- m/c: Magic Circle
Special Stitches
- Back Loop Single Crochet (BLO sc): Insert the hook into the back loop only of the stitch, yarn over, and pull through, yarn over again, and pull through both loops. This creates a ridge and gives the basket its structured base.
The Crochet Pattern
Base of the Basket
Round 1
- Begin with a magic circle.
- Work 6 single crochets (sc) into the magic circle.
- Pull the starting yarn tightly to close the circle forming your base.
Round 2
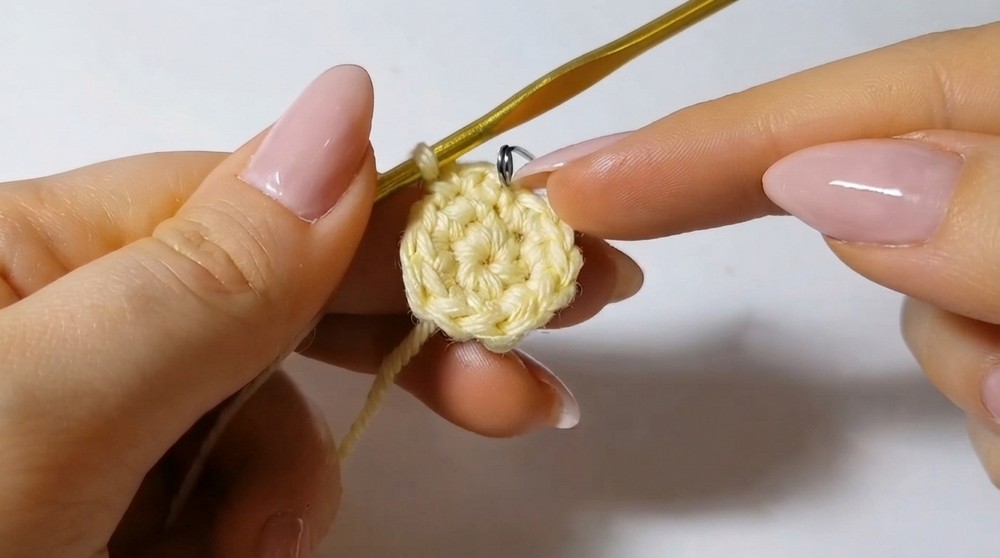
- In each of the 6 sc from Round 1, work an increase (2 sc in the same stitch).
-
- At the end of the round, you will have 12 sc in total.
Round 3
- Start with 1 sc in the first stitch. Place a stitch marker in this stitch to mark your starting point.
- In the next stitch, work an increase (2 sc in the same stitch).
- Alternate between 1 sc in the next stitch, then 1 increase in the following stitch all the way around.
- At the end of the round, you will have 18 sc in total.
Round 4
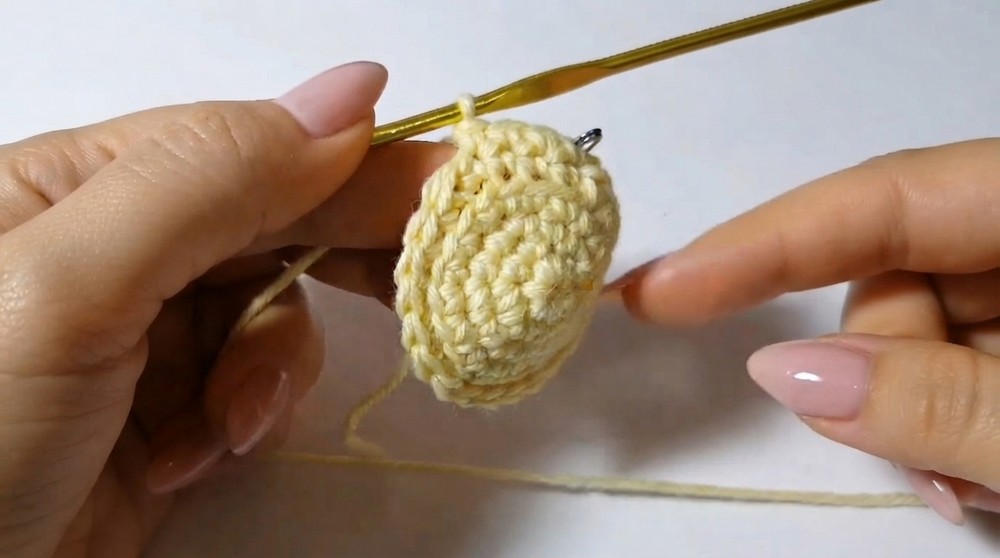
- Start with 1 sc in the first two stitches. Place a stitch marker in the first stitch for reference.
- In the next stitch, work an increase (2 sc in the same stitch).
- Repeat the sequence of 2 sc, then 1 increase for the rest of the round.
- At the end of the round, you will have 24 sc in total.
Forming the Basket Walls
Round 5
- To form the basket walls, you will work this entire round in back-loop single crochets (BLO sc).
- For each stitch in this round, insert your hook into the back loop only and work 1 sc into each stitch.
- Continue working in back loops only until the round is complete.
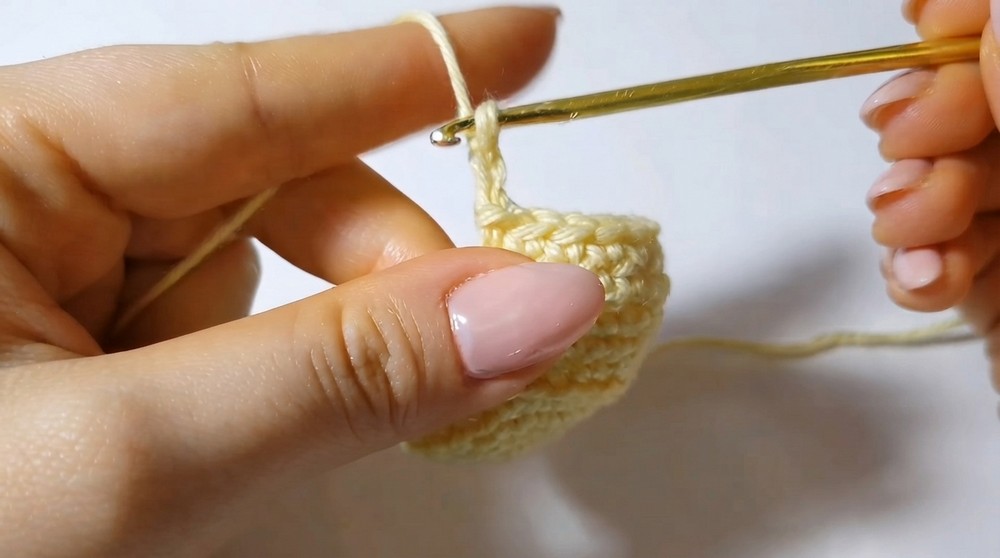
Rounds 6–9
- Resume working with regular single crochets in both loops.
- For these 4 rounds, crochet 1 sc into each stitch of the previous round.
- Each round will consist of 24 sc.
- By the end of these four rounds, your basket will have gained height, giving it a proper shape.
Creating the Basket Handle
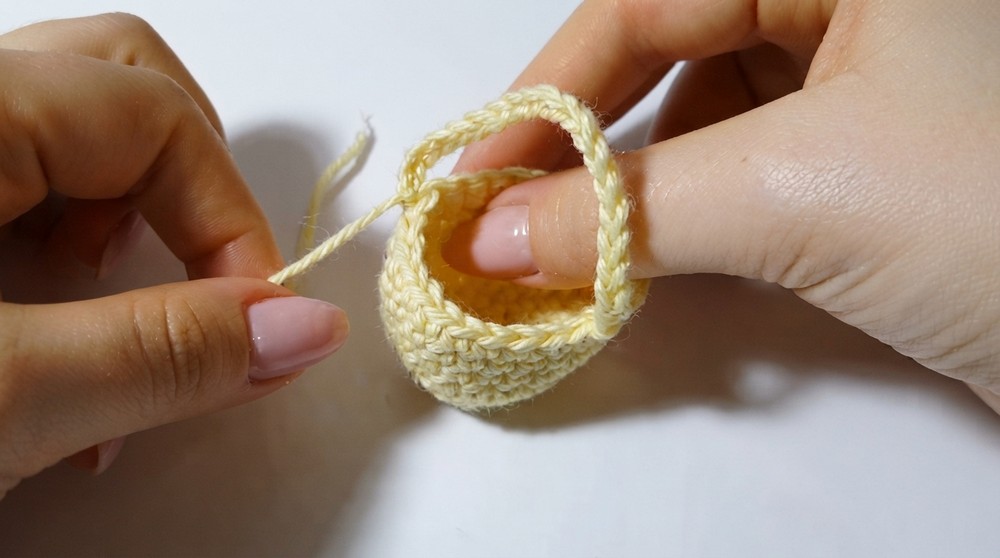
- Once the final round for the basket is complete, work a slip stitch in the next stitch.
- Start creating the handle by chaining 20 chains.
- After completing the chain, position it directly across from your starting point to form a handle.
- Join the chain to the corresponding stitch on the opposite side of the basket using a slip stitch.
- This completes the basket's handle.
Finishing the Basket
- Fasten off the yarn and cut it, leaving a small tail.
- Thread the tail into a tapestry needle and carefully weave it through the stitches of the basket to secure it.
- Trim off any excess yarn to clean up your project.
Assembly & Finished Size
- Once the basket is ready, you can fill it with foam eggs, real Easter chocolates, or other small treats. If you want to gift it, place the basket in a small transparent bag and tie it with a decorative ribbon for added charm.
- The finished basket should be small and compact, perfect for Easter tablescapes or as an adorable seasonal gift.
Conclusion
Your mini Easter basket is complete. These tiny and cute baskets are perfect for adding a festive touch to your home or gifting to loved ones. You can make several in different colors just like in this tutorial to create a colorful Easter vibe. They are beginner friendly and take only a little time, making them great for last minute crocheting.