
Wonderful Free Crochet Doily Pattern that accents cozy lamps
Float bright light into sunroom nooks using a Free Wonderful Crochet Doily Pattern because delicate handmade lace looks stunning on glass surfaces.
Inspiration From Anerom
Doilies are a timeless crochet project, blending delicate stitches with intricate, lace like patterns. If you're searching for a free crochet doily pattern, this design might be exactly what you need to bring a touch of handmade elegance to your home. Inspired by classic floral shapes, this doily features a round, petal like structure that adds texture and depth, making it both stylish and functional. Its charming lacework makes it perfect for decorating tables, adding character to shelves, or even framing as wall art for a unique twist on traditional home décor.
Free Crochet Doily Pattern for Vases
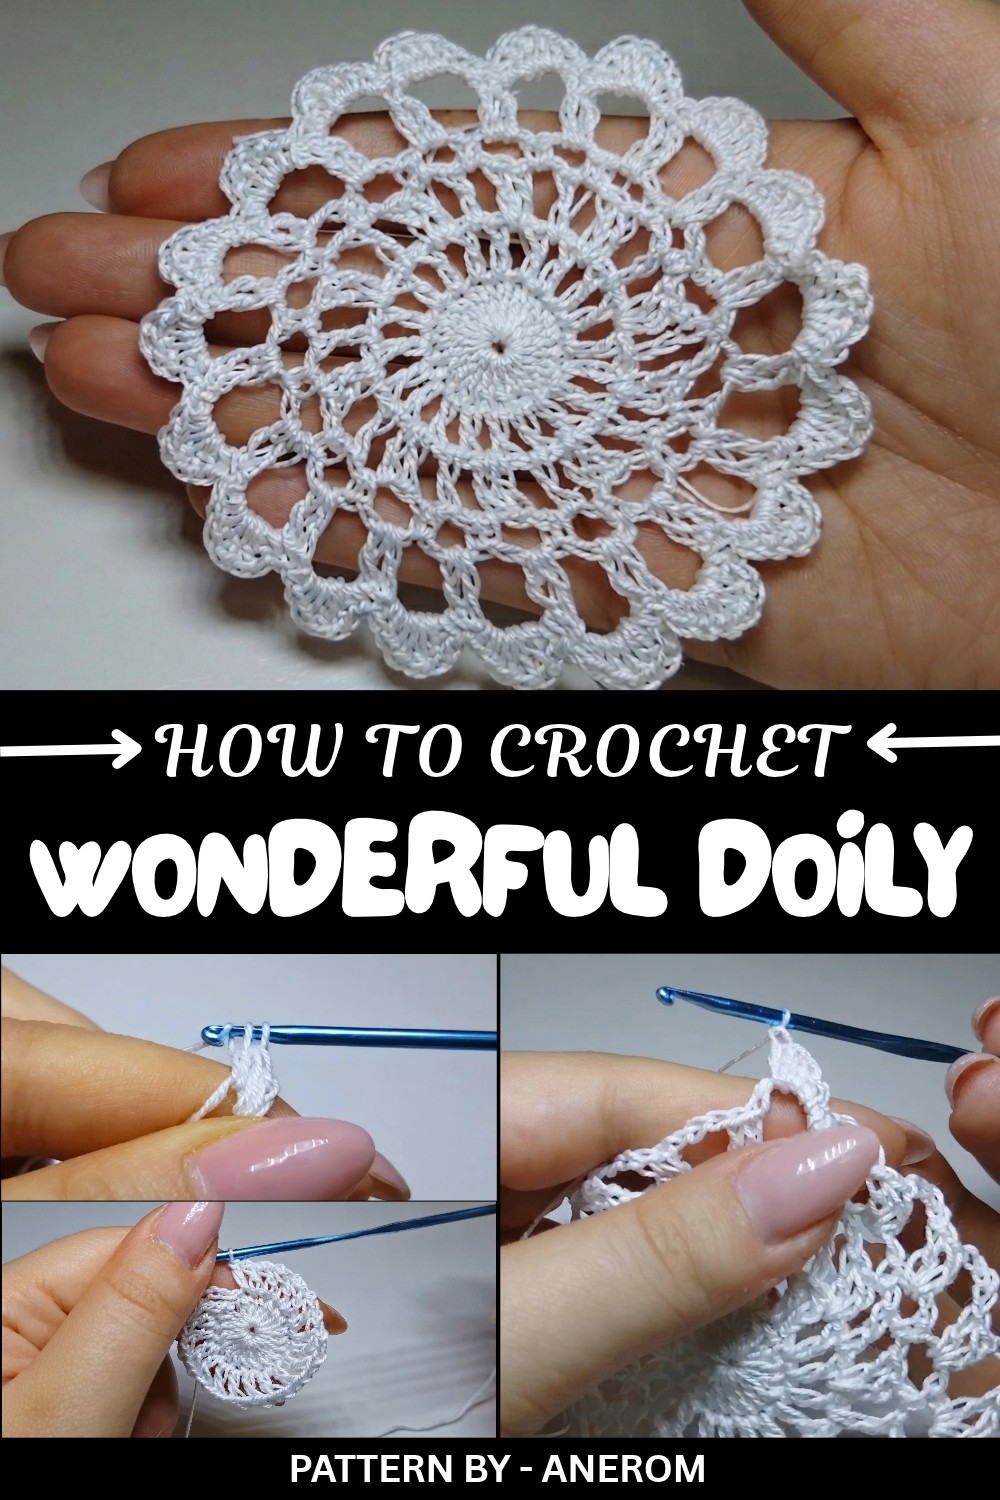
This project is ideal for beginner and intermediate crocheters alike, offering a mix of simple stitches such as chains, slip stitches, and double crochets. The repetitive nature of the design makes it both relaxing and rewarding to create while giving you plenty of room for customization. You can adjust the size of your doily effortlessly, use fine cotton thread for a smaller, delicate option or experiment with a thicker yarn for a bold, textured look. The lightweight and airy texture of this piece not only brings softness to any surface but also allows your chosen yarn and stitchwork to truly shine.
For the best results, I recommend using cotton yarn or thread, as its sturdy, crisp quality enhances the detail of the lace pattern. This particular design was inspired by blooming flowers and the elegance they bring to any setting, whether indoors or out. Whether you're crocheting this as a thoughtful gift or something special for your space, this doily adds a hint of sophistication and warmth that only handmade pieces can bring.
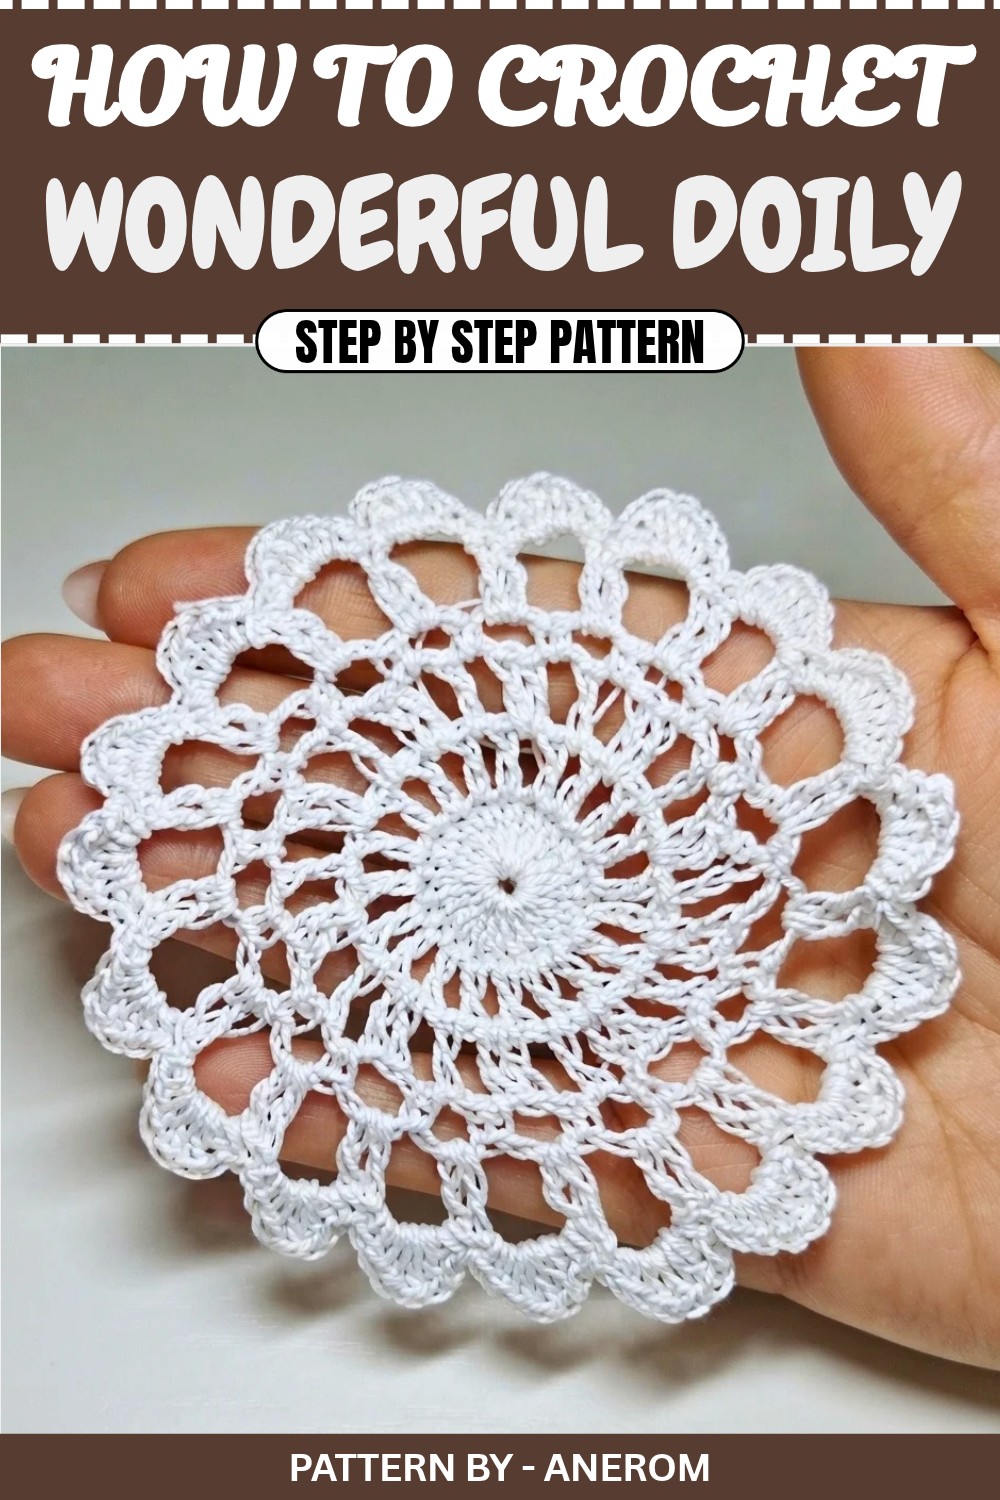
Simple Flower Inspired Crochet Doily Pattern
Quick Overview of Pattern
- Design Goal: A flower petal inspired decorative crochet doily
- Techniques Used: Magic ring, chain, slip stitch, single crochet, half double crochet, double crochet
- Special Feature: Combines simple stitches into a lace like flower design, making it a great beginner project
- Purpose: Ideal for table decorations, gifts, or as a versatile accent piece
Notes
- Tension is not highly critical for this pattern, but aim for uniformity across your stitches.
- Blocking is recommended to give the doily a structured and polished look.
- This pattern is designed for beginners, but advanced crocheters can also enjoy it as a quick project.
Skill Level
Beginner: Only basic stitches are required, combined with simple stitch combinations to create a floral design.
Materials
- Yarn: Fine or light cotton yarn
- Hook: 2.5 mm crochet hook
- Other Supplies:
- Scissors
- Tapestry needle for weaving in ends
Measurements / Sizing
- The finished size is approximately 15–18 cm in diameter.
Gauge
Gauge is not critical for this project, but a medium tension works best for a balanced, structured doily.
Stitch Abbreviations
- ch: Chain
- sl st: Slip Stitch
- sc: Single Crochet
- hdc: Half-Double Crochet
- dc: Double Crochet
Special Stitches
- Magic Ring: Wrap the yarn around your fingers, insert your hook, and pull to create an adjustable loop.
The Crochet Pattern
Step 1: Start with a Magic Ring
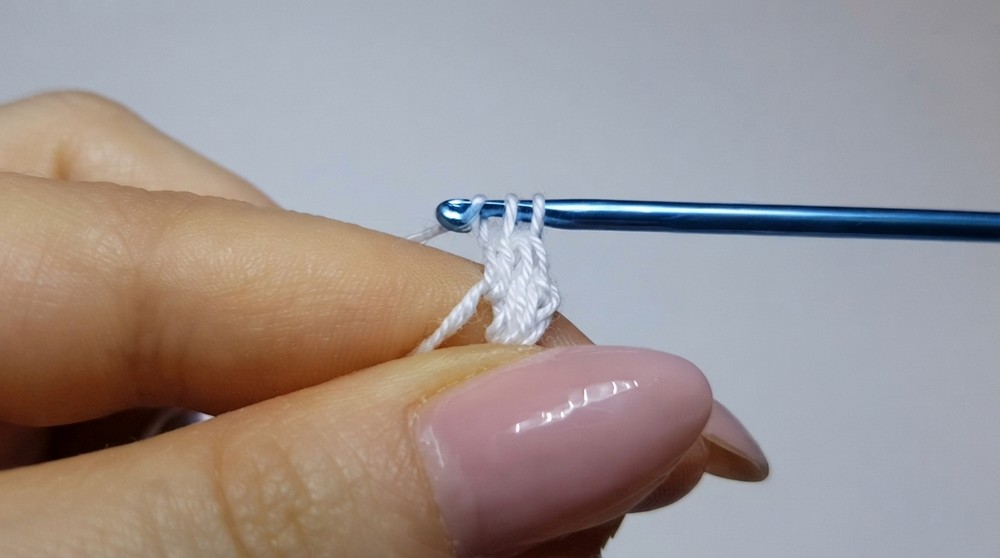
- Create a magic ring: Wrap the yarn around your fingers and pull through the loop to form a circle.
- Chain 2: Add 2 chains to the magic ring. These form the starting chain and count as your first double crochet (dc).
- Inside the ring, work 19 double crochets (dc).
- Pull the short end of the yarn tail to tighten the magic ring, closing the center.
- Join the round with a slip stitch (sl st) into the top of the third chain from the starting chain.
- This creates a circle with 20 double crochets in total.
Step 2: Round 2 – Chains and Alternating High Stitches
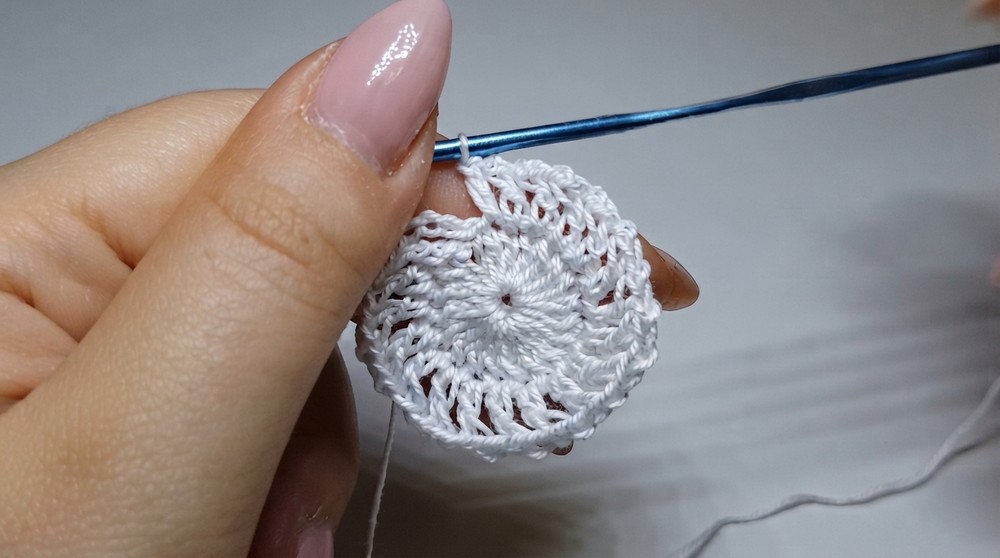
- Chain 4 (counts as 1 double crochet (dc) + 1 chain space).
- Into the next stitch, work 1 double crochet (dc).
- Chain 1, skip to the next stitch, and work another double crochet (dc).
- Repeat the sequence of 1 chain, 1 double crochet in the next stitch for the rest of the round.
- Once you reach the starting point, make the final chain and join with a sl st into the third chain of the starting chain.
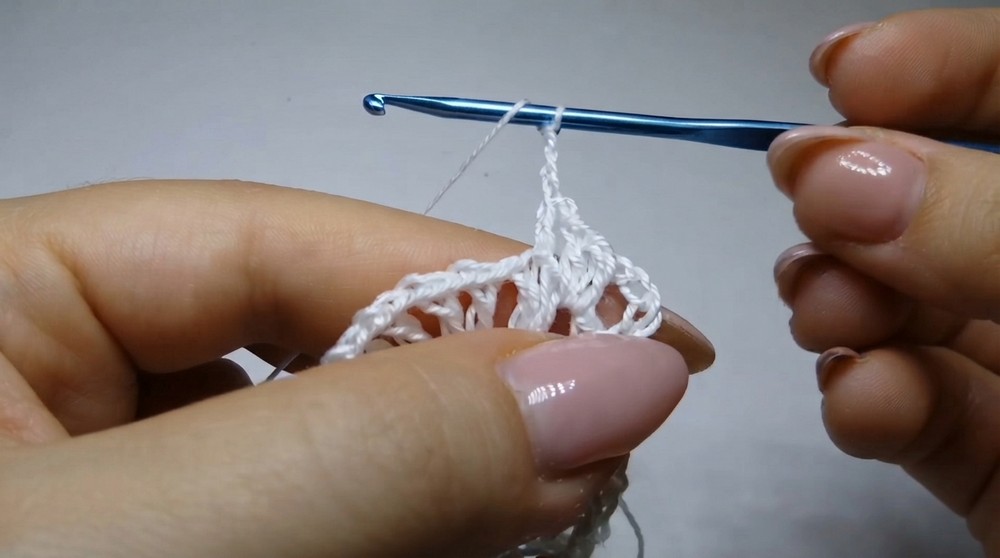
Step 3: Round 3 – Alternating Stitches with Increases
- Move into the first chain space (created in the previous round) with a slip stitch to position your hook.
- Chain 5 (counts as 1 double crochet and 2 chains for separation).
- In the next chain space, work 2 double crochets (this is your increase).
- Chain 2, and in the subsequent chain space, work a single double crochet.
- Continue alternating between:
- 1 space with single double crochet
- 1 space with 2 double crochets
- Always separate each stitch combination with 2 chains.
- Finish the round by joining the last chain into the top of the starting chain with a slip stitch.
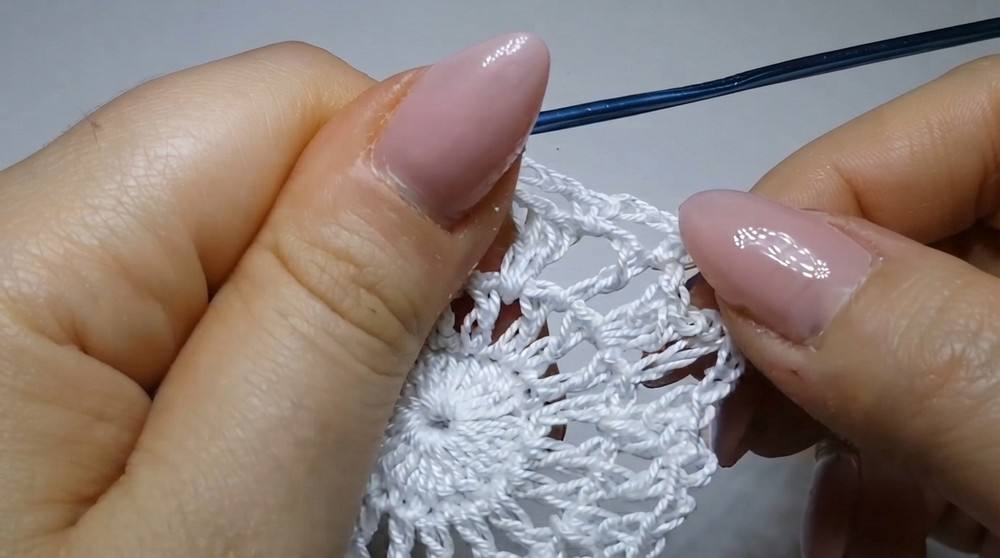
Step 4: Round 4 – Create Small Arches
- Move into the first space of the chain created in the previous round by working 1 slip stitch.
- Chain 3. Work 1 single crochet (sc) into the next chain space.
- Chain 3 and work another single crochet (sc) into the next chain space.
- Repeat this process of chaining 3 and working single crochets into each chain space of the previous row. These chains form small arches.
- Complete the round by joining the last chain into the starting stitch with a slip stitch.
Step 5: Round 5 – Shells and Separation Chains
- Move into the first 3 chain arch created in the previous round by working a slip stitch.
- Chain 3 (counts as your first double crochet). Work another double crochet (dc) into the same arch space.
- Chain 4 for the separation, then move to the next arch. Work 2 double crochets (dc) into this space.
- Continue with the sequence:
- Work 2 double crochets into each arch, separated by 4 chains.
- When you reach the end, join the round with a slip stitch into the third chain of the starting chain.
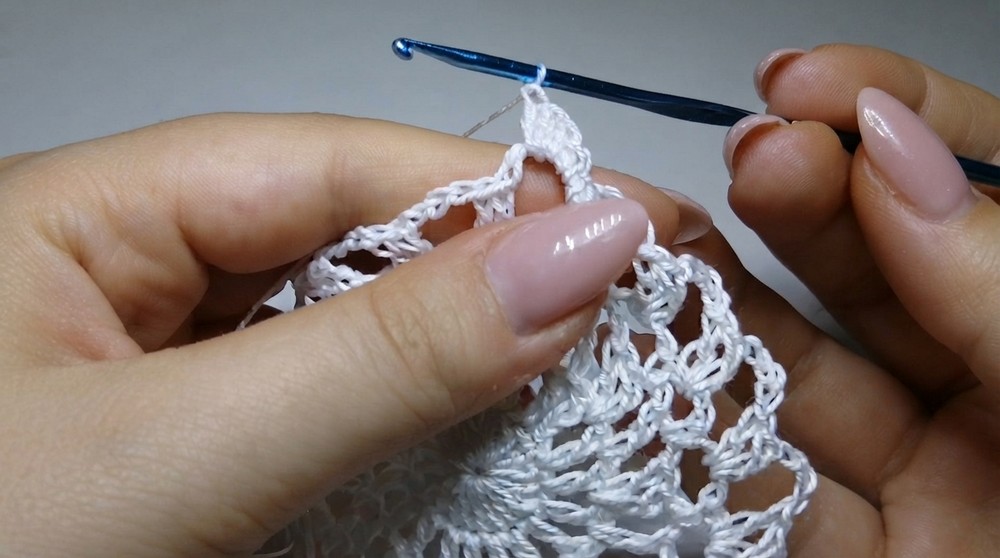
Step 6: Final Round – Decorative Petals
- Move into the next 4 chain arch created in the previous round. Start working the decorative petals in these arches.
- For each arch:
- Work 1 single crochet (sc).
- Work 1 half double crochet (hdc).
- Work 3 double crochets (dc).
- Work 1 half double crochet (hdc).
- Work 1 single crochet (sc).
- Repeat this sequence for each arch around the doily. Each arch will resemble a small petal.
- Join with a slip stitch into the starting stitch of the round.
Finishing the Piece
- Pull the yarn through and cut it. Weave in the loose ends using a tapestry needle.
- Gently block the doily to shape it into a smooth, flower like form. Optional: stiffen the doily using starch if you prefer a firmer finish.
Assembly & Finished Size
The finished doily will have a lovely flower like texture created by the arches and petal shapes. The approximate size is 15–18 cm in diameter when flattened.
Conclusion and Ending Words
Congratulations! You’ve just made a gorgeous, flower inspired crochet doily that’s perfect for decorating your home or gifting to someone special. Its elegance lies in its simplicity, and you can customize the project by experimenting with colors or changing the tension to achieve different sizes.