
Free Crochet Pattern for Quick and Easy Halloween Candy Bag
Make Halloween extra special with this wonderful free crochet candy bag pattern that’s a fun, easy, and creative holiday project.
Every year as Halloween approaches, my house turns into a little crocheting workshop. One of my favorite projects to make is a fun and festive candy bag for all those trick or treat adventures. This quick and easy crochet Halloween candy bag is perfect for stashing goodies, treats, or even small toys. If you’re like me and enjoy adding a handmade touch to the spooky season, this project is a must try.
What makes this bag special is its simplicity. Using basic single crochet stitches, this pattern is perfect for beginners or anyone who wants a no fuss project. The single crochet stitch creates a sturdy texture, meaning your bag will be durable enough to hold all kinds of treats. Plus, if you learn this stitch, you can use it for other fun projects, like coasters, placemats, or even small pouches.
Free Halloween Bag Crochet Pattern for Treats and Candy
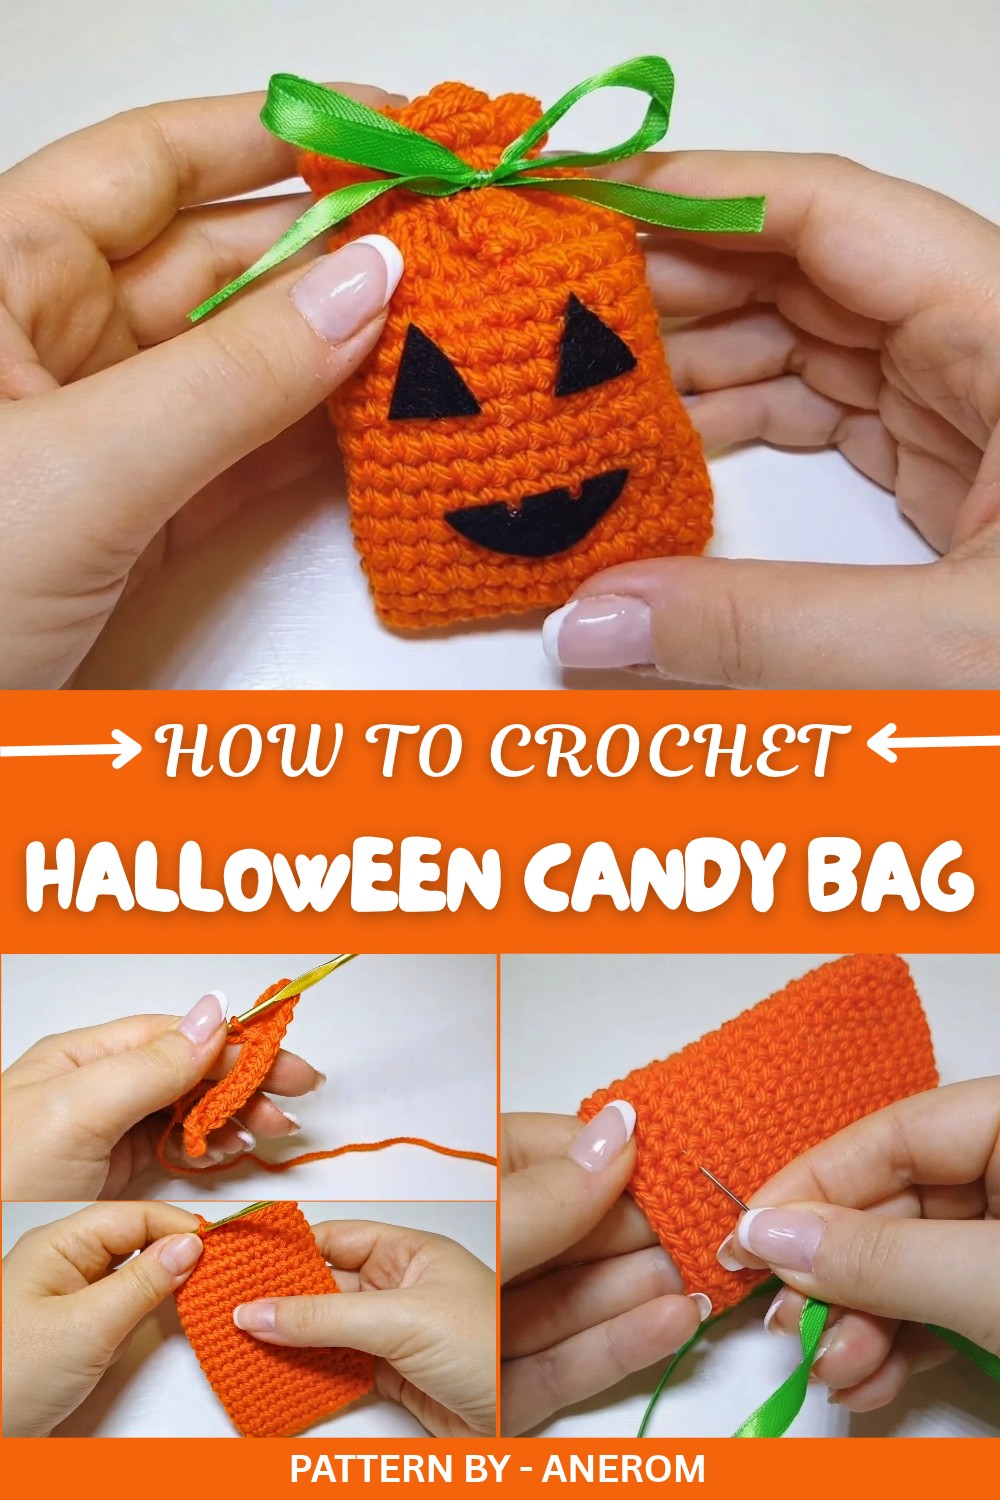
The bag itself has a round base to keep its shape, with tall, neat sides that make it look like a classic mini tote. It’s finished with a playful drawstring top, which not only holds the candy securely but also adds a pop of extra charm. You can even add decorations like a pumpkin face, ghost eyes, or anything you like using felt or embroidery.
Featured By Anerom
When it comes to uses, this bag isn’t just for Halloween. It’s wonderfully versatile and can be made in different colors for birthday parties, gift wrapping, or even as a small toy organizer. So grab some yarn, pick your favorite spooky color, and let’s make something fun. This is a project you can finish in just a couple of hours, and the result will bring so much joy to the little ones (and grown ups) in your life.
Crochet Halloween Candy Pouch Pattern
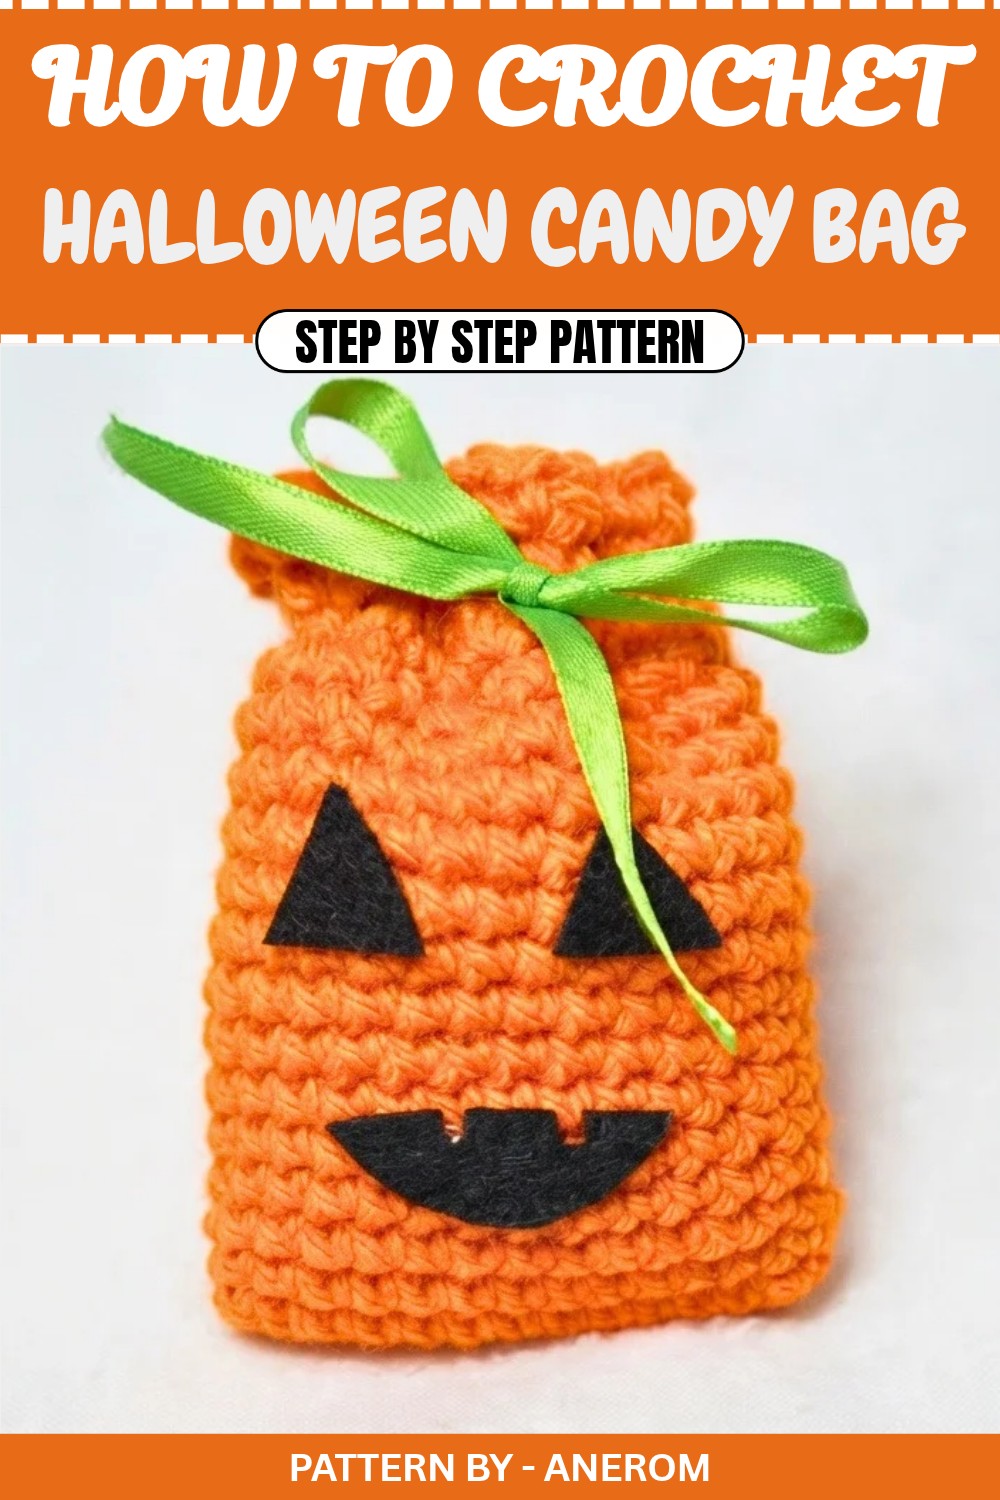
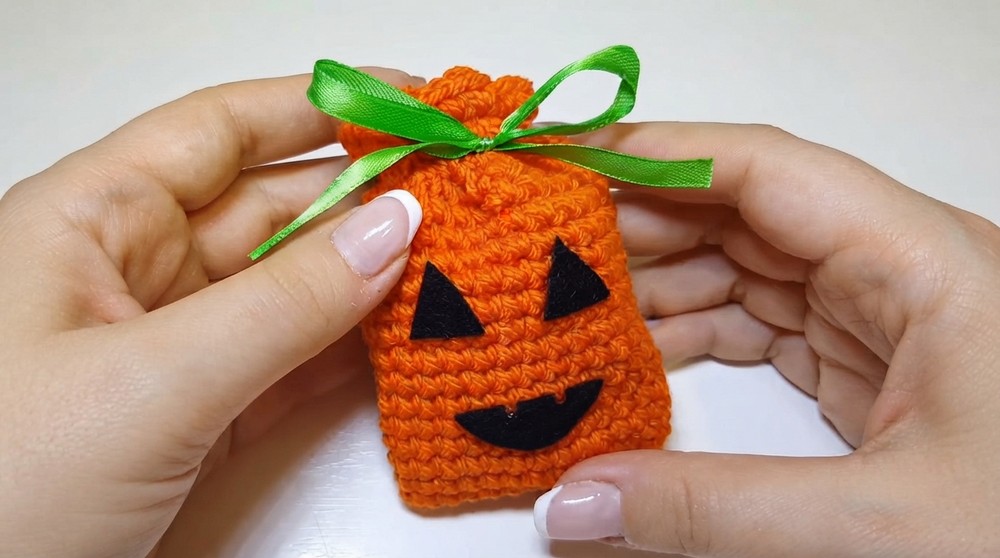
In this tutorial, you’ll learn how to create an adorable crochet candy pouch shaped like a pumpkin, complete with a jack o' lantern face. This little bag is perfect for holding Halloween treats and can be easily customized, you can even make it into other designs like a ghost by changing the yarn color and decorations. The facial features are made with black felt for added detail, making this project even faster to complete. It’s simple, adorable, and takes just a little time.
Quick Overview of Pattern
- Type: Crochet Halloween Candy Pouch
- Difficulty Level: Beginner
- Techniques Used: Chains, single crochet, working in rows, slip stitch, basic sewing for felt decorations
- Features: Pumpkin shaped pouch with felt facial details and a drawstring
Notes
- This project is worked in rows until shaping into a pouch and is completed with black felt adhesives or stitching.
- The pouch uses a green ribbon as a drawstring, threaded through the top.
- It’s a simple beginner friendly design, perfect for Halloween crochets.
Skill Level
Beginner – Perfect for those just starting with crochet. The pattern only requires knowledge of basic crochet stitches like single crochet and slip stitch.
Materials
- Yarn:
- Size 3 acrylic yarn (orange) – for the main body of the pouch.
- Green ribbon – for the drawstring.
- Hook: 2.5mm or 3.0mm crochet hook (depending on your tension).
- Felt: Black felt for the jack o’ lantern facial details.
- Glue Gun/Fabric Glue OR Needle and Thread: To attach the facial details.
- Tapestry Needle: To weave in ends.
- Scissors
- Optional: Stitch marker.
Measurements / Sizing
- Finished Size: Approximately 10 cm tall and 7 cm in diameter (depending on yarn, tension, and hook size).
Gauge
Gauge is not critical for this project since it’s decorative, but for reference:
- 10 single crochet stitches = 4 cm in width.
Stitch Abbreviations
- ch – Chain
- sc – Single Crochet
- sl st – Slip Stitch
Special Stitches
There are no special stitches required for this project. Focus on neat, even single crochet stitches to achieve the desired look.
The Crochet Pattern
Step 1: Base Foundation Chain
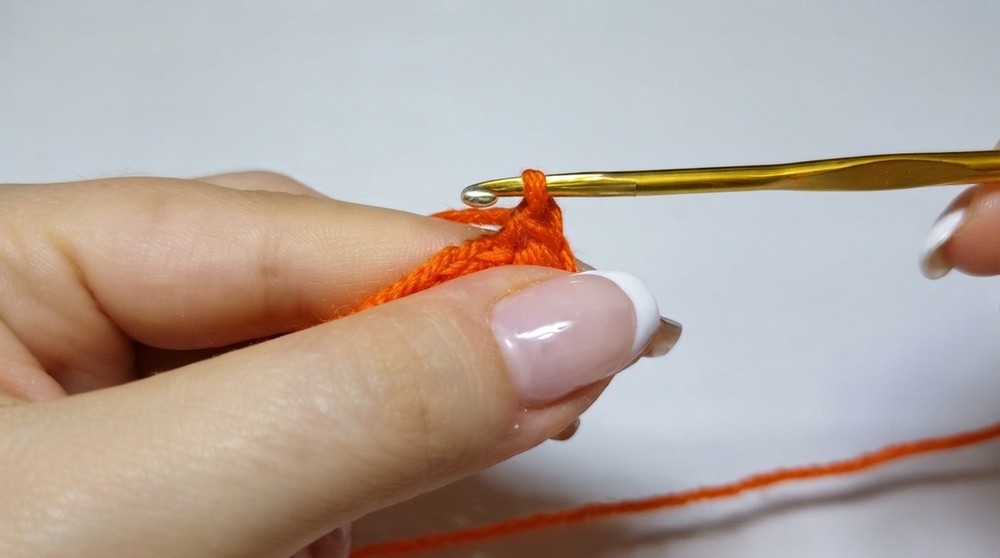
- Start with orange acrylic yarn. Create a slipknot and chain 15 stitches.
- Work backward along the chain:
- In the second chain from the hook, work 1 sc.
- Continue working 1 sc into each chain across the row. At the end of the row, you’ll have 14 sc stitches.
Step 2: Bottom and Sides of the Pouch
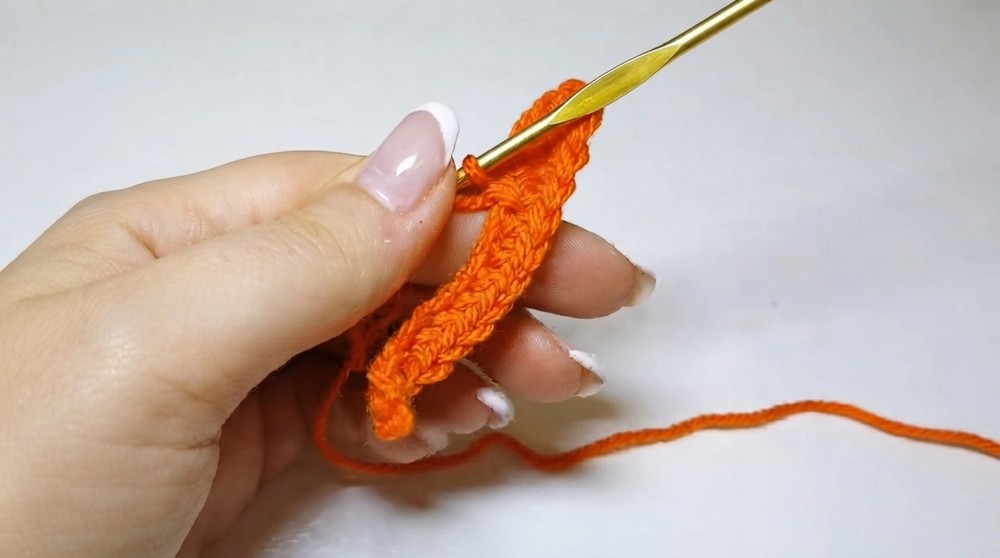
- Rotate your work to the opposite side of the chain to create a circular base.
- Begin working back along the other side of the foundation chain:
- Work 1 sc into each chain on the opposite side, covering the entire row.
- Secure the working yarn tail inside your stitches as you crochet so the end is hidden.
- Once complete, you should now have a small oval base after working single crochets on both sides of the initial chain.
Step 3: Building the Height
- Turn your work and begin creating the height of the pouch:
- Start the row with 1 sc into the first stitch. Use a stitch marker to mark the beginning of the round.
- Continue working 1 sc into each stitch around. Do not increase or decrease stitches—work in continuous rounds without joining.
- Repeat this for 17 rounds to gradually build the pouch. The sides of your work will begin to take shape and extend upward.
Step 4: Adjust the Closing Placement
- To adjust the placement of the seam (to prevent it from being too visible):
- Add a few extra sc stitches to move the seam slightly to the back of the pouch. This will keep the seam less noticeable.
- After placement adjustment, complete the round by working a sl st into the next stitch. Cut the yarn, pull through, and fasten it securely.
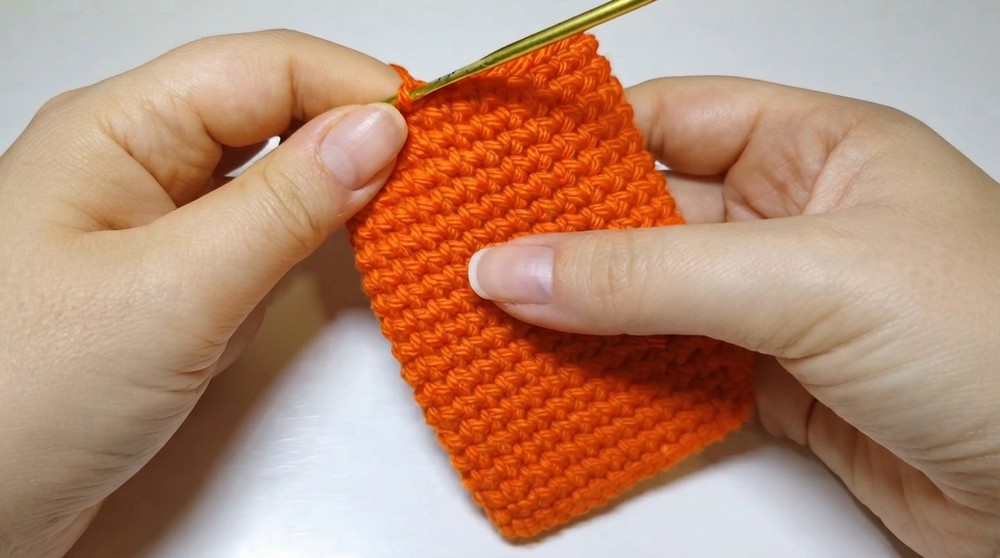
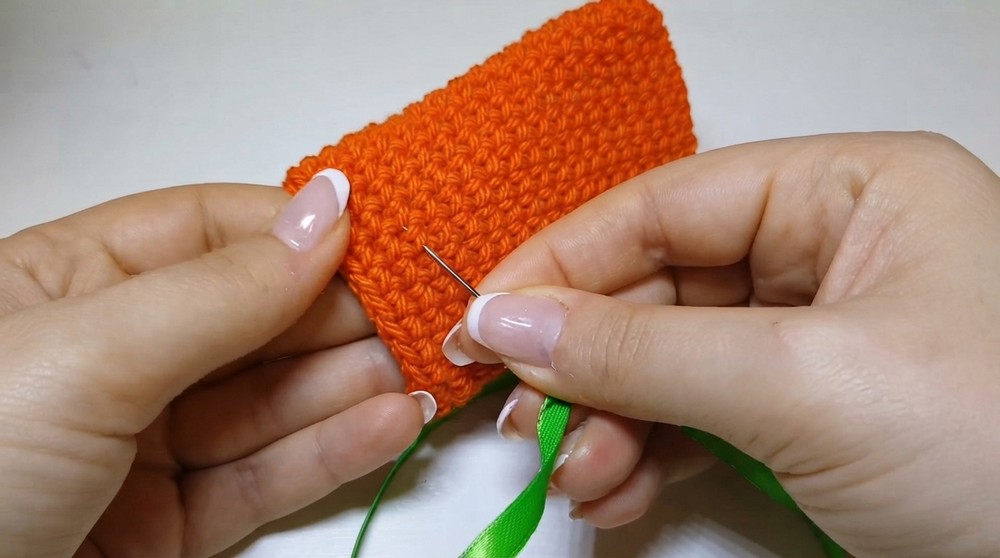
Step 5: Weaving the Ribbon for Drawstring
- Use a green ribbon for the drawstring. Thread the ribbon onto a yarn or tapestry needle.
- Locate the third row of stitches from the top and begin weaving the ribbon in an alternating "over under" pattern through the stitches.
- Ensure both ends of the ribbon meet at the front of the pouch for tying a bow.
Step 6: Adding Felt Jack o’ Lantern Face
- Cut black felt into shapes for a jack o' lantern face:
- Two small triangles for the eyes.
- One larger curved piece for the mouth.
- Use a glue gun or fabric glue to attach these pieces to the front of the pouch.
- Alternatively, you can sew them on with a needle and thread.
Step 7: Filling and Final Touches
- Fill the pouch with candies, chocolates, or small Halloween treats.
- Once filled, pull the green ribbon tightly to close the top and tie it into a bow to secure the candies inside.
Assembly & Finished Size
- Final Size: Approximately 10 cm tall and 7 cm in diameter, depending on yarn tension.
- This little candy pouch is now ready for Halloween fun! You can modify the design by using white yarn and creating a ghost face or by trying other festive color combinations.
Conclusion
Congratulations, You’ve completed your crochet Halloween candy pouch. This quick and easy project is perfect for the Halloween season and can be customized in countless ways. Use these pouches for party favors, trick or treating, or as a fun handmade gift for friends and family.