
Easy and Free Crochet Ghost Pattern for Halloween Decor
Try this free crochet ghost pattern and create a cute and fun ghost that will make any Halloween more special and festive.
Looking for a cheerful and simple project to crochet? This cute little ghost with a witch hat might be just what you need. With its adorable design and charming features like blushing cheeks, a sweet smile, and a tiny hat, this ghost is the perfect addition to your Halloween decorations. Whether you’re new to crochet or a seasoned crafter, this project is fun, quick, and easy to follow.
Inspiration From:
Anerom
The talented YouTuber Anerom shares delightful crochet tutorials that are perfect for crafters of all levels. In this video, she provides a step by step guide to create the ghost design, making it simple to follow instructions even if you’re a beginner.
Adorable Mini Ghost Crochet Pattern You’ll Want to Make
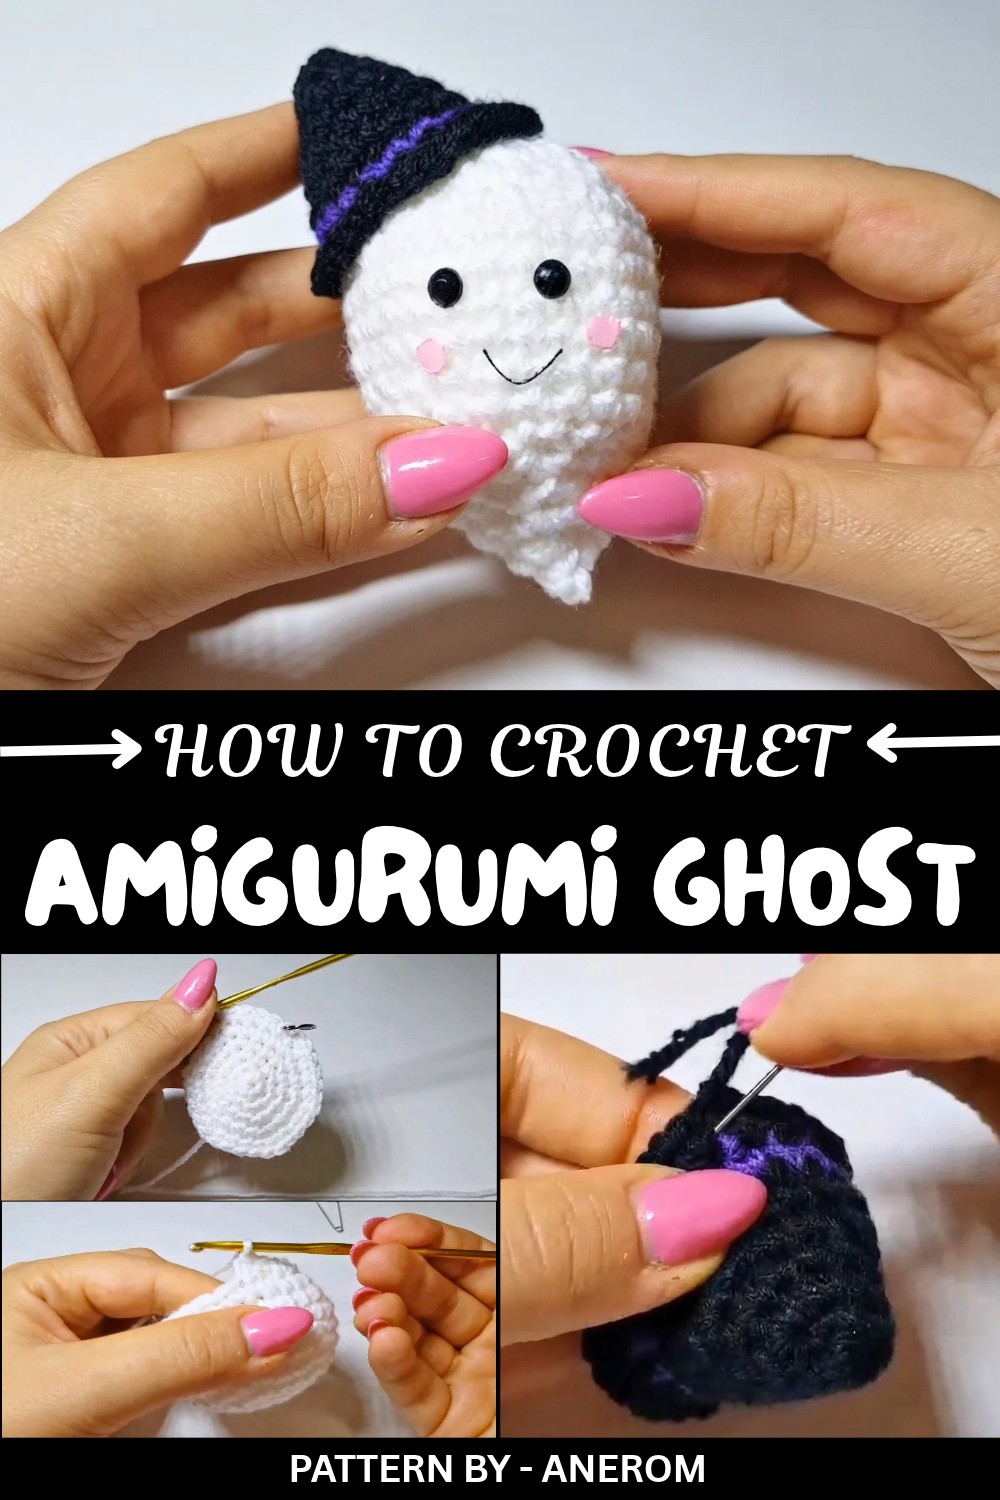
The ghost features a soft and playful shape that will surely make anyone smile. Its tiny witch hat adds a festive Halloween touch, while the option to customize details like color, size, and facial expressions lets you make it truly personal. This ghost is perfect as a holiday decoration for your home, a fun centerpiece for a Halloween party, or even as a gift for someone who loves spooky season.
The process of crocheting this ghost is beginner friendly and includes creating a magic ring, working simple stitches like single crochet, and learning basic shaping techniques such as increases and decreases. The project is small, making it quick to crochet, and it’s a great way to use up leftover yarn.
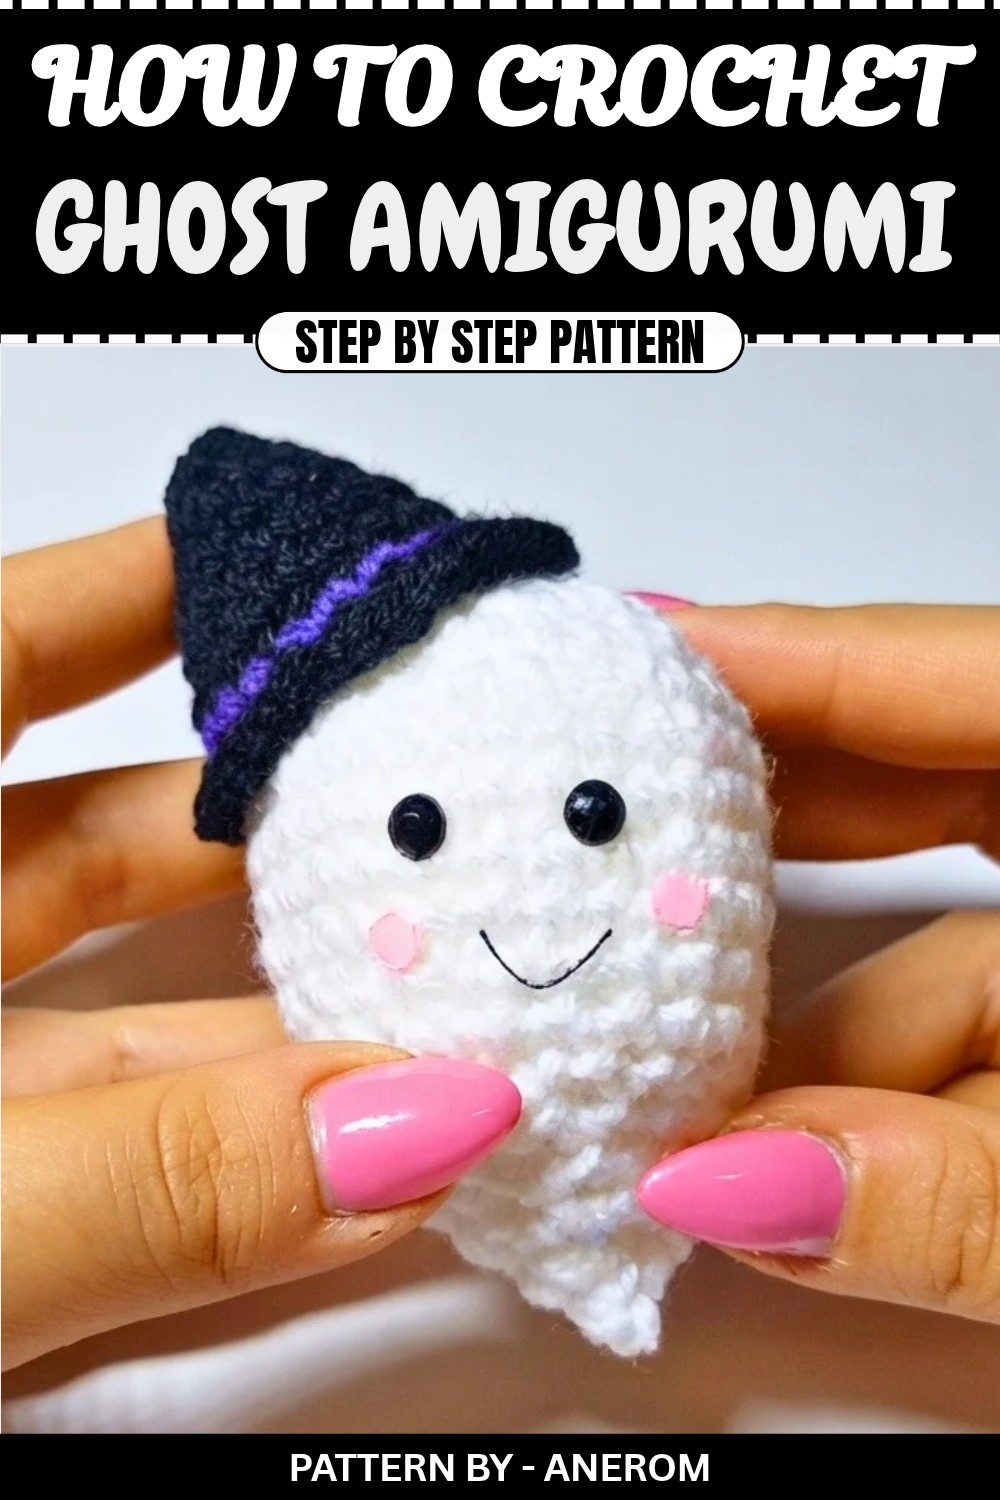
Crochet Pattern: Ghost with Witch Hat for Halloween
In this tutorial, we’re creating a super simple and fun Halloween crochet project: a tiny ghost with a witch hat. This idea is perfect for beginners and advanced crocheters alike. Follow step by step instructions to make this adorable Halloween decoration. The materials are simple, and the instructions are presented in detail to ensure anyone can complete it.
Quick Overview of Pattern
- Crochet a small ghost with a witch hat using simple stitches.
- Body is crocheted in white, and the witch hat is crocheted in black with a purple band.
- Facial details and cheeks are added with felt or embroidery.
- Made in an amigurumi style with increases and decreases for shaping.
- Perfect as a Halloween decoration or a handmade gift.
Notes
- Both the ghost's body and hat are worked in continuous rounds (spiral rounds). A stitch marker is helpful to mark the beginning of each round.
- Adjust the size of the ghost by using different yarn weights and hook sizes.
- Stuffing can be added throughout the project but is crucial before you fully close the ghost's body and minimally added to the hat to maintain its shape.
- Pay close attention to the rounds described as sequences, where a specific stitch progression is outlined.
- The hat is attached last using hot glue for a sturdy finish.
Skill Level
Beginner–Intermediate
You will need to know:
- Magic ring (MR)
- Single crochet (sc)
- Increases (2 sc in the same stitch)
- Decreases (sc2tog)
If you have basic experience with amigurumi, this pattern will work well for you.
Materials
- Yarn:
- White yarn for the ghost's body (acrylic or cotton, medium weight).
- Black yarn for the witch hat.
- Purple yarn for the hat's band.
- Crochet Hook: Size suited for your yarn (~3–3.5mm recommended).
- Stuffing/Polyfill.
- Felt material:
- Black for the eyes.
- Pink felt for cheeks.
- Embroidery thread: For the ghost’s mouth (optional, or use black felt).
- Yarn needle: For sewing in ends and finishing.
- Hot glue: For attaching the hat and decorations.
- Safety pin or stitch marker: To mark the beginning of each round.
- Scissors.
Measurements / Sizing
- Ghost: Approximately 10–12 cm (4–5 inches) tall, depending on yarn thickness and hook size.
- Hat: Fits proportionally and slightly tilts on the ghost’s head.
Gauge
Although gauge is not crucial for this amigurumi project, stitches should be tightly worked to prevent stuffing from showing through.
Example gauge:
- 10 single crochets x 12 rows = 4 x 4 cm with a 3–3.5mm crochet hook and medium weight yarn.
Stitch Abbreviations
- ch - chain
- sc - single crochet
- inc - increase (2 sc in the same stitch)
- dec - decrease (single crochet 2 stitches together)
- sl st - slip stitch
- MR - magic ring
Special Stitches
Increase (inc):
Work 2 single crochets in the same stitch.
Decrease (dec):
Combine 2 single crochets into 1 by working into the front loops of 2 stitches and pulling through all loops on the hook.
The Crochet Pattern
Ghost Body (White Yarn)
Round 1
- Start with a magic ring (MR).
- Work 6 sc into the MR.
- Pull the yarn tail to close the ring tightly.
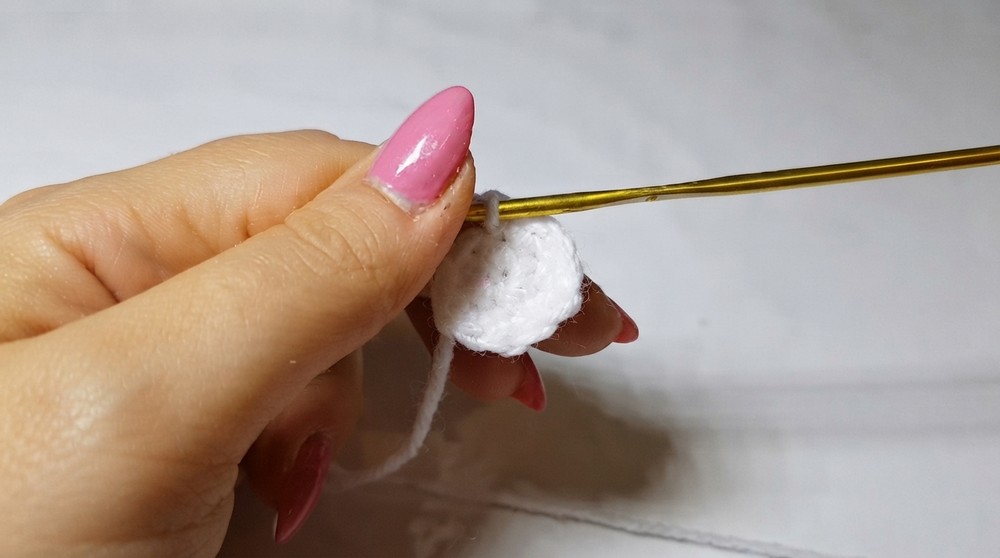
(6 stitches total)
Round 2
- In each stitch, work 1 inc (2 sc in each stitch).
(12 stitches total)
Round 3
- [1 sc, 1 inc] repeat for the entire round.
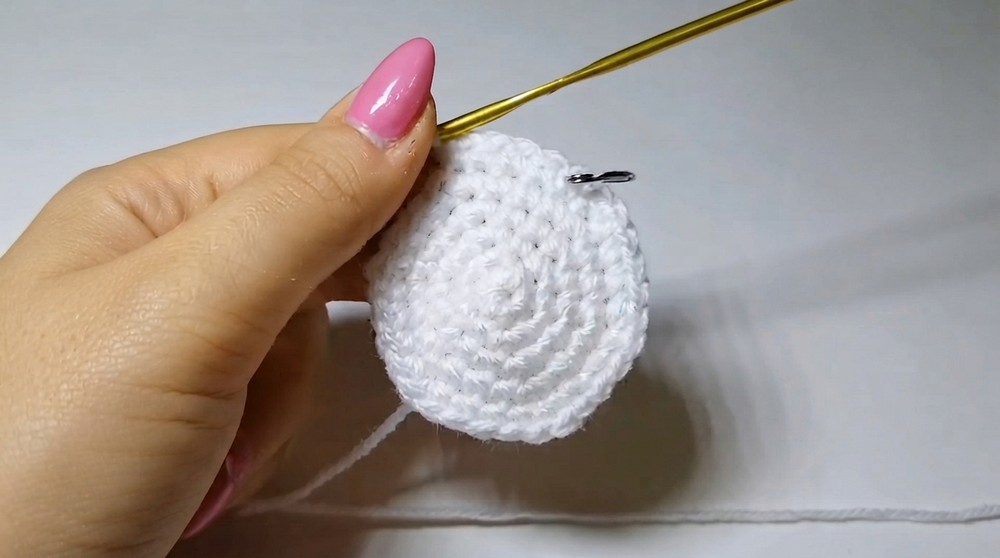
(18 stitches total)
Round 4
- [2 sc, 1 inc] repeat for the entire round.
(24 stitches total)
Round 5
- [3 sc, 1 inc] repeat for the entire round.
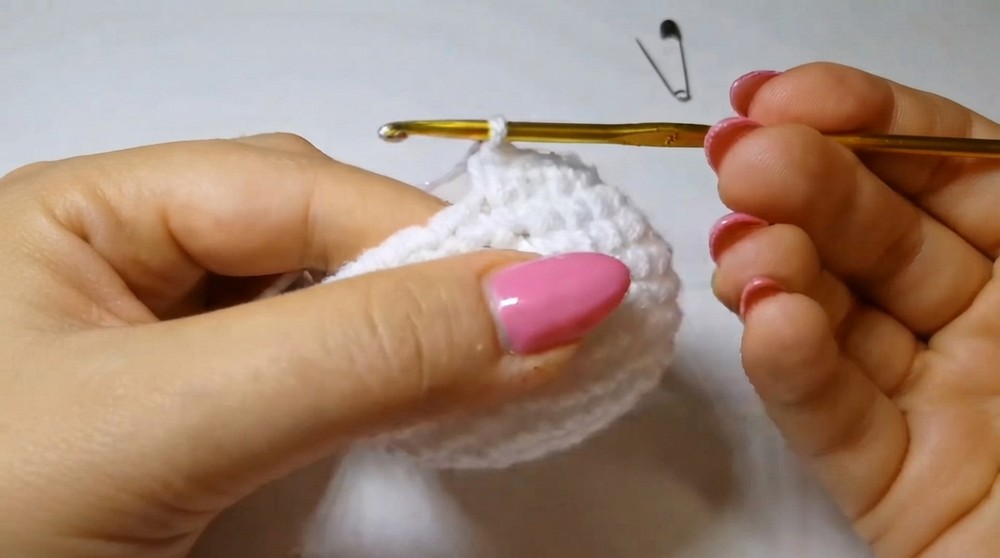
(30 stitches total)
Round 6
- [4 sc, 1 inc] repeat for the entire round.
(36 stitches total)
Rounds 7–9
- Work 1 sc in each stitch around for 3 rounds (no increases).
(36 stitches per round)
Round 10
- [4 sc, 1 dec] repeat for the entire round.
(30 stitches total)
Round 11
- Work 1 sc in each stitch around for 1 round.
(30 stitches total)
Shaping Rounds (Sequences)
Round 12 (Special Sequence)
Work the following sequence (note: no stitch marker is used here):
- 3 sc
- 1 dec
- 4 sc
- 1 dec
- 1 sc
- 1 dec
- 1 sc
- 1 dec
- 4 sc
- 1 dec
- 4 sc
Round 13
Work 1 sc in each stitch around.
Round 14 (Second Sequence)
Work the following sequence:
- 2 sc
- 1 dec
- 3 sc
- 1 dec
- 1 sc
- 1 dec
- 1 sc
- 1 dec
- 3 sc
- 1 dec
Round 15
Work 1 sc in each stitch around.
Round 16
Alternate 1 sc, 1 dec for the entire round.
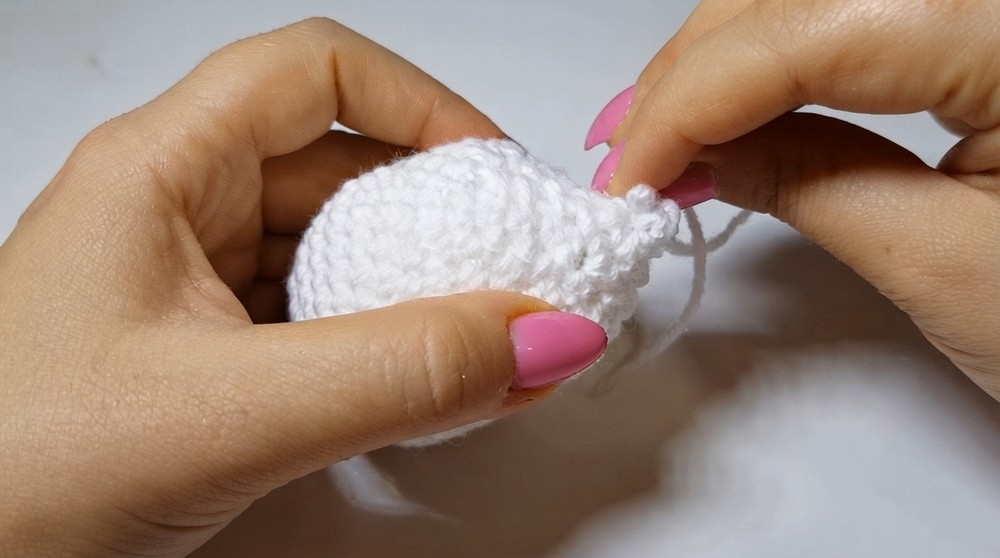
Round 17 (Closure Round)
Continue working only decreases until the top closes entirely (2–3 decreases should be enough).
Finishing:
- Cut the yarn, leaving a long tail.
- Use your needle to sew the opening shut, and weave in the ends.
Witch Hat
Round 1
- With black yarn, create a magic ring.
- Work 6 sc into the MR.
(6 stitches total)
Round 2
- Work 1 sc in each stitch around.
(6 stitches total)
Round 3
- Work 1 inc in each stitch around.
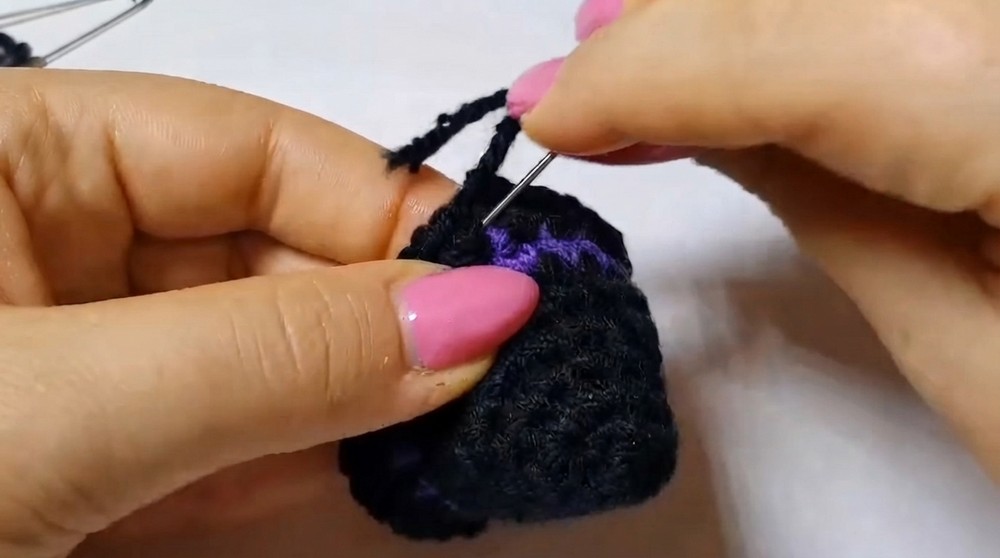
(12 stitches total)
Round 4
- Work 1 sc in each stitch around.
Adding the Purple Band
- Attach the purple yarn and work 1 sc in each stitch around.
- Fasten off the purple yarn neatly.
Finishing the Hat
Round 5
- Add black yarn and work 1 inc in each stitch to create the hat brim.
- When complete, slip stitch into the first stitch of the round. Fasten off.
- Weave in the ends securely.
Assembly & Finished Size
- Face Details:
- Attach black felt for the eyes.
- Apply pink felt circles for cheeks or embroider them lightly.
- Use embroidery thread or extra felt to create a simple, curved smile.
- Stuffing the Hat:
- Add a small amount of stuffing to the hat to maintain its shape.
- Attaching the Witch Hat:
- Use hot glue to attach the hat to the top or side of the ghost's head for a tilted look.
The finished ghost is approximately 12–14 cm tall and is perfect for Halloween decor.
Conclusion
Your adorable ghost with a tiny witch hat is complete. This pattern is beginner-friendly and a joy to create. It makes a perfect Halloween decoration or a sweet handmade gift for loved ones.