
Free Crochet Rose Earrings Pattern for Trendy Accessories
Make quick crochet rose earrings with this easy free pattern, great for adding a pop of color to your outfits or gifting handmade pieces to friends.
The delicate rose earrings are a charming addition to your accessory collection, offering elegance and versatility in every stitch. Shared by Anerom, this pattern brings a fresh yet simple approach to creating beautiful pieces with ease. The earrings feature a soft, petal shaped design that naturally curls into an eye catching spiral, making them perfect for enhancing your look or adding a touch of personality to your outfits.
These earrings aren’t just for accessorizing, they make stunning pendants, appliqués for clothing, or even decorations for scarves and necklines. The design allows for endless customization; you can play with different colors, embellish them with rhinestones or pearls, and adjust their size to suit your needs. The lightweight finish, thanks to fine cotton yarn, ensures they’re comfortable to wear and elegant in style.
Quick & Easy Crochet Rose Earrings: Free Step by Step Guide
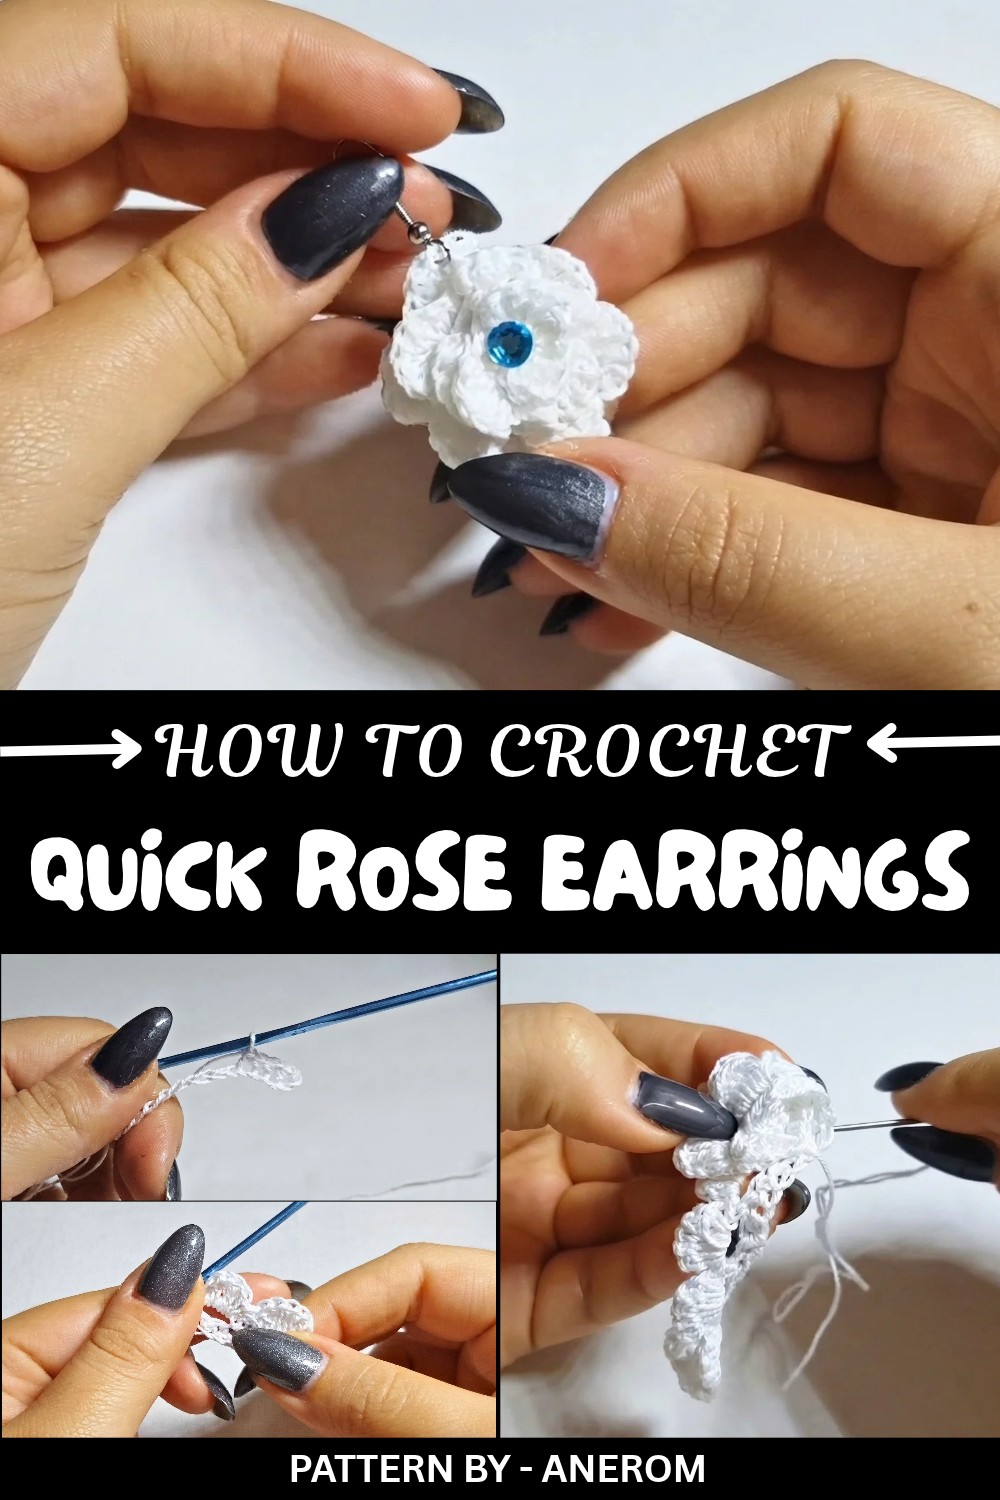
The process to create these earrings is straightforward. It begins with a chain foundation followed by simple single crochets and loops to build the rose’s structure. Double crochets form the soft layers of the petals, which are then shaped into a spiral to bring the rose to life. For those who enjoy crisp, neat finishes, you can stiffen the rose using clear nail polish or diluted glue, giving it the durability needed for earrings or other decorative uses.
These elegant rose earrings are not only simple to make but also versatile and visually stunning. Whether you’re a beginner or an experienced crocheter, this project is the perfect way to enjoy crafting while achieving stylish, handmade results for any occasion.
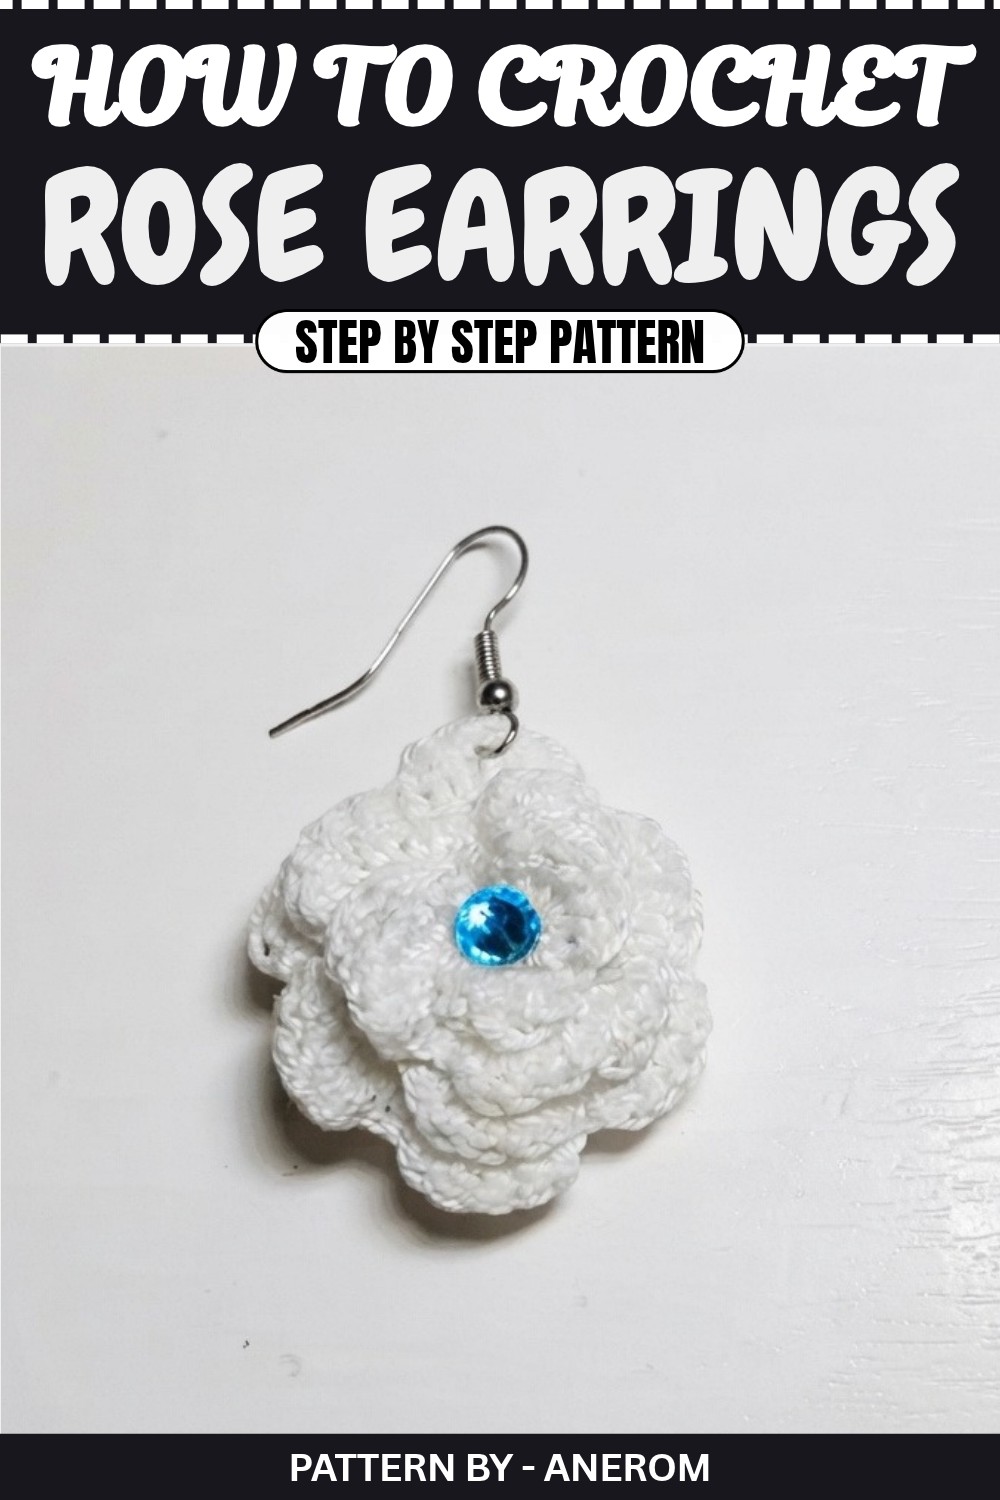
Crochet Rose Earrings Pattern
This pattern walks you through the creation of a delicate cotton rose, which can be used as an earring, pendant, or applique. Using a simple crochet technique, you'll make this beautiful flower step by step. The project is quick and easy, making it perfect for crafters of all levels. The tutorial uses fine cotton yarn, but you can adjust the yarn and hook size to customize the rose's look and size.
Quick Overview of the Pattern
- Make a foundation chain of 50 stitches.
- Work single crochet stitches into the chain.
- Create decorative arches with chains and spacing.
- Crochet petals in each arch, forming the rose's shape.
- Roll the rose and secure it with stitching.
- Stiffen the rose using clear nail polish or diluted glue for added structure.
Notes
- You can customize the color of the rose based on your preferences—white is used in this tutorial.
- Fine cotton yarn is recommended to preserve the delicate look of the rose.
- Once finished, the rose can be stiffened using clear nail polish or diluted white glue for durability.
Skill Level
Beginner to Intermediate – Simple techniques like single crochet, chain stitches, and double crochet are used.
Materials
- Yarn: 100% fine cotton, white (or any color of your choice).
- Hook: Thin crochet hook suitable for the yarn thickness.
- Needles: Sewing needle to secure the rose.
- Accessories: Jump rings or earring findings for assembly.
- Optional: Clear nail polish or diluted glue for stiffening.
- Additional Decoration: Rhinestones, pearls, or beads for embellishment.
Measurements / Sizing
The final rose measures approximately 3 cm in diameter depending on yarn weight and tension.
Gauge
Gauge is not critical for this pattern. Work with thin yarn and a small hook for finer details.
Stitch Abbreviations
- ch: Chain
- sc: Single Crochet
- dc: Double Crochet
- sl st: Slip Stitch
Special Stitches
No special stitches are needed for this pattern.
The Crochet Pattern
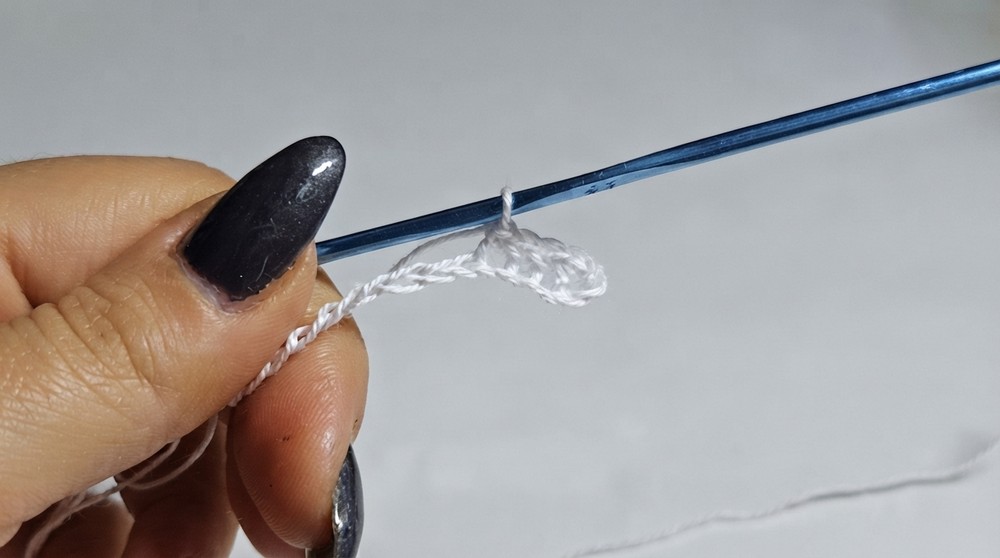
1. Foundation Chain
- Begin by making a slip knot.
- Crochet 50 chain stitches (ch).
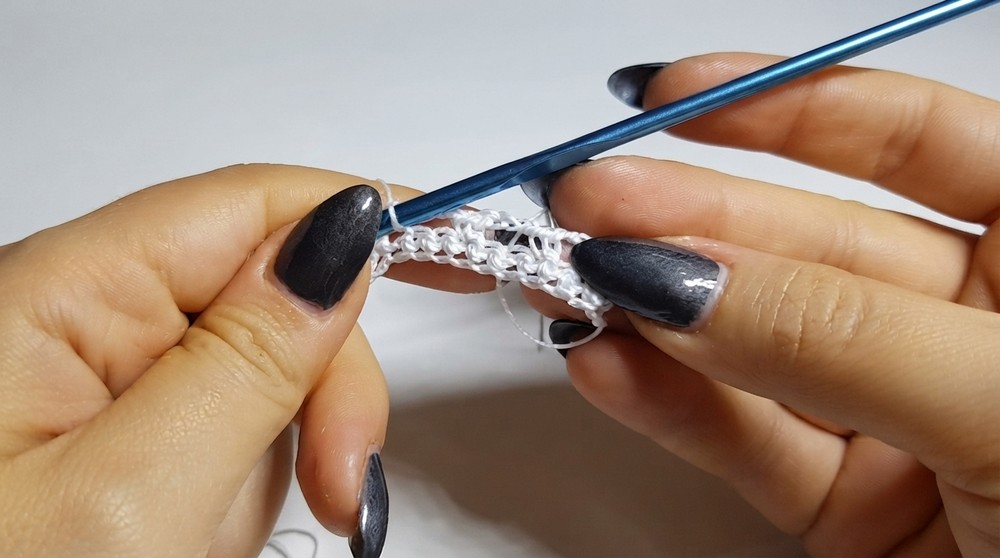
2. First Row – Single Crochet
- Insert your hook into the first chain, and make 1 sc.
- Continue making 1 sc in each chain across the row.
- By the end of this step, you will have a row of single crochet stitches.
3. Decorative Arches
- Create 5 chains (ch).
- Skip 2 single crochet stitches and insert the hook into the third stitch.
- Make 1 sc.
- Repeat: ch 3, skip 2 sc, make 1 sc in the third stitch. Continue across the row; this forms the decorative arches.
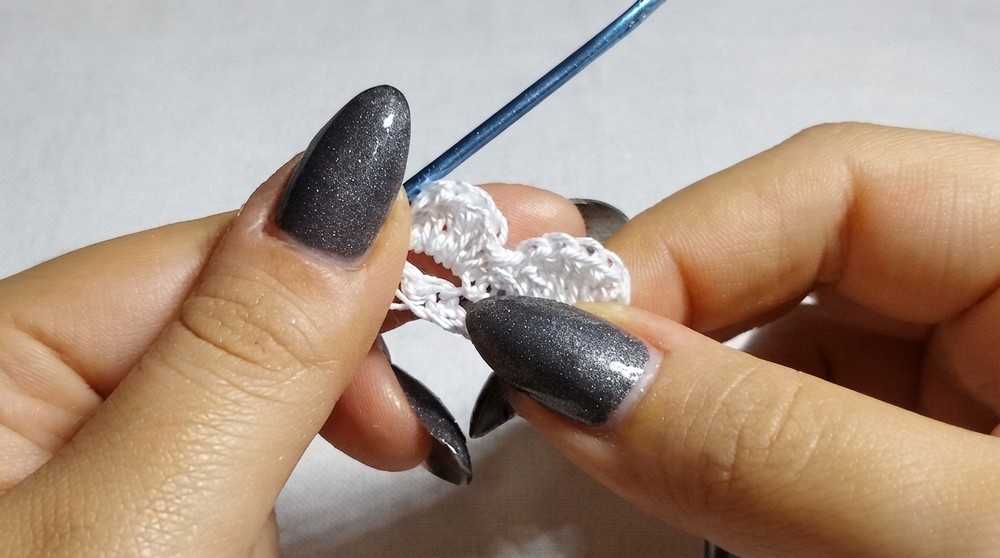
4. Turning and Setting Arches
- At the end of the row, make 1 ch, then turn your work.
- Work into the decorative arches only (the spaces created by the chains).
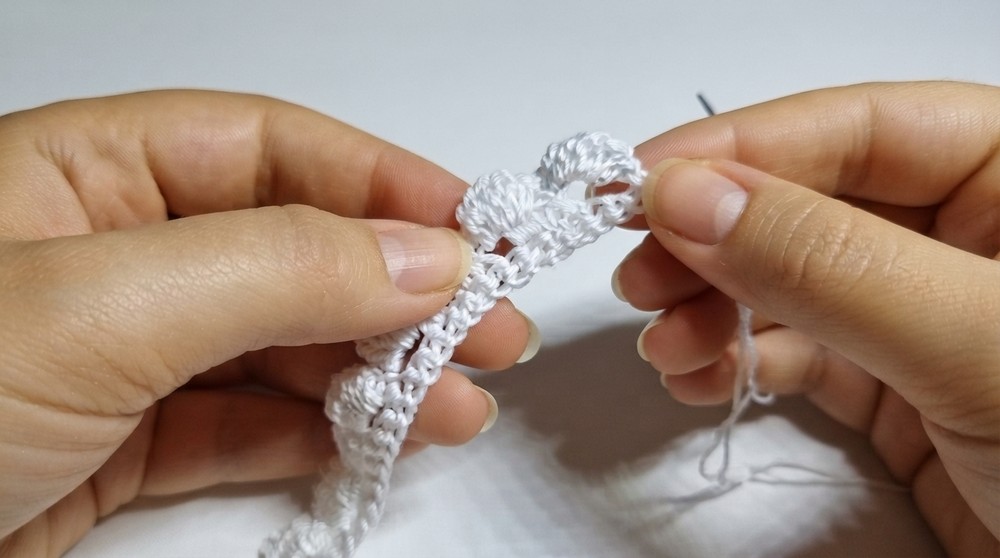
5. Petals in Arches
- Begin in the first arch:
- Make 1 sc, followed by 5 dc, then another sc. This completes the first petal.
- Repeat for each arch:
- Into the arch: 1 sc, 5 dc, and 1 sc.
- Continue until all arches are filled with petals.
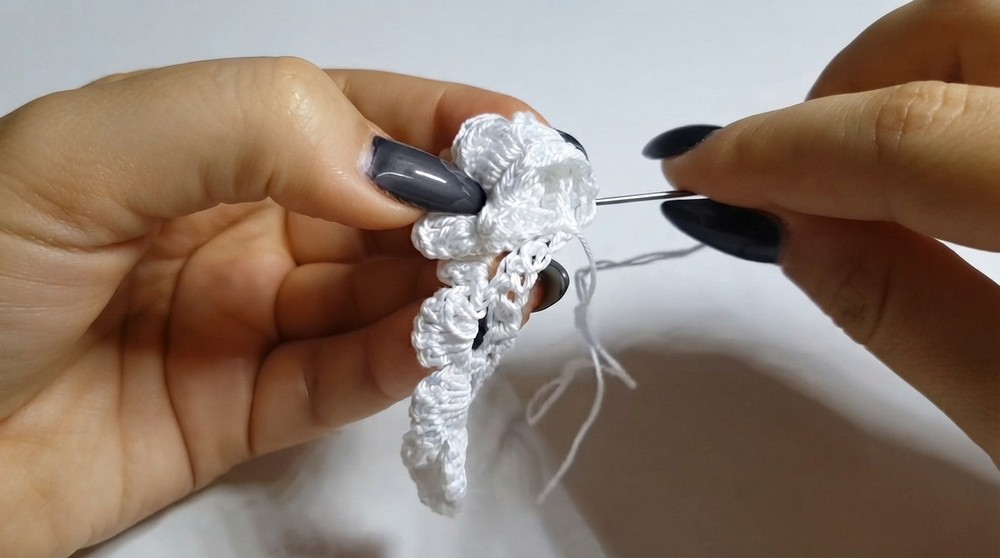
6. Closing the Last Arch
- In the final arch, instead of making a single crochet to finish, make a sl st to securely end the row.
Assembly & Finished Size
1. Rolling the Flower
- After finishing the petals, roll the piece from one end to another to form the shape of a rose.
- Secure the rose by stitching it with the sewing needle. Add small stitches around the base as you roll to make it secure.
2. Stiffening the Rose
- Use clear nail polish to coat each petal, ensuring the rose holds its shape. If you don’t have nail polish, dilute white glue with a small amount of water and apply it.
- Let the rose sit and dry completely.
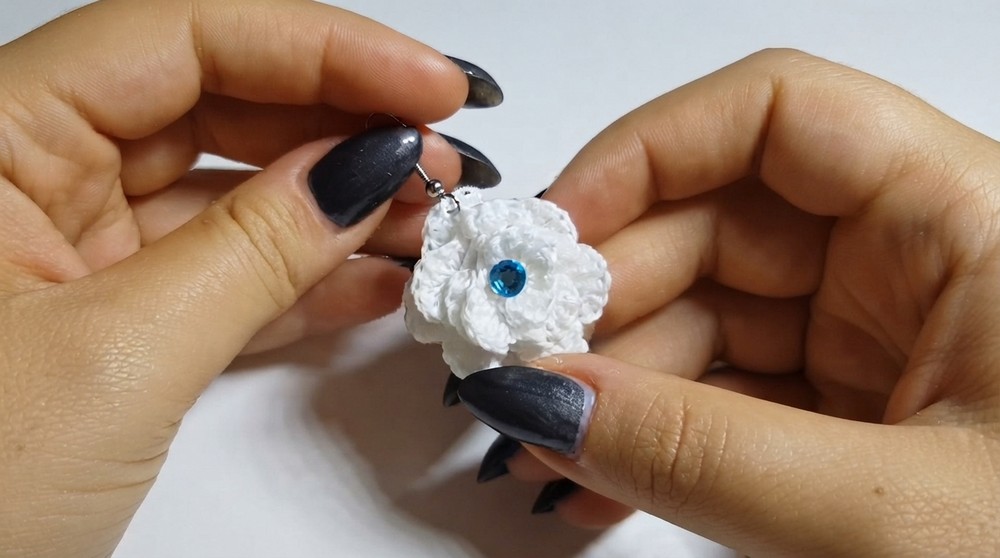
3. Adding Accessories
- Attach an earring hook to the base of the rose, making it an elegant accessory.
- Alternatively, add a jump ring and chain to convert it into a pendant.
Conclusion
This delicate crochet rose is both versatile and simple to create. Whether you use it as an earring, a pendant, or a decorative applique, it brings elegant charm to any project. The pattern is quick to complete and customizable, making it perfect for a fun, creative afternoon.