
Free and Fun Crochet Mouse Pattern for Toy Enthusiasts
Bring happiness to your crochet hooks with this free pattern to create a super cute mouse that’s playful, adorable, and a joy to make.
Tiny colorful mice with playful expressions and an irresistible charm, these little creations are sure to steal the spotlight wherever they go. Whether perched on a shelf, dangling from a set of keys, or peeking out of a gift bag as a surprise add on, they pack personality into every stitch. Experimenting with bright colors or classic shades like gray allows you to make each mouse as unique or traditional as you prefer. Their cheerful vibe makes them a delightful addition to any space or occasion.
Crochet This Adorable Mouse with a Free Amigurumi Pattern
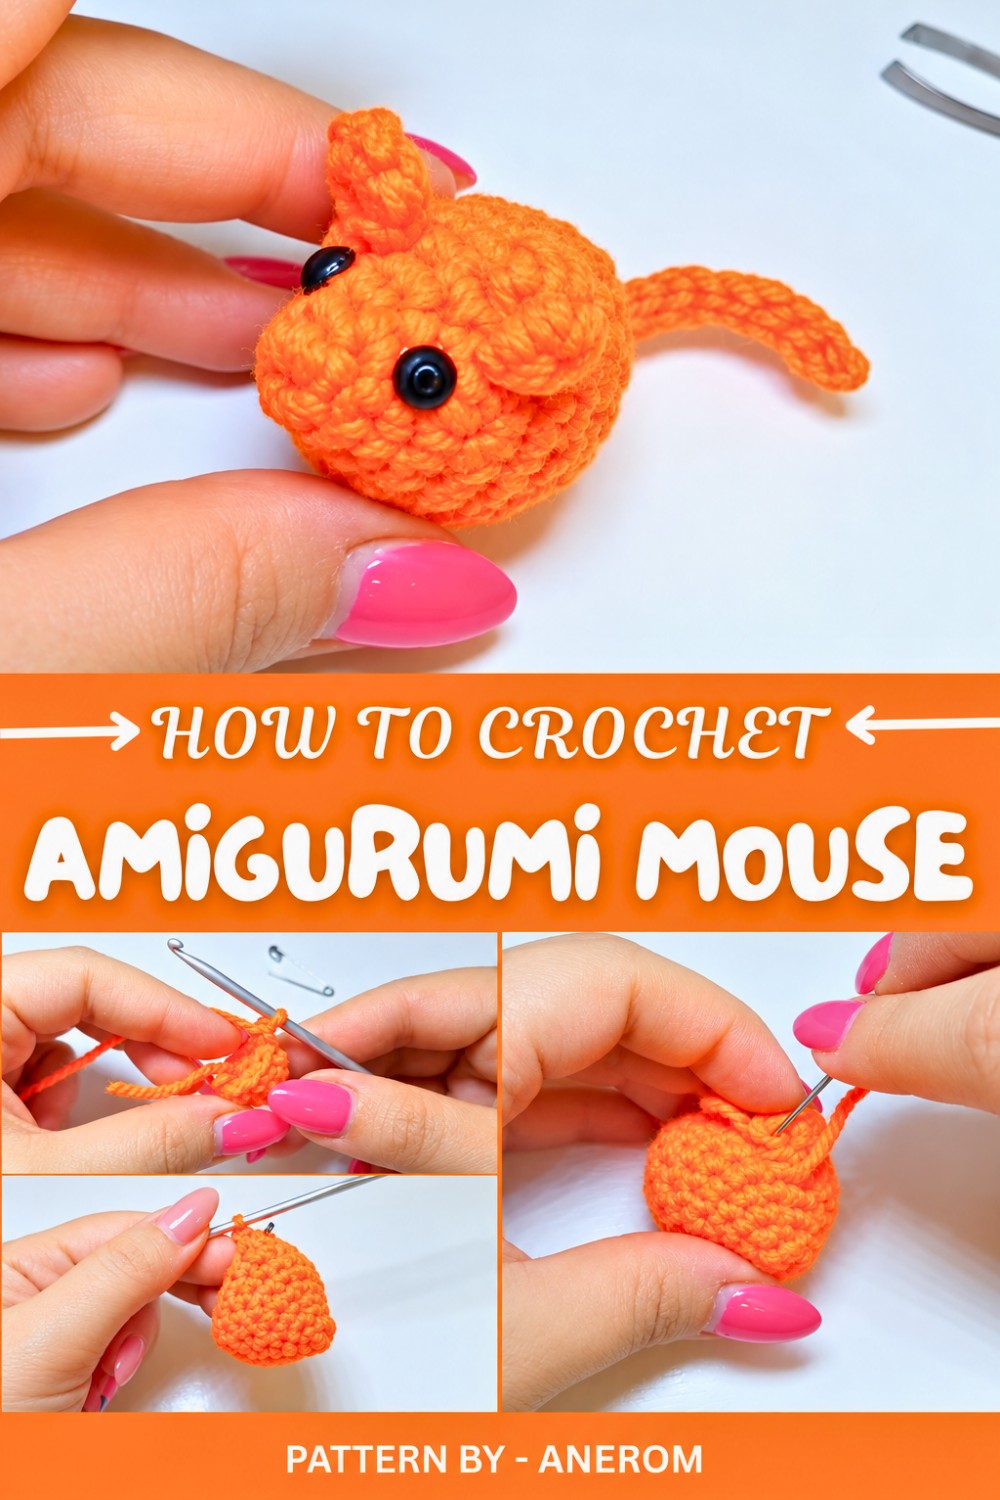
Pattern By Anerom
From the channel Anerom comes this easy to follow guide for making these charming crochet mice. There's something magical about the way slight adjustments, like the placement of ears, can give each mouse its own personality, from mischievous to adorable. The instructions guide you through each step effortlessly, ensuring that even those new to crochet can bring these little friends to life.
What really sets these little mice apart are the pearl bead eyes, which lend a whimsical yet lifelike touch, further enhancing their charm. Small enough to fit snugly in your hand but packed with detail, these mice are an absolute joy to create. With the thoughtful guidance of Anerom’s tips and tricks, you’ll be stitching up these tiny companions in no time. It’s more than a project, it’s the start of a collection full of charm and character.
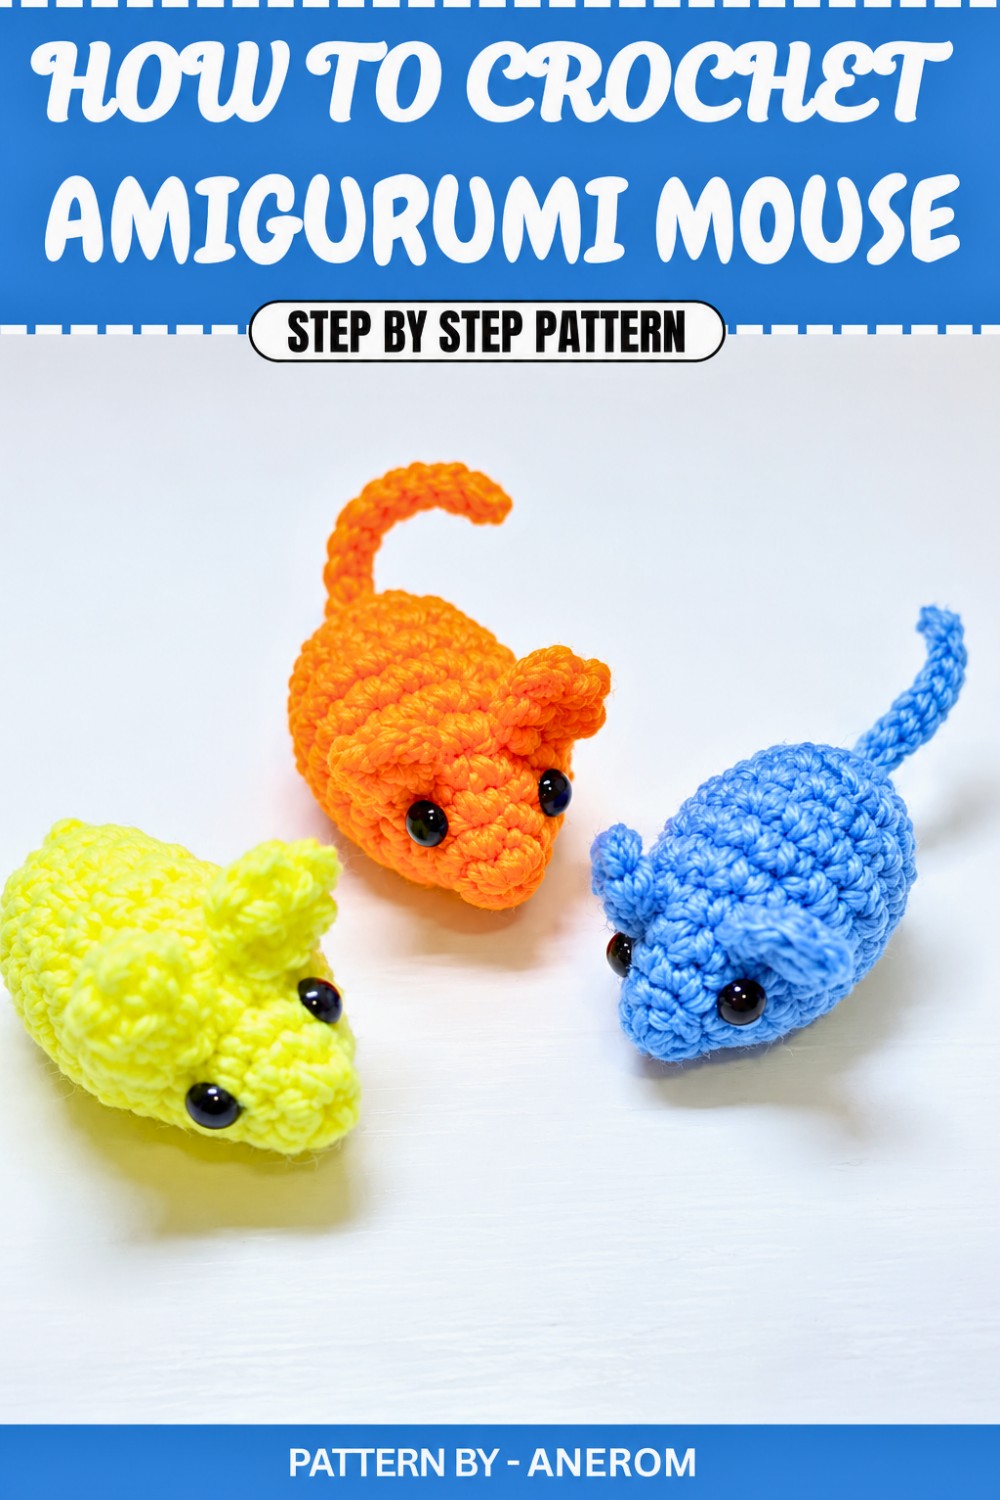
Crochet Pattern: Adorable Amigurumi Mouse
In this tutorial, you will learn how to crochet a super cute mouse (topolino) using an easy-to-follow amigurumi pattern. This project is perfect for beginners and experienced crocheters alike. Whether you customize your mice with different colors or choose the classic gray, these charming little creatures will put a smile on anyone’s face. They’re quick, fun to create, and can be perfect gifts or decorations.
Quick Overview of Pattern
- Project Type: Crochet amigurumi mouse.
- Skill Level: Beginner-friendly.
- Uses: Keychains, toys, ornaments, or gifts.
- Features: Customizable body, ears, tail, and cute detailing with optional bead eyes.
- Customization Options: Use any color combination, change the size by experimenting with different yarn weights, and add embellishments for personalization.
Notes
- This crochet pattern is worked in the round. Use a stitch marker to mark the beginning of each round.
- The mouse can be customized with different ear placement (closer or farther apart) for varied looks.
- Beads are used for eyes, but you can embroider them if making this toy for small children.
- Be mindful of tension—working too tightly will lead to stiffness, while working too loosely may give inconsistent stitches.
Skill Level
Beginner-Friendly – This pattern involves single crochet stitches, increases, and decreases, making it a great project for beginners.
Materials
- Yarn:
- Acrylic yarn, weight 3 (in your choice of colors – gray, or bright colors for variety).
- Hook:
- 3.0 mm crochet hook.
- Other Supplies:
- Small amount of fiberfill stuffing.
- Black half-beads or safety eyes for the eyes.
- Tapestry needle.
- Fabric glue or hot glue (for attaching beads).
- Scissors.
- Stitch marker or safety pin.
Measurements / Sizing
- The finished mouse is approximately 6–8 cm tall and 4–5 cm wide, depending on yarn and tension.
Gauge
Exact gauge is not crucial for this pattern. Ensure your stitches are tight enough so there are no gaps in the fabric once stuffed.
Stitch Abbreviations (US Terms)
- ch – Chain
- sc – Single crochet
- sc inc – Single crochet increase (2 sc in the same stitch)
- sc dec – Single crochet decrease (decrease over 2 stitches)
- sl st – Slip stitch
Special Stitches
None. All stitches used are basic and beginner-friendly.
The Crochet Pattern
Step 1: Mouse Body
Round 1:
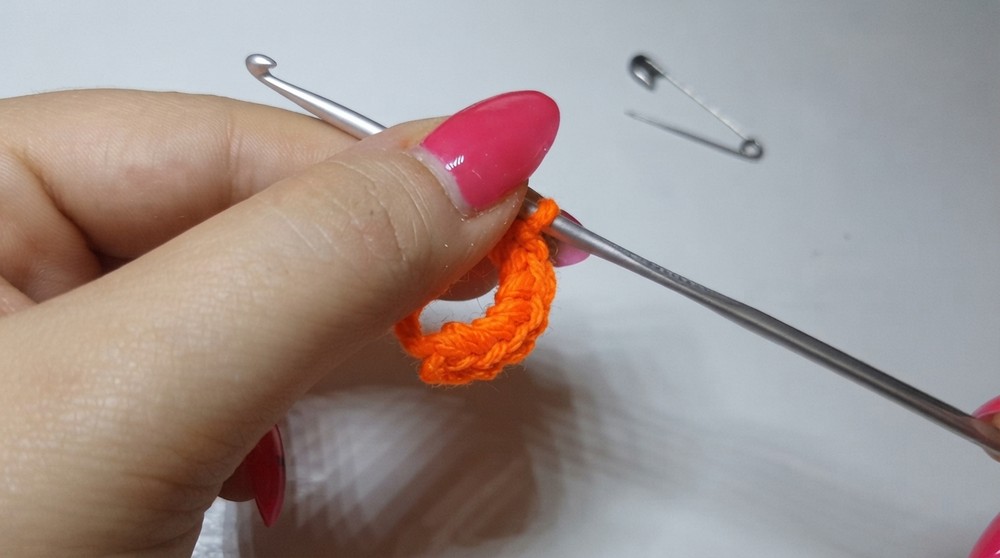
- Create a magic ring.
- Work 6 sc into the magic ring.
- Pull the tail tight to close the ring.
- [6 sc]
Round 2:
- Work 1 sc into each stitch around.
- [6 sc]
Round 3:
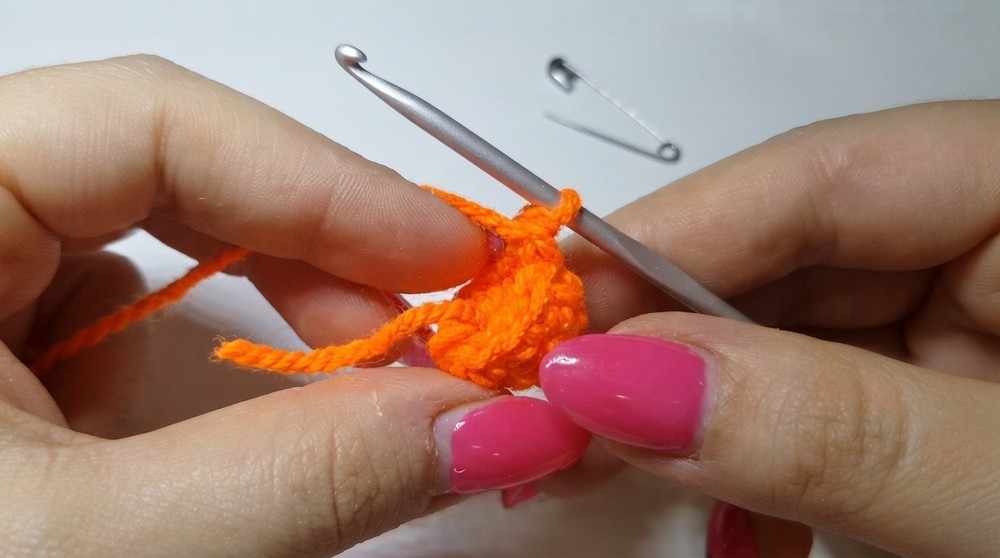
- Work 1 sc inc into each stitch around.
- [12 sc]
Round 4:
- Work 1 sc, then sc inc; repeat around.
- [18 sc]
Round 5:
- Work 1 sc into each stitch around.
- [18 sc]
Round 6:
- Work 1 sc, 1 sc inc, 1 sc, 1 sc; repeat around.
- [24 sc]
Rounds 7–9:
- Work 1 sc into each stitch around (no increases).
- [24 sc]
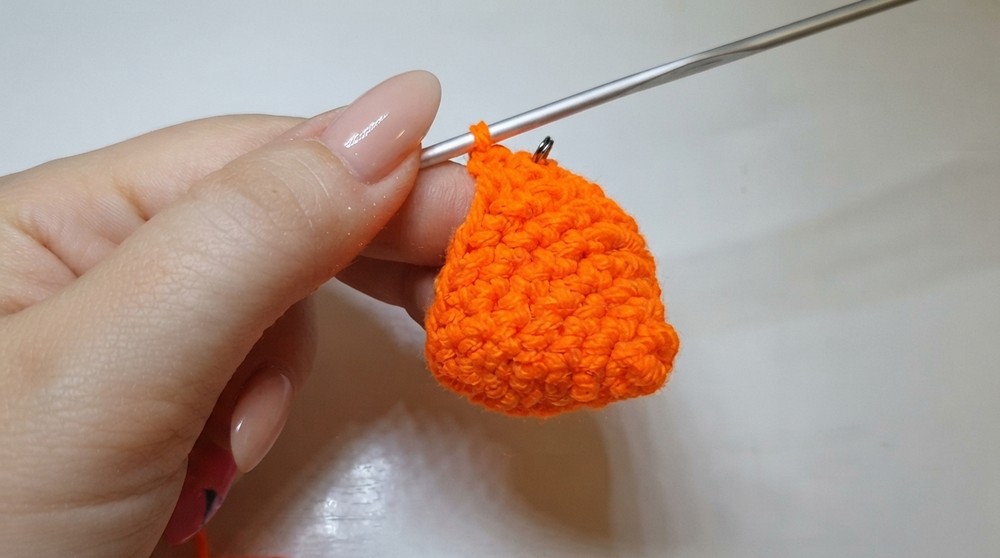
Round 10:
- Work 1 sc, sc dec; repeat around.
- [18 sc]
Round 11:
- Work 1 sc into each stitch around.
- [18 sc]
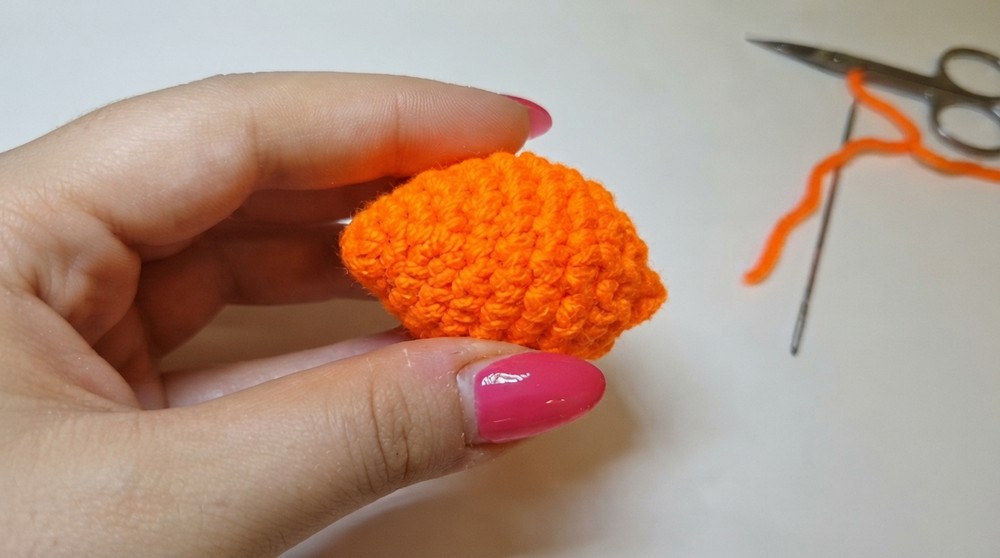
Round 12:
- Lightly stuff the body with fiberfill to your desired firmness.
- Work 6 sc dec consecutively until the opening is fully closed.
- Leave a long tail for sewing, then secure and weave in the end.
Step 2: Ears
Round 1:
- With the yarn of your choice (matching or contrasting color), create a magic ring.
- Work 6 sc into the ring, then pull the tail to close.
Round 2:
- Continue with 1 sc into each stitch around.
- Cut the yarn, leaving a long tail for sewing.
- Weave in the starting tail.
- Repeat these steps to create a second ear.
Step 3: Tail
- Create a slip knot to begin.
- Chain 10 stitches.
- Start from the second chain from the hook and work 1 sl st into each chain going back to the start.
- Leave a long tail for sewing and cut the yarn.
Assembly & Finishing Touches
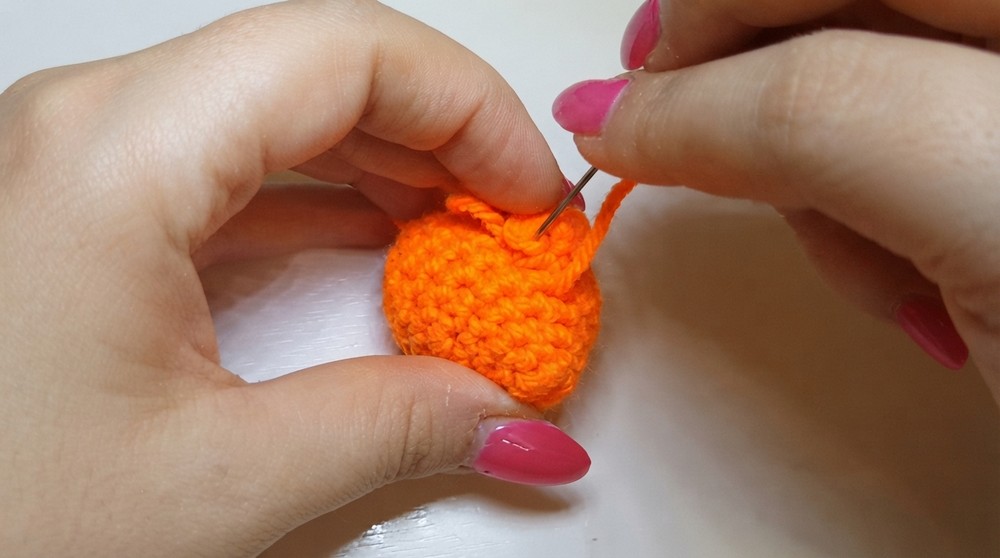
- Attach the Ears:
- Using a tapestry needle and the long yarn tail of each ear, decide the placement of the ears on top of the mouse’s head.
- Stitch them securely to the body, either close together or farther apart depending on your preference.
- Weave in any loose ends and cut off excess yarn.
- Attach the Tail:
- Use the long yarn tail from the tail piece to sew it onto the base of the mouse's body.
- Stitch tightly and weave in all loose ends to secure it in place.
- Add the Eyes:
- Attach the half-beads or safety eyes with glue (or sew in place).
- If you’re using glue, allow it to dry completely before handling.
- Optional Cheeks and Nose:
- Add some pink felt circles for cheeks using glue.
- You may also use a black thread to stitch a simple nose and mouth.
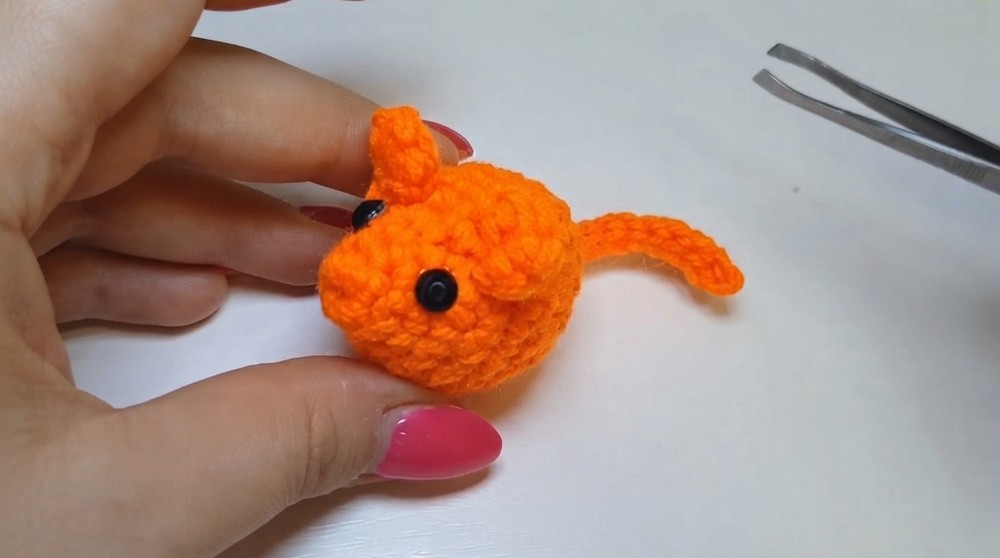
Finished Size
Your adorable amigurumi mouse is now complete! Each little mouse will be approximately 6–8 cm long. Make a whole family of colorful mice, or experiment with different yarns to create unique little critters.
Conclusion and Ending Words
Congratulations! You’ve successfully crocheted an adorable amigurumi mouse. Whether you make one or a dozen, these little mice are guaranteed to add charm and fun to any surroundings. Create a colorful collection to match your favorite themes or gift them to friends and family. Remember, with just a few simple stitches and a touch of creativity, you can make these mini mice magical.