
Free Crochet Pattern for the Cutest Little Hat Ever
Right as the first snow falls try a Free Handmade Crochet Little Hat Pattern since you can make adorable mini beanies to hang on your holiday tree.
Have you ever looked at something so adorable that it instantly made you smile? Like a tiny hat with a colorful ribbon wrapped around it, perfectly shaped, almost like it belongs in a dreamy little dollhouse world. That’s exactly the kind of charm this tiny hat brings to life. You can picture it sitting pretty as part of a party favor, a thoughtful gift, or even a decorative add on to brighten your space. And the best part? It’s not just cute, it’s functional enough to become a heartfelt keepsake for someone special.
On the incredible YouTube channel Anerom, this sweet little project is brought to life in the most effortless way possible. With a clear and beginner friendly approach, This pattern shows every detail, from creating the base with simple stitches to adding an elegant scalloped border to give the hat a unique flair. But the magic doesn’t end there, what truly sets this apart is the fun technique of stiffening the hat. With a little clear nail polish or diluted glue, you can turn your soft little masterpiece into a sturdy decorative piece that stands proudly.
Free Crochet Little Hat Pattern You’ll Fall in Love With
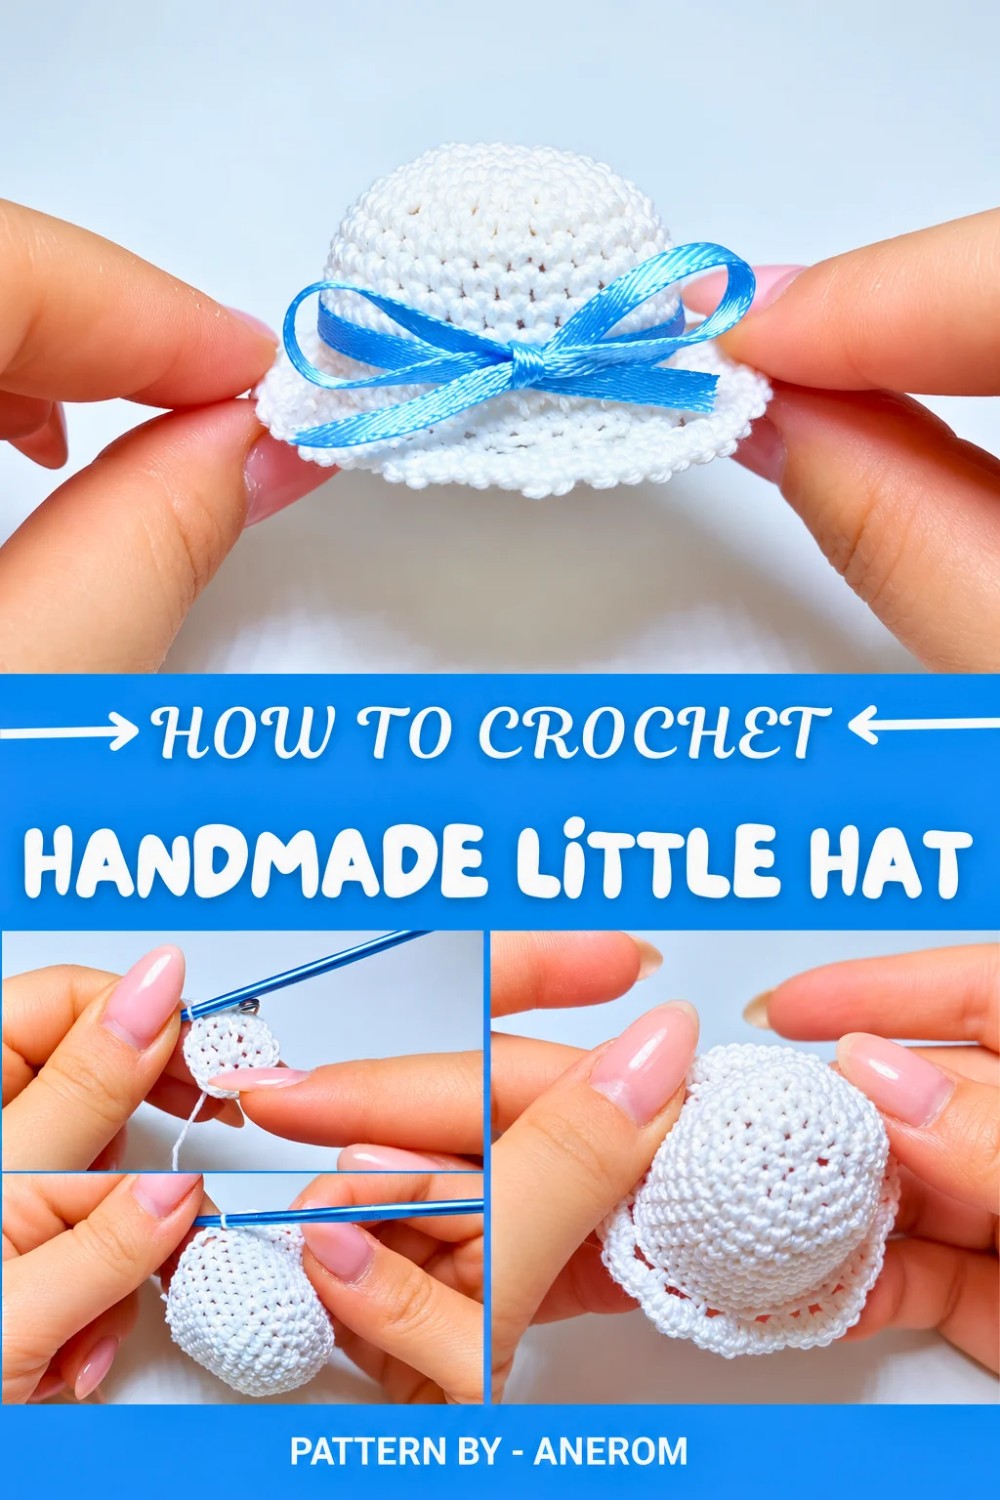
Once you’ve mastered this charming piece, you might feel inspired to make similar creations for special events. Think cute baby shower accents, wedding favors, or even miniature hanging ornaments for your next holiday celebrations. Adding a ribbon in matching colors makes it completely customizable and extra special. It’s a project for all ages and skill levels, and whether you're starting out or already hooked on small handmade treasures, you’ll love the joy it brings. Thinking of something heartfelt yet easy to gift? Let this tiny hat be your cheerful answer.
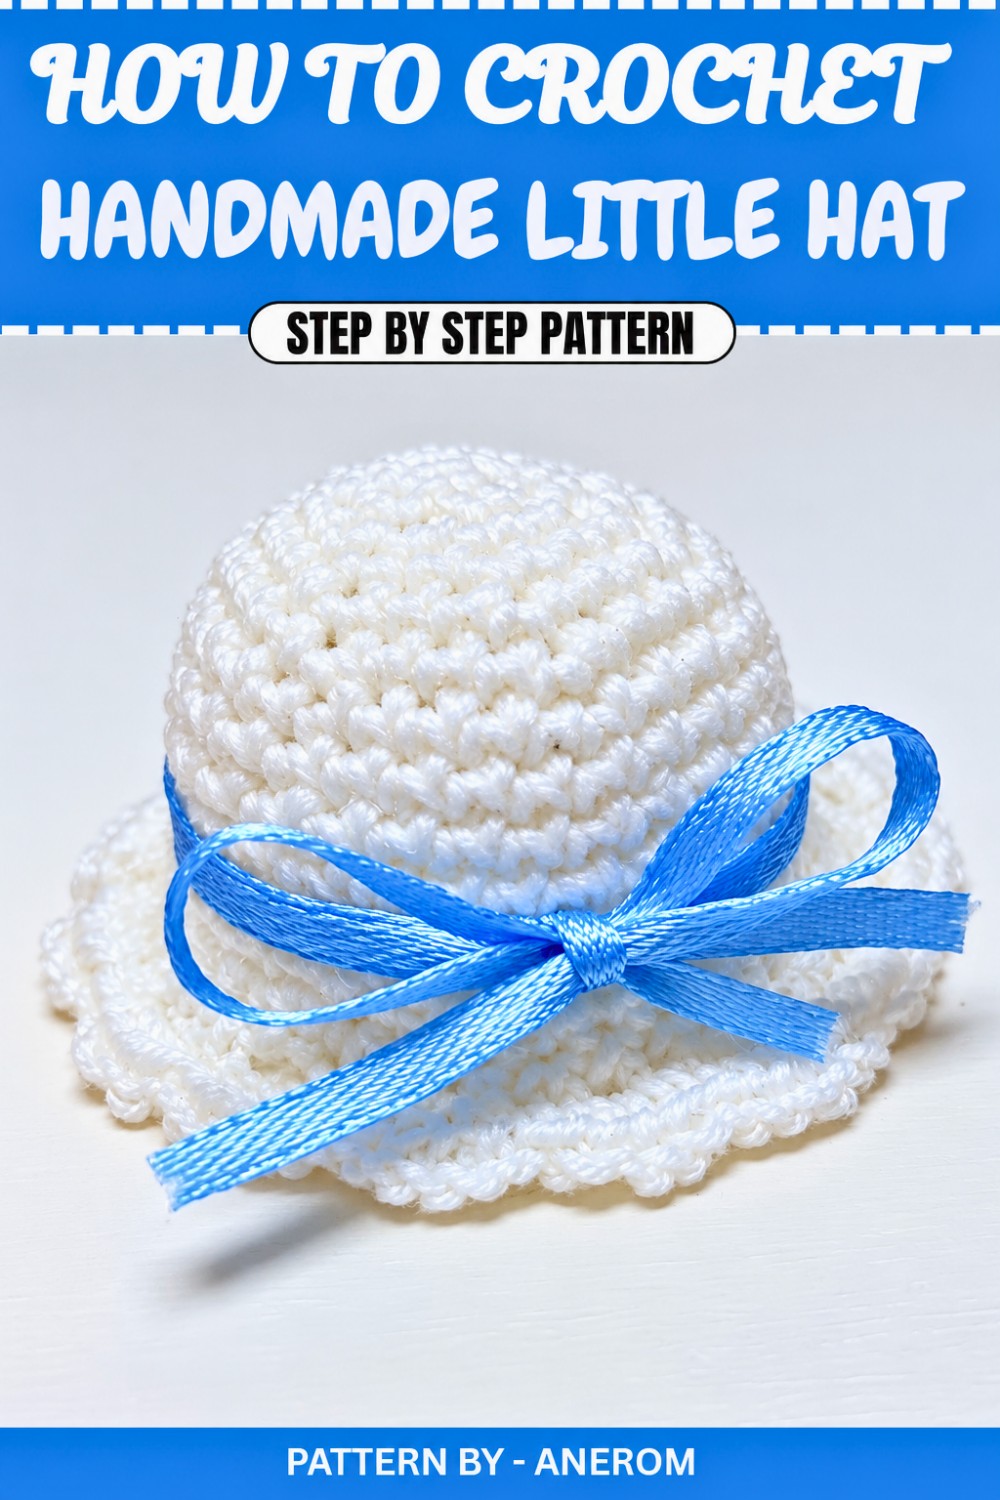
Crochet Pattern: Simple Amigurumi Crochet Hat
In this pattern, you will learn how to make a charming and versatile mini crochet hat that can be used for a variety of purposes, such as a bomboniere, decoration, or even a small gift. This beginner friendly pattern is simple to follow and comes with tips and tricks to give your finished hat a clean and professional look. In this tutorial, you’ll also learn how to starch your crochet hat using transparent nail polish or diluted glue for a sturdy and polished finish.
Quick Overview of the Pattern:
- Project Type: Mini crochet hat
- Project Use: Perfect as bomboniere, small gift, or decor
- Key Features: Adorable design, customizable ribbon, easy starching method for structure
Notes:
- This pattern is beginner friendly, so it’s a great project for those who are new to crochet.
- You can use any color of yarn or ribbon to customize the look of your hat. A white base is especially versatile for pairing with different colored ribbons.
- For added structure, you’ll learn how to starch the hat using a simple household item.
Skill Level:
Beginner. Knowledge of basic crochet stitches, such as magic ring, single crochet, and increasing, is recommended.
Materials:
- 100% Cotton Yarn in your preferred color (the example uses white).
- Crochet hook size: 2.5 mm.
- Transparent nail polish (or PVA glue mixed with a small amount of water if nail polish isn’t available).
- A narrow ribbon of your choice for decoration.
- Scissors.
- Yarn needle (to weave in ends).
- Stitch marker or safety pin to keep track of rounds.
Measurements / Sizing:
- Approximate Diameter of Hat: Customizable based on yarn and hook size used.
Gauge:
- Gauge is not critical for this pattern but aim for tight, uniform stitches to ensure the hat holds its shape.
Stitch Abbreviations:
- ch = chain
- sc = single crochet
- st(s) = stitch(es)
- sl st = slip stitch
- inc = increase (2 single crochets in the same stitch)
- rnd = round
Special Stitches:
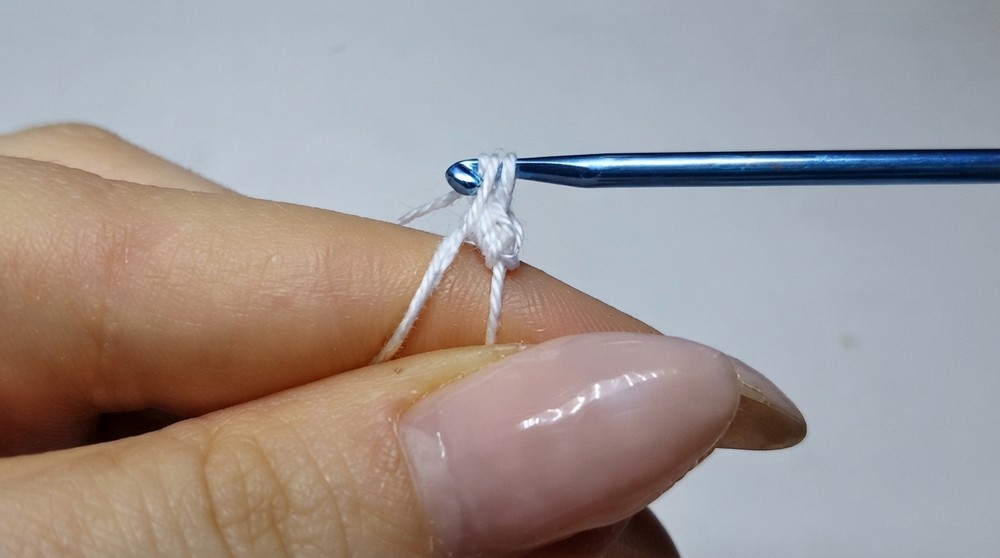
Magic Ring (MR):
- Step 1: Make a loop with your yarn, ensuring that working yarn is on top of the tail.
- Step 2: Insert the hook through the loop, yarn over, and pull up a loop.
- Step 3: Chain 1 (this secures the loop and is your first stitch). Now, work the required number of stitches into the loop.
- Step 4: Pull the tail tightly to close the loop until no hole is visible.
The Crochet Pattern:
Base of the Hat:
Rnd 1:
- Start with a magic ring.
- Work 6 sc into the magic ring. [6 sts]
Rnd 2:
- Tighten the magic ring by pulling the shorter end of the yarn to close the center tightly.
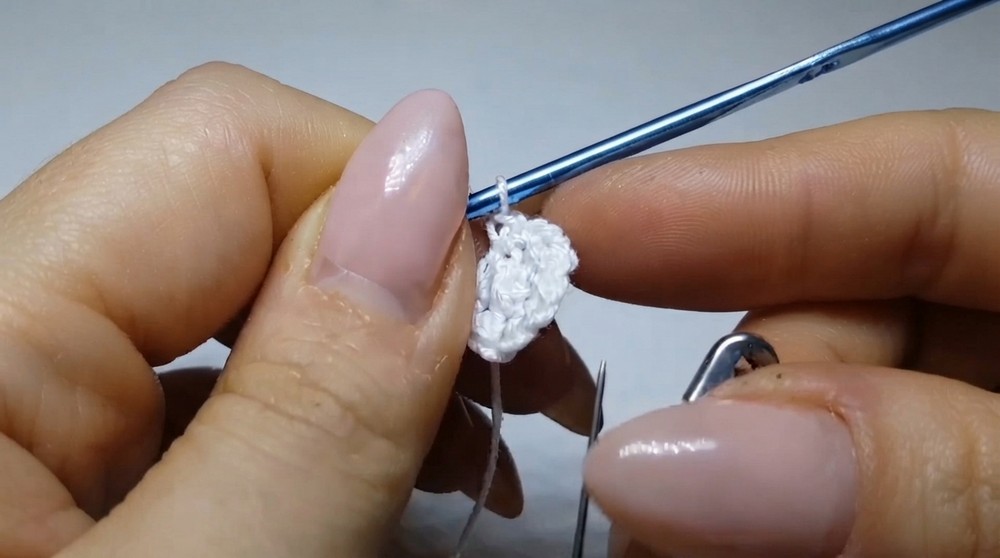
- In each of the 6 sc from the first rnd, work 2 sc (this is an increase in each stitch). [12 sts]
Rnd 3:
- Place a stitch marker in the first stitch of this round to keep your place.
- Alternate between 1 sc in the next st, then inc (2 sc in the next st). Repeat this around. [18 sts]
Rnd 4:
- Work 1 sc in the first st and place a stitch marker in it to mark the beginning of the round.
- Work 1 sc in each of the next 2 sts. Then, work 1 inc (2 sc in the same st).
Repeat this pattern: 2 sc, 1 inc around. [24 sts]
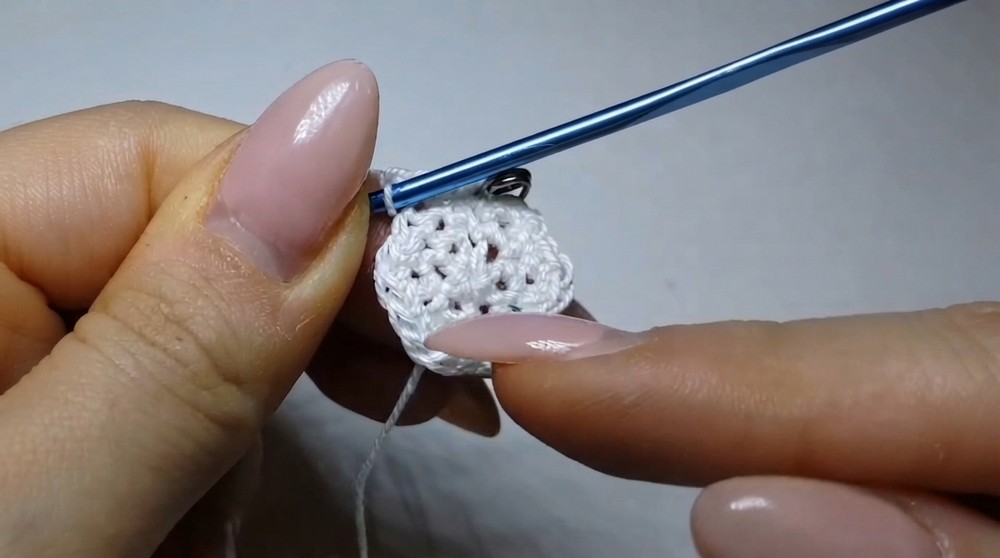
Rnd 5:
- Work 1 sc in each of the first 3 sts, marking the first one with your stitch marker.
- Work 1 inc (2 sc in the next st).
Repeat this pattern: 3 sc, 1 inc around. [30 sts]
Continue Increasing:
- Following the same pattern, increasing evenly per round:
- Rnd 6: 4 sc, 1 inc around. [36 sts]
- Rnd 7: 5 sc, 1 inc around. [42 sts]
- Rnd 8: 6 sc, 1 inc around. [48 sts]
- Rnd 9: 7 sc, 1 inc around. [54 sts]
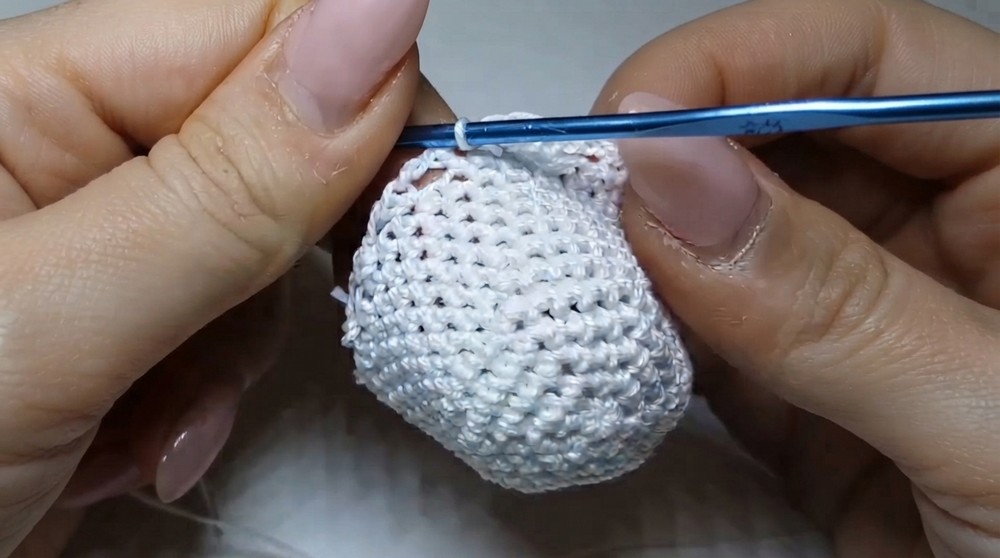
Body of the Hat:
For the body of the hat, you won’t be increasing anymore. Work 7 rounds of 54 sc (1 sc in every st around).
- At the start of each round, place a stitch marker in the first stitch to keep track of your rounds and ensure even spacing.
- Continue working until all 7 rounds are complete.
Hat Brim:
Rnd 1 – Create loops:
- After finishing the 7 rounds of sc for the body, chain 2 ch, then skip the next st.
- Work 1 sc in the following st.
- Repeat the pattern: 2 ch, skip 1 st, 1 sc in the next st all around the edge.
- Once you complete the last ch 2, close the round with a sl st. This creates a round of small loops (arcs) for the brim.
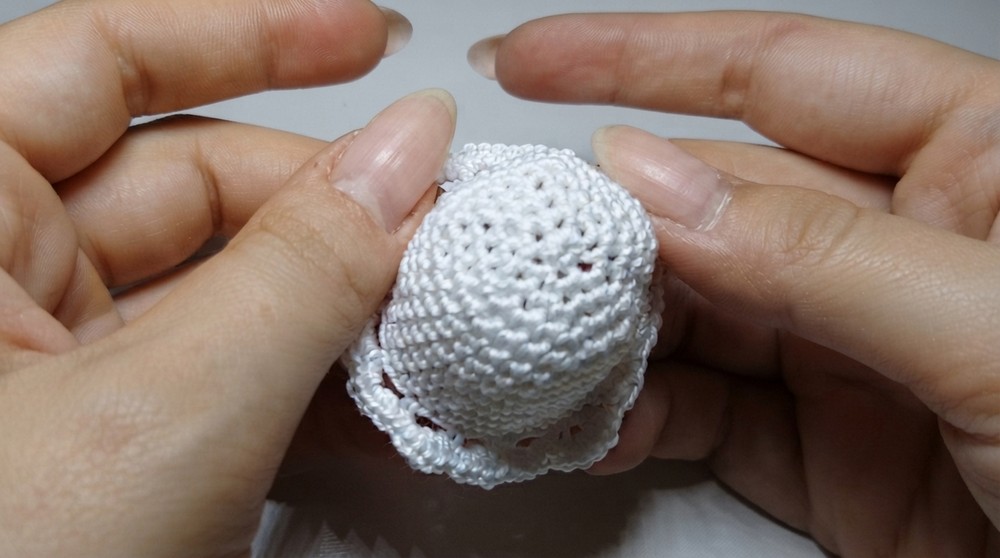
Rnd 2 – Form the brim:
- Work 5 sc in each loop (arc) created in the previous round. Insert your hook directly into the arc rather than into specific stitches.
- Continue to work 5 sc in each arc until you’ve gone all the way around.
Finish Off the Hat:
- Once all the arcs in the last round are filled with sc, finish the round with a sl st, and fasten off your yarn.
- With your yarn needle, weave the loose ends back through the stitches to hide them.
Starch the Hat for Structure:
- Gently shape the hat by hand, rounding out the top and flattening the brim.
- Apply a layer of transparent nail polish carefully using a brush, starting from the top of the hat and covering the entire surface, including the brim.
- Allow the hat to dry for several hours. For best results, let it dry overnight to achieve complete hardness.
Alternative method: If you do not have transparent nail polish, dilute regular PVA glue (Vinavil) with a small amount of water and brush the solution onto the hat. However, be aware this method may require extra drying time.
Adding the Ribbon:
- Once the hat is completely dry, take a thin ribbon in your desired color.
- Wrap the ribbon around the base of the hat just above the brim.
- Secure the ribbon with a simple knot or make a decorative bow. For additional security, add a small dot of clear glue underneath the ribbon to hold it in place.
- Trim the ribbon ends neatly.
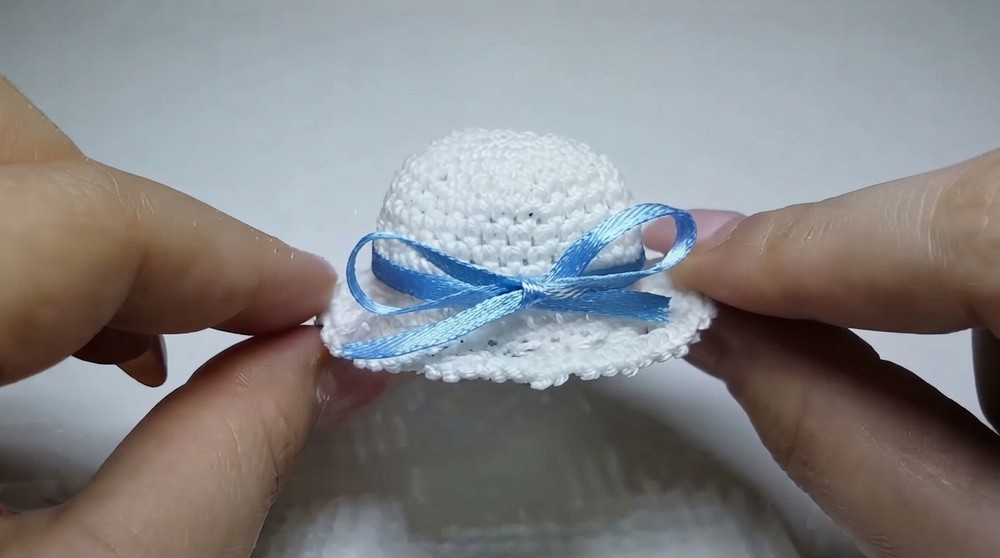
Finished Size:
The final size of the crocheted hat will depend on the tension and specific materials used, but it will typically result in a small, palm sized hat that’s perfect for decor.
Conclusion and Goodbye:
Congratulations, You’ve mastered a charming and simple crochet mini hat that can be used in so many creative ways. Whether you decide to use it as a delicate bomboniere, a playful decorative piece, or even as a gift topper, the possibilities are endless. We hope you enjoyed making this project as much as we enjoyed sharing it.