
Free Crochet Snail Pattern That’s Perfect for Relaxing
Make a sweet crochet snail with fun details like felt cheeks, a coiled shell, and a tiny stitched smile by following this free and easy pattern.
Who knew something as simple as a snail could be this adorable? With its charming spiral shell and playful little antennae, this free crochet snail pattern gives life to a miniature masterpiece that’s perfect for gifting, decorating, or just keeping around for a bit of cheer. Its compact size and rounded features make it easy to customize, whether you’re going for earthy tones or vibrant rainbow shades.
Easy Crochet Snail Pattern for Kids and Adults to Love
This snail isn’t just cute, it’s surprisingly versatile. Whether displayed on a windowsill, gifted as a tiny treasure, or turned into a keychain to carry some handmade magic wherever you go, the possibilities are as endless as your imagination. The spiral shell is tightly structured to highlight the cozy curves, and the smooth texture of single crochet stitches brings out the snail’s soft, huggable look. Using a yarn blend with a touch of wool adds durability while maintaining a snug feel that’s perfect for small amigurumi designs.
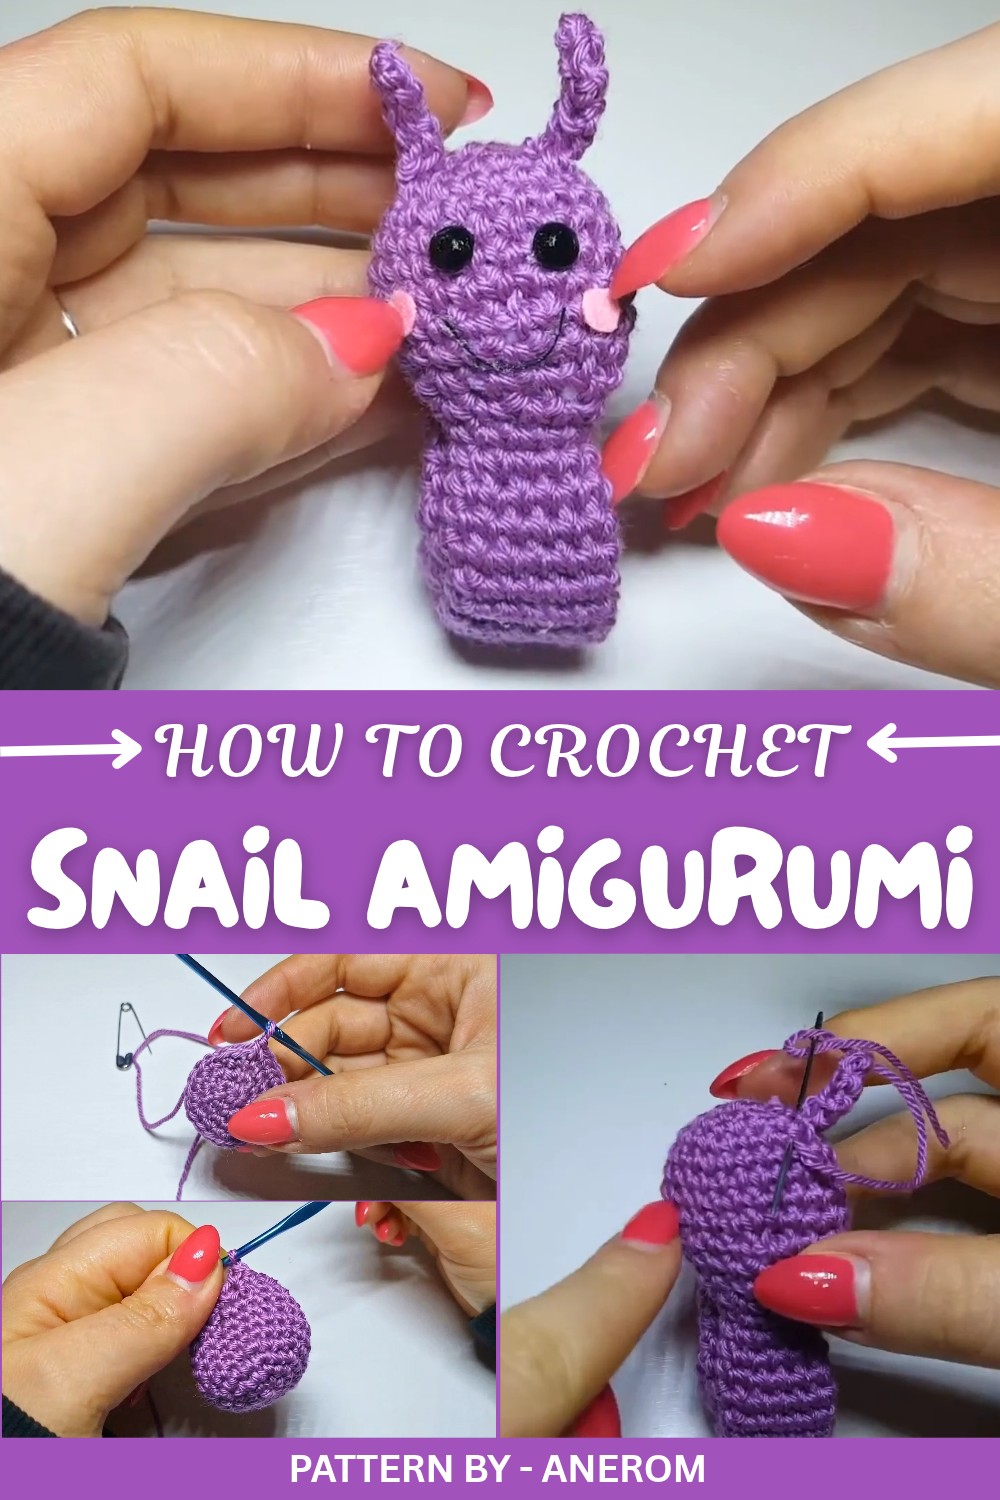
The idea for this project was born from quiet afternoons spent in the garden, watching snails make their leisurely way across leaves and flowers. It made me think, why not bring that calm, playful energy indoors? Adding delicate details like bright cheeks (using felt) and expressive eyes turns it into a keepsake full of personality and charm.
Pattern By Anerom
Whether gifted for birthdays, tied to a care package, or lovingly tucked into a gift box as a thoughtful token, this snail brings a little joy to every setting. Grab your supplies, pick your colors, and let the snail step into your creative world—it’s a small project with a big heart.
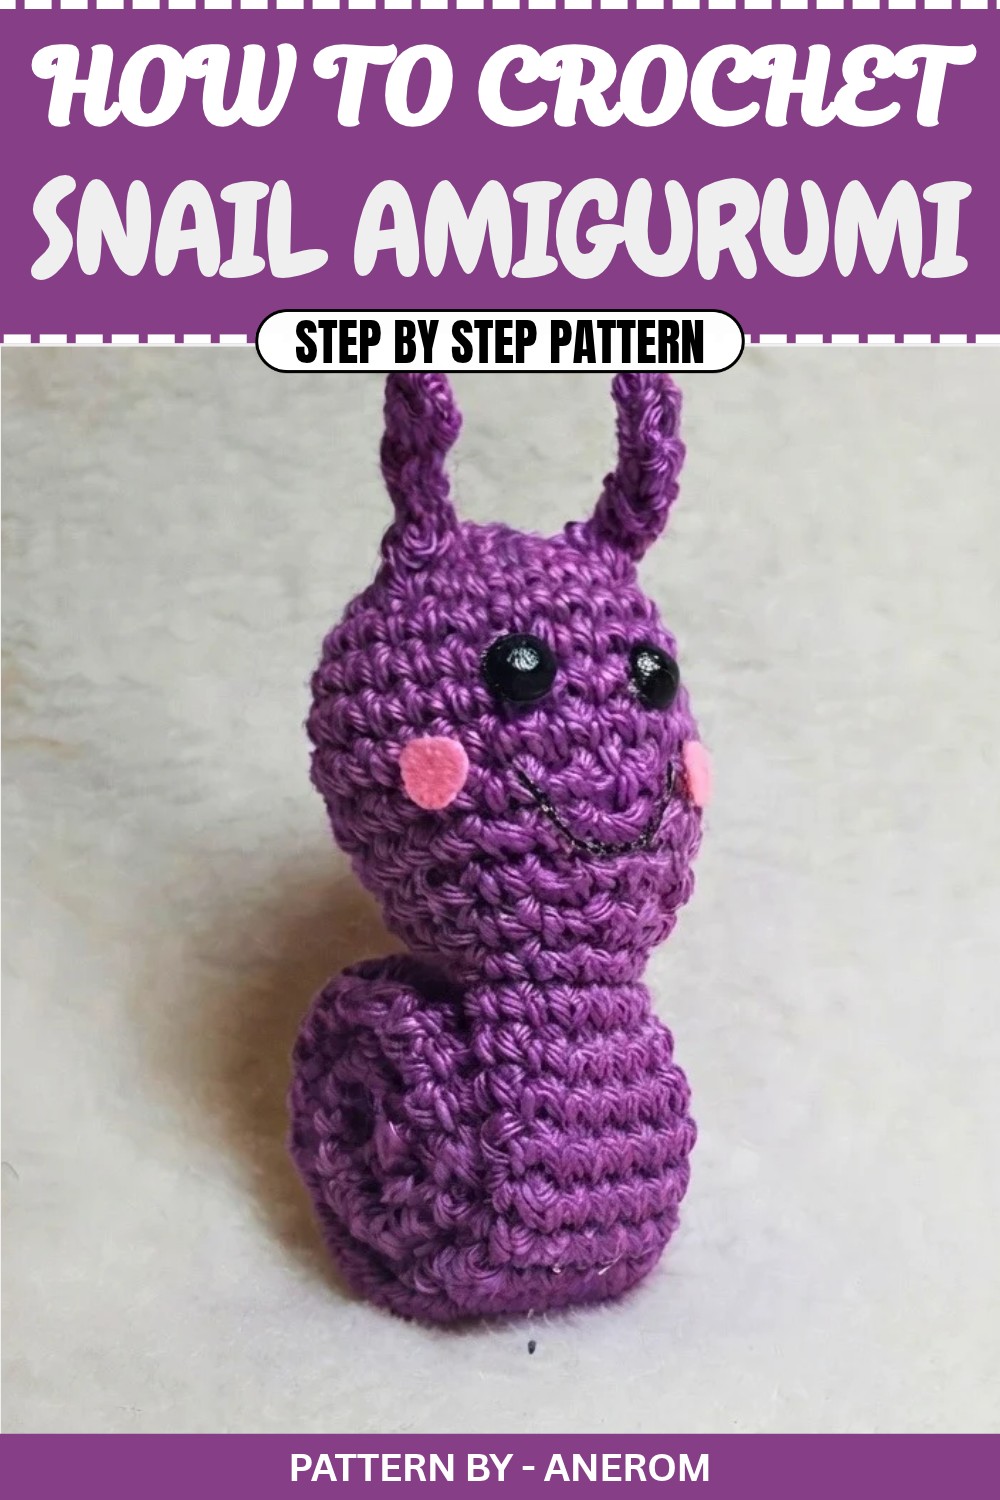
Free Crochet Pattern: Simple and Adorable Amigurumi Snail
In this crochet pattern, we will create an adorable little amigurumi snail. Using a mix of yarn textures and some simple crochet techniques, this snail features cute felt cheeks, a cotton thread smile, movable antennae, and a coiled shell. While this particular design is quite easy to make, more intricate and detailed versions can also be created for those seeking an extra challenge. Ready to give it a try? Gather your materials and follow along.
- Tip: Feel free to get creative with different colors for the head and shell, or even a multi colored combination.
Quick Overview of Pattern
- A simple and easy amigurumi snail pattern.
- Head and body are crafted as a single piece, with a separate coiled shell and antennae.
- Made using a lightweight acrylic-wool blend or cotton yarn.
- Cute embellishments include felt cheeks, a cotton thread smile, and movable antennal pieces.
- Can be made with either a uniform color or different colors for each part.
Notes
- The snail is only stuffed in the head area, while the tail and shell remain unstuffed.
- The body is worked with a 2.5 mm hook, which provides the firmness necessary for small details. A larger hook can make the finished piece larger.
- This project uses a 50:50 acrylic wool blend, resulting in a soft and slightly fuzzy texture. You can also use cotton if you prefer a smoother texture.
Skill Level
Beginner Friendly: Basic crochet skills such as single crochet, increases, decreases, and assembling parts are required.
Materials
- Yarn: 50% acrylic, 50% wool blend yarn (or cotton) in your preferred color(s).
- Yarn Weight: Lightweight or sport weight yarn.
- Hook: 2.5 mm crochet hook.
- Eyes: Two black beads or half pearls (or safety eyes for a child safe version).
- Felt: Pink felt for the cheeks.
- Thread: Black cotton thread for the mouth.
- Stuffing: Polyester fiberfill for the head.
- Glue: Hot glue or fabric glue for attaching felt cheeks.
- Needle: Yarn needle for assembly.
- Scissors: For trimming yarn and felt pieces.
Measurements / Sizing
- Finished size: Approximately 10 cm (depending on the yarn and hook).
Gauge
Gauge is not critical, but maintain tight stitches to prevent stuffing from showing.
Stitch Abbreviations
- ch: Chain
- sc: Single crochet
- inc: Increase (two single crochets in one stitch)
- dec: Decrease (combine two stitches into one)
- sl st: Slip stitch
Special Stitches
Magic Ring: A technique used to begin crochet in the round, allowing for an adjustable loop at the center of the project.
The Crochet Pattern
Head & Body
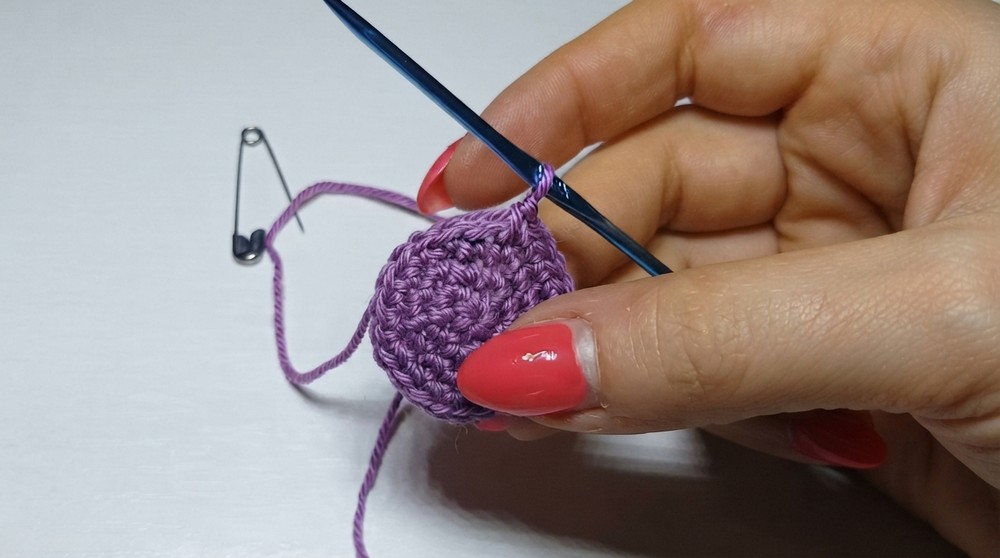
- Round 1: Create a magic ring and crochet 6 sc into the ring. Pull the loop tight.
- Round 2: Work 6 increases (2 sc into each stitch). You should have 12 sts.
- Round 3: Work (1 sc, inc) six times around. You should have 18 sts.
- Round 4: Work (2 sc, inc) six times around. You should have 24 sts.
- Rounds 5–8: Crochet 4 rounds of 24 sc, without increases. Create a solid, even round shape.
- Round 9: Work (2 sc, dec) six times around. You should have 18 sts.
- Round 10: Crochet one round of 18 sc, without decreases.
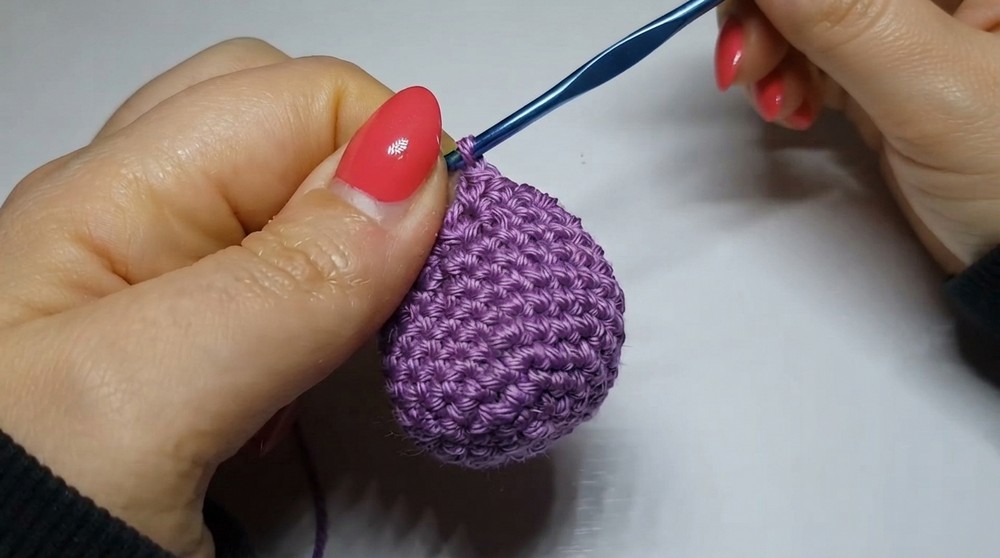
- Round 11: Work (1 sc, dec) six times around. You should have 12 sts.At this point, stuff the head with fiberfill firmly.
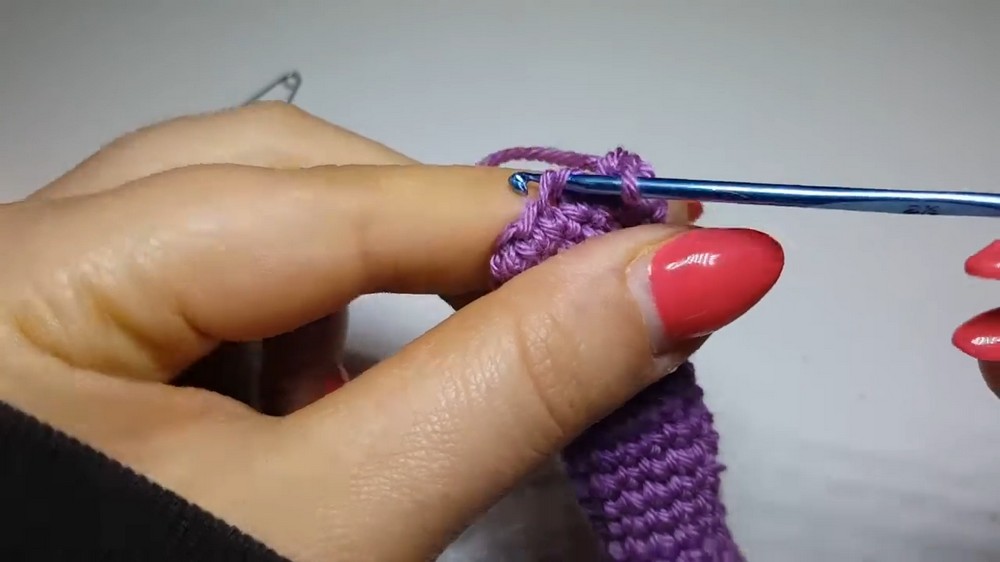
- Rounds 12–54: Work 12 sc per round for 43 rounds. This will create the long tail of the snail. No stuffing is needed here, as the tail remains hollow.
- Round 55: Work 6 decreases (dec in each stitch). This will close the end of the tail. Use the remaining yarn end to sew and secure the tail. Leave a long tail for sewing the body.
Shell
- Create a magic ring and crochet 6 sc into the ring. Pull it tight.
- Work 6 increases (2 sc in each stitch). You now have 12 sts.
- Repeat Round 2 (another row of 12 sts). Continue adding rounds until the shell is long enough to be coiled upward into a spiral shape.TIP: For a more detailed shell, use 2 stripes of alternating colors.
- Roll the strand of the shell onto itself to form a spiral shape. Set aside for sewing.
Antennae
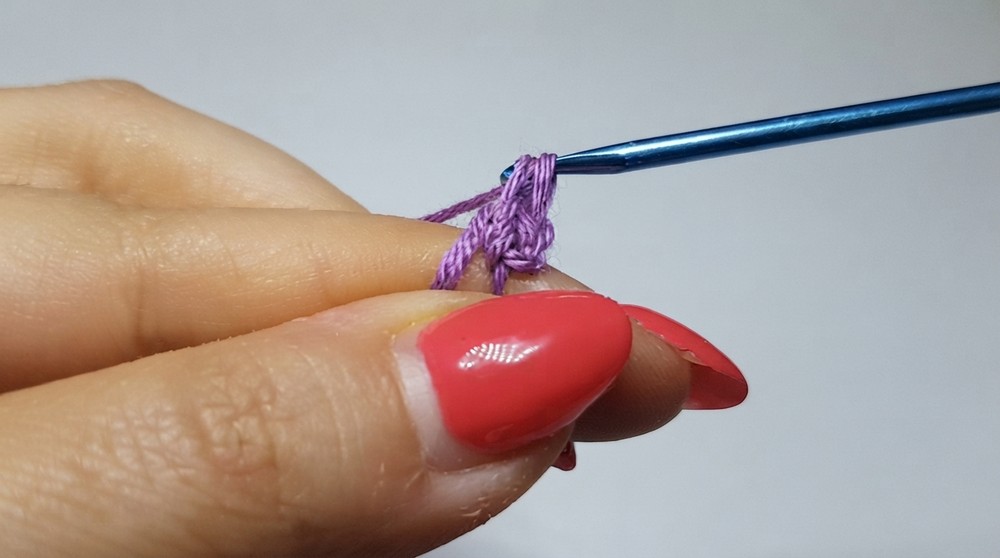
- Create a slip knot and chain 6 ch.
- Starting from the second chain from the hook, crochet 1 sc in each chain. You’ll have a row of 5 sc.
- Chain 1, turn, and repeat Row 2 to create a second row of 5 sc.
- Fasten off, leaving a long tail for sewing.
- Fold the row in half vertically and sew together along the edge, creating a small tube-like structure.Repeat steps 1–5 to create two antennae.
Assembly & Finished Size
- Attach the shell:
- Coil the snail’s shell into a spiral shape. Use the long yarn tail leftover from the shell to sew the spiral firmly onto the snail’s body. Place it on the elongated tail portion of the snail in the desired position.
- Attach the antennae:
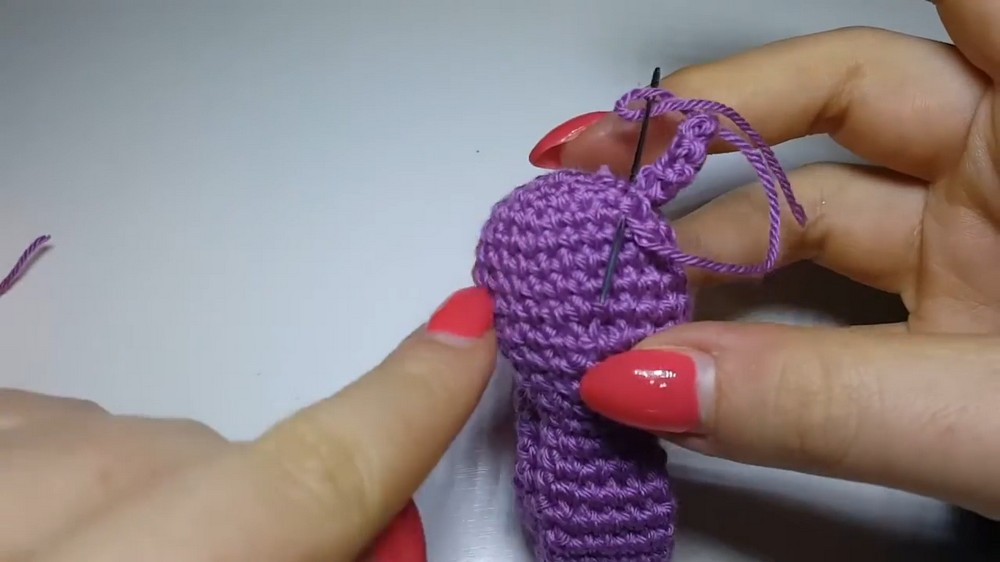
- Sew the antennae to the top of the snail’s head with the yarn tails. Ensure they’re even and stitched securely.
- Attach the eyes:
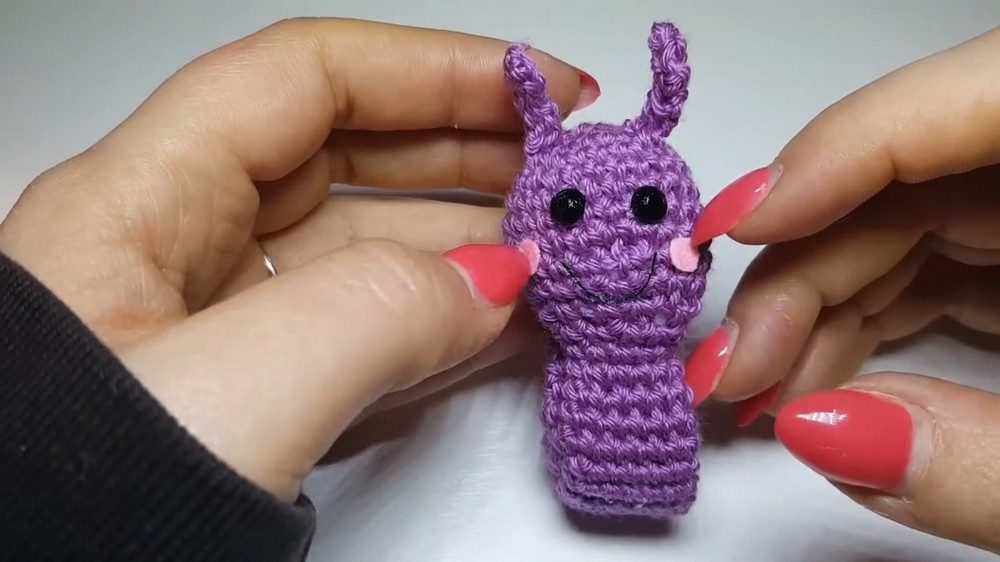
- Use beads or half pearls for the eyes. Sew or glue them slightly below the base of the antennae.
- Add the smile and cheeks:
- Draw a smile with black cotton thread or yarn, stitching it in place onto the face.
- Cut two small circles from pink felt and glue them near the eyes to form the cheeks.
- Finish:
- Weave in all loose ends and trim excess yarn.
Conclusion and Ending Words
Congratulations! You’ve just completed this adorable crochet amigurumi snail. This simple design offers a lot of room for creativity—you can experiment with different colors for the body and shell or add unique details to give your snail its own personality. Whether you keep it as a keychain, toy, or gift for a friend, this little snail is sure to bring smiles all around.