
Free Crochet Mini Owls Pattern You’ll Fall in Love With
Turn a ball of yarn into pocket sized crochet owls with this fun, free pattern that’s sure to bring creativity and joy to your next crochet session.
Pattern By Anerom
Who knew a little yarn and a crochet hook could bring so much joy? Think about this: a cute, colorful owl that fits right in the palm of your hand and might just become your new favorite homemade treasure. These miniature owls are more than just charming, they’re multifunctional companions that can perch anywhere, from backpacks to key rings, or even on your desk as a cheerful mascot. The magic lies in how quickly you can change their personalities with a simple yarn color swap or by decorating them differently each time.
Free Crochet Guide for Perfectly Cute Little Owl Amigurumi
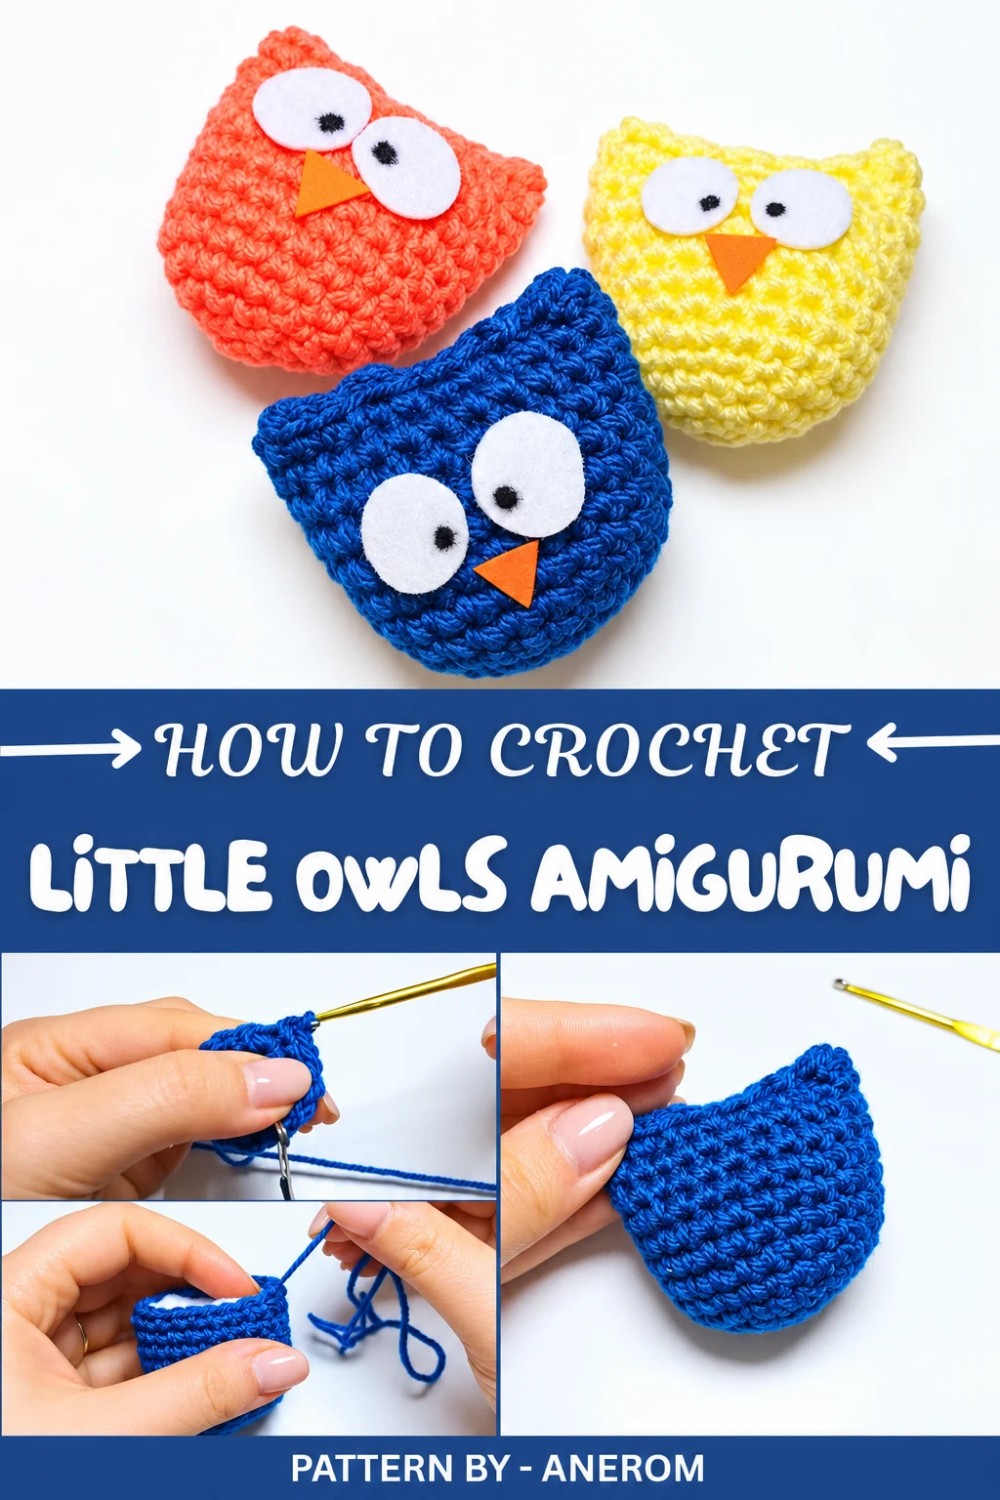
Well, it begins with some basic crochet techniques like the single crochet stitch, which serves as the foundation for a lot of crochet projects. You’ll also learn how to make a magic circle, a fantastic technique for starting off small and round crochet items, and how to increase and decrease stitches to form shapes. It’s all about gaining confidence with each step and marveling at how quickly a flat piece of yarn can become a huggable 3D form.
Once you’ve got the hang of making these mini owls, the possibilities expand. You can adapt these skills to make a whole flock of different mini creatures, like tiny dragons, cats, or even festive decorations for your home. And because each little item is made with the same love and care, each finished piece becomes something special that you can proudly share or gift.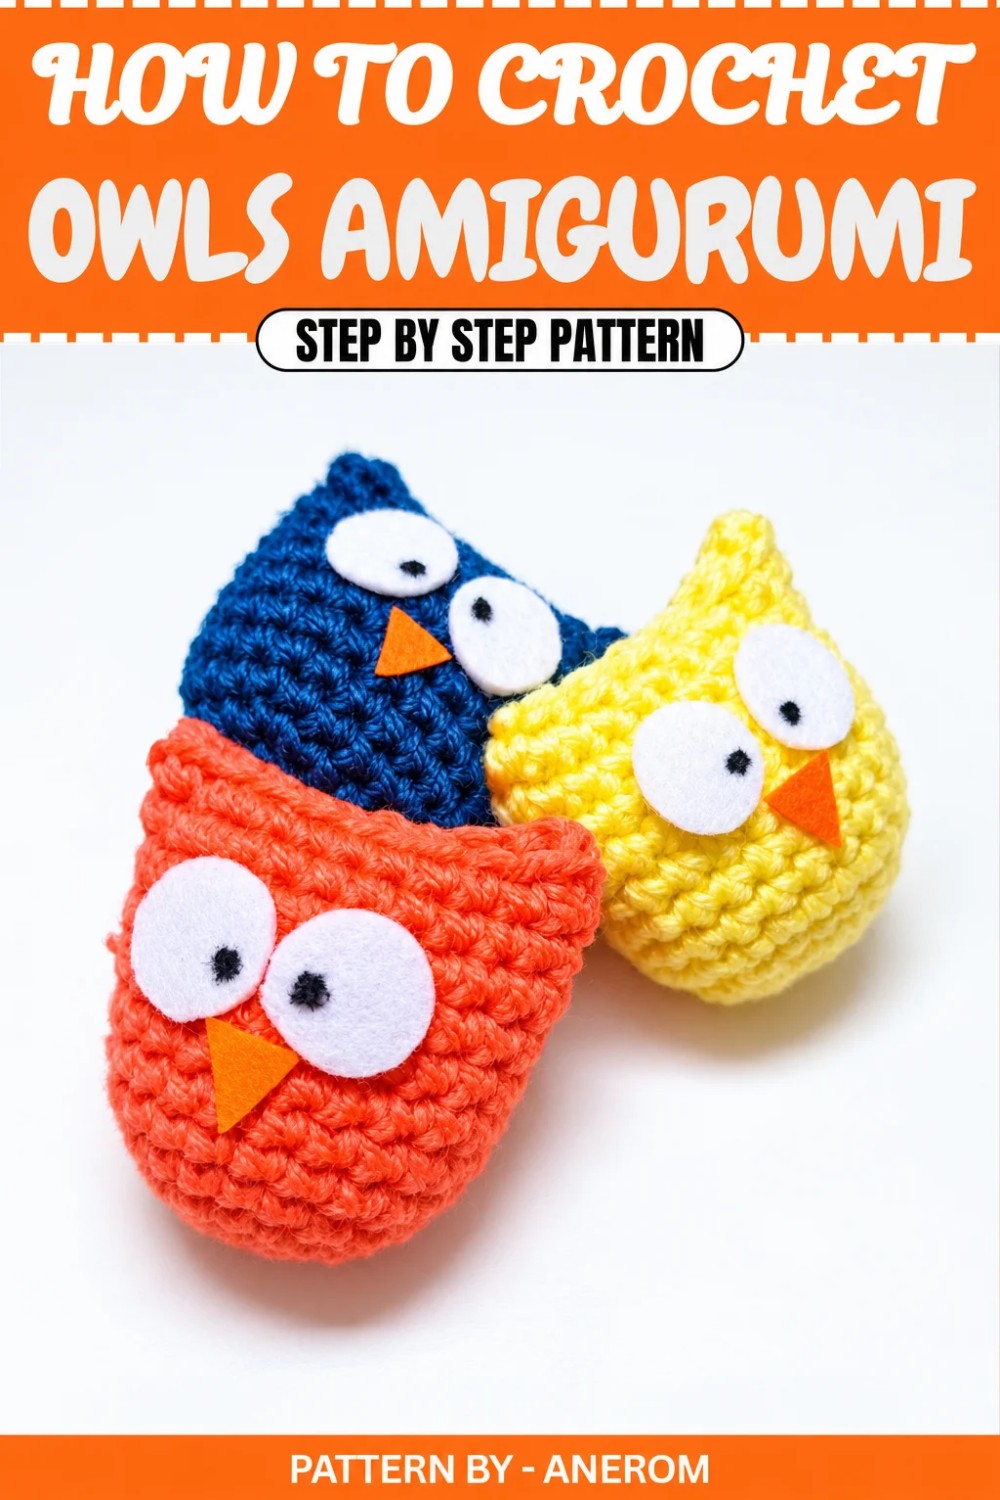
Adorable Amigurumi Owl (Gufetto) Crochet Pattern
This project is quick, simple, and perfect for beginners or experienced crocheters looking for a fun and adorable project. You can personalize the owl with different colors or make it part of a keychain or use it as a party favor. Let’s get started with crafting your own cute and soft crochet owl.
Materials Needed
- Yarn: Size 3; any color of your choice (the original pattern was made with aqua green).
- Crochet Hook: 3 mm crochet hook.
- Stuffing: Fiberfill or batting to give the owl its shape.
- Felt Pieces:
- White felt for the eyes (cut into circles).
- Orange felt for the beak (cut into a triangle).
- Permanent Black Marker or Black Nail Polish: To create the pupils.
- Wool Needle (Tapestry Needle): For sewing and weaving in ends.
- Scissors: For trimming yarn and felt pieces.
- Glue: Hot glue gun or any craft glue for attaching the felt decorations.
Crochet Steps
Round 1: Create the Magic Ring
- Make a magic ring using your yarn.
- Work 6 single crochet (sc) stitches into the ring.
- Pull the tail of the magic ring tightly to close the circle so no gaps remain.
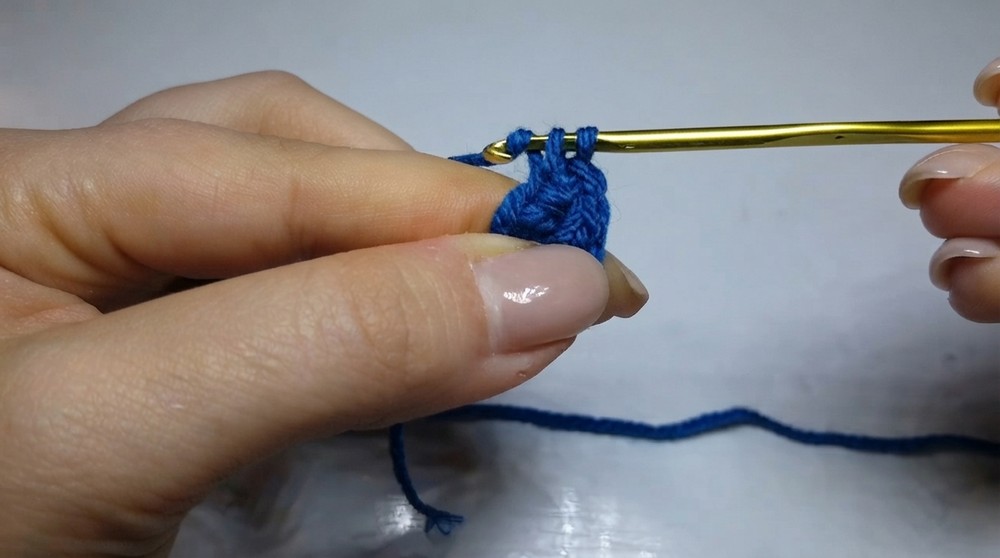
- You should now have a total of 6 stitches in this round.
Round 2: Increase in Every Stitch
- Work 2 single crochet stitches into each stitch from the previous round.
- At the end of this round, you will have a total of 12 stitches.
Round 3: Alternating Single Crochet and Increase
- Work 1 single crochet (sc) in the first stitch. Place a stitch marker here to mark the start of the round.
- In the next stitch, work an increase (2 sc in the same stitch).
- Continue this pattern: 1 sc, 1 increase, repeating that sequence all the way around the circle.
- At the end of this round, you should have a total of 18 stitches.
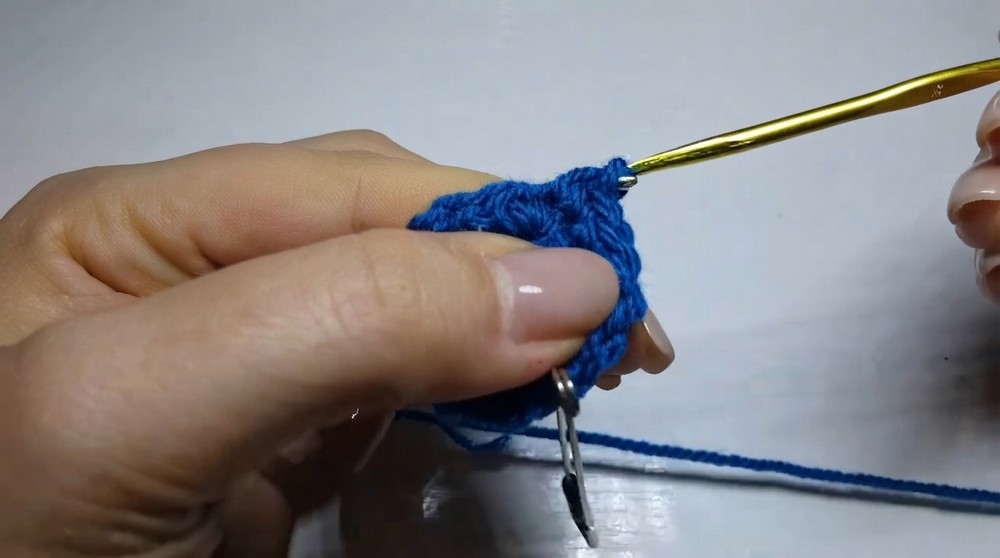
Round 4: Alternating 2 Single Crochet and Increase
- Work 2 single crochet (sc) stitches in the first two stitches. Place a stitch marker in the first stitch to mark the start of the new round.
- In the next stitch, work an increase (2 sc in one stitch).
- Repeat the sequence 2 sc, 1 increase for the remainder of the round.
- At the end of this round, the total stitch count will be 24 stitches.
Rounds 5 to 13: Regular Single Crochet
- For rounds 5 through 13, work 1 regular single crochet in every stitch. This will help build the height of the owl’s body and bring out its cube shape.
- Move the stitch marker to the first stitch of each new round to track your progress.
- Your owl should be starting to resemble a small cube as the sides shape up.
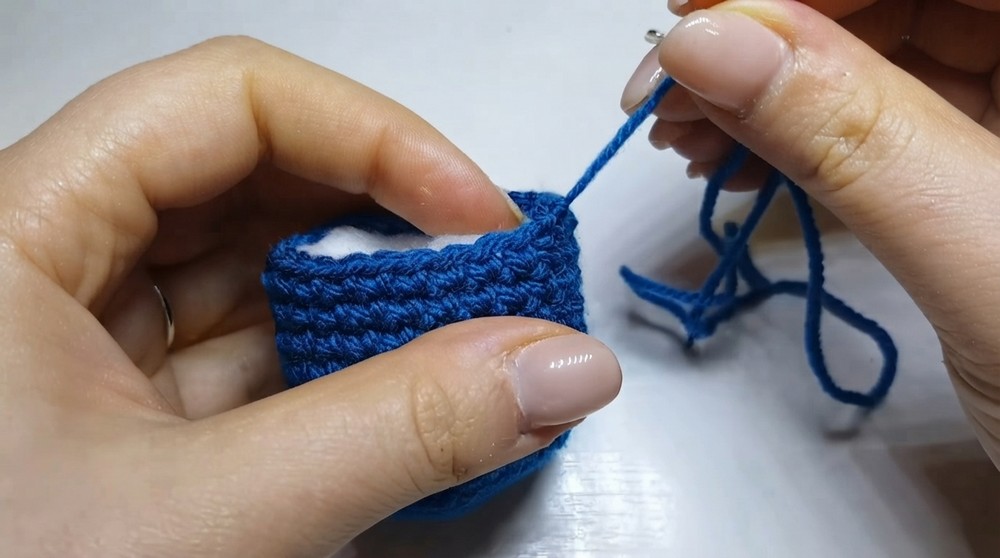
Finishing the Body
- After completing Round 13, work 1 slip stitch in the next stitch.
- Cut the yarn, leaving a long tail of approximately 8 inches (20 cm) for sewing.
- Pull the yarn tail through the last stitch to secure the end.
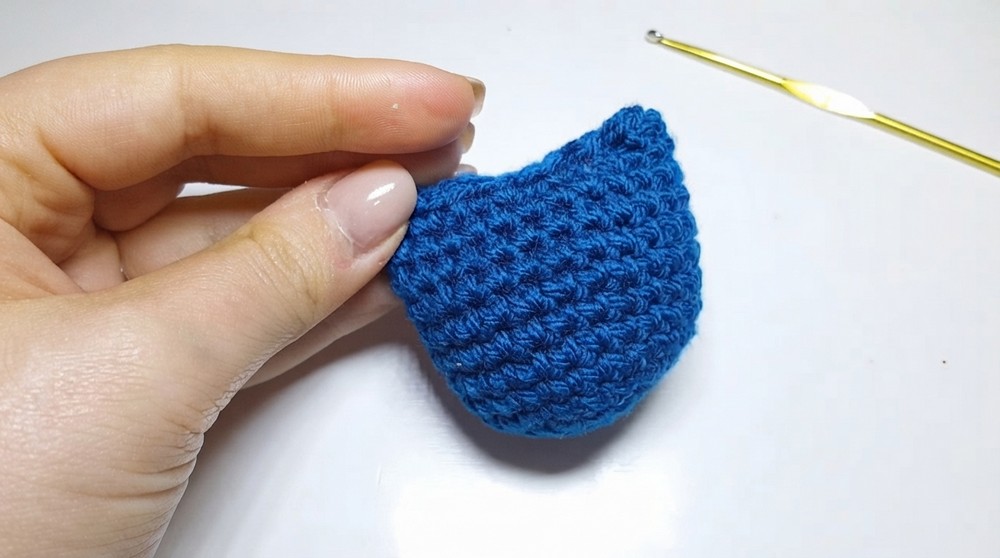
Assembly & Decoration
Step 1: Stuffing the Owl
- Lightly stuff the owl’s body with fiberfill or batting.
- Add enough to maintain the shape of the cube, but be careful not to overstuff as this can distort the look.
Step 2: Sewing the Top and Forming the Ears
- Thread the yarn tail into your wool needle.
- Flatten the top edges of the crochet piece so that the front and back align.
- Begin stitching by inserting the needle into one side first, and then into the corresponding opposite side. Pull the yarn snugly each time.
- Continue working stitch by stitch across the row, ensuring the top opening is completely closed.
- As you sew across, the edges will naturally fold into small points, creating the appearance of ears for your owl.
- Once the opening is closed, tie a secure knot and weave the remaining yarn into the body of the owl to hide it. Trim any excess yarn.
Step 3: Adding the Eyes
- Cut two small circles out of white felt for the owl’s eyes. You can make them large to accentuate the owl's cute features.
- Apply craft glue or use a hot glue gun to stick the felt circles to the owl’s face. Position the eyes evenly at the top center of the owl.
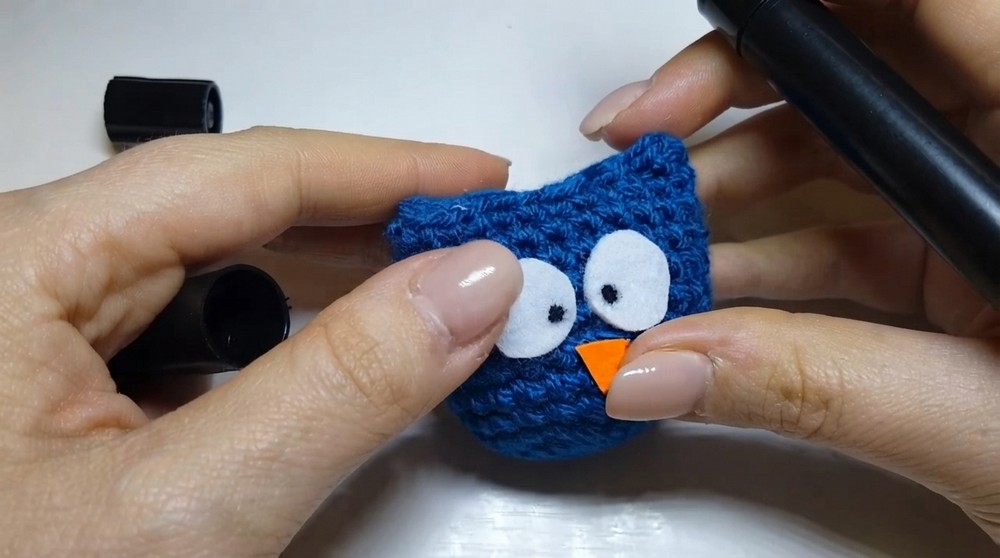
Step 4: Creating the Beak
- Cut a small triangle from orange felt for the owl’s beak.
- Apply glue to the back of the triangle and attach it directly underneath the eyes on the face.
Step 5: Adding Pupils
- Use a black permanent marker or black nail polish to carefully draw small black dots on the white felt circles to create eyes.
- Alternatively, you can cut small circles from black felt and glue them onto the white felt to serve as pupils.
Finished Size
Your finished owl will be approximately the size of your palm, depending on the yarn and hook used.
Tips for Customization
- Experiment with yarn colors to create unique owl designs.
- Try patterned or colorful felt pieces for more creative eye and beak details.
- Add a ring attachment to turn your owl into a cute keychain.
- Create a set of multi colored owls for party decorations or gifts.
Conclusion
Congratulations, you’ve just completed your adorable amigurumi owl project. This simple crochet pattern is both fun and quick, making it ideal for beginner skills or those looking for cute, handmade crochets.