
Stylish Handmade Crochet Pouch Pattern That’s Free to Use
Crochet a fun and cute handmade pouch with this free pattern that is perfect for organizing your small items and adding a personal touch.
The beauty of crochet lies in its ability to transform simple stitches into functional and stylish designs, and this handmade pouch is no exception. This charming accessory is so versatile, it can serve as a coin purse, a makeup bag, or a compact organizer for small items you carry in your handbag. Its sleek oval shape makes it both elegant and practical, ensuring that it stands out without taking up too much space. The combination of colors, such as dark blue and fluorescent orange, results in a visually striking contrast that elevates its modern appeal.
One of the most delightful features of this pouch is how easy it is to make, as demonstrated on the Anerom channel. This pattern ensures success even for beginners, requiring only simple crochet techniques such as chains, single crochet, and slip stitches. For those who aren’t comfortable with sewing or prefer simpler methods, the channel offers a creative alternative by using Velcro for closure instead of a zipper. It’s a thoughtful approach, perfect for crafters looking for convenience without compromising the result.
Free Handmade Crochet Pouch Pattern for Endless Creativity
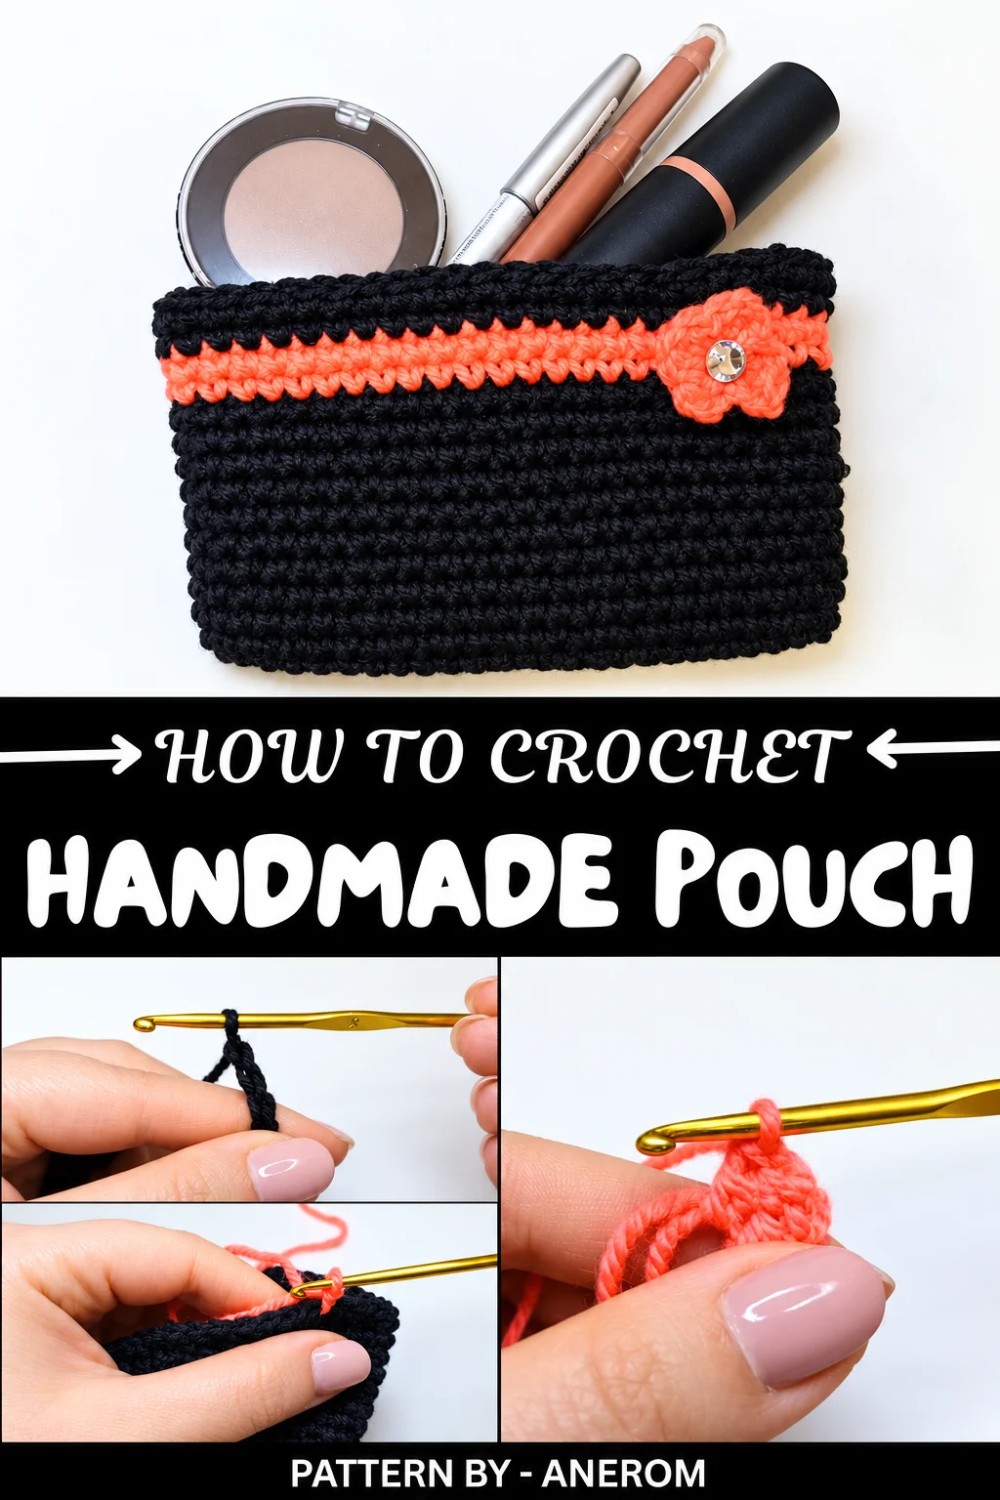
The most attractive element of this design is the decorative flower embellishment. Crocheted from a vibrant orange yarn, the flower is both easy to make and incredibly charming. A rhinestone glued at the center adds a touch of elegance that helps personalize the accessory. Finished with clean lines and a durable structure, this handmade pouch encapsulates both style and functionality.
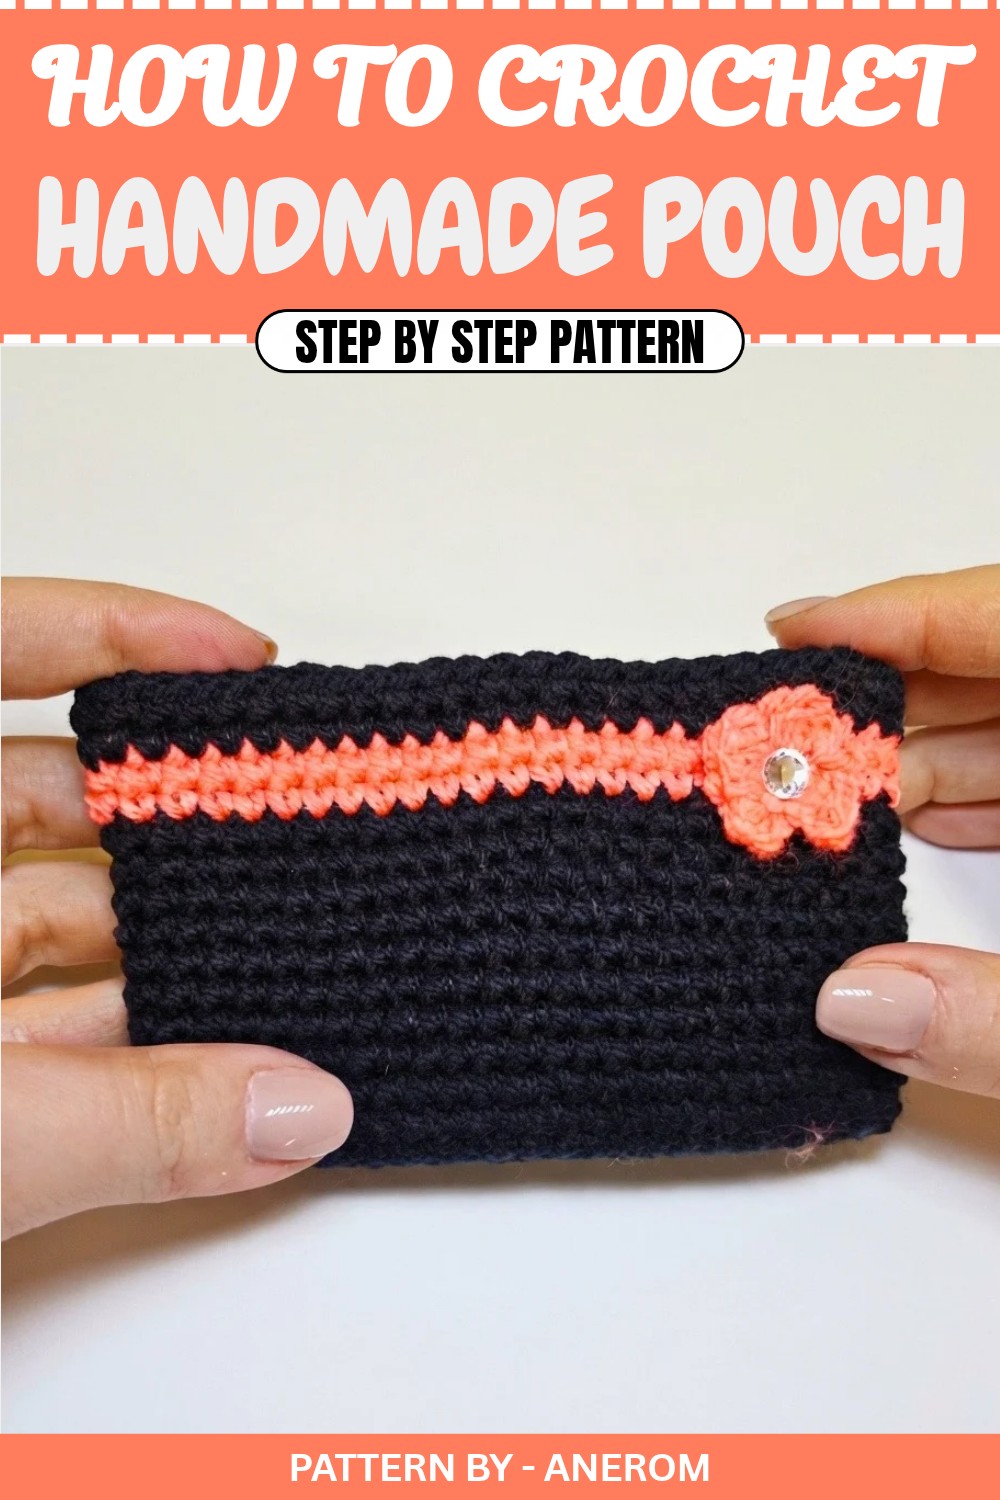
Easy Crochet Pochette with Optional Velcro Closure
Quick Overview of Pattern
- Project: Handmade crochet pochette (small bag)
- Purpose: Perfect for organizing small items like coins, makeup, or other essentials.
- Customizable Add Ons: Optional Velcro closure and a decorative flower.
- Skill Focus: Working basic stitches and rounds in continuous rows.
Notes
- Ensure consistent tension while crocheting, especially around the edges where the bag curves.
- For the closure, you can either sew a zipper or use the no-sew Velcro option.
- Optionally, you can decorate the bag with a crochet flower or other embellishments.
Skill Level
Beginner – The pattern uses simple stitches in a circular motion.
Materials
- Yarn (Main Color): Acrylic yarn, size 3, in dark blue (or your preferred color).
- Yarn (Contrast Color): Acrylic yarn, size 3, in bright orange (or another contrasting shade).
- Crochet Hook: 3 mm crochet hook.
- Tape Marker: To mark your starting point.
- Tapestry Needle: For weaving in ends.
- Scissors: Sharp scissors for cutting yarn.
- Velcro Tape (Optional): For buttonless/no-sew closure.
- Hot Glue Gun (Optional): For sticking Velcro or decorations.
Measurements / Sizing
- Approximate size: Small pochette (size varies based on how many rows you make).
- You can adjust the size by increasing or decreasing the length of the foundation chain.
Gauge
Gauge is not crucial for this project, but ensure consistency in your stitches for a smooth and even result.
Stitch Abbreviations
- ch: Chain
- sl st: Slip Stitch
- sc: Single Crochet (Maglia Bassa)
- dc: Double Crochet (Maglia Alta)
Special Stitches
- Magic Ring: A loop created to start projects worked in the round.
The Crochet Pattern!
Main Body of the Pochette
Step 1: Foundation Chain
- With dark blue yarn, create a slipknot.
- Chain 27.
Step 2: Bottom Edge – First Row
- In the second chain from the hook, work 1 sc.
- Work 1 sc into each chain across until the end.
- After reaching the last chain, do not turn. Instead, rotate the work to the other side of the foundation chain.
- Work 1 sc into the first chain of the opposite side, then continue to work 1 sc into each chain across.
- You should now have a rounded edge on both sides.
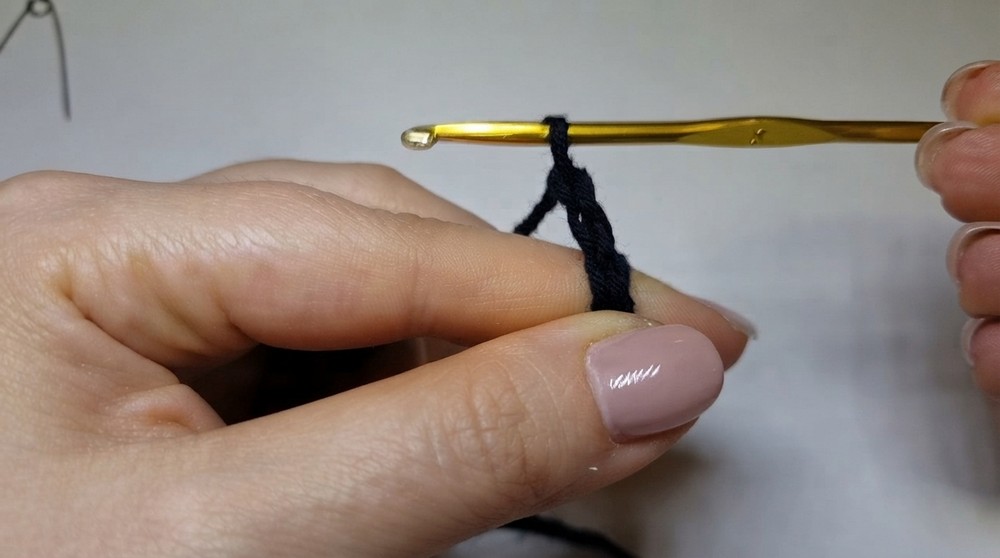
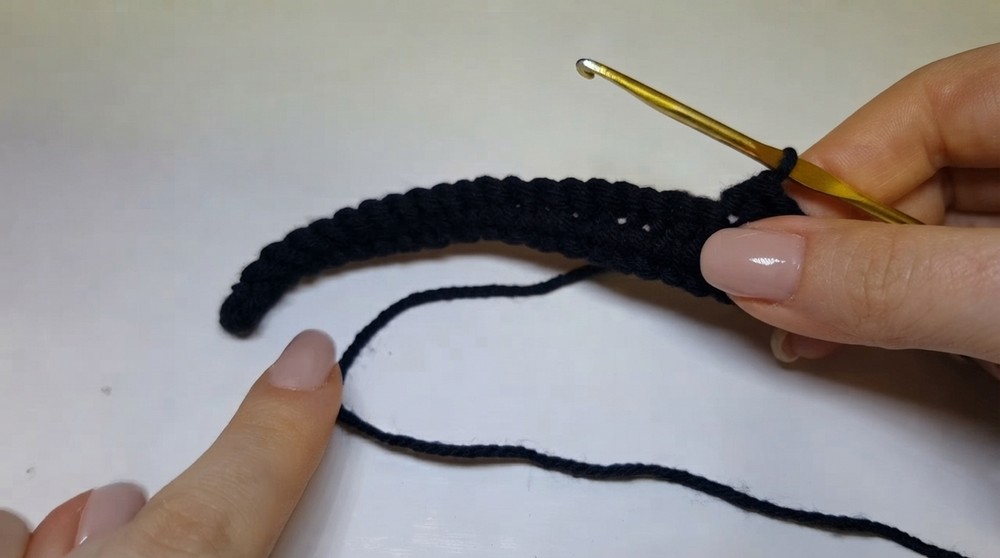
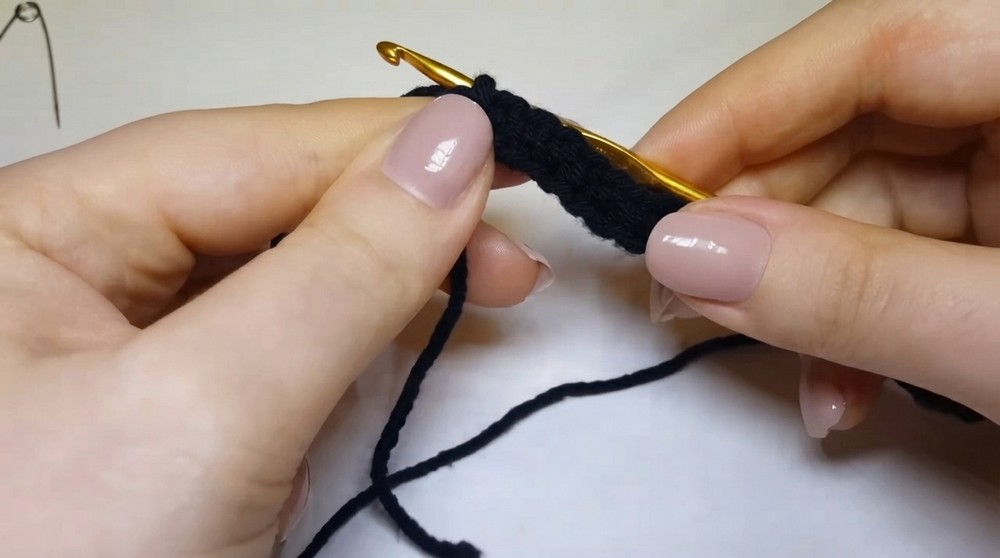
Step 3: Continuous Rounds of Single Crochet
- Place a stitch marker in the first stitch of the round to mark your starting point.
- Work 1 sc into each stitch around, continuing in a spiral. Do not slip stitch at the end of each round.
- Work a total of 10 rounds of single crochet. Ensure your tension is even as the bag starts to form upward.
- After completing all ten rounds, close the final stitch with a sl st, cut the yarn, and pull it through to secure.
Creating the Striped Accent (Orange Yarn)
Step 4: Joining the Contrast Color (Orange Yarn)
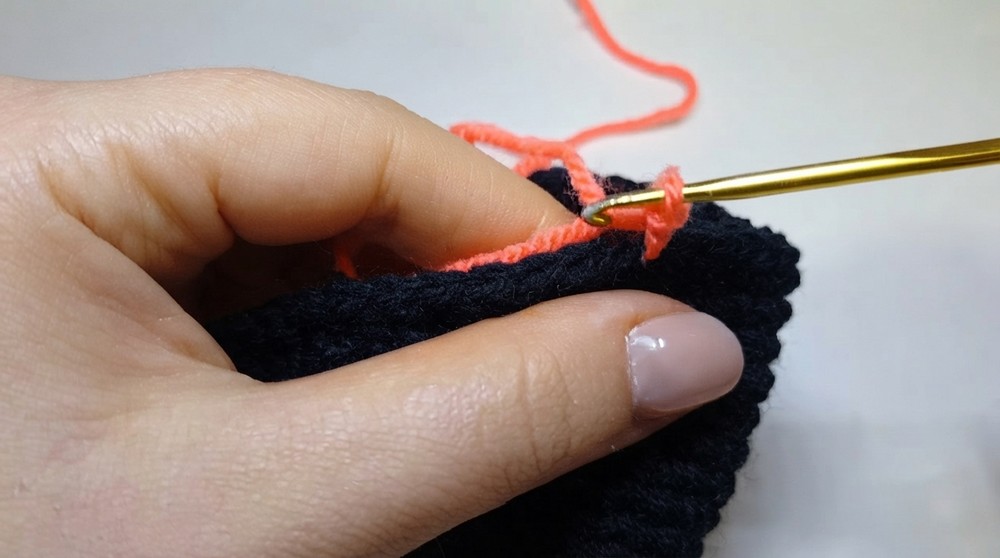
- With the orange yarn, create a slipknot.
- Insert your hook into any stitch on the top edge of the finished blue section.
- Pull the orange yarn through the stitch and secure it by working 1 sc into the same stitch.
Step 5: Rounds in Orange Yarn
- Work 1 sc into each stitch around for the full circled edge.
- Complete 2 rounds with the orange yarn.
- After the second round, close with a slip stitch, cut the yarn, and weave in ends.
Adding the Final Rows (Return to Blue Yarn)
Step 6: Rejoining the Blue Yarn
- Reattach the blue yarn to any stitch on the top orange edge using a slipknot.
- Work 1 sc into the same stitch to secure the yarn.
Step 7: Final Rounds with Blue Yarn
- Work 1 sc into each stitch along the full edge using the blue yarn.
- Complete 2 more rounds in blue, ensuring tight stitches for a clean finish.
- Close the last stitch with a sl st, cut the yarn, and use the tapestry needle to weave in the loose ends.
Making the Crochet Flower Decoration
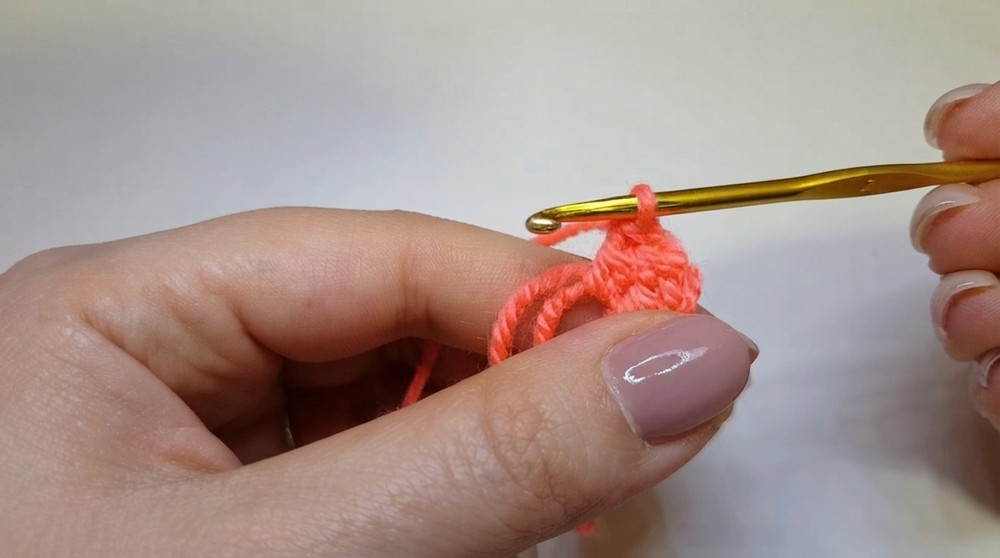
- With the orange yarn, create a magic ring.
- Work 2 chains into the magic ring (counts as your first dc).
- Work 2 dc into the magic ring.
- Finish the petal by working a sl st into the ring.
- Repeat the same sequence (2 ch, 2 dc, sl st) until you have four petals.
- Pull the tail of the magic ring tight to close the center of the flower.
- Fasten off the yarn and weave in the ends with the tapestry needle.
- Use a hot glue gun or thread to attach the flower to the pochette. Add a small rhinestone or bead in the center for extra sparkle (optional).
Assembly & Optional Closure
Velcro Option (No Sew Method)
- Measure the top opening of the pochette. Cut Velcro tape in the appropriate size.
- Attach one side of the Velcro to the inside front edge of the opening and the other side to the inside back edge.
- Use the adhesive backing to stick the Velcro or reinforce it with hot glue for durability.
Zipper Option (Sewing Method)
- If you prefer to use a zipper, choose a suitable size that matches the width of your pochette’s opening.
- Sew the zipper carefully in place by hand or with a sewing machine.
Conclusion and Ending Words
Your handmade crochet pochette is complete! Whether you’ve added a Velcro or zipper closure, you now have a functional yet stylish accessory. With its compact design and creative touches, this pochette is perfect for keeping your essentials organized or gifting to a loved one.