
Free Crochet Fish Amigurumi Pattern for Backpack Charms
Create a vibrant school of tropical sea creatures to liven up your summer pool party decor with this fun free crochet fish pattern.
Bright colors, playful shapes, and a touch of personality, this little fish has it all. These adorable crochet fish amigurumi are not only charming but also packed with endless possibilities for customization. Their rounded bodies and cute tails make them a true standout, perfect for adding a fun accent to keychains, gift boxes, or even kids’ playrooms.
Free Crochet Fish Amigurumi Pattern to Style Shelves
You can adjust their size easily by switching up the thickness of the yarn. Smaller ones make eye catching keychains, while larger ones are wonderful as tiny plush toys or keepsakes. Don’t have googly eyes? No problem—you can replace them with rhinestones, beads, or even customize your fish using fabric paint for a unique, personal twist.
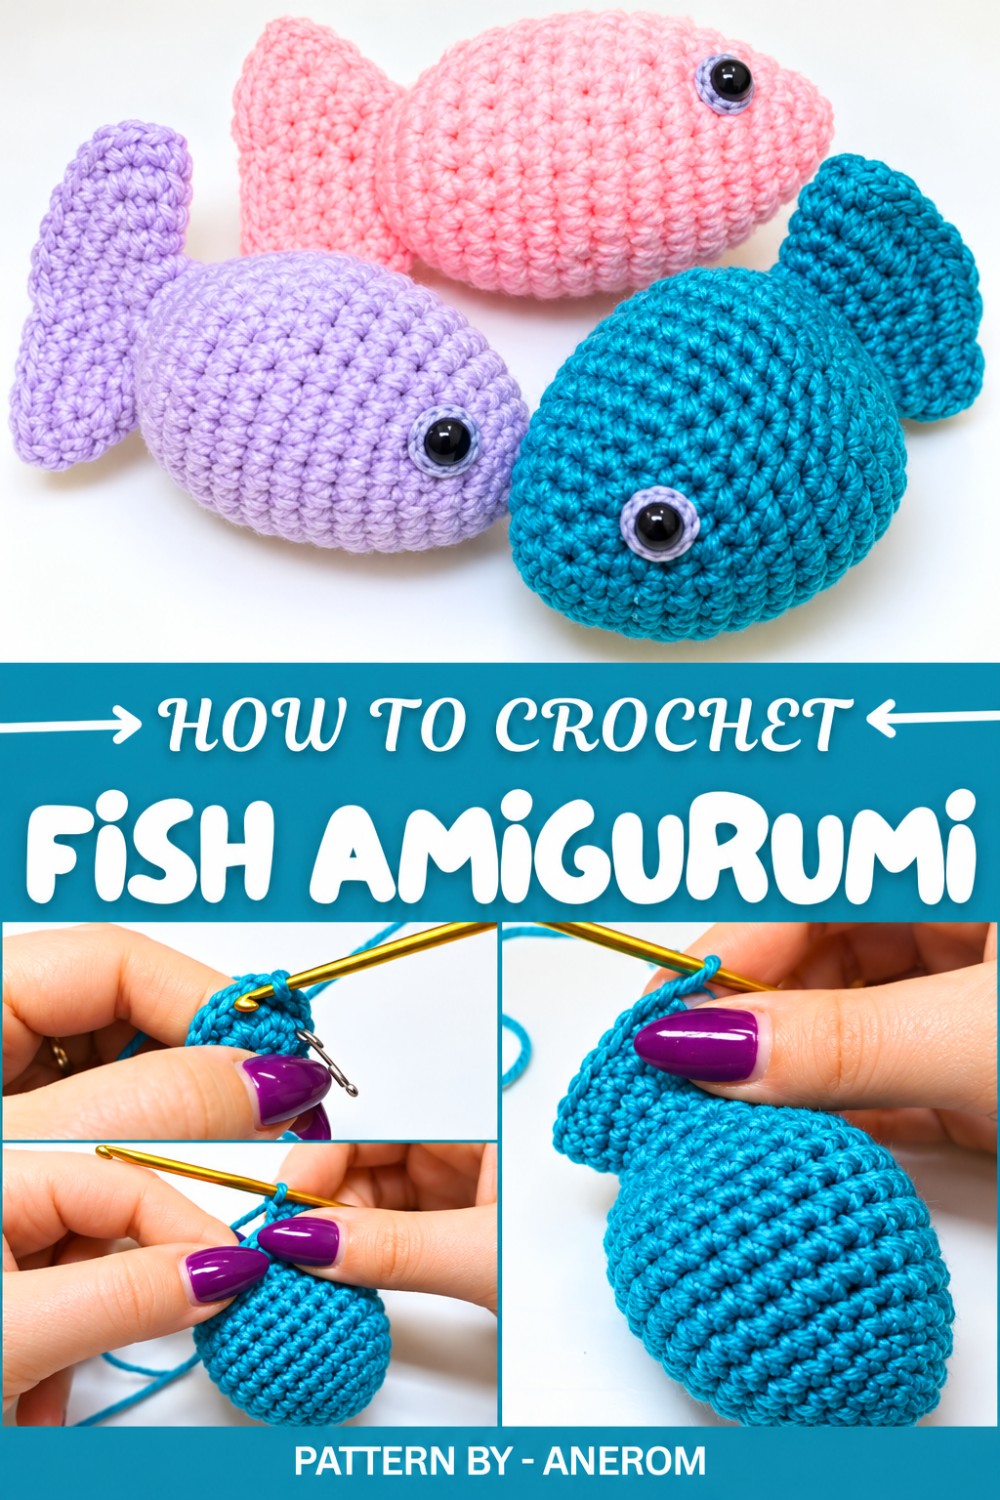
The process for making these charming fish is refreshingly simple and beginner friendly. It all starts from the base and builds up using basic crochet techniques like single crochet stitches, increases, and decreases. A small tail seamlessly finishes off the design, giving the finished product a cute, balanced look. Light stuffing gives the fish its characteristic puffiness and fun texture.
Featured By Anerom
Whether as adorable home decor or thoughtful gifts for loved ones, these crocheted fish bring joy through their playful design and bright colors. With just a few materials and simple steps, you’ll have a versatile, lovable keepsake to cherish or share.
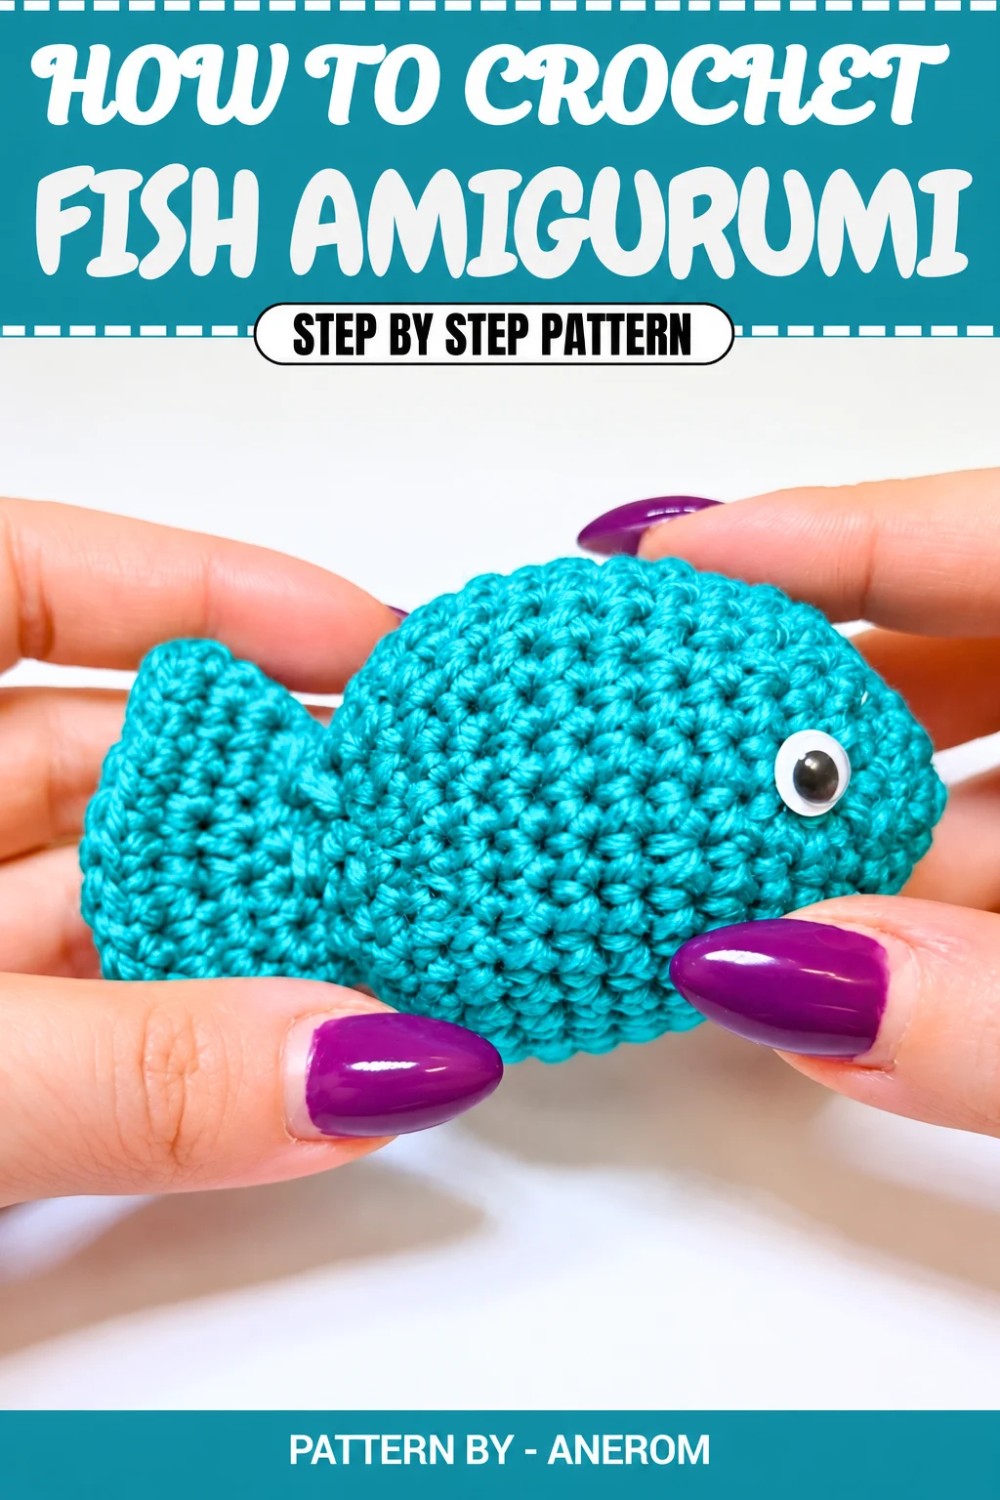
Crochet Fish Toy Pattern
Quick Overview of Pattern
- Beginner friendly amigurumi crochet design.
- Can be customized in size by changing yarn weight or hook size.
- Features a simple circular base with increases, followed by stuffing and assembly.
- Embellished with movable eyes, glued or sewn for added charm.
Notes
- Adjust the size of the fish by using thinner or thicker yarn.
- The pattern works in continuous rounds; use a marker to keep track of each round.
- Movable eyes can be glued to the fish or sewn using craft glue, hot glue, or adhesive alternatives.
Skill Level
Beginner – This pattern uses very basic stitches and is easy to follow for beginners.
Materials
- Yarn: Acrylic yarn, size 3 (or weight of your choice). Use green or any color for the fish.
- Crochet Hook: Size 3 mm hook (or suitable size for your yarn).
- Stuffing: Polyester fiberfill or cotton to stuff the fish.
- Movable Eyes: Craft eyes or alternatives like glitter dots or beads.
- Glue: Pattex glue or hot glue for attaching the eyes.
- Scissors: For trimming yarn ends and cutting materials.
- Tapestry Needle: For weaving in ends and completing final touches.
- Stitch Marker: To keep track of the rounds.
Measurements / Sizing
The final size of the fish depends on the yarn used:
- Using size 3 yarn, the fish will measure approximately 2 to 3 inches long.
Gauge
Gauge is not critical for this project. However, ensure tight stitches to prevent stuffing from showing through.
Stitch Abbreviations
- ch = chain
- sc = single crochet
- st(s) = stitch(es)
- inc = increase (2 single crochets in the same stitch)
- dec = decrease (combine two stitches into one)
- magic circle = magic ring
Special Stitches
- Magic Circle: Used to start crocheting in a tight ring for amigurumi.
Crochet Pattern Steps
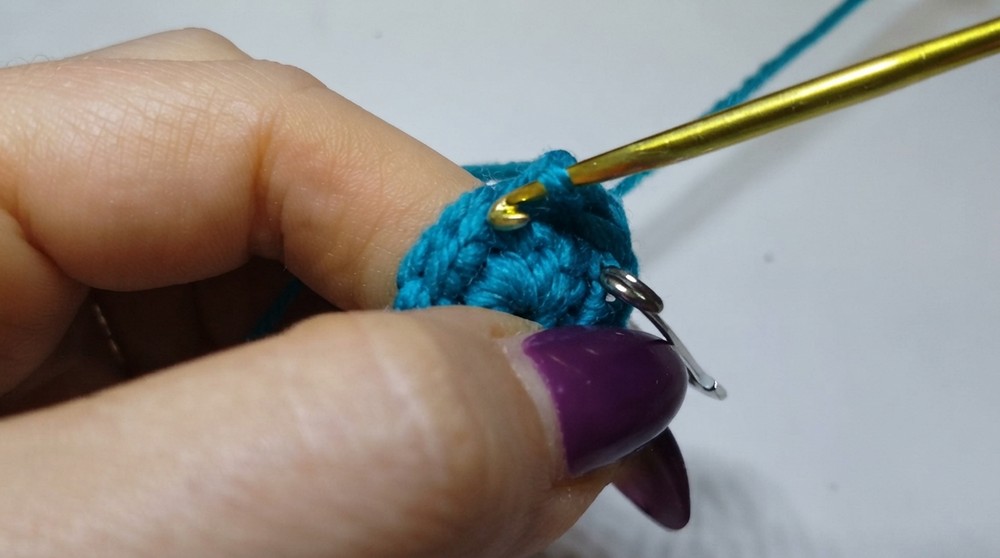
1. Start with the Magic Ring
- Begin with a magic ring to work in the round.
- Crochet 6 SC inside the ring. (6 stitches in total).
- Tighten the magic ring by pulling the yarn tail securely.
2. Shape the Fish Body with Increases
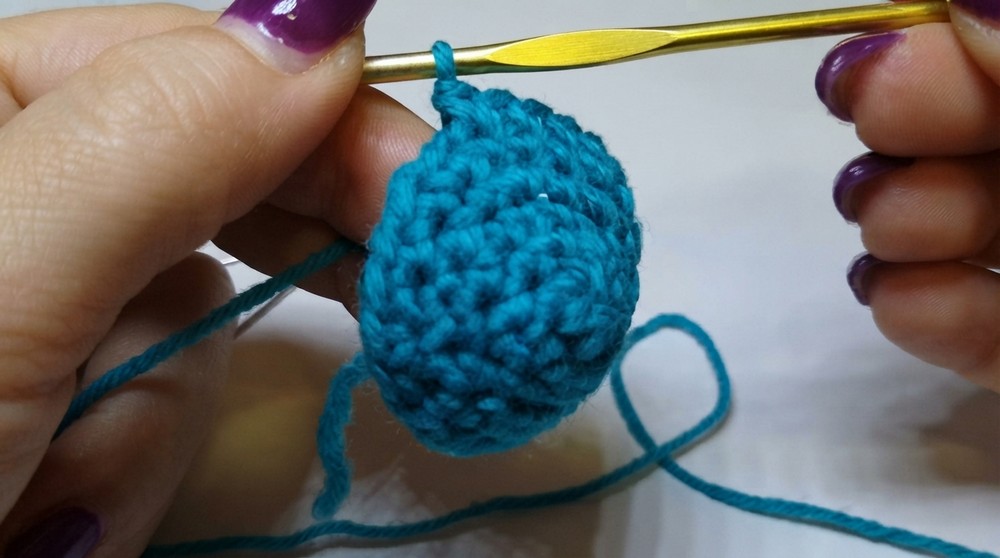
- Round 2: Work 6 increases (2 SC in each stitch) around to create 12 stitches in total.
- Round 3: Work 1 SC in each stitch (12 stitches).
3. Build the Body
- Round 4: 1 SC, 1 Inc, repeat around. (18 stitches).
- Round 5: Work 1 SC in each stitch to maintain the size. (18 stitches).
- Round 6: 2 SC, 1 Inc, repeat around. (24 stitches).
- Round 7: Work 1 SC in each stitch again to maintain the size. (24 stitches).
- Round 8: 3 SC, 1 Inc, repeat around. (30 stitches).
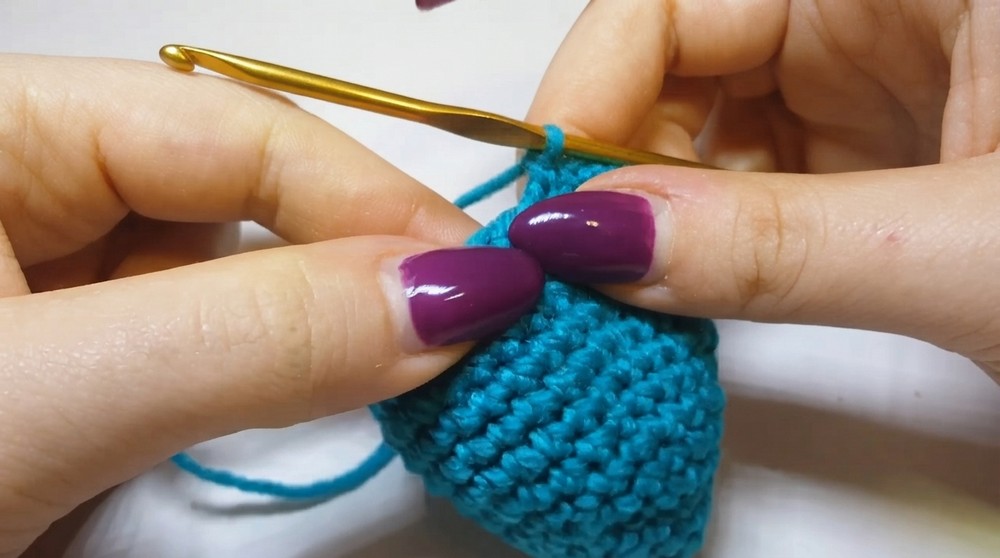
4. Extend the Fish Body
- Rounds 9 to 13: Work 1 SC in each stitch for 5 consecutive rounds to add depth and thickness to the fish’s body. (30 stitches per round).
5. Begin Shaping the Tail with Decreases
- Round 14: 3 SC, 1 Dec, repeat around. (24 stitches).
- Round 15: 2 SC, 1 Dec, repeat around. (18 stitches).
- Round 16: 1 SC, 1 Dec, repeat around. (12 stitches).
6. Add a Stabilizing Round
- Round 17: Work 1 SC in each stitch to stabilize the shrinking shape. (12 stitches).
7. Regrow the Fish Tail
- Round 18: 1 SC, 1 Inc, repeat around. (18 stitches).
- Round 19: 2 SC, 1 Inc, repeat around. (24 stitches).
- Round 20: 3 SC, 1 Inc, repeat around. (30 stitches).
- Round 21: 4 SC, 1 Inc, repeat around. (36 stitches).
- Round 22: Work 1 SC in each stitch to finalize the tail size. (36 stitches).
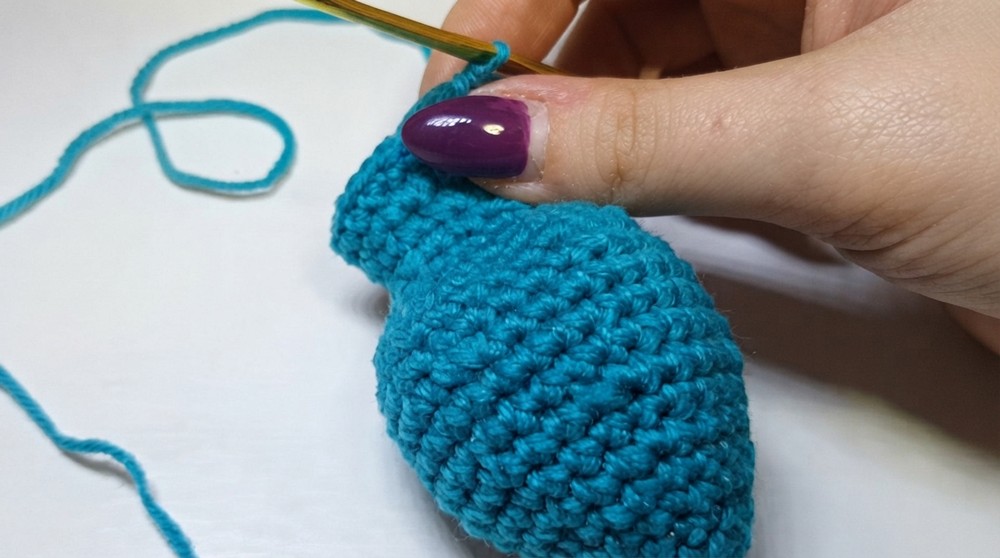
8. Finish the Fish
- Slip Stitch and Cut Yarn: In the next stitch, work a slip stitch to close the round. Leave a long tail for sewing, and pull the yarn tail through the stitch to secure.
Stuffing and Closing
- Stuff the Fish Firmly: Use polyester stuffing to fill the fish. Push firmly, especially into the tail, to achieve the desired shape. Avoid overstuffing to prevent stretching the stitches.
- Sew the Opening Closed:
- Thread the yarn tail onto your yarn needle.
- Weave the needle through the front loops of the remaining stitches, pull tightly to close the gap, and secure with a knot.
- Insert the needle back into the fish, hiding the end inside the body. Trim any remaining yarn.
Attaching the Eyes
- Position the Eyes: Choose the sideline where you want to attach the eyes. Place them near the center of the fish’s body.
- Glue the Eyes:
- Apply a small dab of glue to the back of each movable eye or alternative item like beads.
- Gently press the eye into place and hold firmly for a few seconds to ensure it sticks.
- Repeat on the opposite side of the fish.
- Secure the Eyes: If not using hot glue, allow the glue to fully dry before handling the fish to prevent moving or detaching the eyes.
Assembly & Final Touches
- Check the fish for any loose stuffing or fibers, and trim them away neatly.
- Optionally, you can add a small smile or gills using embroidery or felt.
Finished Size
Using size 3 yarn and a 3 mm hook, your fish should measure approximately 2 to 3 inches long, making it the perfect pocket sized toy or decoration.
Conclusion and Final Thoughts
Congratulations! You’ve completed your crochet amigurumi fish. Whether you’re using it as a playful decoration, a charming keychain, or a delightful toy for kids, this versatile design is sure to bring smiles. Try experimenting with different colors and sizes to create your own unique school of fish.