
Handmade Happiness: Free Crochet Orange Amigurumi Pattern
Make sweet crochet memories with this free orange amigurumi pattern that is simple fast and perfect for creating something fun and adorable with yarn.
When I first thought of designing a tiny crochet orange, the idea of a "Free Crochet Orange Amigurumi Pattern" felt perfect for adding a playful touch to any space. This project is small, simple, and absolutely adorable, think of it as a slice of sunshine you can hold in your hand. Its cute round shape, smooth texture, and vibrant orange hue make it an eye catching piece, whether you’re decorating your kitchen, gifting it as a fun token, or adding to your growing collection of handmade amigurumi fruits.
The orange is worked in the round using single crochet stitches, while increasing and decreasing create its classic spherical shape. A touch of fiberfill gives it just the right amount of plumpness. What makes this project extra fun is the addition of the little green leaf and "stem" (or torsolo). These elements, crocheted separately and sewn on later, give the orange its lifelike touch. You could even personalize it by adding a face using felt or embroidery, turning it into a cute little character.
Learn how to Crochet the Cutest Orange Amigurumi Free Pattern
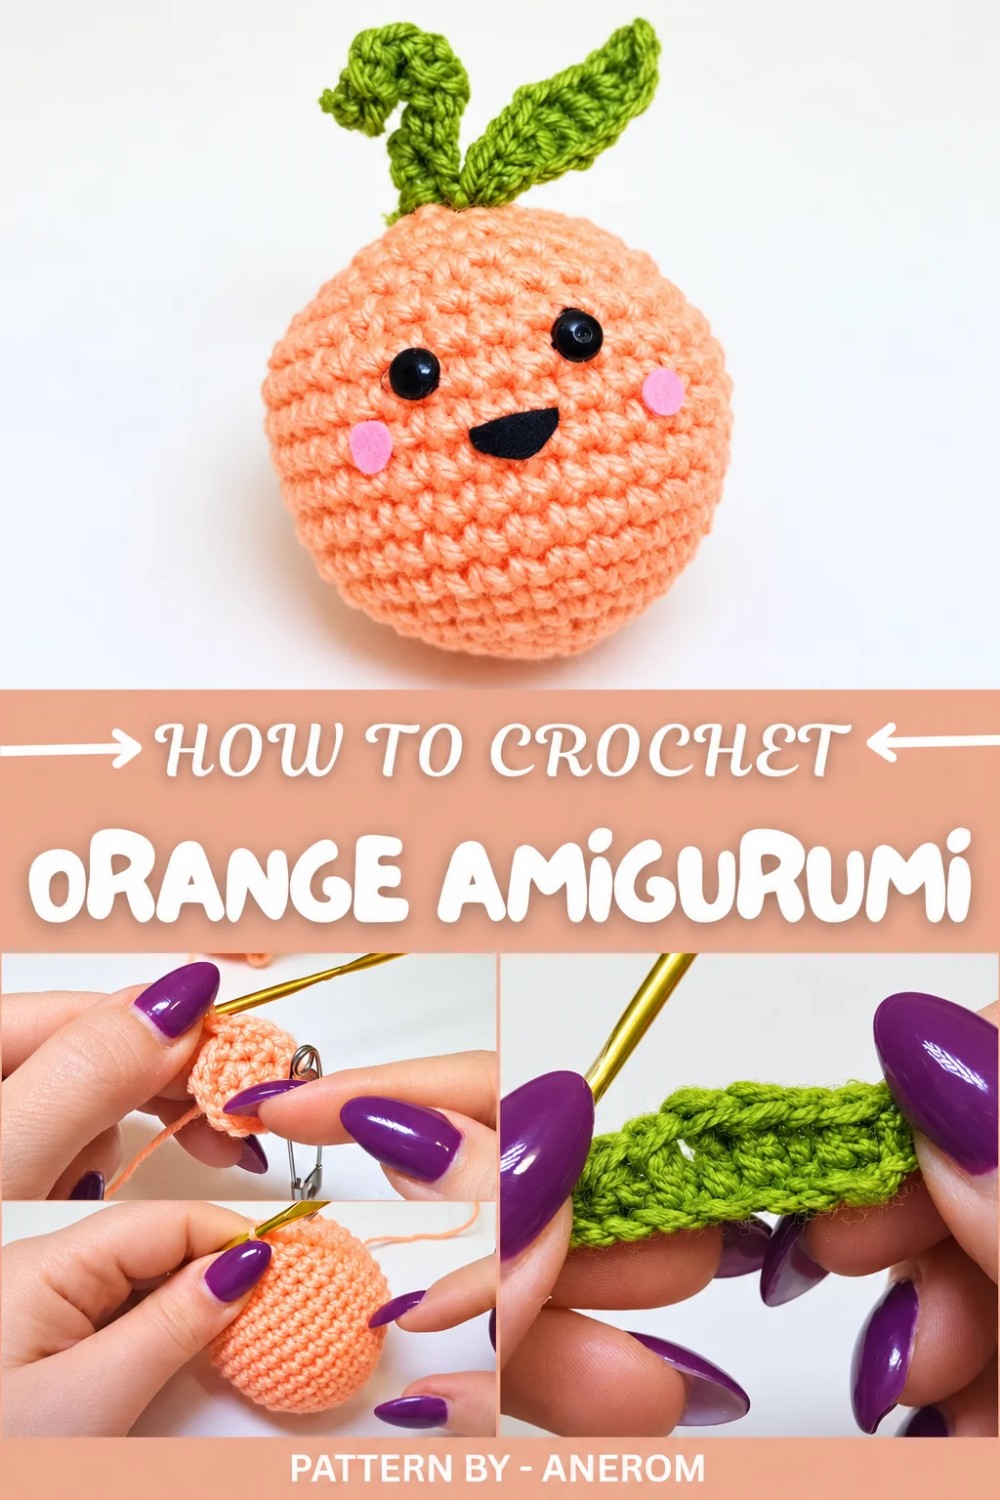
When it comes to choosing yarn, I found that a lightweight cotton or acrylic blend works best. It provides a smooth texture, which complements the evenness of single crochet stitches. A bright, vibrant orange adds to the cheerful charm, and a subtle green shade is perfect for the leaf and stem details.
Pattern By Anerom
My inspiration for creating this design came from my love of vibrant fruits and whimsical décor. It’s amazing how something so simple can brighten your mood and bring the joy of handmade creations into your space. Plus, it’s quick enough that you could pair it with other fruits, like lemons or strawberries, for a full set of crochet fun.
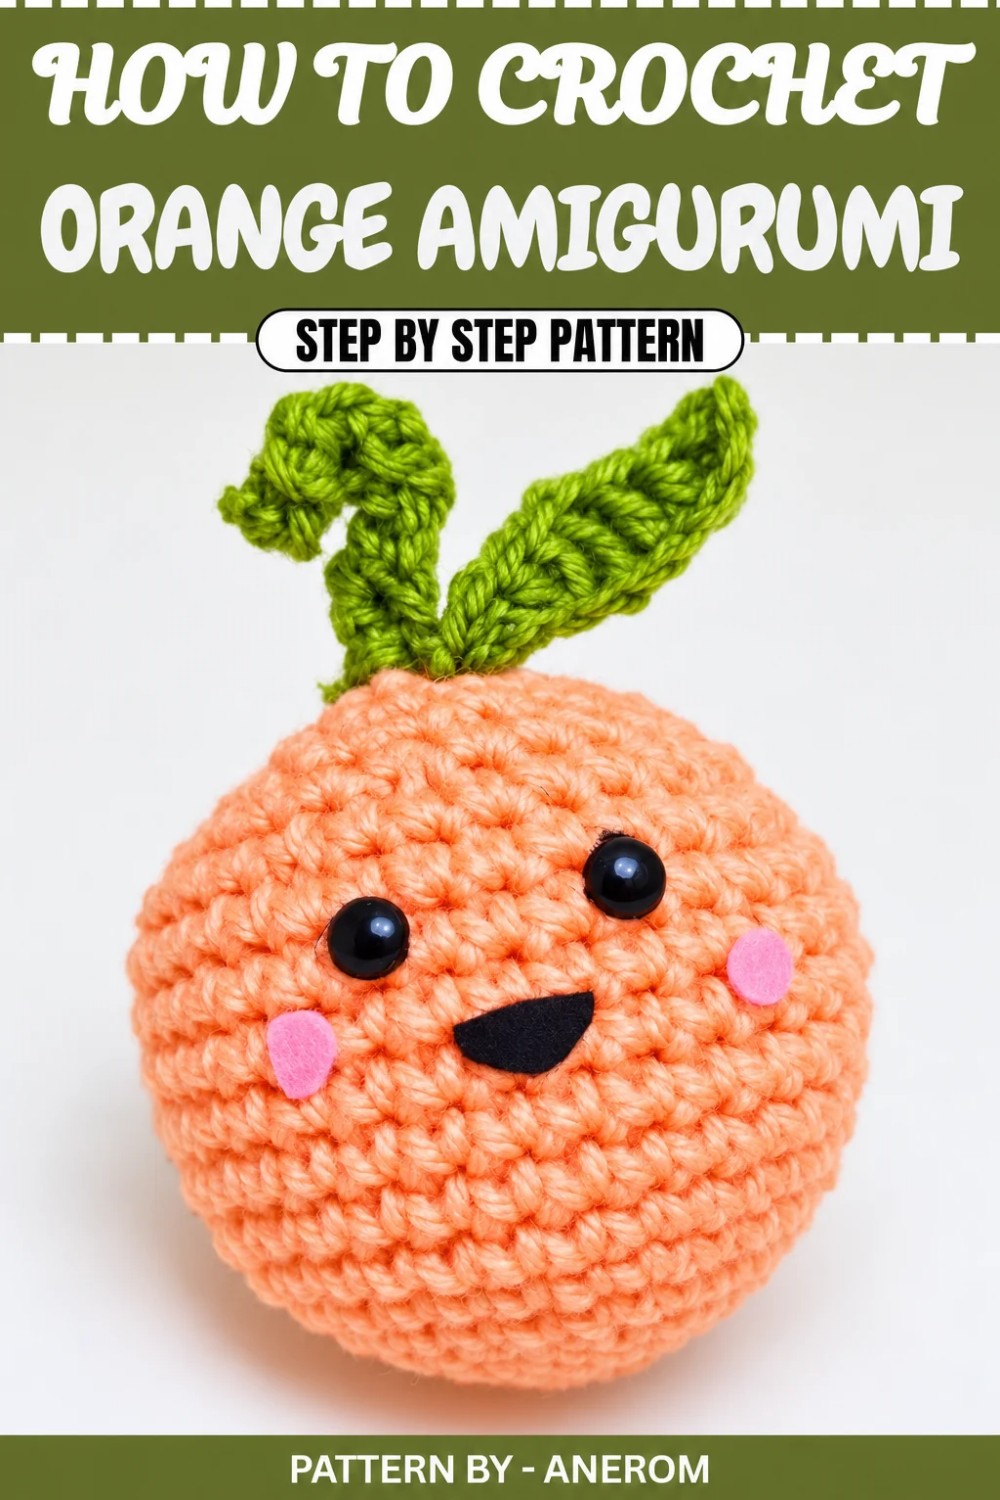
Crochet Amigurumi Orange Pattern
Quick Overview of Pattern
- Project Name: Crochet Amigurumi Orange
- Design Style: Realistic miniature fruit with optional smiley details
- Purpose: Suitable for decorations, toys, or gifts
- Ease of Project: Quick and beginner-friendly crochet with optional felt embellishments
Notes
- The orange requires repetitive rounds of single crochet, plus simple increases and decreases.
- Add facial features using felt, glitter paper, or safety eyes for a playful look.
- The orange can benefit from being stuffed with polyester filling for a realistic, three-dimensional shape.
- For additional stiffness or durability, the orange can be stiffened with fabric glue or hairspray.
Skill Level
Beginner-Friendly. The project uses simple repetitive stitches and basic crochet techniques.
Materials
- Orange Yarn: Size 2.5 acrylic yarn, or yarn of your choice.
- Green Yarn: Size 3 acrylic yarn for the stem and leaf (adjust hook size accordingly).
- Hook: Crochet hook size 2.5 mm for the orange; hook size 3 mm for the green pieces.
- Stuffing: Polyester filling or cotton wadding.
- Scissors: To trim yarn.
- Yarn Needle: For sewing and weaving ends.
- Point Marker / Stitch Marker: To keep track of rounds.
- Optional Decorations: Felt, glitter paper, safety eyes, and black nail polish, depending on your desired style.
Measurements / Sizing
- Finished orange size: Approximately 5 cm in diameter when using the recommended yarn and hook sizes. Size will vary depending on adjustments to the number of rounds, yarn, and hook size.
Gauge
Gauge is not crucial for this project. Recommended hook and yarn sizes will result in an orange approximately 5 cm in diameter.
Stitch Abbreviations
- ch: Chain
- sc: Single Crochet
- sl st: Slip Stitch
Special Stitches
Magic Ring:
The orange begins with a magic ring to ensure a tight and seamless center.
Increase (inc):
Work 2 sc into the same stitch.
Decrease (dec):
Combine two stitches to form one. Insert hook into the front loop of the first stitch, then into the front loop of the second stitch (you’ll have 3 loops on hook). Yarn over and pull through two loops, then yarn over and pull through two loops again.
The Crochet Pattern
Step 1: Create the Orange Base
Round 1: Create a magic ring. Work 6 sc into the ring. Pull the tail to close the ring. (6 stitches total)
Round 2: Work 2 sc in each stitch around (increase in each stitch). You should now have 12 stitches total.
Round 3: Work 1 sc, inc around. Place the stitch marker in the first stitch of this row. Repeat the pattern until the marker (1 sc, inc). End with 18 stitches total.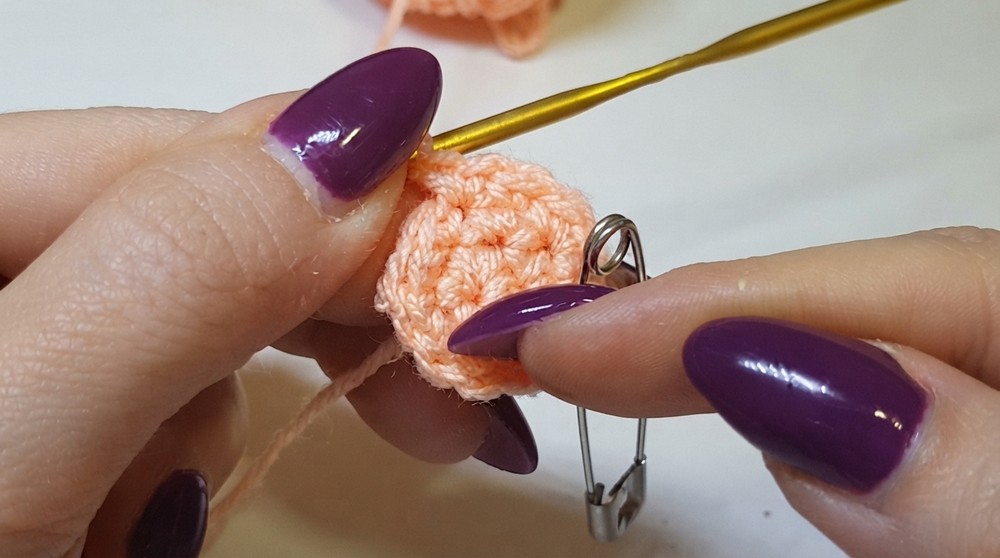
Round 4: Work 2 sc, inc around. Insert the stitch marker in the first stitch made. Repeat the pattern (2 sc, inc). You will now have 24 stitches total.
Round 5: Work 3 sc, inc around. Place the stitch marker in the first stitch. Repeat the pattern (3 sc, inc), ending with 30 stitches total.
Round 6: Work 4 sc, inc around. Mark the starting stitch with your marker as you go. Repeat the sequence of 4 sc, inc. Finish with 36 stitches total.
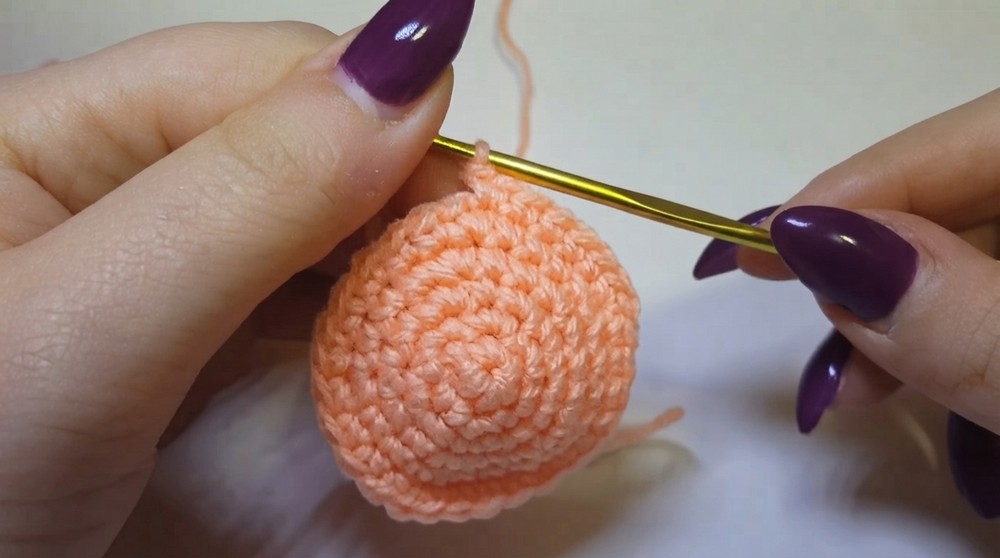
Round 7: Work 5 sc, inc around. Use the marker to note the beginning and end of the round. Repeat the pattern (5 sc, inc), completing 42 stitches total.
Round 8: Work 6 sc, inc around. You will now have 48 stitches total.
Once you've completed Round 8, you’ll notice your orange base has formed into a small, rounded shape.
Step 2: Orange Body Without Increases
Work 7 rounds of simple sc. As you work, insert the stitch marker every time you begin a new round to keep track. These rounds will stabilize the orange and give it a more spherical shape.
Step 3: Closing the Orange with Decreases
Round 9: Work 5 sc, dec around (repeat pattern until the end of the round). You should now have 42 stitches total.
Round 10: Work 4 sc, dec around. At the end, you’ll have 36 stitches total.
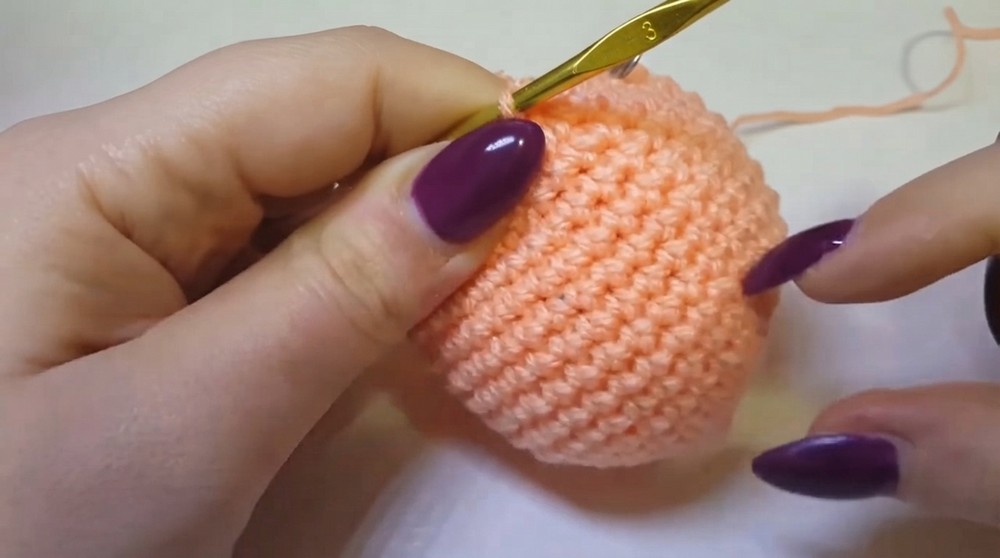
Round 11: Work 3 sc, dec and repeat the sequence across the round. You should now have 30 stitches total.
Round 12: Work 2 sc, dec around. Mark each stitch. At the end of the round, you should have 24 stitches total. Begin stuffing the orange with polyester filling at this point.
Round 13: Work 1 sc, dec around. You will have 18 stitches total.
Round 14: Work 6 decreases (dec)—one decrease after the other until the round is complete. You should have 6 stitches total.
At this point, your orange should be completely stuffed and rounded. Use a yarn needle to thread the remaining tail through the last stitches to close the small hole at the top.
Step 4: Create the Leaf
- With green yarn, create a slipknot on your hook and chain 8 (ch 8).
- Turn back to begin working into the chains. In the second chain from the hook, work 1 sc.
- In the next chain, work 1 hdc, followed by 1 dc in the next chain.
- In the fourth chain, work 1 tr (yarn over twice, pull through two loops, pull through the next two loops).
- Continue with 1 dc, then 1 hdc in the next chain.
- In the final chain, work 1 sc.
- To complete the leaf, work a sl st into the next stitch. Fasten off.
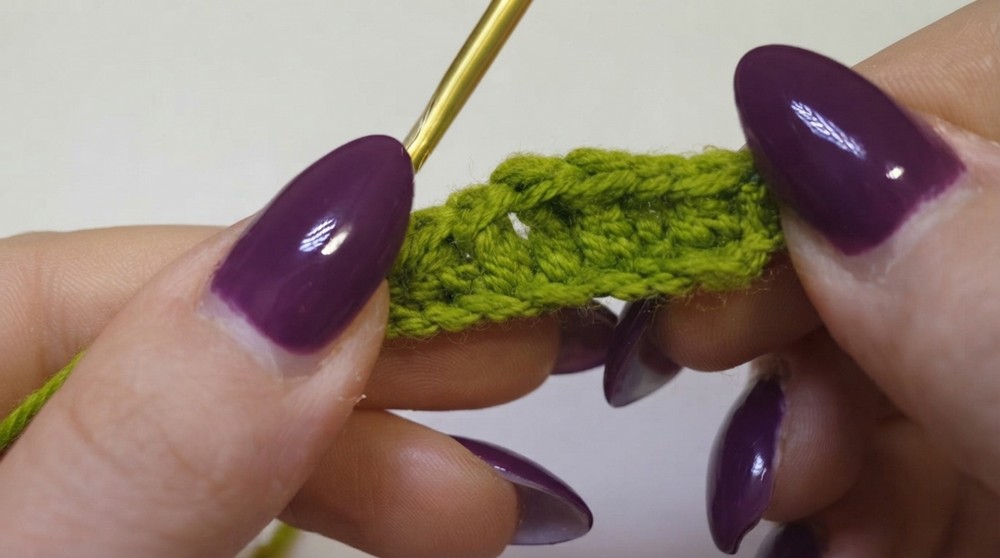
Step 5: Create the Stem
- With the same green yarn, make a slipknot and chain 10 (ch 10).
- Turn back to the chains and work 1 sc in each chain across.
- Chain 1 (ch 1), turn your work, and repeat 1 sc in every stitch across the row.
When the stem is long enough, fold it in half lengthwise and sew the edges to create a rounded shape.
Assembly & Finished Size
Step 1: Attach the Leaf and Stem
- Place the green stem on top of the orange and sew it securely using the yarn needle and remaining green yarn tail.
- Position the leaf next to the stem, using the yarn tail to attach it to the orange.
Step 2: Embellishments (Optional)
- For an added touch, give your orange a fun personality by adding a smiley face.
- Cut eyes out of glitter paper or felt and attach them using glue. If you cannot find black glitter paper, paint the eyes with black nail polish.
- Cut the mouth shape from felt and glue it below the eyes.
Conclusion
Your crochet orange is now complete. Whether you decide to add a smiley face or leave it as a simple design, this project is a quick, fun way to craft cheerful gifts or decorations. The orange is an ideal addition to holiday décor, party favors, or children’s toys. Feel free to personalize the colors or add unique accents to make your piece stand out.