
Crochet Bright And Happy Emoticon With This Free Pattern
Start your next creative journey with crochet emojis using this free pattern that’s fun to make and lets you make colorful happy emoticon effortlessly.
Crocheted emoticons are creative, cheerful crafts that bring smiles wherever they are seen. With their vibrant colors and joyful expressions, these handmade emoticons can instantly make any space or accessory more fun. Whether you’re gifting someone a small token of happiness or adding a bright decoration to your desk, these designs are both playful and versatile. The unique mix of crochet work and felt accents gives the emoticons a delightful three dimensional touch, making them appear full of life.
Loved By Everyone: Free Crochet Happy Emojis Pattern
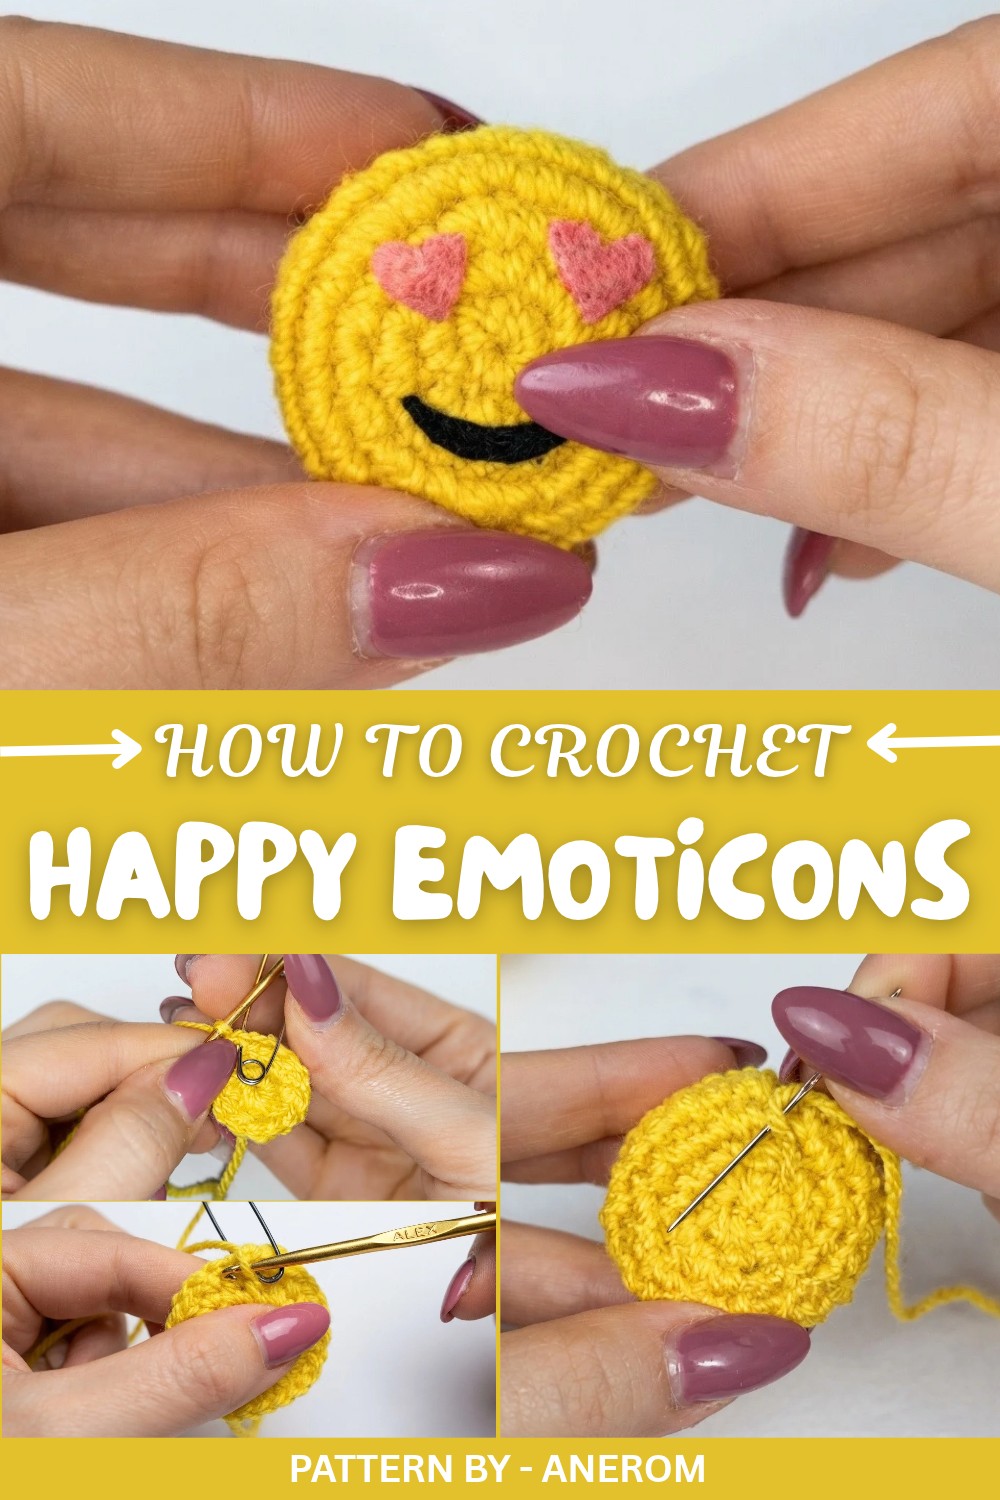
You’ll start by crocheting a round, glowing base in bold, sunny yellow using basic stitches, making this an excellent project for beginners. Once the base is complete, the magic happens with the addition of felt details. Small pieces of red and black felt come together to create adorable heart eyes, playful smiles, or any face of your choosing. These finishing touches transform the crocheted piece into a fun and personalized emoticon.
Inspiration From: Anerom
The channel Anerom provides clear, step by step instructions and useful tips to ensure that crocheters of all skill levels can create something wonderful. Her tutorial makes it easy to follow, while her creative ideas encourage viewers to experiment and customize their emoticons to match their unique style.
Crocheting these emoticons is not only easy but also incredibly fun. The combination of cheerful colors and charming expressions ensures your finished piece will radiate happiness. Whether you’re transforming it into a keychain, an ornament, or simply making a decorative piece to spread positivity, this crochet project is a fantastic way to express creativity and joy.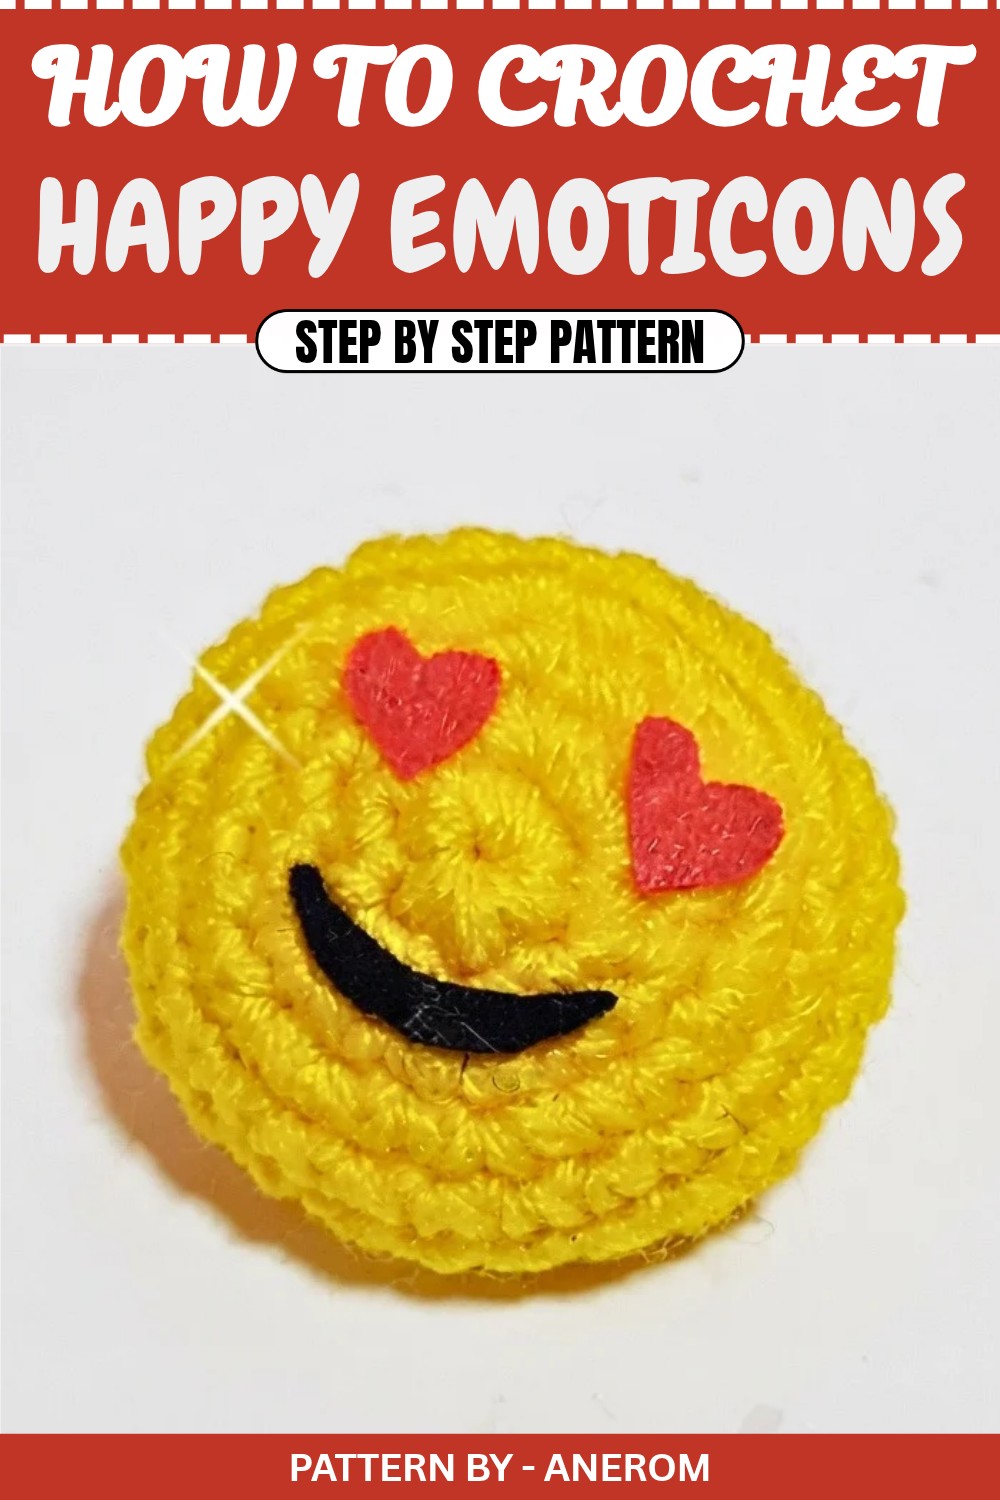
Simple Crochet Emoji Face Pattern
Quick Overview of Pattern
- Type: Crochet Emoji Face (rounded with simple features)
- Construction: Worked in continuous rounds starting with a magic circle.
- Use: Can be used as a keychain, tree ornament, or decoration.
- Customization: Create different emoji faces by adding simple facial features using felt or yarn.
Notes
- Use bright yellow yarn for the base to match the emoji theme.
- Felt pieces in black and red are used for facial features (e.g., a smile and eyes).
- This project is compact and perfect for using leftover yarn and materials.
- The finished piece can be stuffed with cotton or fiberfill for a soft and puffy look.
Skill Level
Beginner Friendly: Requires basic knowledge of crochet stitches (magic circles, single crochets, and decreases).
Materials
- Yarn: Bright yellow yarn (size 3 yarn weight recommended).
- Hook: Crochet hook size 3 mm.
- Felt: Small pieces of black and red felt for facial decorations.
- Glue: Fabric or hot glue to attach felt pieces.
- Needle: Tapestry needle for weaving in ends.
- Stuffing: Cotton or fiberfill.
- Additional: Scissors, keychain ring (optional).
Measurements / Sizing
- The finished size is approximately 5–7 cm in diameter (depending on yarn and hook size).
- Add more or fewer rounds to adjust the size.
Gauge
Gauge is not critical for this pattern since the size can vary based on your hook and yarn.
Stitch Abbreviations
- Ch: Chain
- Sc: Single Crochet
- Inc: Increase (2 single crochets in one stitch)
- Dec: Decrease (single crochet two stitches together)
- Sl st: Slip Stitch
Special Stitches
Magic Circle:
- Create a loop with the yarn, insert the hook into the loop, pull up a loop, and chain 1 to secure. This forms an adjustable ring into which the first round of stitches will be worked.
Invisible Decrease:
- Instead of inserting your hook through both loops, pick up only the front loops of the next two stitches. Yarn over and pull through both loops, then yarn over again and pull through the final two loops on your hook.
The Crochet Pattern
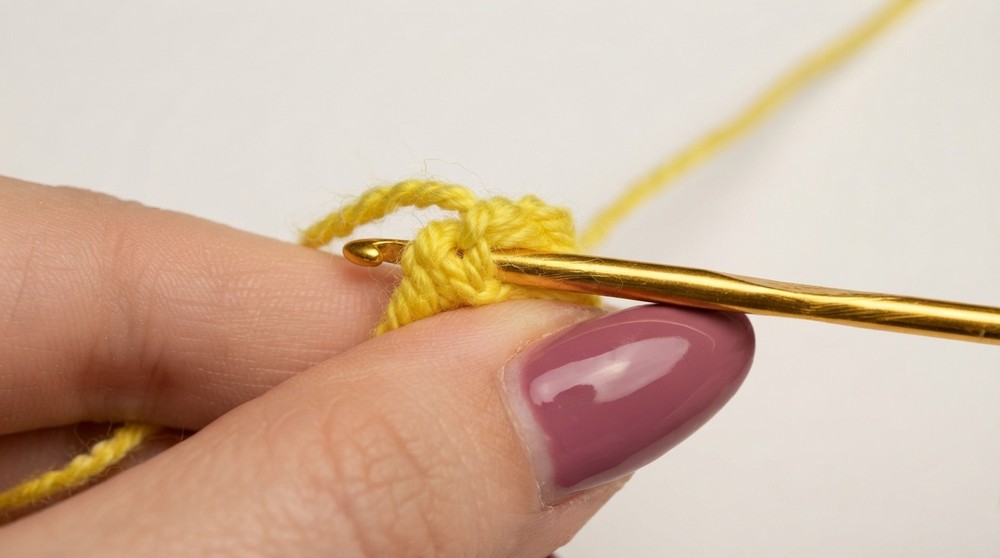
Round 1: Creating the Base
- Begin with a magic circle.
- Work 6 sc into the magic circle.
- Pull the loose yarn tail to tighten the circle.
- Total stitches: 6
Round 2: Increasing the Circle
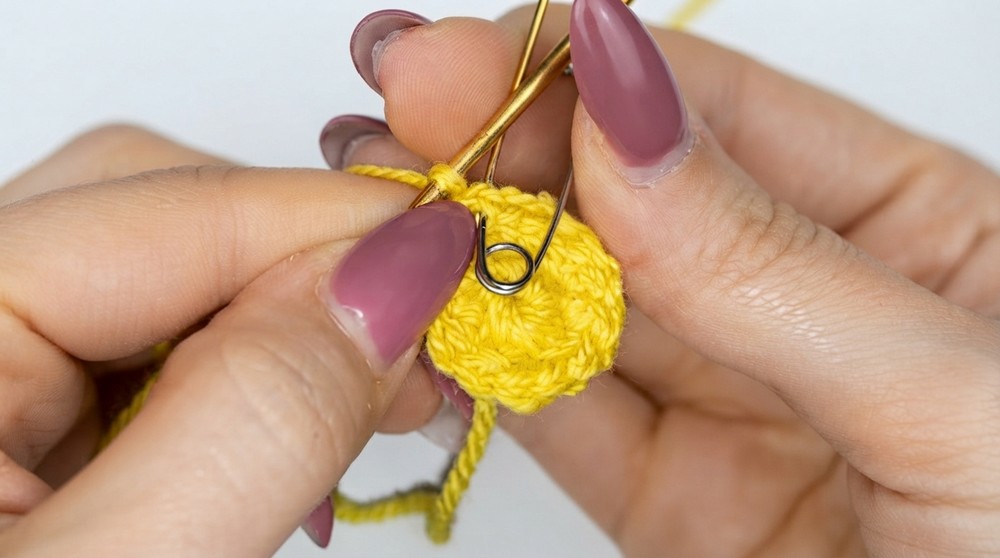
- Work 2 sc in each stitch around.
- You’ll have 6 increases, totaling 12 stitches by the end of the round.
Round 3: Building the Base
- Alternate between 1 sc in the next stitch and 1 inc in the following stitch.
- Example: Sc 1, inc; Sc 1, inc.
- Repeat this pattern around the circle.
- Total stitches: 18
Round 4: Expanding Further
- Alternate between 2 sc and 1 inc in the next stitch.
- Example: Sc 1, sc 2, inc.
- Repeat around the circle.
- Total stitches: 24
Rounds 5–7: Maintaining Shape
- Work 1 sc in each stitch around for 3 complete rounds (no increases).
- Continue marking the beginning of each round with a stitch marker or yarn scrap.
- By the end of these rounds, you’ll have a flat, circular base with 24 stitches.
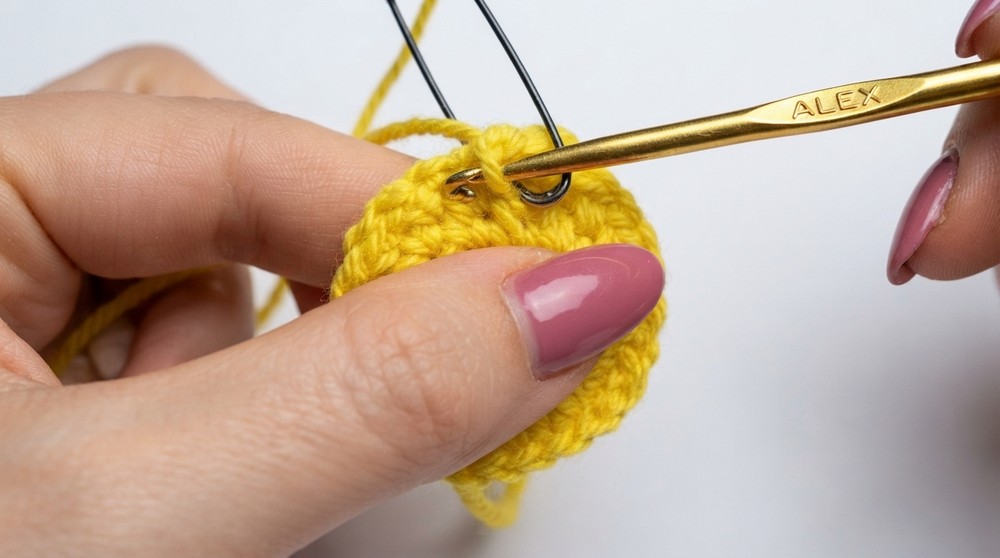
Round 8: Forming the Rounding (Decreasing Begins)
- Alternate between 2 sc and 1 dec to begin shaping.
- Example: Sc 1, sc 2, dec.
- Repeat around the circle.
- Total stitches: 18
Round 9: Further Decreasing
- Alternate between 1 sc and 1 dec around the circle.
- Example: Sc 1, dec.
- Repeat until the end of the round.
- Total stitches: 12
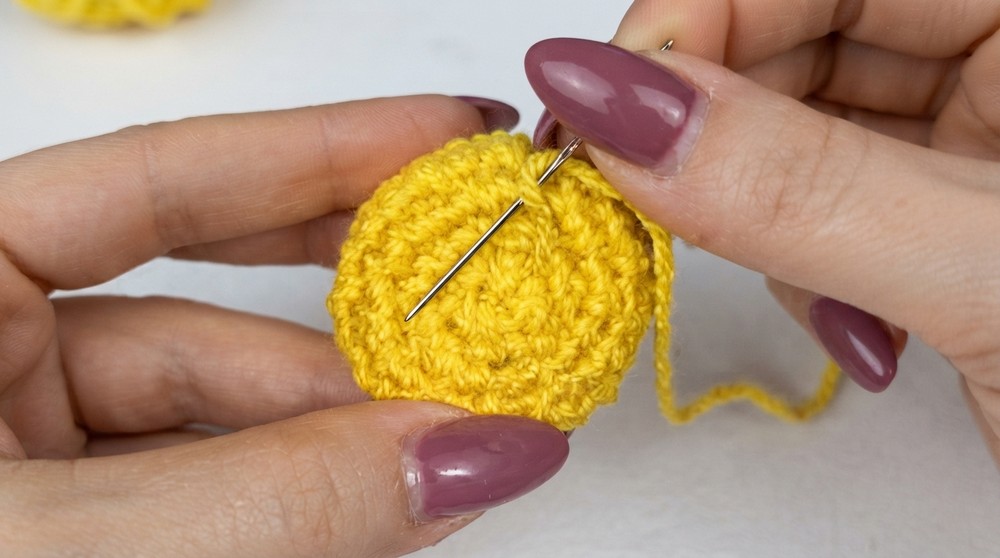
At this stage, your work should have a bowl like shape.
Stuffing the Emoji Face
- Before fully closing the piece, stuff the interior using cotton or fiberfill.
- Make sure to spread the stuffing evenly for a smooth, rounded appearance.
Round 10: Closing the Circle
- Work only sc decreases until closed.
- Example: Dec six times in total.
- Once six decreases are made, fasten off the yarn with a sl st, leaving a small tail.
- Use a tapestry needle to weave through the stitches along the edge to fully close the hole. Pull tightly to secure and hide the tail inside the piece.
Assembly & Adding Features
Step 1: Cut Felt Pieces
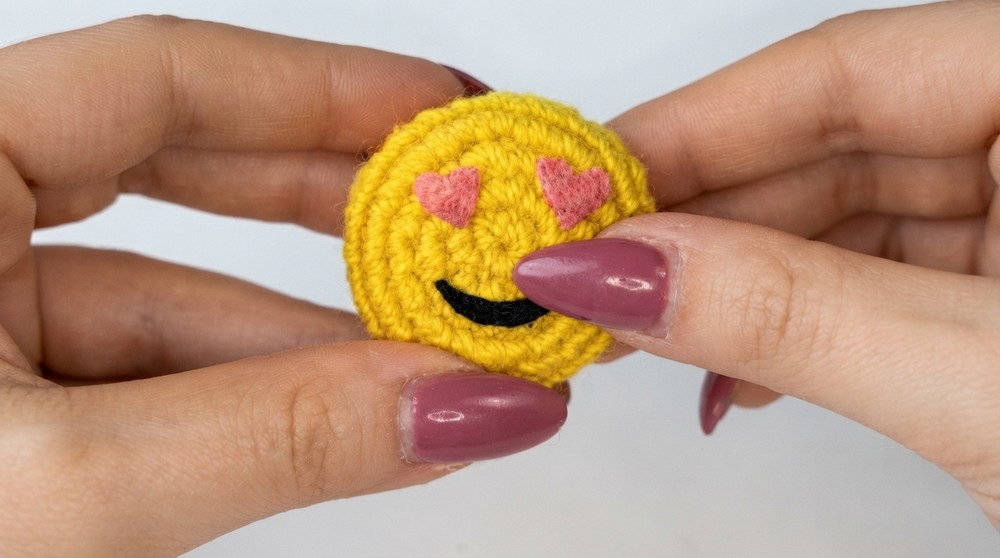
- Use red felt to cut out a small heart or mouth shape.
- Use black felt to cut out two small ovals for the eyes.
Step 2: Attach the Features
- Use fabric glue or hot glue to carefully attach the felt pieces to the front of the face.
- Position the black ovals as eyes and the red piece as the mouth or heart.
Step 3: Add Keychain or Hanger (Optional)
- To use it as a keychain, attach a keychain ring at the top with a strong thread.
- For a hanging ornament, crochet a small loop at the top using leftover yellow yarn.
Finished Size
- The finished emoji face should be rounded, soft, and approximately 5–7 cm in diameter.
Conclusion
Congratulations, You’ve now completed your crochet emoji face. This project is perfect for beginners and makes a great keychain, holiday ornament, or gift. Customize it with different features to create various emoji expressions.