
Quick Festive Free Crochet Tree Pattern for Free – Try it Out
Sprucing up your holiday dinner table is super simple when you follow this free crochet christmas tree pattern to make adorable standing pine centerpieces.
The holiday season always seems to bring an irresistible charm, twinkling lights, cozy evenings, and the thrill of decorating every corner with festive cheer. Amid all the hustle and bustle, there’s something uniquely special about adding a personal touch to your decorations. How about a delightful little Christmas tree that perfectly fits on a shelf or table, spreading joy wherever you place it?
Inspiration From
The Anerom YouTube channel is brimming with creative ideas, and this festive mini tree stands out as something truly special. With straightforward instructions and practical tweaks, Anerom takes you through every step to make this adorable project come to life. From shaping the cone to stuffing it for structure and sewing a neat base, the tutorial leaves no detail unexplained. Plus, styling tips such as bright ribbons and sparkling accents ensure your tree looks uniquely festive with a personal flair.
Free Crochet Christmas Tree Pattern that Brightens Desks
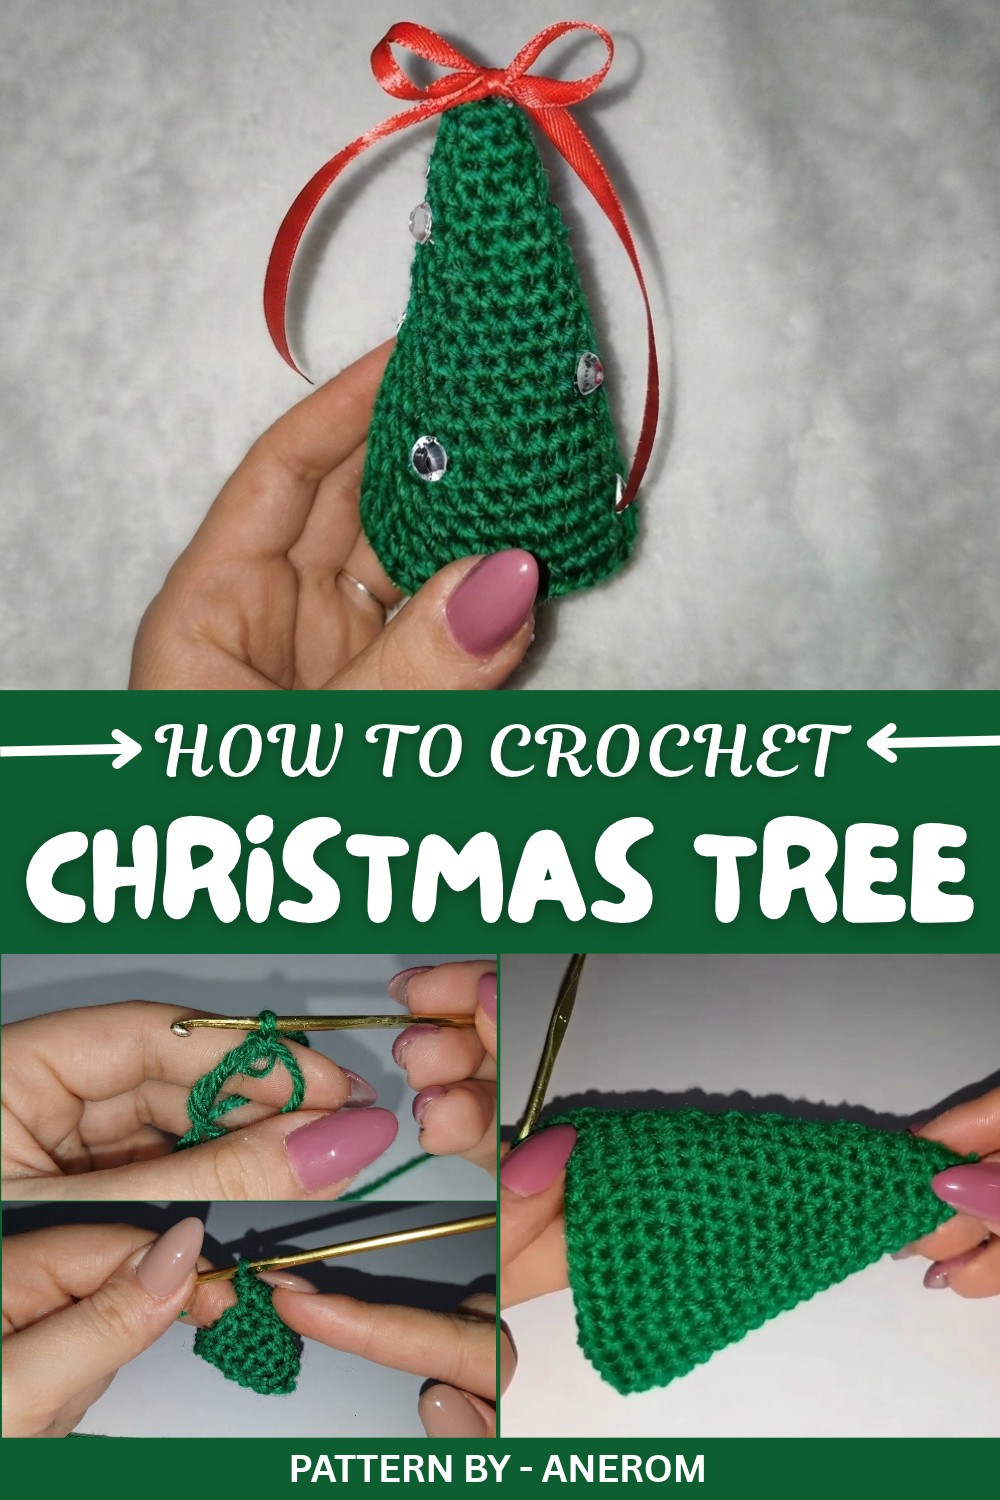
This charming cone shaped tree fits perfectly into any holiday setup, whether perched on your work desk or tucked into a cozy Christmas centerpiece. It’s a fun activity to add that warm, handmade touch to the holidays. Plus, thanks to Anerom’s guidance, adjusting the size is simple, so you can match it to your decor perfectly. Don’t forget to watch her other tutorials for even more inspiring ideas to get into the holiday spirit
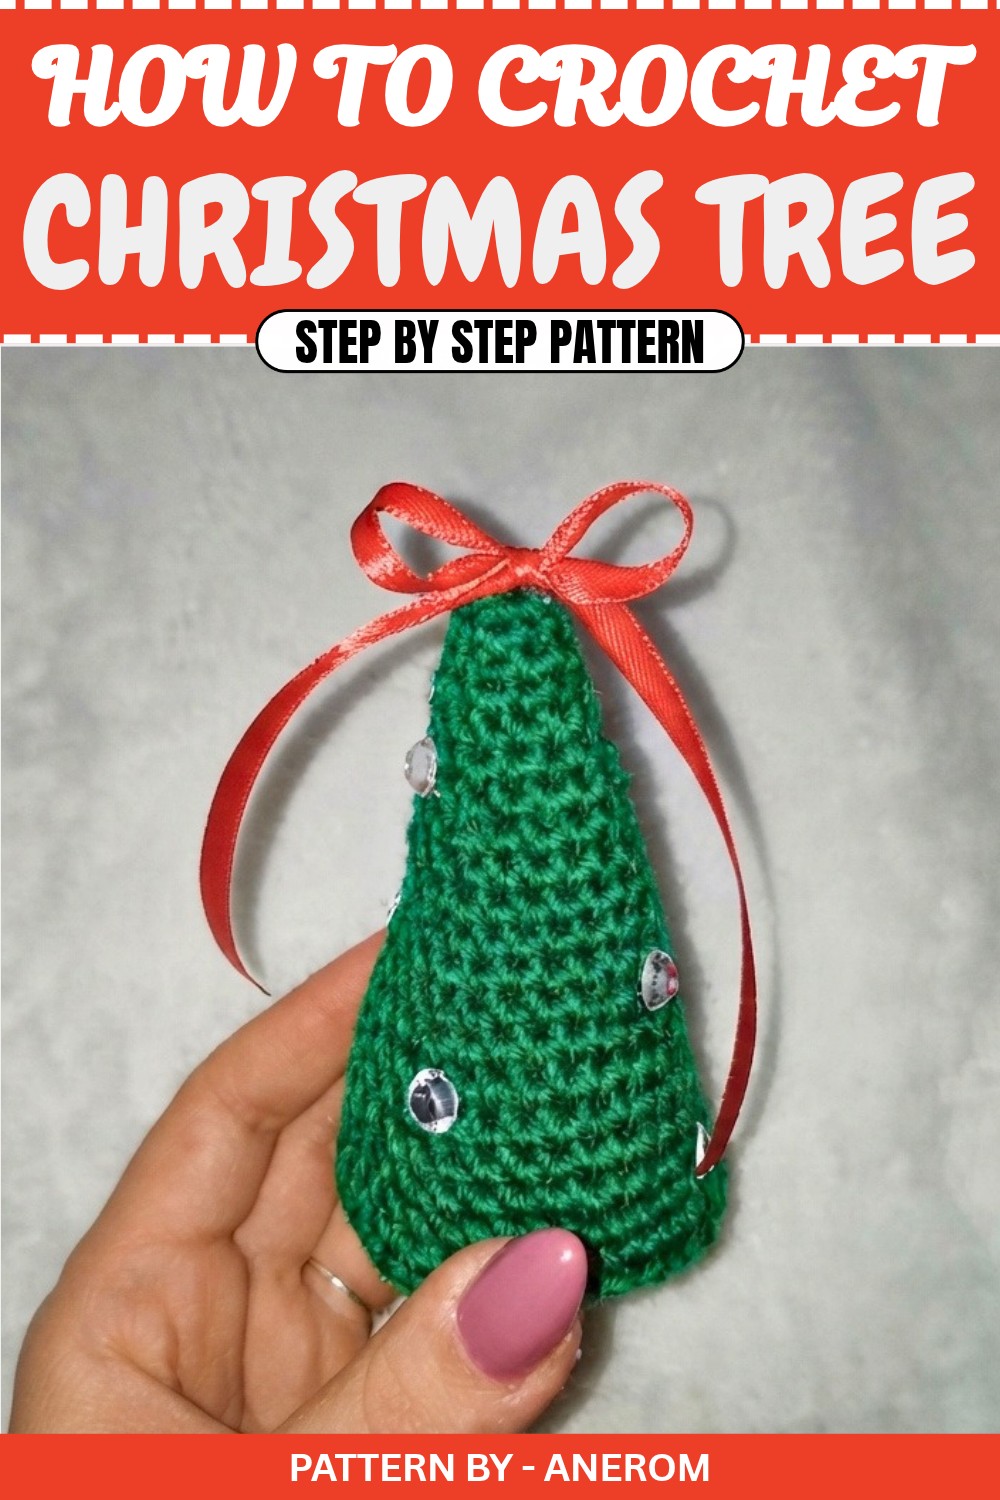
Crochet Christmas Tree Pattern
Materials
To make this crochet Christmas tree, you will need the following:
- Yarn: Green yarn, size 3 (or any color of your choice).
- Crochet Hook: Size 3 mm, perfectly paired with the yarn weight.
- Stitch Marker: To mark the start of each round.
- Scissors: For trimming yarn ends.
- Yarn Needle: Used for sewing and weaving in ends.
- Stuffing: Cotton or pillow filler to hold the tree’s shape.
- Decorations: Ribbons, beads, sequins, or glitter for accessorizing your tree.
Abbreviations
- MR: Magic Ring
- SC: Single Crochet
- Inc: Increase (2 SC in the same stitch)
- Sl St: Slip Stitch
The Crochet Tree Pattern
Tree Body:
You'll start the tree from the top (tip), working in continuous rounds without joining at the end of each round. Use a stitch marker to indicate the beginning of each new round for accuracy.
1.Round 1: Create a magic ring (MR). Work 6 SC into the magic ring. Pull the tail to close the ring tightly. (6 stitches)
2.Round 2: Work [1 SC, 1 inc]—repeat this sequence 3 times. (9 stitches)
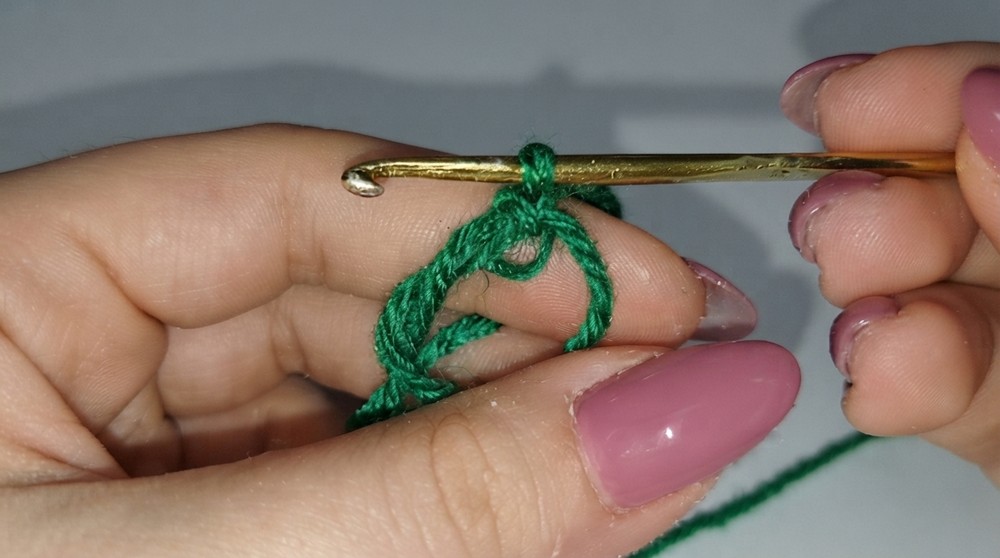
3.Round 3: Crochet 1 SC in every stitch around. (9 stitches)
4.Round 4: Work [2 SC, 1 inc]—repeat this sequence 3 times. (12 stitches)
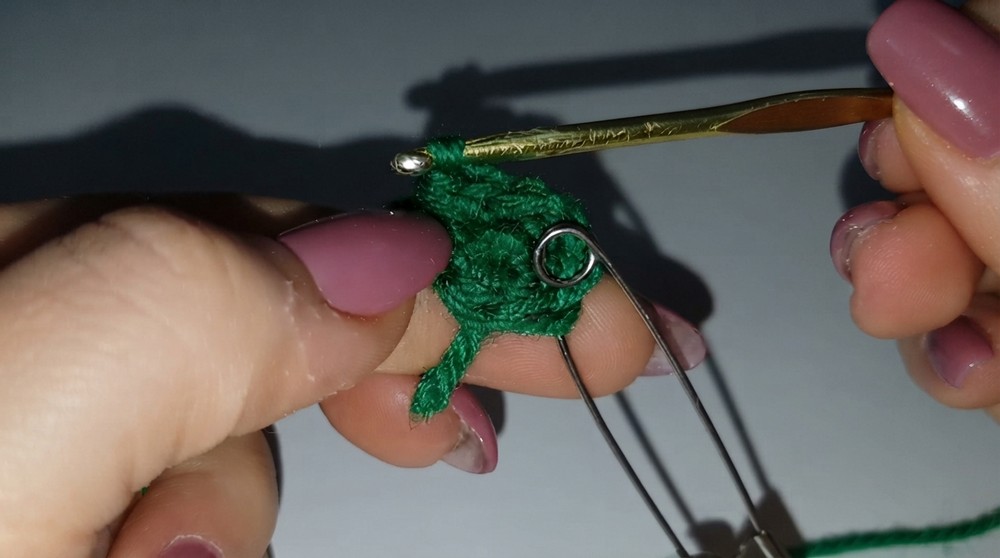
5.Round 5: Crochet 1 SC in every stitch around. (12 stitches)
6.Round 6: Work [3 SC, 1 inc]—repeat this sequence 3 times. (15 stitches)
7.Round 7: Crochet 1 SC in every stitch around. (15 stitches)
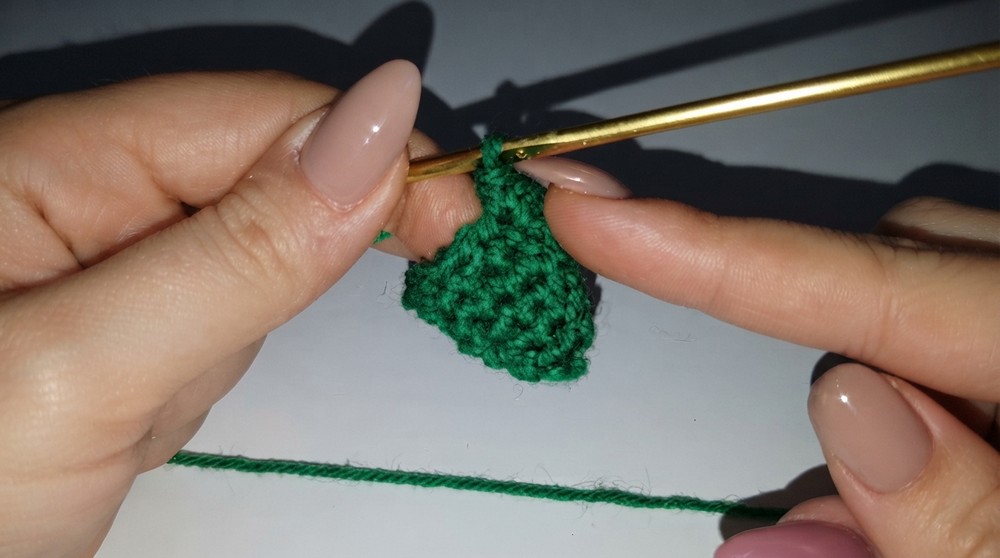
8.Round 8: Work [4 SC, 1 inc]—repeat this sequence 3 times. (18 stitches)
9.Round 9: Crochet 1 SC in every stitch around. (18 stitches)
10.Round 10: Work [5 SC, 1 inc]—repeat this sequence 3 times. (21 stitches)
Note: To adjust the size of the tree, continue this same sequence pattern:
- One round of increases (increase the SC count between each "inc").
- One round of plain SCs.
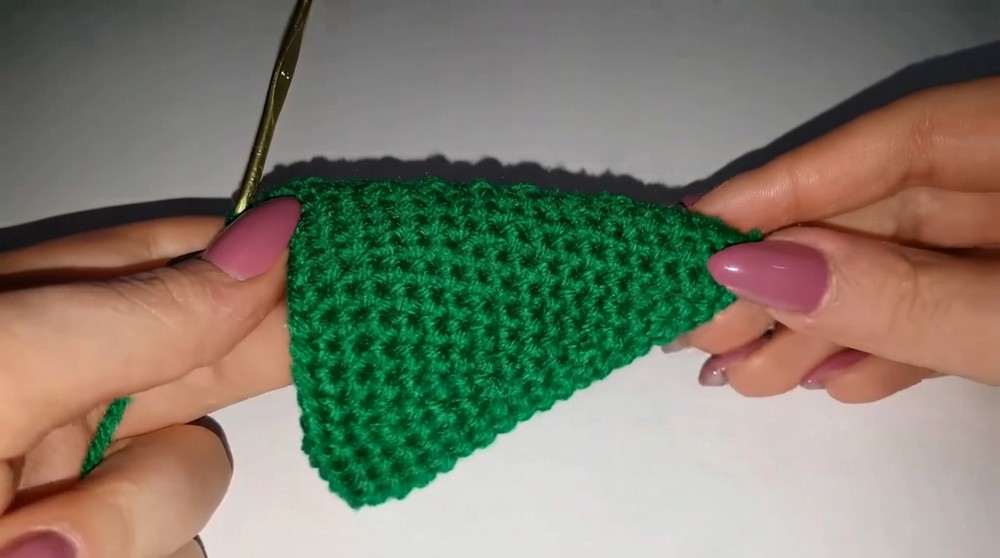
For example:
- Next round will be [6 SC, 1 inc], followed by a round of SCs.
- Then, [7 SC, 1 inc], followed by a round of SCs.
Repeat this sequence until you reach your desired height and a full tree shape. Keep in mind that the more increases and rounds you add, the wider and taller your tree will become.
Finish the Tree Body:
Once you are satisfied with the size of your tree:
- Work one slip stitch into the next stitch to even out the edge.
- Fasten off the yarn, leaving a long tail for sewing the base later.
Creating the Tree Base
The base will be a flat circle that ensures the tree stands upright when placed on a flat surface.
- Create a magic ring (MR) and work 6 SC into it. Pull the tail to close the ring tightly. (6 stitches)
- Round 1: Work [1 inc in every stitch] around. (12 stitches)
- Round 2: Work [1 SC, 1 inc]—repeat around. (18 stitches)
- Round 3: Work [2 SC, 1 inc]—repeat around. (24 stitches)
- Round 4: Work [3 SC, 1 inc]—repeat around. (30 stitches)
- Round 5: Work [4 SC, 1 inc]—repeat around. (36 stitches)
Tip: Continue increasing the circle size if you’ve made the tree larger. Once the circle base matches the width of your tree’s bottom, stop increasing.
Fasten Off the Base:
- After finishing the last round, make 1 slip stitch into the next stitch to even out the edge.
- Cut the yarn, leaving a long tail for sewing the base to the tree.
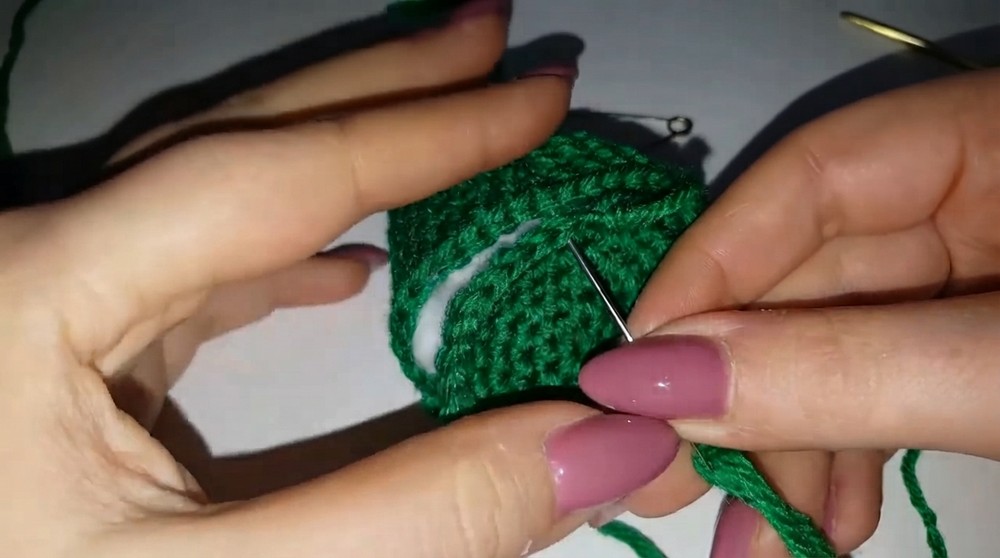
Assembly
1.Step 1: Stuff the Tree
- Using your stuffing material (cotton or pillow filler), begin to fill the tree from the top down.
- Make sure to pack the stuffing gently into the tip of the tree to give it a defined cone shape.
- Continue stuffing evenly down the body. Firmly pack the base with more stuffing to ensure the tree stands upright.
2.Step 2: Sew the Base to the Tree
- Place the flat circle (base) on the open bottom of the tree.
- Thread the long tail of the tree’s yarn onto your yarn needle.
- Use a whip stitch to carefully sew the base onto the bottom of the tree.
- Ensure there are no visible gaps between the base and the tree as you sew.
3.Step 3: Shape the Tree
Once the base is sewn on, use your hands to adjust the stuffing and shape the tree so it sits evenly.
Decorating the Tree
Get creative! You can decorate your tree with endless fun options:
- Ribbon: Add a small red bow to the tip of the tree or tie ribbons around it.
- Beads: Sew or glue beads onto the tree to mimic ornaments.
- Glitter: Add sparkle by sprinkling glitter or sequins onto the tree.
- Topper: Use felt to make a star and attach it to the tip of the tree.
Conclusion
Your Crochet Christmas Tree is now complete! This festive creation can be placed on your desk, gifted to friends, or used as part of your holiday table décor. Customize it further by varying the yarn color, increasing the size, or adding unique decorations.