
Free Crochet Monster Amigurumi Pattern to Style Desks
Spice up your home with adorable, colorful plush creatures crocheted from this crochet monster amigurumi pattern, perfect for creating a festive and spooky vibe for your Halloween.
Monsters don’t always have to be scary, they can be downright adorable. Meet the crochet monster amigurumi, a lovable character with stubby arms, tiny horns, and a playful face that will make you smile every time you see it. Whether perched on a shelf as a charming decoration or hugged tightly by a little one, this cuddly creation is guaranteed to spread joy wherever it goes.
Featured By World Of Amigurumi
Measuring around 10 to 12 cm, this small yet delightful amigurumi is the perfect size for gifting or collecting. A variety of yarn choices can be used to give each monster its own personality, from bold, vibrant shades to soft, pastel hues. Safety eyes and embroidered details add even more character, ensuring no two monsters look exactly alike.
Free Crochet Monster Amigurumi Pattern for Spooky Parties
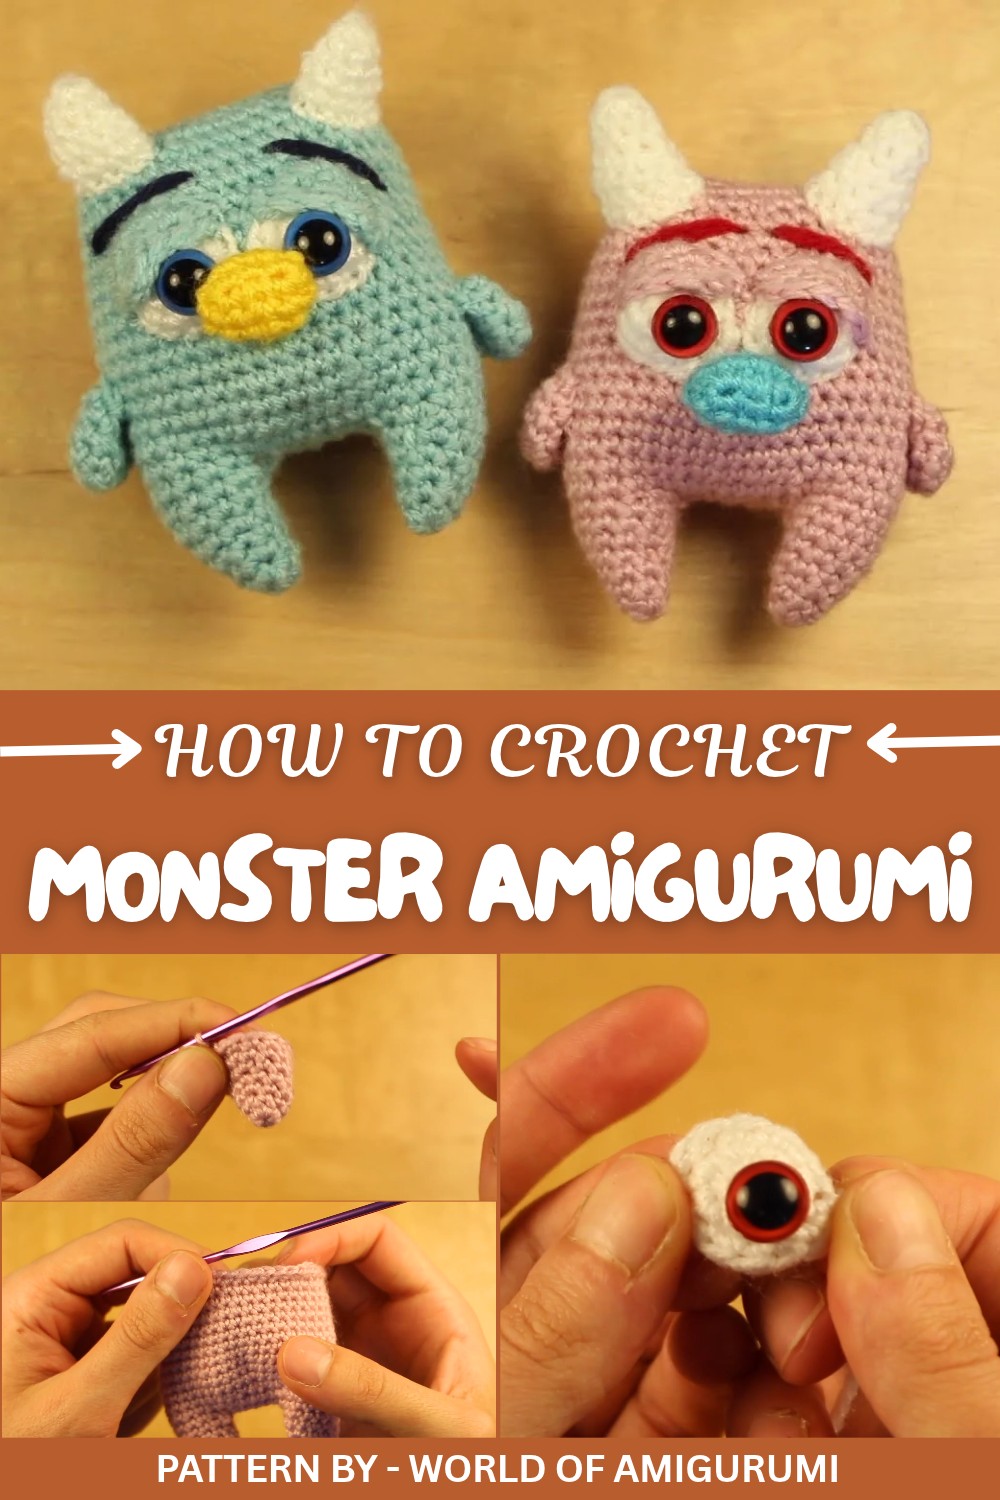
Designed with both beginners and intermediates in mind, this project builds skills like working in the round, shaping with increases and decreases, and sewing small features. The straightforward techniques used in this charming monster make it approachable for those new to amigurumi while still keeping experienced crocheters engaged.
Stitch by stitch, the crochet monster amigurumi becomes a lovable companion that’s ready to brighten any room or heart. Dive into this fun project and create a friendly creature that’s sure to be a favorite.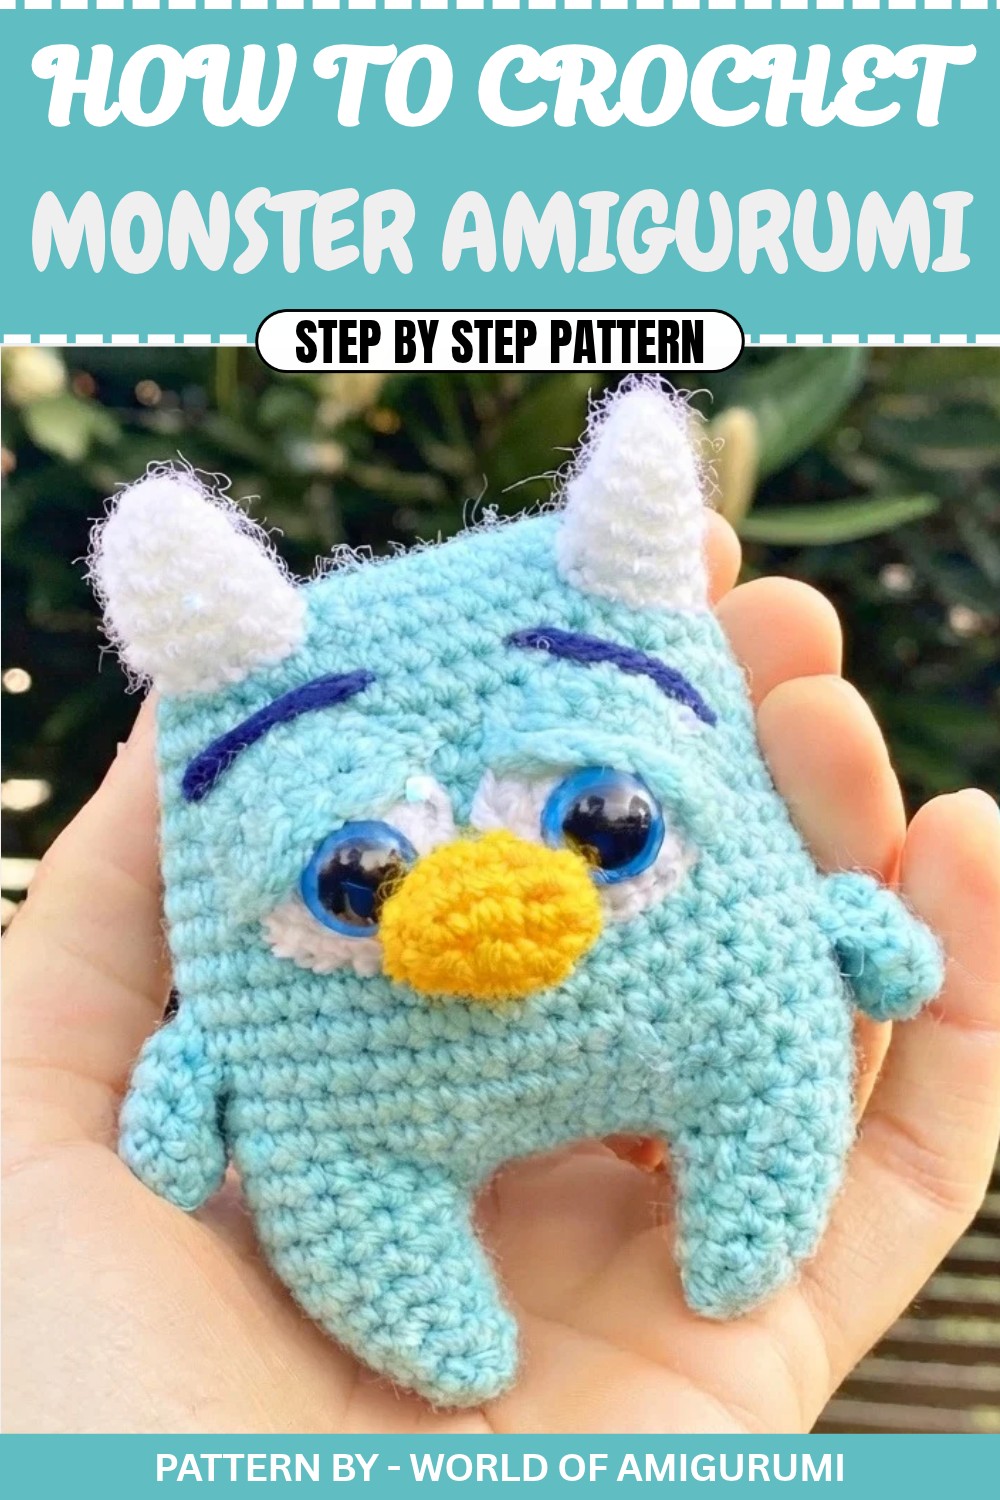
Crochet Amigurumi Cute Monster Pattern
In today’s video, we’re making these adorable amigurumi monsters. They are super easy to create, and I absolutely love how they turn out. You can have so much fun making them in any colors you like. In fact, the more colorful your monsters are, the cuter they’ll look.
Quick Overview of the Pattern
- Step 1: Crochet two legs and join them with chains to begin the body.
- Step 2: Build the body with increases and rounds.
- Step 3: Create the arms, eyes, horns, and optional details like eyebrows.
- Step 4: Assemble the individual pieces—attach eyes, arms, horns, and embroider facial details.
- Step 5: Personalize with your chosen colors for a unique monster!
Notes
- Work in continuous rounds unless specified otherwise (use a stitch marker to keep track).
- Ensure your tension is consistent for a polished result.
- Stuff the parts as you go to maintain the shape while crocheting.
- Use pins to position pieces before sewing for symmetrical placement.
Skill Level
Beginner to Intermediate
Materials
- Yarn: Choose colors based on your preference. In the video, pink, white, yellow, blue, and red are used.
- Hook Size: 2.5 mm crochet hook
- Safety Eyes: 2 pieces, 6–8 mm
- Stuffing: Polyester fiberfill
- Tapestry Needle: For sewing parts together.
- Scissors
- Stitch Marker
Measurements / Sizing
- Finished monster size: Approximately 12–15 cm (4.5–6 inches) tall.
Gauge
Exact gauge is not critical for amigurumi. Your stitches should be tight enough that the stuffing doesn’t peek through.
Stitch Abbreviations
- MR: Magic Ring
- ch: Chain
- sc: Single Crochet
- sl st: Slip Stitch
- inc: Increase (2 sc in the same stitch)
- dec: Decrease (single crochet two stitches together)
- st(s): Stitch(es)
Special Stitches
- Invisible Decrease (dec): Insert the hook in the front loop of the next two stitches, yarn over, and pull through all loops on the hook.
The Crochet Pattern
Legs (Make 2)
Leg 1:
- Round 1: With pink yarn (or your preferred color), make a MR. Work 6 sc into the ring. (6 sts)
- Round 2: Work 6 sc around. (6 sts)
- Round 3: (1 sc, 1 inc) repeat around. (9 sts)
- Round 4: Work 9 sc around. (9 sts)
- Round 5: (2 sc, 1 inc) repeat around. (12 sts)
- Rounds 6–7: Work 12 sc around for 2 rounds. (12 sts)
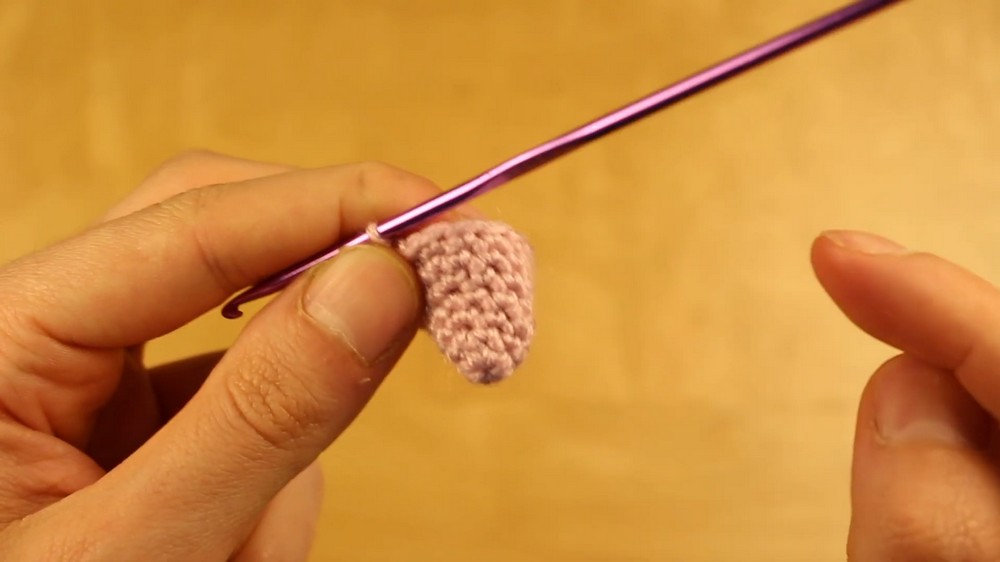
After finishing the first leg, fasten off, weave in the loose end, and set this leg aside.
Leg 2:
Follow the exact same pattern for the second leg as above.
Joining the Legs and Starting the Body
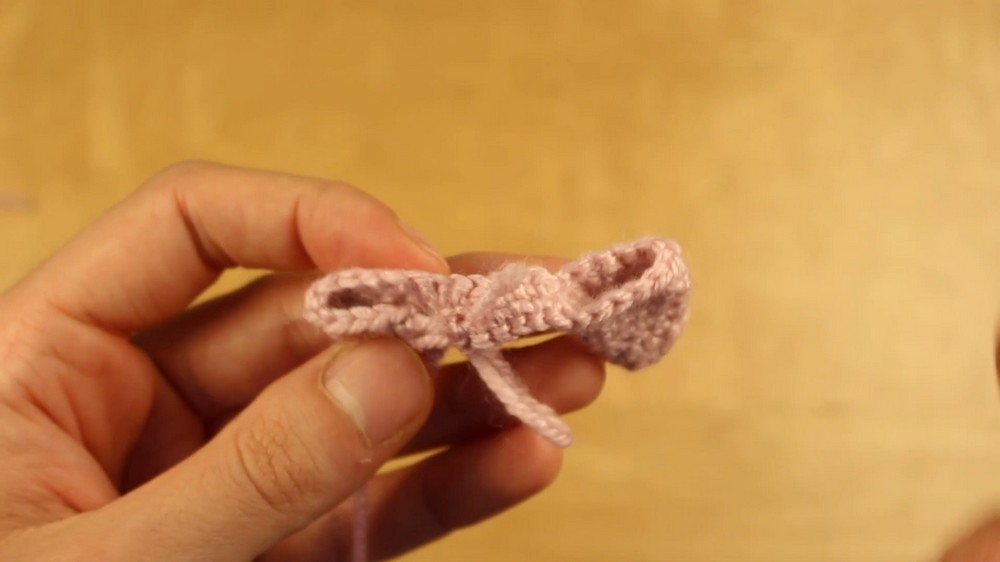
- After finishing Leg 2, do not fasten off. Instead, ch 6.
- Attach Leg 2 to Leg 1 with a sl st, joining the two legs together.
- After joining, sc all around Leg 1 (12 sts), then sc across the 6 chains (6 sts), sc all around Leg 2 (12 sts), and finish by working into the back of the chain 6 sts. This will bring you to a total of 36 sts around.
Body
- Round 1: (5 sc, 1 inc) repeat to the end of the round. (42 sts)
- Rounds 2–13: Work 42 sc for 12 rounds. (42 sts)
- Round 14: (5 sc, 1 dec) repeat to the end of the round. (36 sts)
- Round 15: Work 36 sc around. (36 sts)
- Round 16: (4 sc, 1 dec) repeat around. (30 sts)
- Round 17: Work 30 sc. (30 sts)
- Round 18: (3 sc, 1 dec) repeat around. (24 sts)
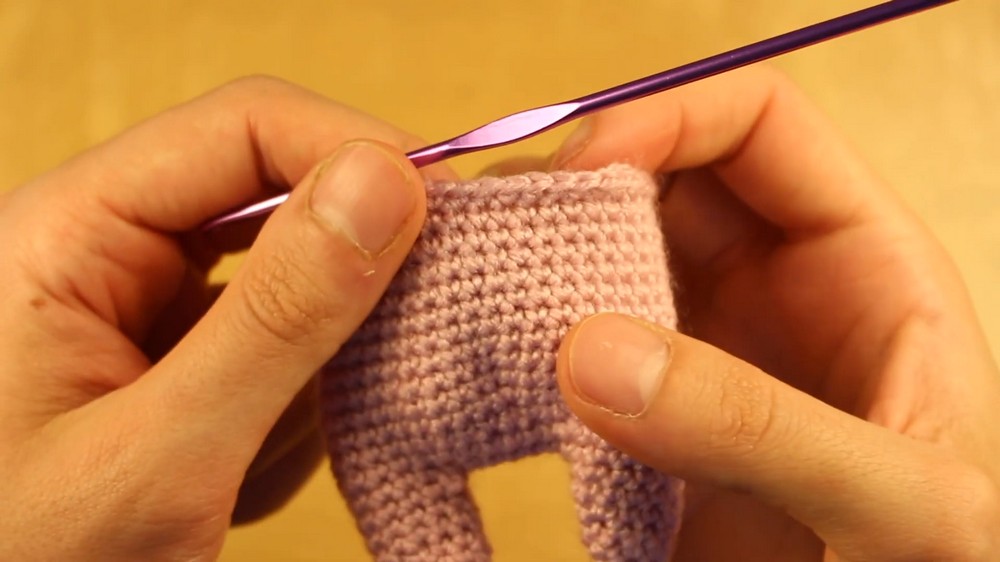
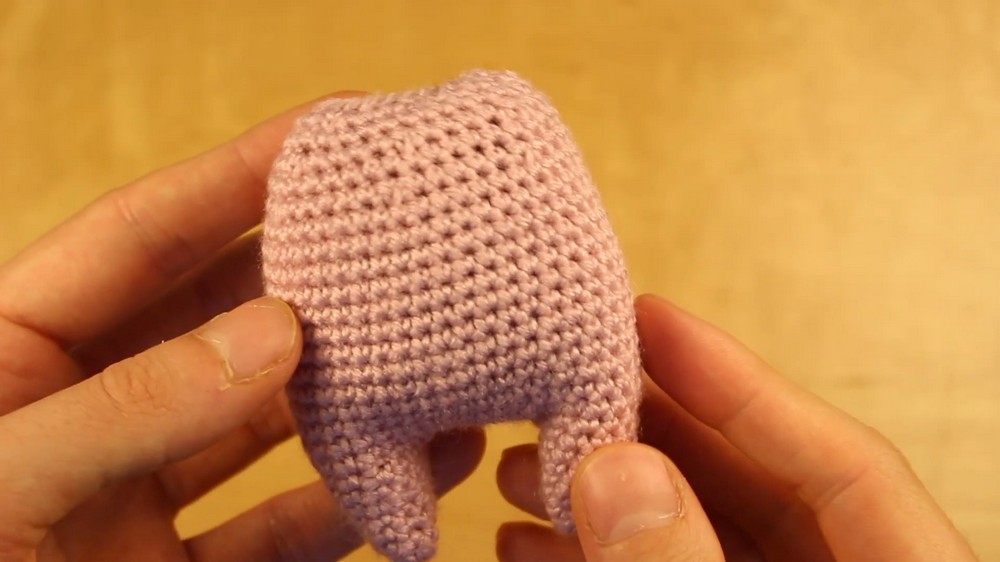
Stuff the body carefully, including the legs, before the hole becomes too small.
- Round 19: Fasten off and leave a long tail to close.
- Shape the body slightly before moving to assembly.
Eyes (Make 2)
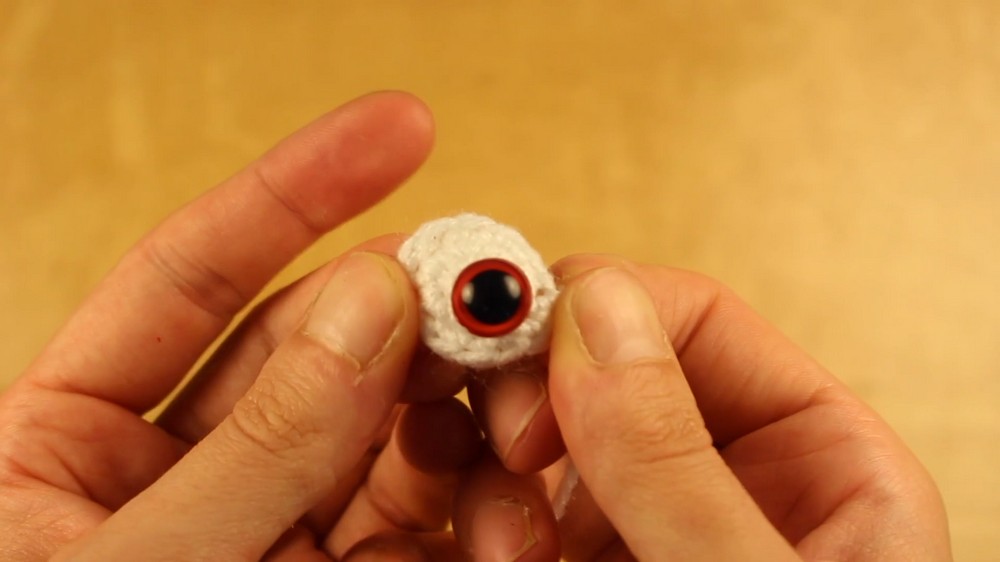
- Round 1: With white yarn, make a MR. Work 6 sc into the ring. (6 sts)
- Round 2: Work 1 inc into each st around. (12 sts)
- Round 3: Work 12 sc around. (12 sts)
- Round 4: Sl st in next st, then cut the yarn. Leave a long tail for sewing.
Attach safety eyes to the center of the eyes and secure them with the backings. Repeat the same for the second eye.
Eyelids (Make 2)
- Round 1: With pink yarn, make a MR. Work 6 sc into the ring. (6 sts)
- Row 2: Ch 1, turn, and work 1 inc in each st. (12 sts)
- Sew the eyelids onto the top half of the eyes for a playful look.
Nose
- Row 1: With blue yarn, ch 3.
- Row 2: Add 1 ch, turn, and work 1 inc in each ch. (6 sts)
- Work 2 rounds of sc in each st around.
- Fasten off and sew the nose between the two eyes.
Horns (Make 2)
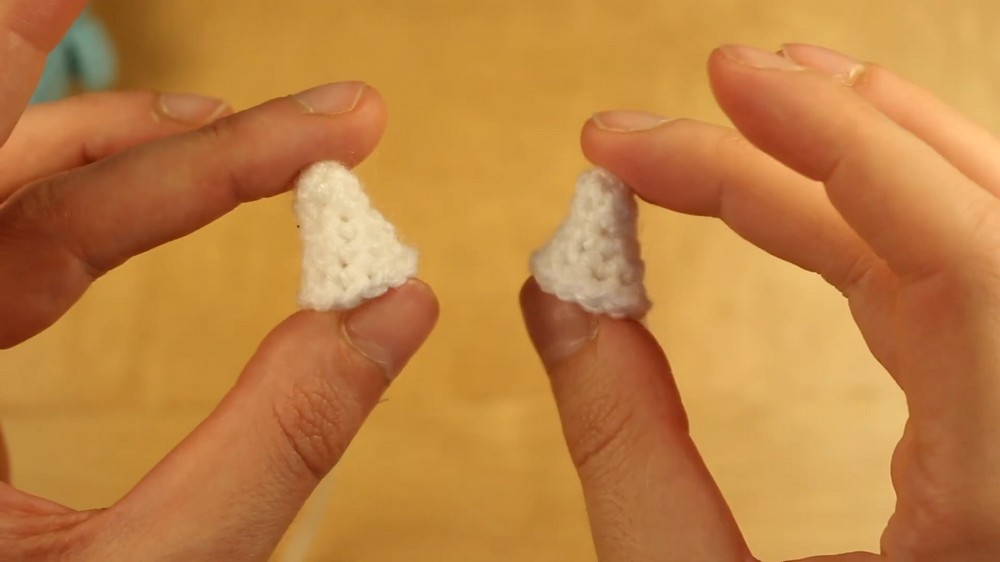
- Round 1: With white yarn, make a MR. Work 6 sc into the ring. (6 sts)
- Rounds 2–3: Work 6 sc around.
- Round 4: (1 sc, 1 inc) repeat around. (9 sts)
- Round 5: Work 9 sc.
- Round 6: (2 sc, 1 inc) repeat around. (12 sts)
- Fasten off, leaving a long tail for sewing. Make a second horn.
Arms (Make 2)
- Round 1: With pink yarn, make a MR. Work 6 sc into the ring. (6 sts)
- Round 2: (1 sc, 1 inc) repeat around. (9 sts)
- Rounds 3–5: Work 9 sc around for 3 rounds.
- Fasten off, leaving a long tail for sewing. Stuff lightly.
Assembly & Finished Size
- Sew the safety eyes with the eyelids onto the face of the monster body.
- Sew the blue nose in the center, between the eyes.
- Attach the arms on either side of the body, about 2 rounds below the neck.
- Sew the horns to the top of the head for a cute and fun look.
- Optionally, embroider eyebrows or other details with red yarn for extra personality.
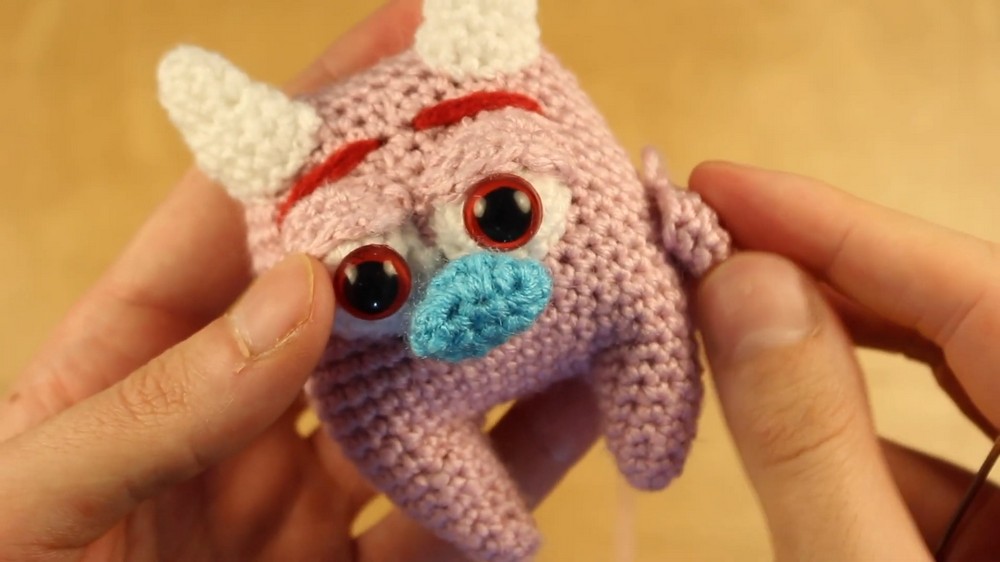
Finished monster size: Approximately 12–15 cm (4.5–6 inches) tall.
Conclusion
Your crochet monster is now complete. I hope you had as much fun making it as I did. These little monsters can be made in endless color combinations, so every one of them feels unique and special. If you loved this pattern, please like, comment, and share your creations.