
Free Crochet Pumpkin Pattern for Cozy Mantel Styling
Charm your autumn crochet fair customers with adorable plush pumpkin toys making using this quick and completely free crochet amigurumi pattern.
Pumpkins are charming and cozy decorations that bring warmth and personality to any corner of your home. The talented creator behind the tutorial on kcihangir’s YouTube channel makes the process enjoyable and easy to follow. These handmade pumpkins have a soft, round shape, paired with vibrant yarn colors, making them a perfect addition to fall themed decor or as playful accents in everyday spaces.
You can make them in nearly any size, from tiny pumpkins for table settings to larger ones for centerpieces. Their adorable puff design, combined with subtle ridges created by shaping stitches, gives them a realistic and elegant appeal. Whether you choose traditional orange or experiment with trendy colors like purple or lilac, crochet pumpkins are a versatile and beautiful project.
Free Crochet Pumpkin Pattern to Upgrade Fall Decor
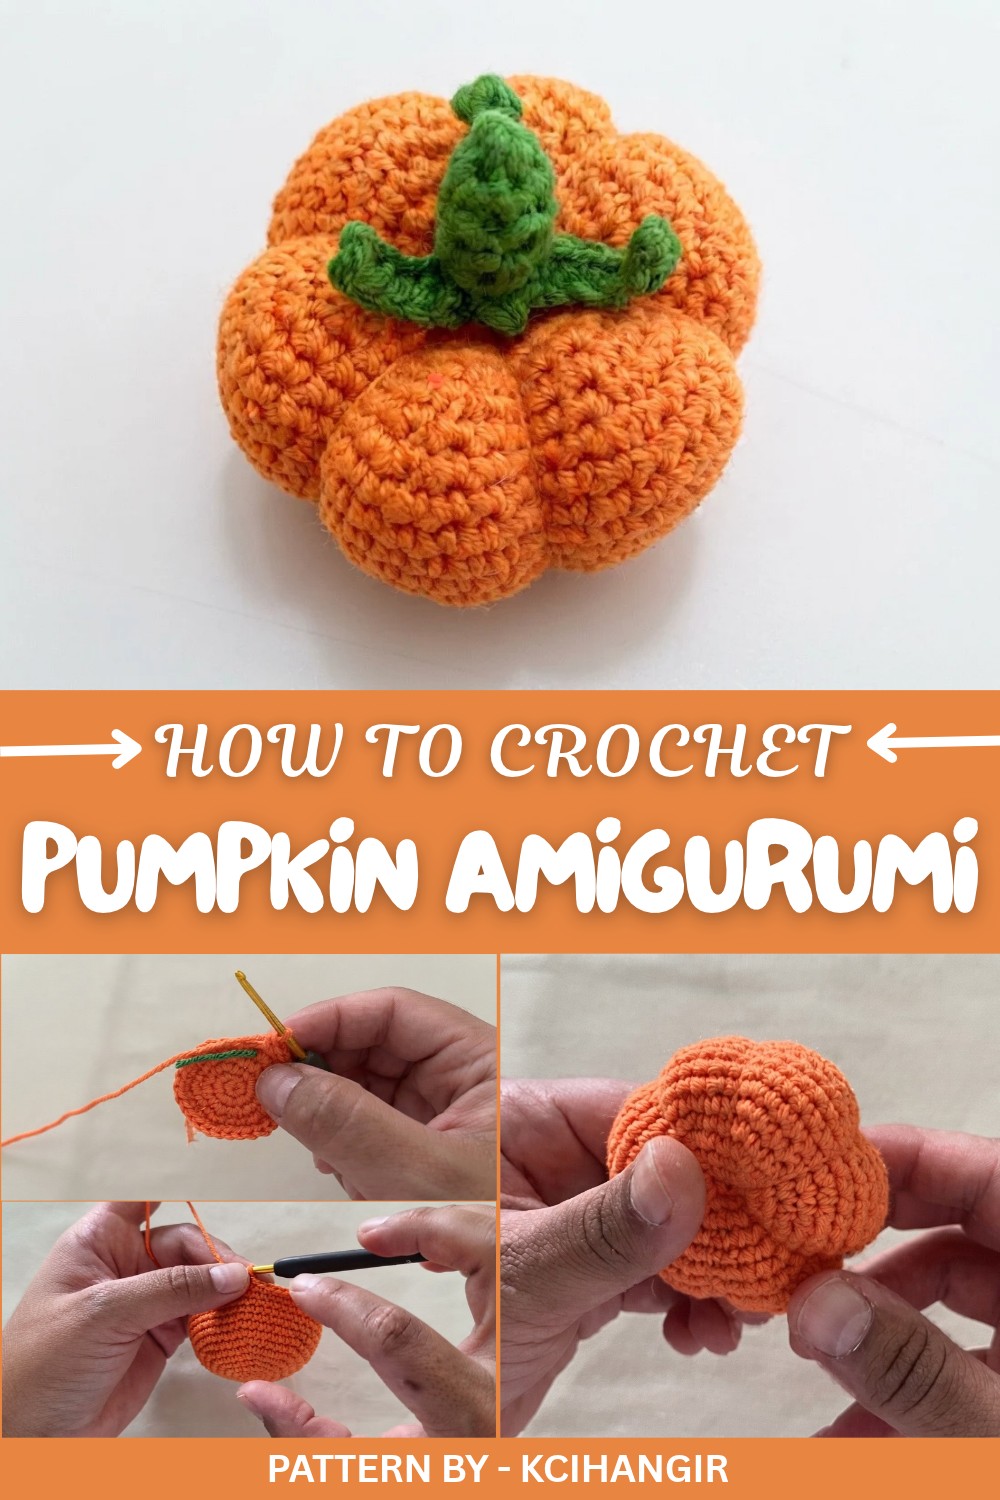
They can be used as displays for autumn, Halloween, and Thanksgiving or even given as thoughtful gifts. For those who enjoy crocheting for loved ones, these pumpkins can quickly become cherished keepsakes. Adding small touches like stems and leaves further enhances their aesthetic value and makes them look even more lifelike.
The way the pumpkin is made is wonderfully simple yet satisfying. Starting with a magic ring, the project involves single crochet rounds, increases, and gradual decreases to form the pumpkin’s shape. Fiberfill stuffing gives it its plump look, while clever sewing and shaping with a yarn needle create beautiful ridges. This process not only brings out the realistic pumpkin look but also turns the craft into a relaxing and rewarding experience to cherish.

Crochet Pattern: Pumpkin Decoration
This pattern is perfect for adding a cozy homemade touch to your autumnal decorations, or making a little splash of color to suit your home’s vibes. In the tutorial, the creator made a purple pumpkin accented by a lilac color, but for this pattern, we will be demonstrating the steps using classic orange yarn.
Quick Overview of the Pattern
This pattern includes:
- Magic ring for the pumpkin base.
- Step by step increases for shaping the pumpkin.
- Rounds of single crochet to create the body.
- Decreasing rounds to close the pumpkin base.
- Adding stuffing for a plump shape.
- Creating the pumpkin stem and leaves as embellishments.
Notes
- You can use any type of yarn and adjust the hook size to match.
- Fiberfill is necessary for stuffing the pumpkin.
- Adjust the number of rows if you want to make the pumpkin larger or smaller.
- A yarn marker or contrasting thread can help keep track of rounds.
Skill Level
Beginner to Intermediate: While the techniques are simple (magic ring, single crochet, increases, decreases), some precision is required for shaping the pumpkin.
Materials
Here’s what you’ll need:
- Yarn: Orange (pumpkin), green or brown (stem and leaves). Any cotton or acrylic yarn.
- Crochet Hook: Size 2.5mm or 3.0mm (adjust for yarn thickness).
- Stuffing: Fiberfill or polyester stuffing.
- Needle: For sewing and detailing.
- Scissors: To cut yarn.
- Stitch Marker: Or contrasting yarn to mark your rounds.
Measurements / Sizing
The size of the pumpkin will vary based on your yarn and hook. Following the pattern exactly should yield a small pumpkin approximately 6–8 cm in diameter.
Gauge
Gauge is flexible for this pattern; just ensure your stitches are consistent. Tight, even stitches will give a neater appearance.
Stitch Abbreviations
- mr = Magic ring
- sc = Single crochet
- st = Stitch
- inc = Increase (2 sc in 1 st)
- dec = Invisible decrease (crochet the front loop of 2 stitches together)
- ch = Chain
- sl st = Slip stitch
Special Stitches
- Magic Ring (mr): Wrap the yarn around your finger, pull a loop through, and chain 1 to lock the ring. Crochet into the ring and pull it closed.
- Invisible Decrease (dec): Insert hook into the front loops of the next 2 stitches, yarn over, and pull through all loops on the hook.
The Crochet Pattern
Pumpkin Body
Round 1:
- Start with an mr, and crochet 6 sc into the ring. Pull the ring tight to close. (6 sts)
Round 2:
- Work 2 sc in each st around (inc in each st). (Total: 12 sts)
Round 3:
- Place a stitch marker. Work [1 sc, 1 inc] around. (Total: 18 sts)

Round 4:
- Work [2 sc, 1 inc] around. (Total: 24 sts)
Round 5:
- Work [3 sc, 1 inc] around. (Total: 30 sts)
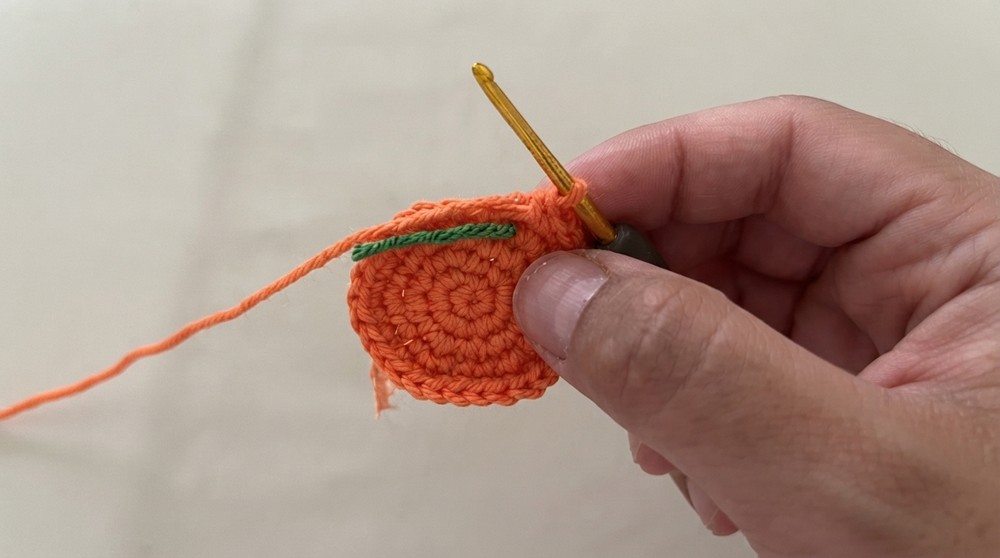
Round 6:
- Work [4 sc, 1 inc] around. (Total: 36 sts)
Round 7:
- Work [5 sc, 1 inc] around. (Total: 42 sts)
Rounds 8 to 13:
- Work 42 sc (no increases or decreases) in each round for 6 total rounds. This will create the main body of the pumpkin.
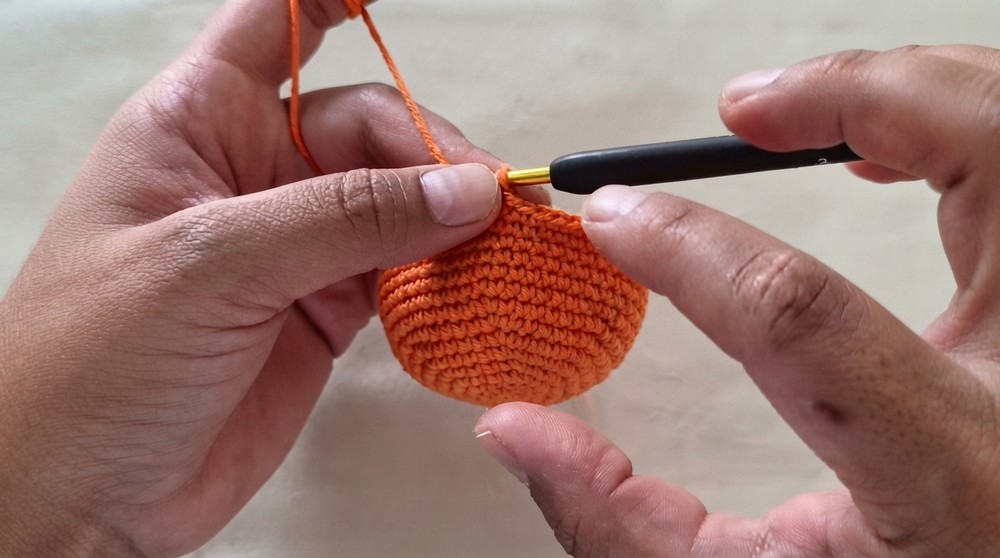
Optional: Add more rounds here if you want your pumpkin taller.
Round 14:
- Begin decreasing with [5 sc, 1 dec] around. (Total: 36 sts)
Round 15:
- Work [4 sc, 1 dec] around. (Total: 30 sts)
Round 16:
- Work [3 sc, 1 dec] around. (Total: 24 sts)
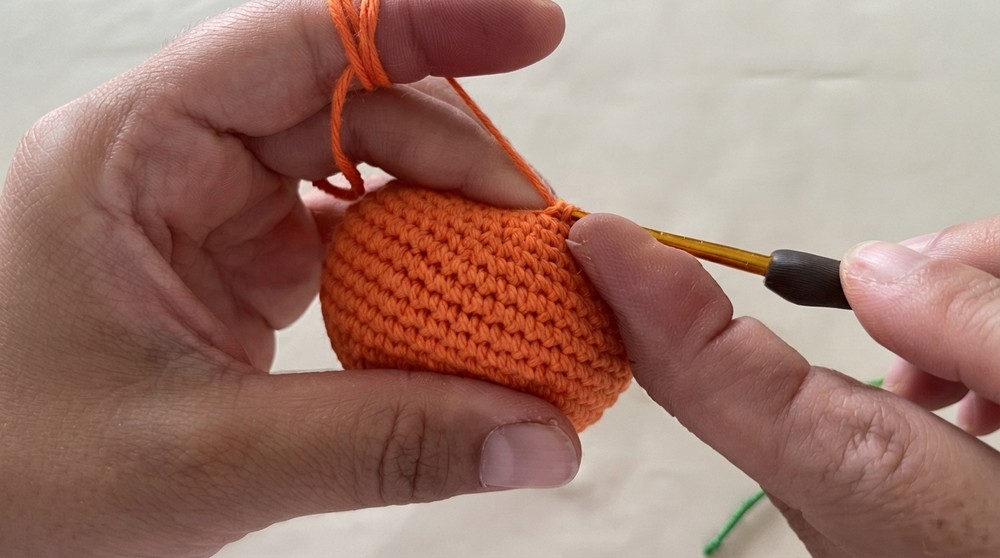
Round 17:
- Work [2 sc, 1 dec] around. (Total: 18 sts)
Round 18:
- Begin stuffing your pumpkin with fiberfill, ensuring it is firm but not overly tight.
- Work [1 sc, 1 dec] around. (Total: 12 sts)
Round 19:
- Work 1 dec in every 2 stitches. (Total: 6 sts)

Finishing the Pumpkin Body:
- Fasten off, leaving a long tail. Using a needle, thread the remaining 6 stitches together and pull tight to close.
Shaping the Pumpkin
- Using the same long yarn tail, thread the needle and insert it through the middle of the pumpkin from top to bottom.
- Pull the needle tight to create a segmented pumpkin shape.
- Repeat this step 6 times to form visible grooves along the pumpkin body. Secure the yarn and hide the tail.
Pumpkin Stem
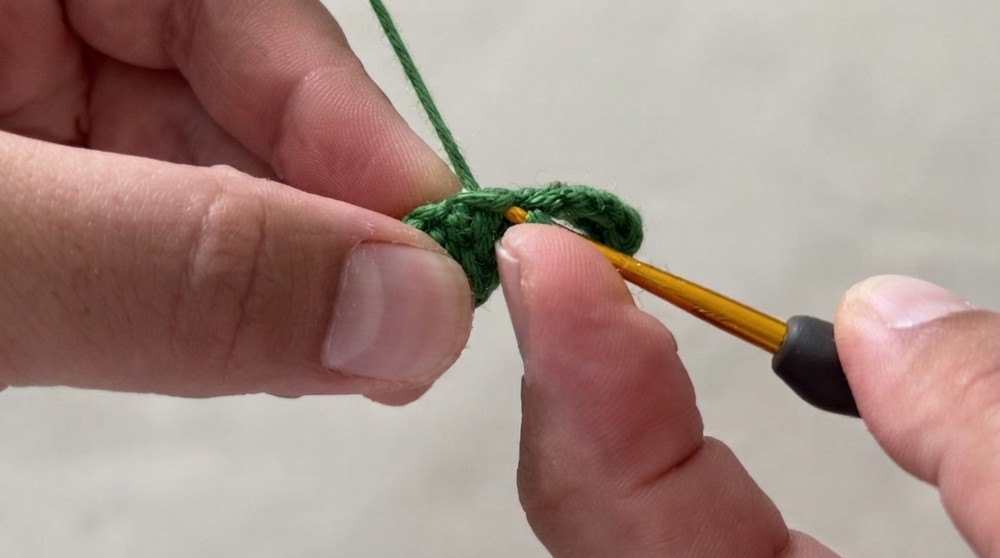
Round 1:
- Start with an mr, and crochet 6 sc into the ring. Pull tight to close. (6 sts)
Rounds 2 to 5:
- Work 6 sc into the previous round without increasing or decreasing. (6 sts each round.)
Optional: Add a tiny amount of fiberfill here for stability.
Finishing the Stem:
- Fasten off and leave a tail for sewing. Attach the stem to the top center of the pumpkin using your needle.
Pumpkin Leaves (Optional)
- With green yarn, start with a magic ring and crochet 6 sc into the ring.
- Chain 6, turn, and work 5 sc back down the chain.
- Slip stitch to the next sc of the circle base.
- Repeat Steps 2 and 3 until you have 5–6 leaves.
- Fasten off and sew or glue the leaf onto the stem area.
Assembly & Finished Size
- Finished Size: This pumpkin should measure approximately 6–8 cm in diameter and about 6 cm tall, including the stem.
- Carefully position the stem and leaves (if added) and sew or glue them onto the pumpkin.
- Shape and adjust the grooves for the final appearance.
Conclusion
Congratulations, You’ve completed your crochet pumpkin project. This handmade decoration is perfect for sprucing up your home, gifting to loved ones, or even as seasonal table decor. Experiment with different yarn colors, sizes, and embellishments to make these as unique as you’d like.