
Quick & Free Crochet Swan Teether Pattern for New Moms
Follow this free crochet pattern to make a baby swan teether that’s simple, safe, and ideal for gifting or personal use.
Who says baby essentials can’t be adorable and fun? This free crochet swan teether pattern proves just that. Featuring a delightful swan design, this project brings a touch of elegance and charm to a functional baby accessory. The swan's soft texture, curved shape, and whimsical details make it a must have for teething babies or as a standout baby gift that will be cherished for years.
Pattern By Beyzalle CRAFT
What makes this teether extra special? The swan’s smooth neck is easy for tiny hands to grasp, while the option to include a wooden or crochet ring adds versatility to the design. The combination of soft cotton yarn and gentle curves makes it both baby safe and beautiful. By choosing cotton, you're ensuring durability and a texture that feels lovely against sensitive gums and hands. It’s like giving the gift of comfort and style in one package, all while using the softest materials.
Free Crochet Swan Teether Pattern for Stylish Baby Toys
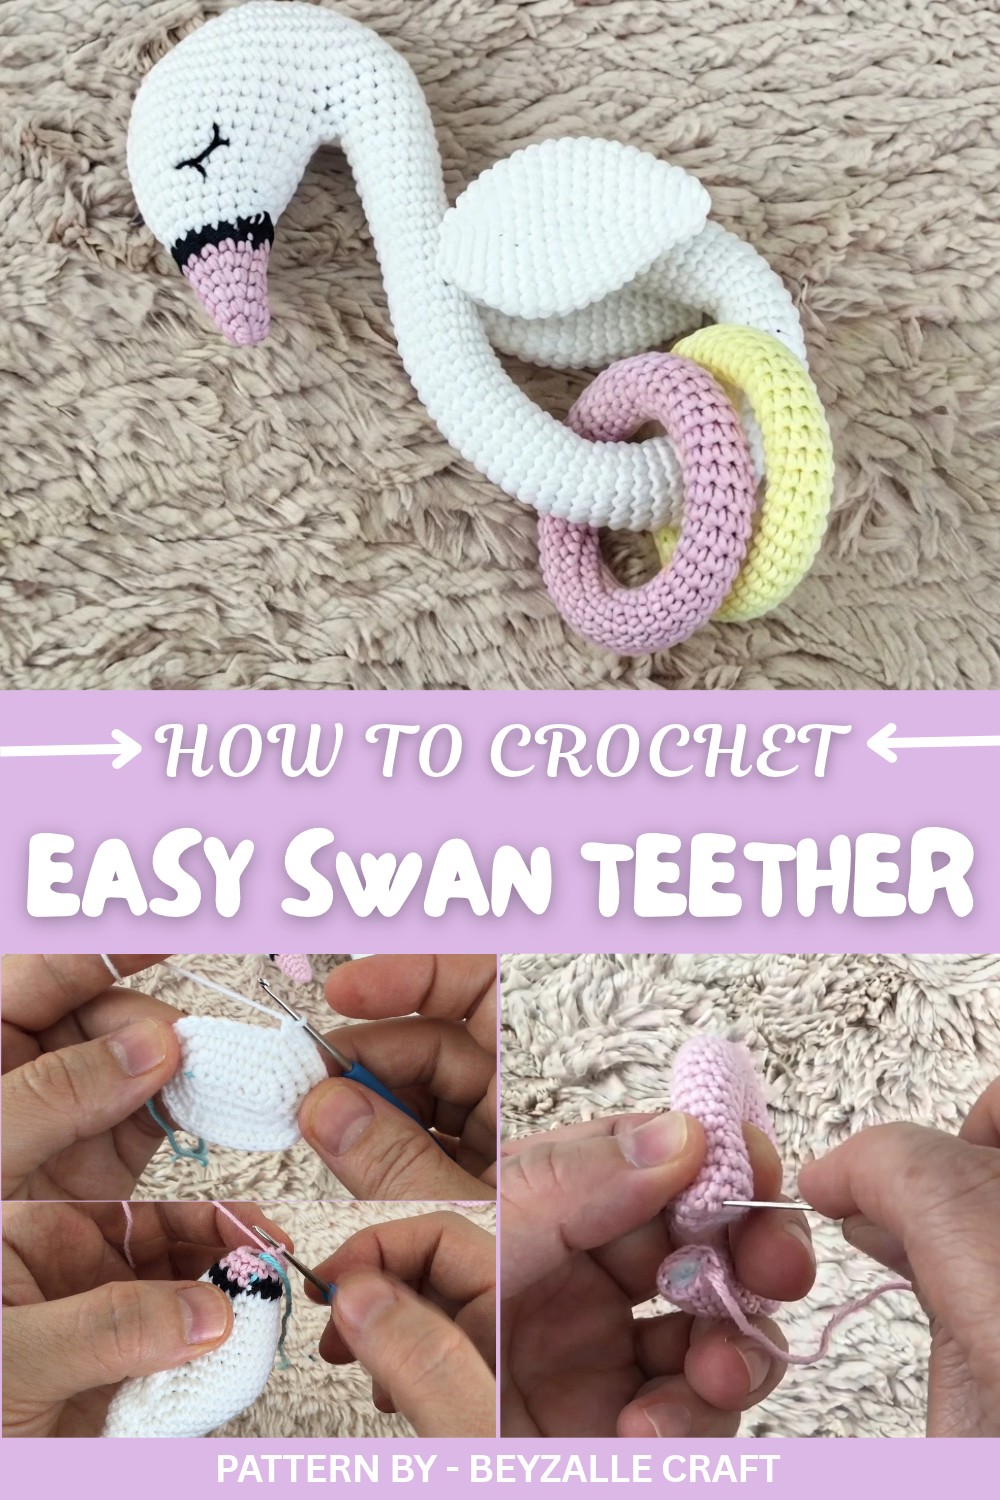
Perfect for beginners and advanced crocheters alike, the construction uses simple rounds, basic shaping, and a bit of sewing to bring your swan to life. One helpful tip? Pack the stuffing as you crochet to avoid tight spaces later on and maintain the swan's beautiful, plump form.
This unique teether is an ideal choice for baby showers, birthdays, or just because you know someone who’d love a handmade gift. Whether you stick with monochrome or add pastel accents, the result will be a tiny masterpiece with a whole lot of personality. Who knew something so small could bring so much joy? Let your imagination soar and give this charming swan teether a try, it’s as rewarding to make as it is to give.
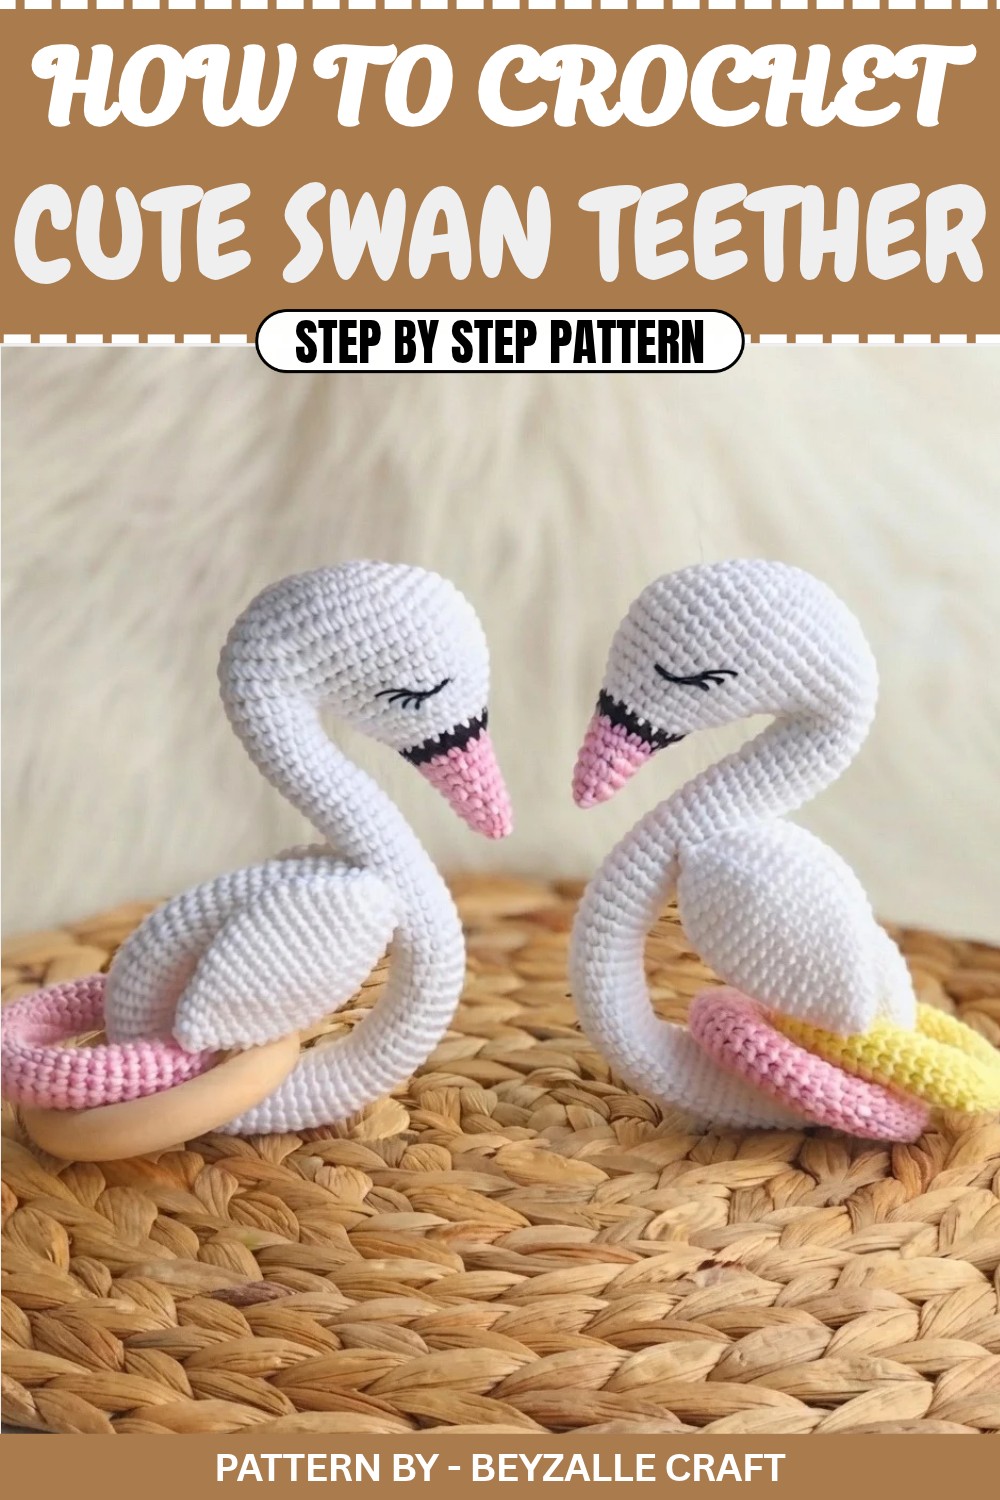
Crochet Baby Swan Amigurumi Pattern
Today, we’ll crochet an adorable baby swan toy, perfect for babies and toddlers. Whether you want to create a sweet toy or use it as a teething ring for your little one, this simple swan is a perfect choice. The best part? You don’t need extra materials like metal frames, just yarn, a hook, and some fiberfill are enough. This pattern is straightforward, with minimal sewing required.
Quick Overview of the Pattern
- Type: Baby Swan Amigurumi
- Skill Level: Beginner-Friendly
- Purpose: Baby toy, teething ring, or keepsake
- Time Estimate: Moderate project, suitable for all skill levels
Notes
- Work in continuous rounds (spirals) unless otherwise stated.
- You can use any cotton yarn, but avoid synthetic materials for baby toys.
- Ensure all parts are securely sewn to avoid choking hazards.
- Customize the size by changing yarn or hook sizes as per your preference.
Skill Level
Designed for beginners to intermediates. Features basic amigurumi stitches, increases, decreases, and simple shaping.
Materials
- Yarn: Cotton yarn in white, black, and pink for the swan and its features.
- Crochet Hook: 1.75 mm (adjust based on yarn used).
- Stuffing: Fiberfill for stuffing the swan and any crochet parts.
- Optional Teething Ring: A 7 cm or 5 cm wooden ring, or alternatively, crochet a ring as outlined in the pattern.
- Tapestry Needle: For sewing and weaving ends.
- Scissors: For trimming yarn ends.
Measurements
- The finished swan is approximately 12–15 cm tall, depending on the yarn and hook size.
- For teething rings, choose a size that’s easy for babies to grip (5–7 cm diameter).
Gauge
Gauge is not critical. Ensure stitches are tight to prevent any fiberfill from poking through.
Stitch Abbreviations
- CH: Chain
- SC: Single Crochet
- INC: Increase (2 SC in the same stitch)
- DEC: Decrease (Single crochet two stitches together)
- SL ST: Slip Stitch
- RND: Round
Special Stitches
- Invisible Decrease: Insert the hook into the front loop of the next two stitches, yarn over, pull through two loops, yarn over again, and pull through the last two loops.
The Crochet Pattern
Swan Body
RND 1: Base of the Body
- CH 6. Starting in the second chain from the hook, work:
- 4 SC.
- In the last chain, work 3 SC together.
- Continue working on the other side of the chain and SC into the next 3 chained spaces.
- Work 2 SC into the last stitch on this side (12 SC in total).
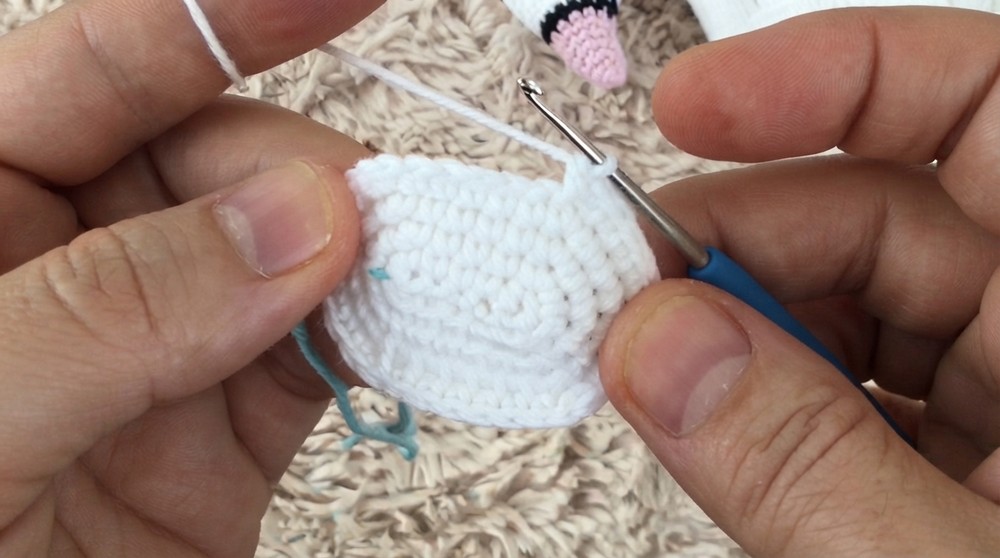
RND 2: Increase Round
2. INC in first stitch, 3 SC, 3 INC, 3 SC, 2 INC (18 SC in total).
RND 3: Begin Shaping
3. 1 SC, INC, 4 SC, [SC, INC, SC] 3 times, 4 SC, [INC, SC] (24 SC in total).
RND 4: Continue Increasing
4. 2 SC, INC, 5 SC, [INC, 2 SC, INC] 3 times, 5 SC, [INC, 2 SC] (30 SC in total).
RND 5: Expand Further
5. 3 SC, INC, 6 SC, [INC, 3 SC, INC] 3 times, 6 SC, [INC, 3 SC] (36 SC in total).
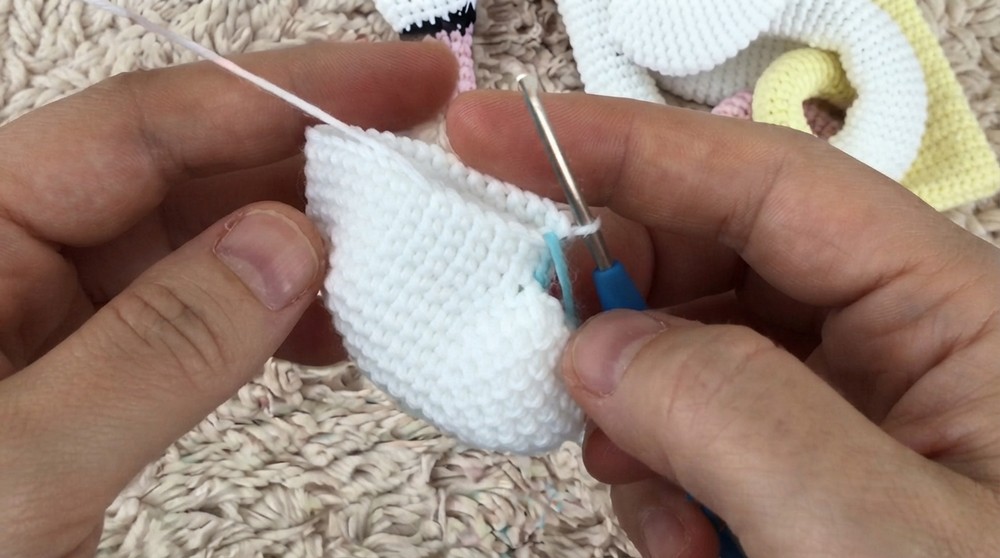
RND 6: Final Increase
6. 4 SC, INC, 7 SC, [INC, 4 SC, INC] 3 times, 7 SC, [INC, 4 SC] (42 SC in total).
Neck and Head
RND 7–9: Work 3 rounds with a total of 42 SC, with no increases or decreases.
RND 10 (Start neck shaping):
- SC 6 times, skip the next 29 stitches. This creates a separation between the neck and the body, leaving 13 SC for the neck.
- Work 29 SC in a continuous round.
RND 11–13: Continue working the neck. SC in each of the 29 stitches (13 SC per round).
RND 14 (Start decreasing):
- 5 SC, DEC, repeat 4 times. SC the last 1 stitch as normal. (25 SC).
RND 15:
- 4 SC, DEC, repeat 4 times and SC the last 1 stitch. (21 SC).
RND 16: Do 1 round of 21 SC (no increases or decreases).
RND 17 (More decreasing to shape head):
- 3 SC, DEC, repeat 4 times and SC the last 1 stitch. (17 SC).
RND 18 (Start head color):
Switch to black yarn and SC 17 times with the new color.
RND 19: Switch to pink yarn and 2 SC, DEC, repeat 4 times (13 SC).
- Secure and weave in the black yarn to keep it tight.
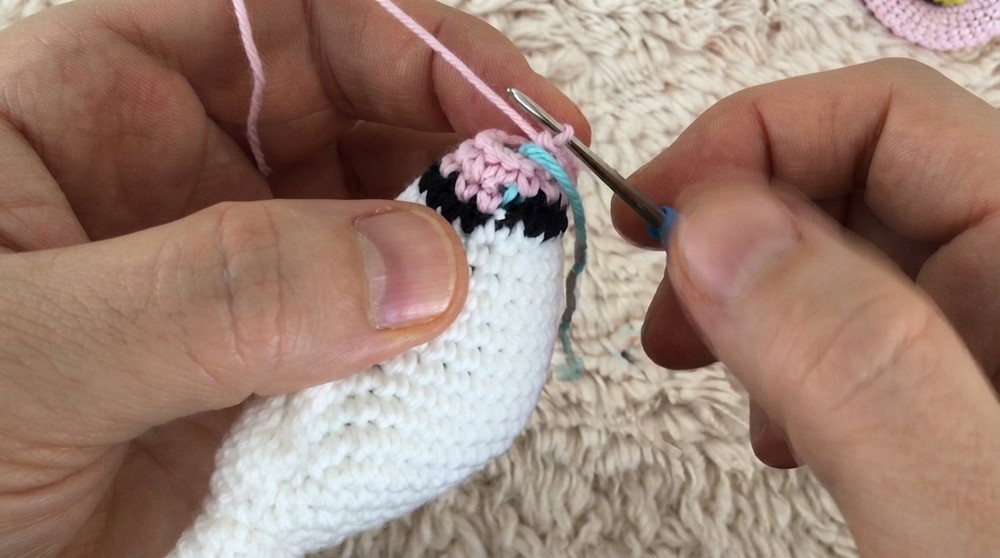
RND 20: Work 1 round of 13 SC with pink yarn.
RND 21:
- 4 SC, DEC, and repeat 4 times. End with 1 SC. (11 SC).
RND 22: Work 1 round of 11 SC with no increases or decreases.
RND 23 (Final Decreases):
- 3 SC, DEC, and repeat 2 times. End with 1 SC. (9 SC).
RND 24: Work one round with no increases or decreases (9 SC).
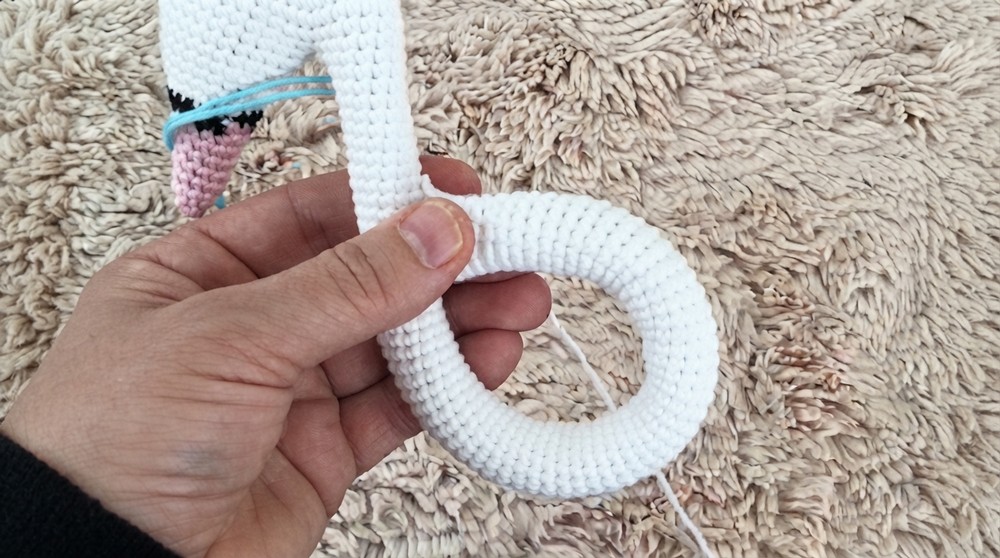
RND 25 (Final Decrease):
- 1 SC, DEC, repeat 3 times (6 SC).
Fasten off, leaving a long tail for closure. Use a tapestry needle to weave through the front loops of the remaining stitches. Pull tight to close.
Wings
Step 1: Create a magic ring and crochet 6 SC into the ring (6 SC).
Step 2: RND 2: INC, SC, repeat 3 times (9 SC).
Step 3: RND 3: Work 9 SC with no increases or decreases.
Step 4: RND 4: 2 SC, INC, repeat 3 times (12 SC).
Step 5: RND 5: 3 SC, INC, repeat 3 times (15 SC).
Step 6: RND 6: 4 SC, INC, repeat 3 times (18 SC).
Step 7: RND 7: Work 1 round with no increases or decreases (18 SC).
Step 8: RND 8: 5 SC, INC, repeat 3 times (21 SC).
Step 9: RND 9: SC around without increasing or decreasing (21 SC).
- Finish off, leaving a long tail to sew the wing onto the body.
Repeat for the second wing, ensuring symmetry when attaching them to the swan.
Teething Ring
- Chain Base: Chain 9. SC into the first chain to form a circle.
- Work 9 SC continuously around, for approximately 43–44 rows, or until the loop has the desired size.
- Stuff lightly with fiberfill as you work to create a soft, rounded ring shape.
- Sew the ends of the circle together to form the loop.
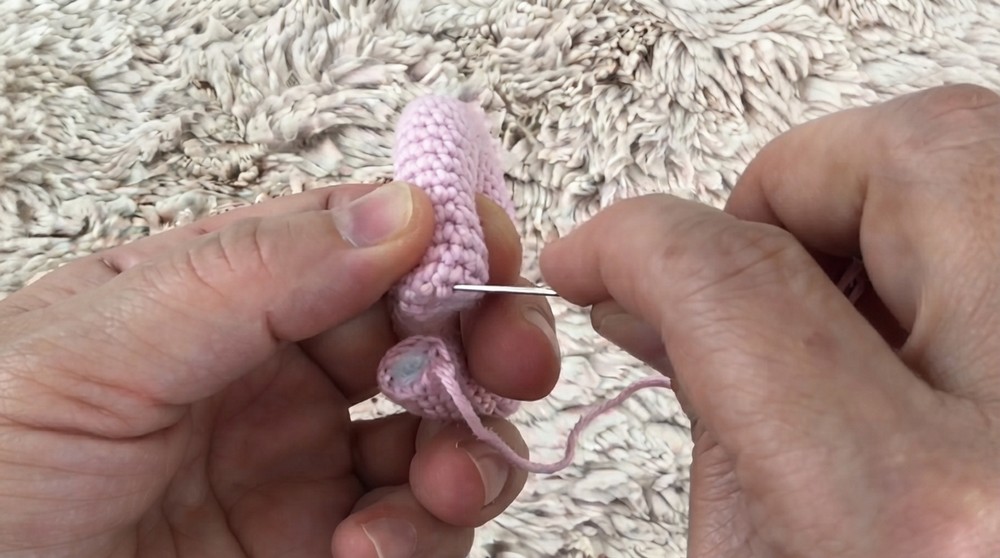
Assembly & Finished Size
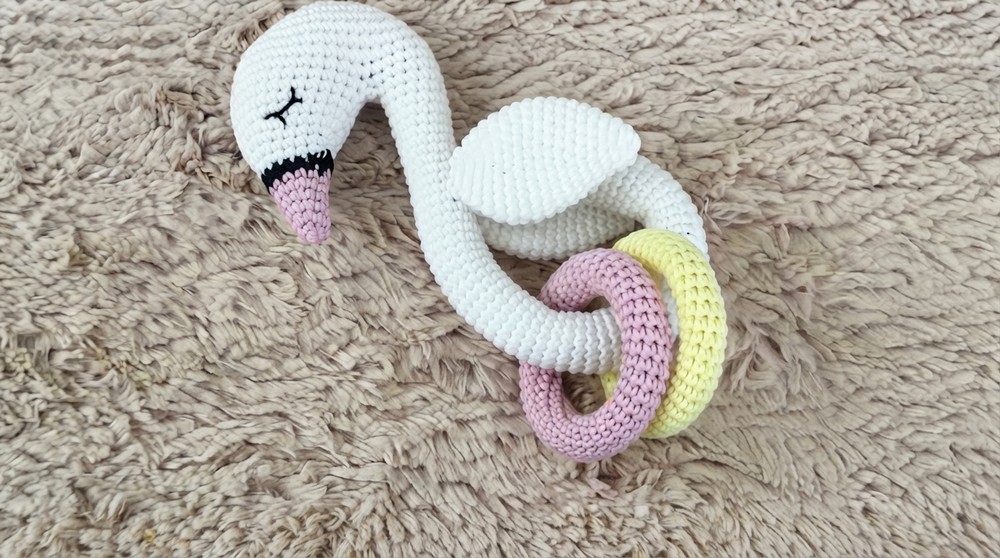
- Attach Teething Ring: Either crochet the teething ring or use a wooden one, and secure it to the bottom of the neck. Sew firmly to avoid shifting.
- Attach Wings: Sew both wings symmetrically to the body of the swan, positioning them just above the tail area.
- Add Eyes: Use black yarn to embroider eyes on both sides of the head. Consider adding small lashes for extra cuteness.
Conclusion and Final Thoughts
Congratulations, you’ve completed your adorable swan amigurumi. Whether used as a playful baby toy or a stylish teething ring, this no-metal and no plastic design is both practical and beautiful. With its soft cotton texture and thoughtful design, it makes a perfect gift for babies or new moms.