
Stylish Free Crochet Grocery Bag Pattern That Folds Perfectly
Make shopping fun and stylish with this simple crochet foldable grocery bag that’s practical, cute, and easy to carry anywhere.
A bag that is functional, foldable, and beautiful may sound like a dream, but that’s exactly what this crochet project offers. Perfectly suited for daily grocery runs or even stylish outings, this bag combines practicality with a nostalgic, classic look. One of its most striking features is its ability to fold into a compact size, making it an ideal companion that slips easily into your primary bag when not in use. With a sturdy structure and a mesh like design, it expands impressively to hold all your shopping needs while remaining lightweight and elegant.
Crochet a Timeless, Free Foldable Market Bag You’ll Always Use
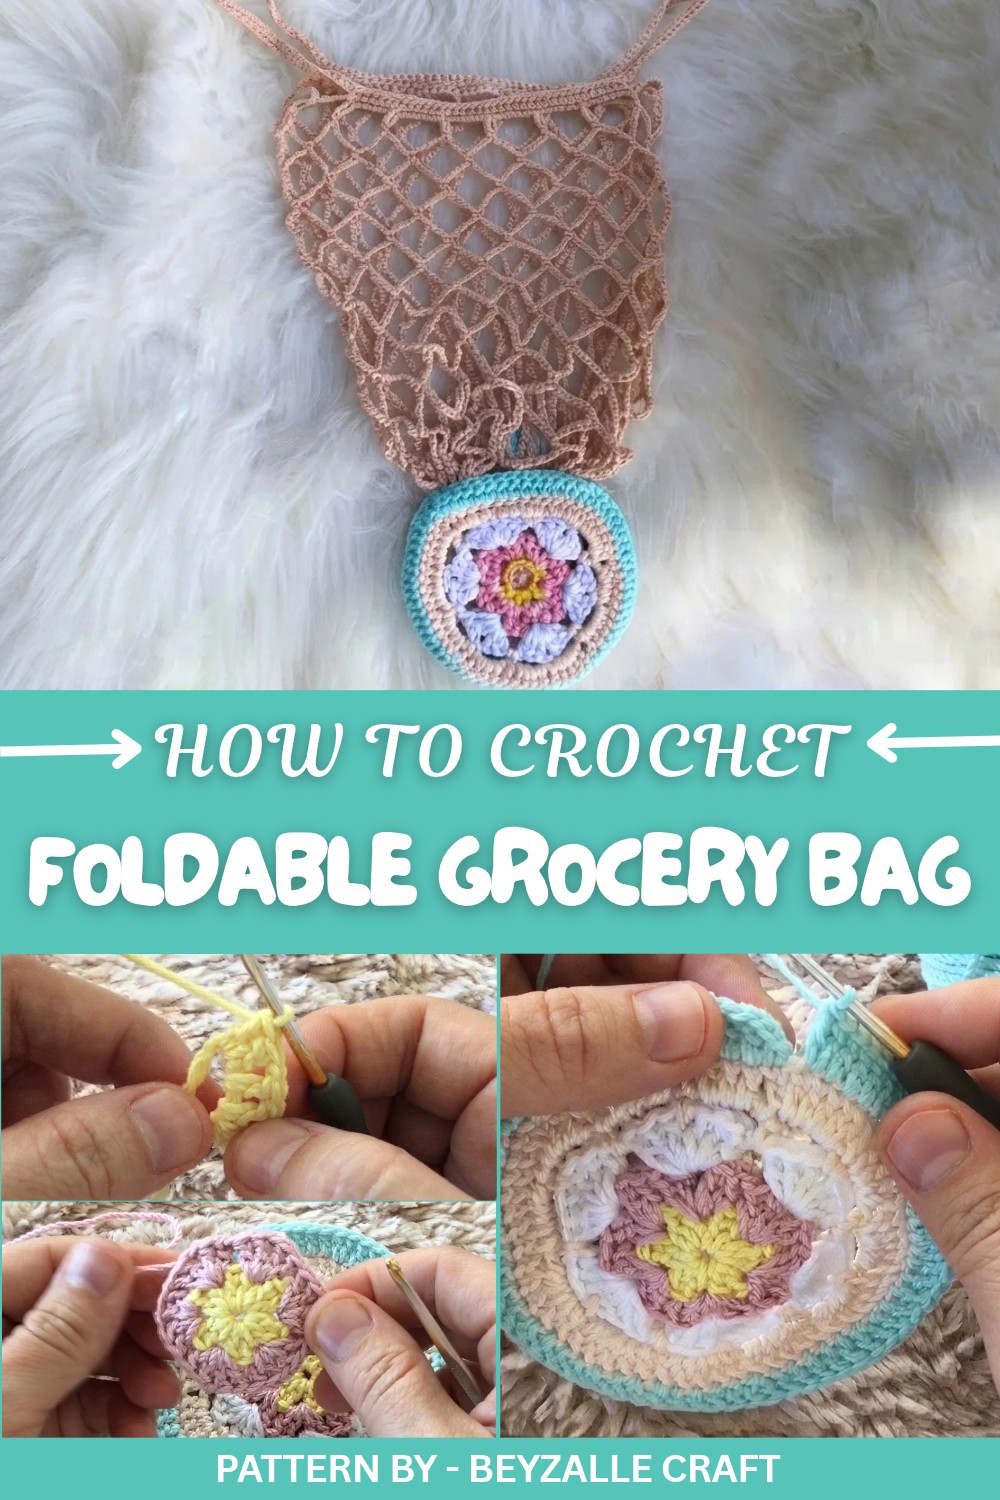
This bag is created starting with gorgeous round motifs, which form the base of the bag. These motifs are carefully crocheted with simple stitches like chains, double crochets, and slip stitches. Once complete, the base seamlessly grows into a mesh structure, which forms the body of the bag. You even get to add strong, slip stitch reinforced handles, ensuring that the bag is both fashionable and reliable. The process is beginner friendly, but the results look quite advanced, which is bound to impress everyone.
What adds extra appeal to this design, as showcased by Beyzalle CRAFT, is its versatility. You can use multicolored yarns to create a vibrant mosaic of colors or opt for a single shade for a more minimal and subtle style. Plus, it’s a great way to use up leftover yarn from past projects.
Whether you’re grocery shopping, visiting a park, or heading to the beach, this bag is a must have. Not only does it save space when collapsed, but it also carries a lot when expanded. Beyzalle CRAFT has made this pattern wonderfully easy to follow, allowing you to crochet something that is both practical and stunning.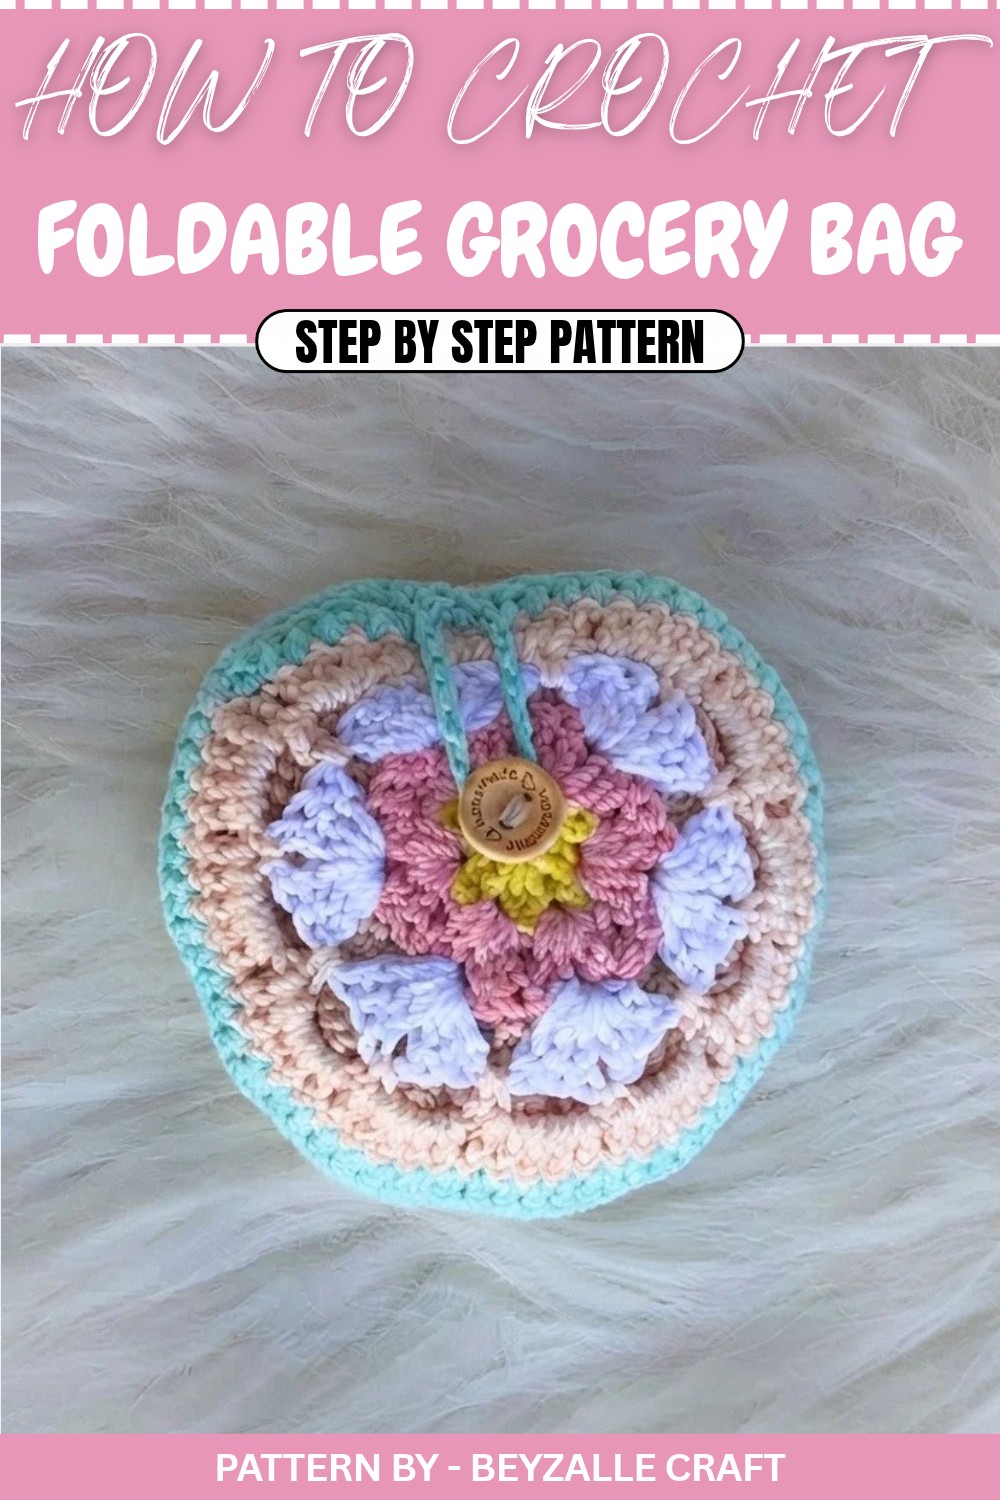
Quick Overview Of Pattern
- A foldable and compact classic net shopping bag
- Features two circular motifs for the base and inner pocket
- Surrounding body made of a simple mesh design
- Long shoulder straps for easy carrying
- Button closure enables the net bag to be folded into its own pocket
Notes
- The yarn used in the video is similar to "Nako Pırlanta"; you can replace it with a similar medium-thickness yarn.
- You can double up any spare yarn you have at home, such as yarn used for amigurumi projects.
- The motifs are colorful, but you can use a single color or leftover yarns in different colors.
- The mesh part is made of chains and single crochets, creating a large-loop structure. The number of chains and rows can be adjusted for depth and size.
- Avoid making the net part excessively large; otherwise, it may not fit into the foldable pocket section.
Skill Level
- Intermediate
You need to know magic ring, double crochet, single crochet, chain, and slip stitch. The pattern involves increasing, joining motifs, and creating a net design.
Materials
- Main Bag:
- Medium weight yarn similar to Nako Pırlanta (the video recommends doubling lighter weight yarn like amigurumi thread).
- In the video, different colors are used for the center, the subsequent rounds, and the external round of the motifs.
- Net Section:
- A contrasting or same tone yarn (the video uses leftover dark colored yarn for this section).
- Hook:
- 2.5 mm crochet hook (used in the video).
- Others:
- 1 button (sized appropriately to secure the foldable pocket).
- Scissors.
- Tapestry needle (to weave in ends and sew the button).
Measurements / Sizing
Exact measurements are not provided in the transcription, but:
- The bag's base and pocket are the same size, formed by two identical circular motifs.
- The mesh section includes approximately 16 to 17 rows of net loops, resulting in a moderately deep bag.
- Each strap consists of 60 chains with half double crochets to form a practical length for shoulder carrying.
Customizable:
- Adjust the depth by increasing or decreasing the number of mesh rows.
- Ensure that when folded, the mesh fits within the pocket and doesn’t exceed its size.
Gauge
Gauge measurements are not explicitly provided in the transcription, but approximately:
- With a 2.5 mm hook and medium thickness yarn, you can aim for:
- About 18–20 double crochets in 10 cm.
Since the bag is not a piece requiring precise dimensions, gauge measurement is optional. Use a similar hook and yarn to ensure a similar size.
Stitch Abbreviations
- CH = Chain
- SC = Single Crochet
- DC = Double Crochet
- HDC = Half Double Crochet
- SL ST = Slip Stitch
- MR = Magic Ring
Special Stitches
- Magic Ring (MR):
Wrap the yarn around your finger to form a ring, insert the hook into the ring, pull up a loop, and secure it with a chain stitch. Crochet into the ring directly, then pull the tail to tighten. - Half Double Crochet (HDC):
Yarn over, insert the hook into a stitch, yarn over and pull up a loop (3 loops on the hook), then yarn over and pull through all loops on the hook.
Phase 1: The Base Motif
You will need two identical circular motifs. These form the bag base and the inner pocket. Work in rounds, changing colors as desired.
Round 1
- Start with a magic ring (MR).
- CH 3 (counts as the first DC).
- Work 1 DC into the ring.
- CH 1.
- [2 DC, CH 1] – repeat 5 times into the ring.
- Pull the ring tight to close the center.
- SL ST to the top of CH 3.
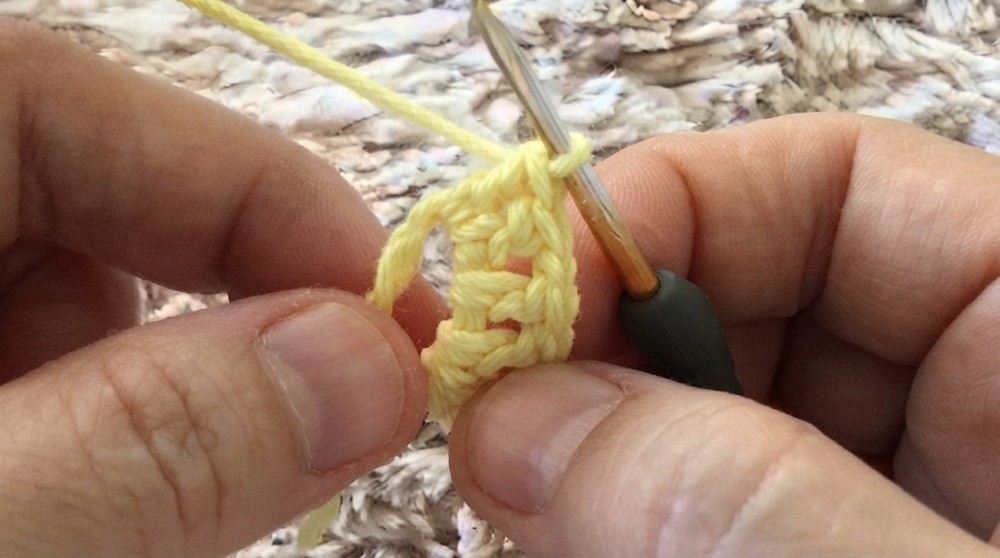
Results: 6 DC clusters, each separated by CH 1.
Round 2
- SL ST into the nearest CH 1 space.
- CH 2 (counts as the first DC).
- In the same CH 1 space: 1 DC, CH 1, 2 DC.
- In the next CH 1 space work: 2 DC, CH 1, 2 DC.
- Repeat around in all CH-1 spaces (6 total clusters).
- SL ST at the starting CH to join.
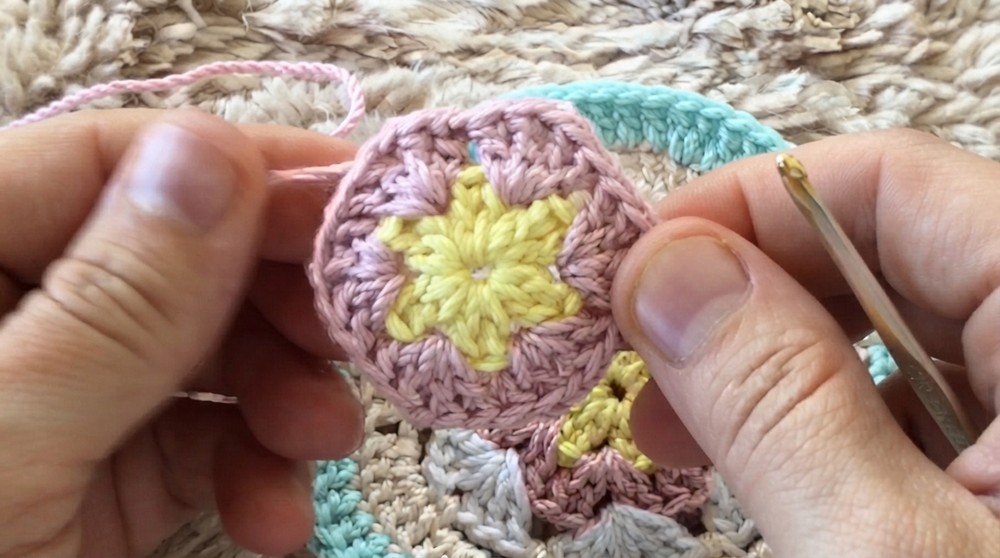
Results: Enlarged clusters with a chain separating each.
Round 3
- SL ST into the nearest CH 1 space.
- CH 2, then in the same CH 1 space: 2 DC, CH 1, 3 DC.
- In the next CH 1 space: 3 DC, CH 1, 3 DC.
- Repeat around in all CH 1 spaces.
- SL ST at the starting CH to join.
Results: Larger and denser motif clusters.
Round 4
- CH 4.
- SC into the next CH 1 space.
- [CH 4, SC in the next CH 1 space] – repeat around.
- SL ST to join at the beginning.
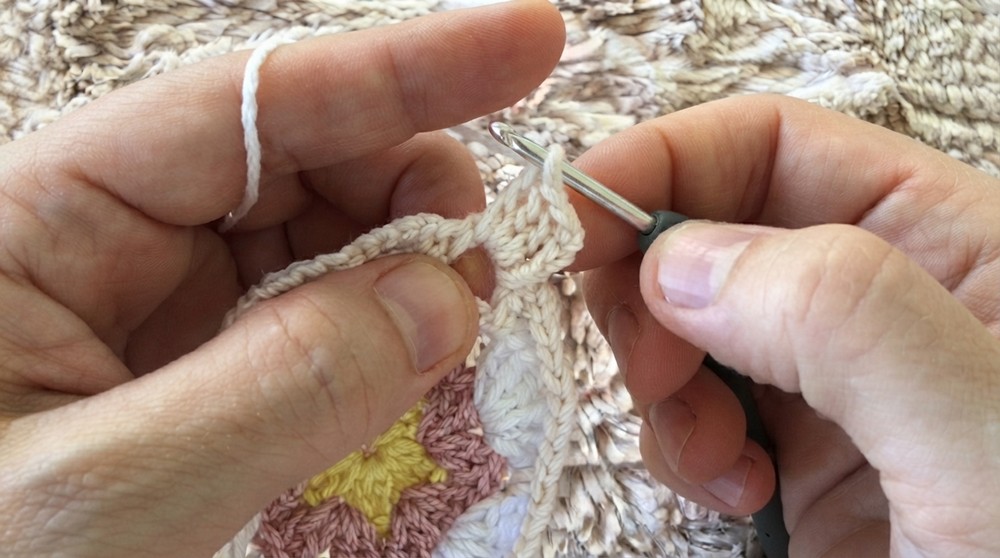
Results: Creates a mesh like setup with 4 chain arches surrounding the motif.
Round 5
- Work 4 DC into each CH 4 space.
- Work 1 DC into the top of each SC from the previous round.
- Continue working around:
- 4 DC in every CH space,
- 1 DC in each SC.
- Adjust if necessary to ensure 60 DC total.
- SL ST to join.
Round 6
- Work 5 DC in consecutive stitches.
- Next stitch: 2 DC into the same stitch (increase).
- Repeat: [5 DC, 2 DC in the next stitch] – 10 times total.
- Stitch count should increase to 70 DC.
- SL ST to join.
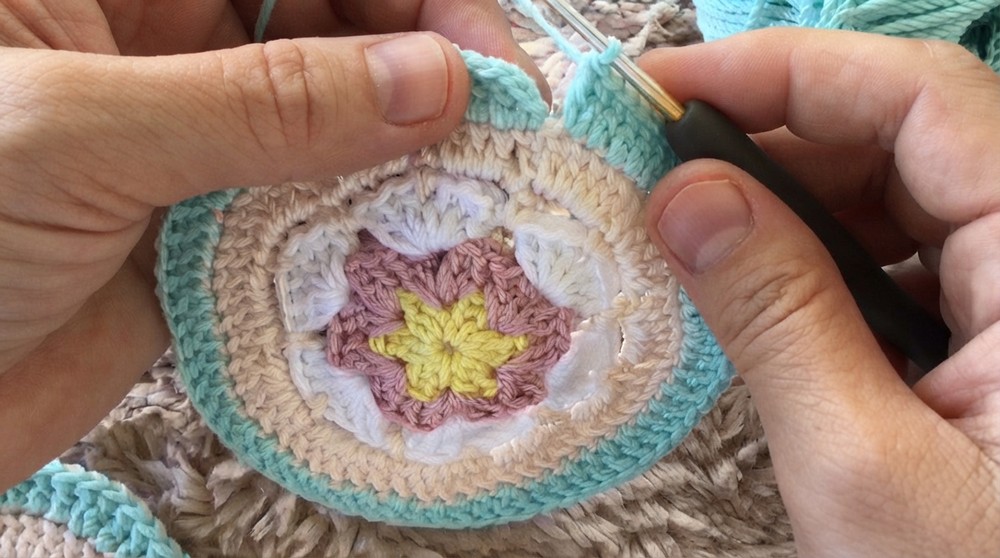
Repeat Phase 1 steps to create second motif.
Phase 2: Joining and Pocket/Side Edges
Joining the Two Motifs
- Place both motifs together with right sides facing outward.
- Attach yarn at any edge stitch.
- Work 56 SC, going through both motifs simultaneously.
- Leave an opening of 14 stitches on one edge (this will be the pocket opening).
Strap/Pocket Row
- Work 7 SC along the edge.
- CH 16.
- Work another 7 SC.
- At the corner, work 2 SC.
- Work 14 SC along the remaining edge.
- SL ST to join at row end.
Phase 3: The Net Mesh Body
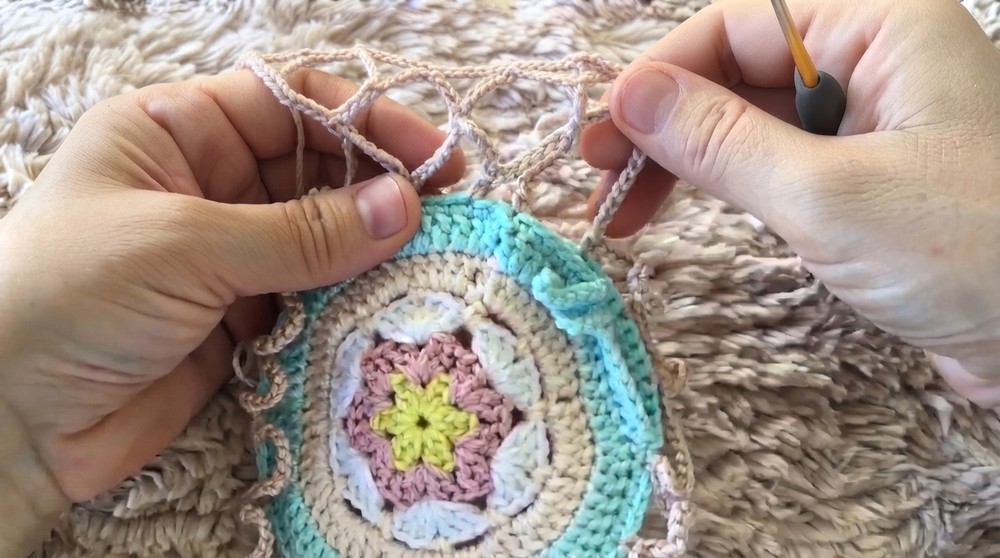
First Mesh Row
- Attach yarn at the edge of the base (above joined motifs).
- CH 13 for the first mesh loop.
- Skip 3 stitches and SC into the 4th stitch.
- [CH 13, skip 3, SC in the next stitch] – repeat around.
- Create 18 mesh loops total.
- SL ST to join to the first mesh loop.
Mesh Rows
- For each new row:
- CH 13 and SC into the center of the previous row’s mesh loops.
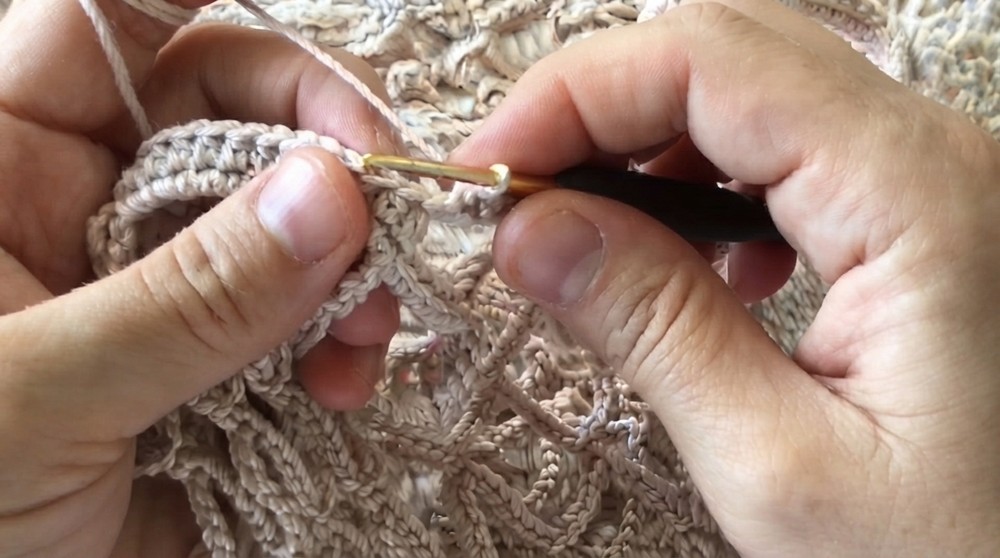
- Continue working and stacking mesh rows.
- Work 17 rows total or adjust for desired depth.
- Ensure the bag body isn’t too large for the foldable pocket.
Phase 4: Finishing and Handles
Rim Edging
- Work 6 SC into each mesh loop around the top rim.
- This secures and tightens the edge, making the bag stable.
Handles
- Starting at one point of the rim:
- CH 60 for the first handle.
- Skip 3 mesh spaces, attach to the 4th mesh loop with 1 DC.
- Repeat for the second handle on the opposite side.
- CH 60, skip 3 spaces, attach to the 4th mesh loop with DC.
Handle Edging
- Work HDC across each handle:
- For each chain, work 1 HDC across the strap length.
- This strengthens the straps and makes them durable.
Final Rim Edging
- Work 1 row of SC around the entire rim and points where the handles meet.
- SL ST to finish.
- Weave in ends.
Final Step: Button Attachment
Button Installation
- Sew a button onto the outer pocket area.
- To fold:
- Tuck the mesh body and handles inside the pocket.
- Secure the pocket flap over the bag using the button closure.
Finished Bag Details
Open Bag
- A roomy mesh bag suitable for groceries, beach items, or everyday errands.
Folded Bag
- Compact, collapsible design that fits neatly into its pocket. Ideal for travel or daily use.
Follow these steps carefully for a well-constructed and functional foldable net bag that aligns with practical use while offering eco-friendly benefits.
Conclusion
This foldable net bag is both practical and stylish. It’s perfect for eliminating plastic bags while being lightweight and easy to carry. The ability to collapse the bag into a small pocket makes it convenient for travel or daily errands. Follow these steps diligently for accurate construction, and enjoy your eco-friendly crocheted creation.