
Free Super Crochet Flower Bag Pattern to Style Fits
Use a Free Super Crochet Flower Bag Pattern to craft a sturdy handmade purse that holds your favorite notebooks so that you look stylish on campus daily.
There’s something magical about carrying a bag that feels like a blooming garden. This crochet flower bag is one of those creations that instantly catches the eye with its charming floral design. Not only is it stylish and unique, but it’s also functional and durable, making it the perfect accessory for any occasion. Think about using this bag for a quick trip to the market, a stroll on the beach, or even as a sweet handmade gift for someone special. The intricate petals give the bag a lively, textured look that’s bound to make it a conversation starter wherever you take it.
Featured By Hatice ELişizade
With just basic techniques like double crochet stitches and the magical back loop only method, you’ll be able to create beautiful petal shapes that resemble real flowers. This pattern also uses the magic ring, a versatile technique that’s not only perfect for making bag bases but can also be used for other circular projects. You’ll enjoy learning these useful stitches while seeing your bag come to life, petal by petal.
Free Super Crochet Flower Bag Pattern to Pack Goods
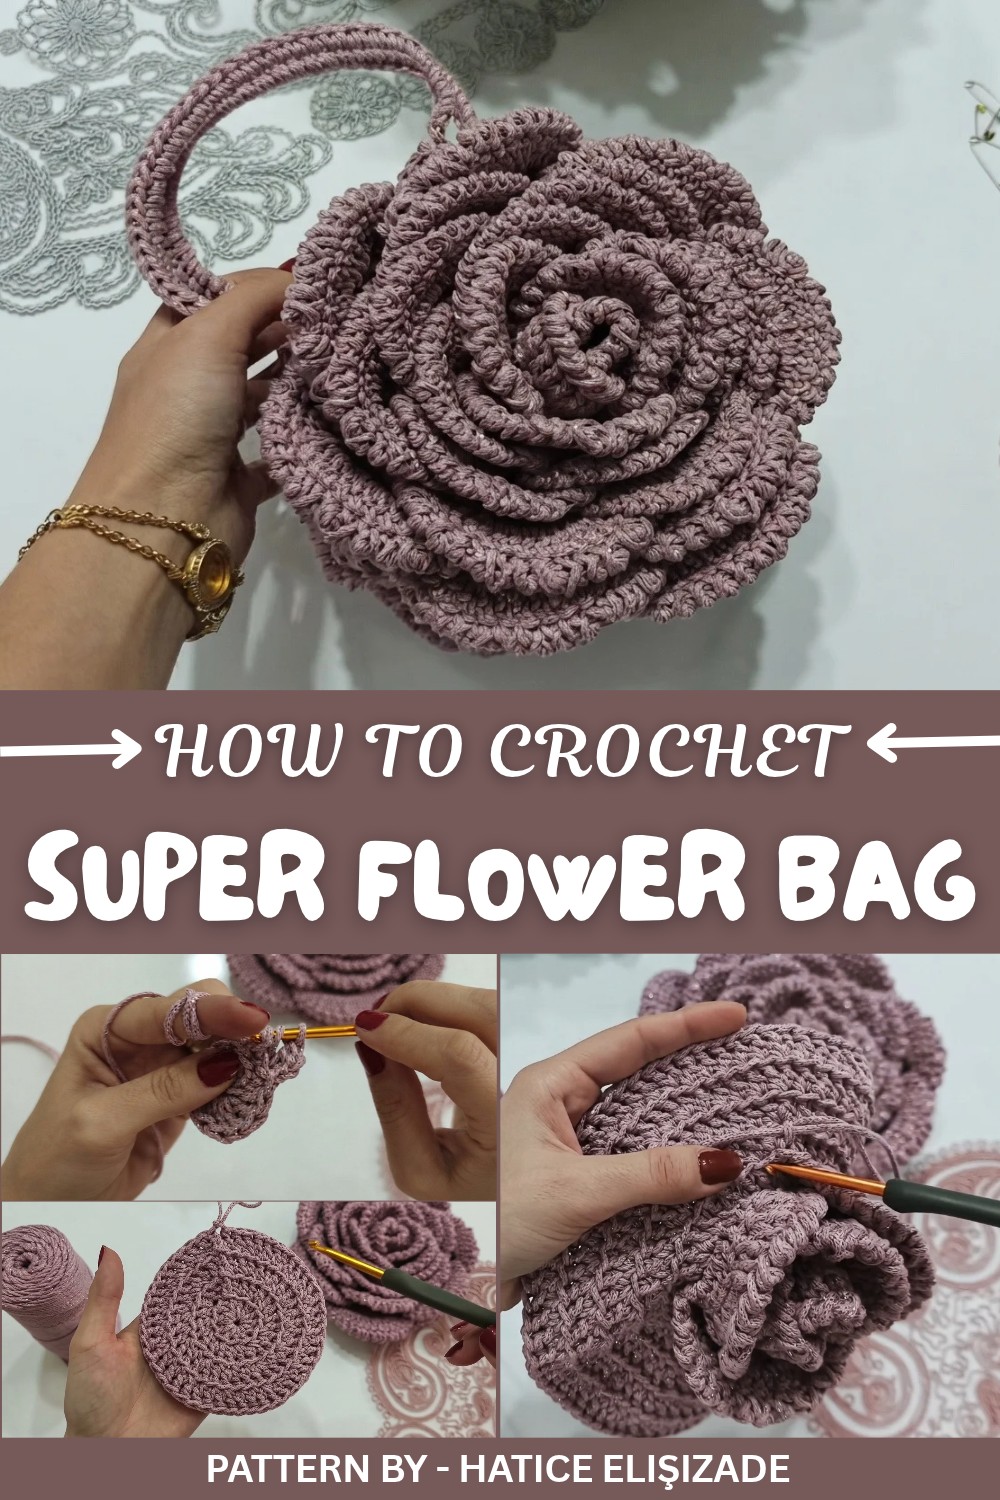
The beauty of this pattern lies in its versatility. With the skills you’ll learn, you can make so much more than just a flower bag. These techniques can be used to create small crochet items like coasters, placemats, or even decorative cushions with lovely floral patterns. If you’re feeling adventurous, you can adapt the bag pattern into a hat, a beach tote, or a unique round pillow cover. With a little creativity, the possibilities are endless.
So grab your yarn and hook, and let’s work on turning simple stitches into a masterpiece. It’s time to make something beautiful that tells your own story while adding a touch of charm to your everyday life.
Floral Crochet Bag Pattern
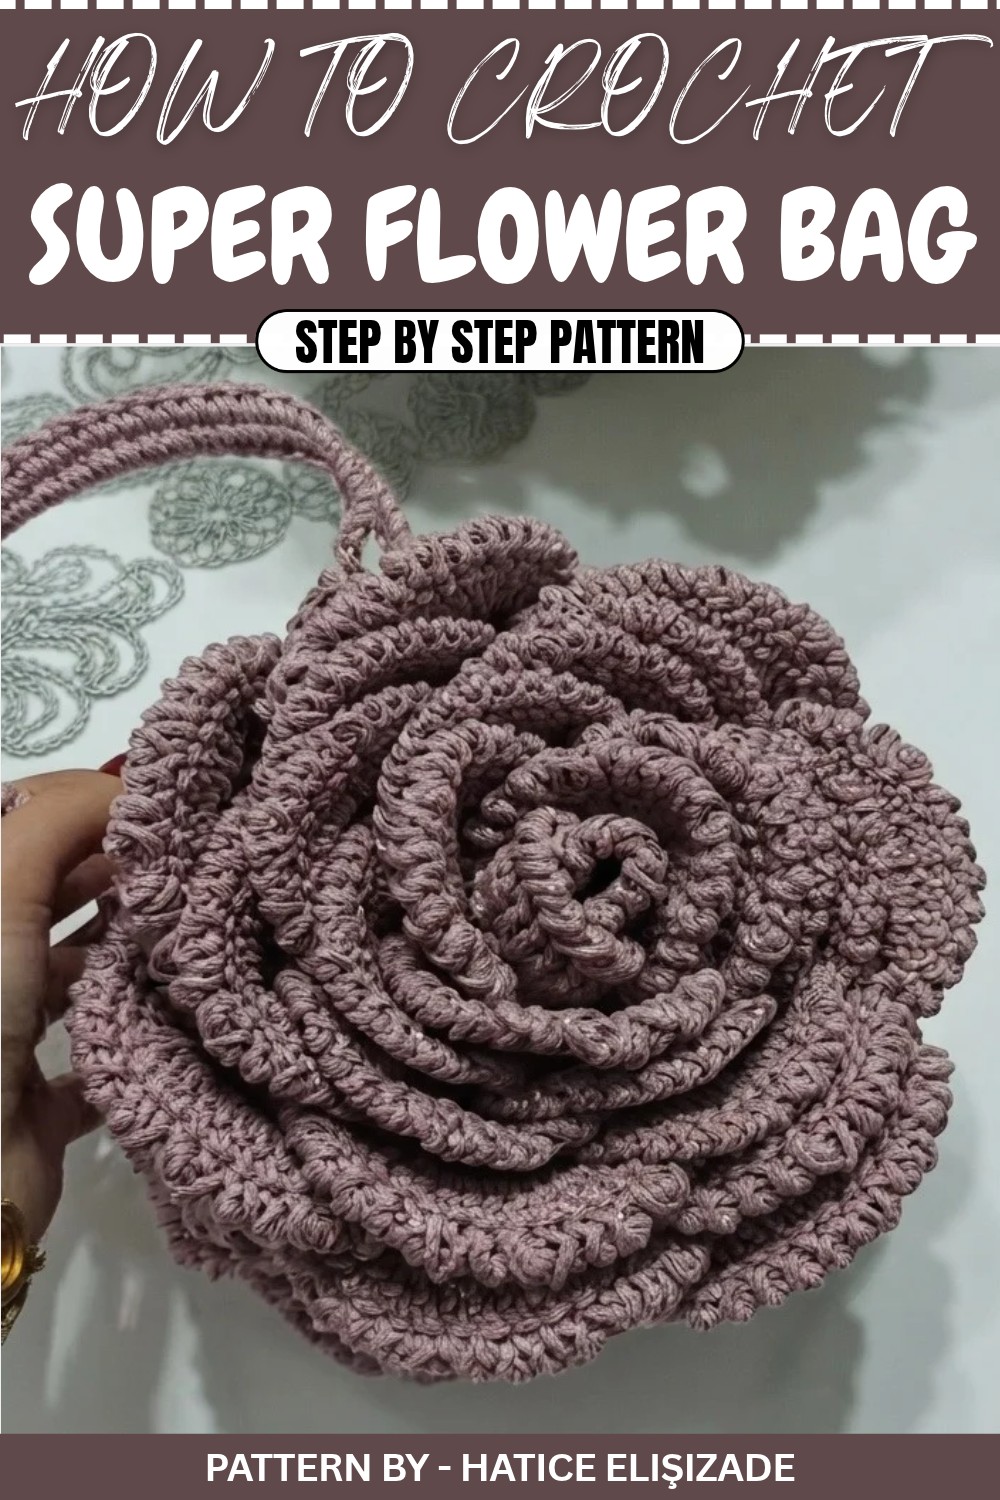
Crocheting a floral bag is not just about creating a functional accessory, but also about bringing a touch of elegance and charm into your everyday style. This floral crochet bag has a captivating petal like texture, offering a unique and handmade look that’s both stylish and practical. Despite its intricate appearance, this bag is surprisingly easy and enjoyable to make, making it a great project to work on for yourself or as a thoughtful gift for someone special.
Quick Overview of the Pattern
- Features:
- Round bag base with petal like details.
- Optional customization with handles, lining, or closures (e.g., zipper, button, clasp).
- Built in reinforcement for durability and shape.
- Parts of the Bag:
- Circular Base
- Petal Layer (outer decorative layer)
- Optional Lining and Handle
- Tools and Techniques Used:
- Magic ring
- Double crochet stitch
- Working through back loops only
Notes
- The bag is crocheted in continuous rounds unless specified otherwise (no joining after each round).
- Use a stitch marker to keep track of rounds.
- For best results, use sturdy yarn that helps maintain the bag’s shape.
- Handles can be created using yarn, cord, or decorative wire.
- Check your stitch count at the end of every round to ensure accuracy.
Skill Level
Advanced Beginner to Intermediate:
This pattern requires knowledge of basic crochet stitches and techniques, including working in the round and consistent stitch increases. The petal detail adds a decorative touch, which is easy to achieve after learning its sequence.
Materials
- Yarn:
- Cotton or macrame cord with shimmer.
- Approx. 200–300 grams (depending on yarn thickness and desired size).
- Crochet Hook:
- 4 mm hook (adjust depending on your tension and yarn thickness).
- Optional Accessories:
- Wire for creating handles (bendable yet sturdy).
- Lining fabric (optional, if you want to reinforce the inside of the bag).
- Zipper, button, or clasp for closure.
- Additional Supplies:
- Tapestry needle.
- Scissors.
- Stitch markers.
Measurements / Sizing
- Approx. 25 cm diameter.
- Size can be modified by adding rows to the circular base.
Gauge
Tight, consistent stitches are key to ensuring a sturdy bag. Aim for 8 stitches and 8 rows of double crochet (ikili tırabzan) to measure 5 cm square.
Stitch Abbreviations
| Abbreviation | Meaning |
|---|---|
| MR | Magic ring |
| sc | Single crochet |
| dc | Double crochet |
| sl st | Slip stitch |
| ch | Chain |
| inc | Increase (2 dc in one stitch) |
| blo | Back loop only |
Special Stitches
- Magic Ring (MR): Used to start circular projects. Create an adjustable loop to avoid leaving a hole in the center.
- Back Loop Only (blo): Work into only the back loop of the stitch (the loop furthest from you) to create a ridge for the petal detail.
The Crochet Pattern
Step 1: Crochet the Circular Base
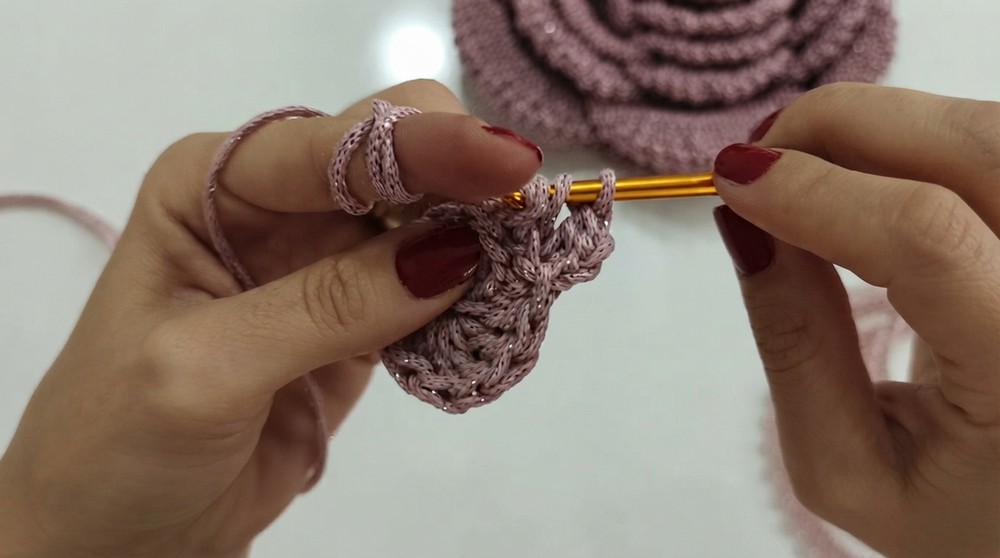
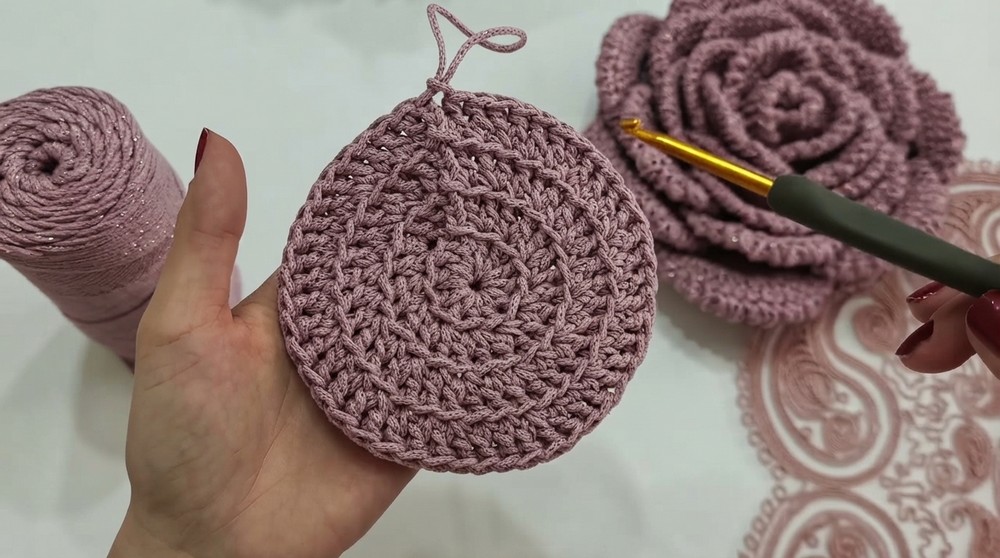
- Round 1 (R1): Make a magic ring (MR), chain 3 (counts as first dc), then work 11 dc into the MR (12 dc total). Pull the ring tight and join with a sl st into the top of the ch 3.
- Round 2 (R2): Chain 3, then work 2 dc in each stitch around (24 dc). Join with a sl st to the top of the ch 3.
- Round 3 (R3): Chain 3, (1 dc in the next stitch, 2 dc in the next stitch) repeat around (36 dc). Join with a sl st.
- Round 4 (R4): Chain 3, (1 dc in the next 2 sts, 2 dc in the next stitch) repeat around (48 dc). Join with a sl st.
- Round 5 (R5): Chain 3, (1 dc in the next 4 sts, 2 dc in the next stitch) repeat around (60 dc). Join with a sl st.
- Continue adding rounds in the same pattern until the base reaches the desired size. Typically, you’ll work up to 5 dc in between increases for a 25 cm diameter base.
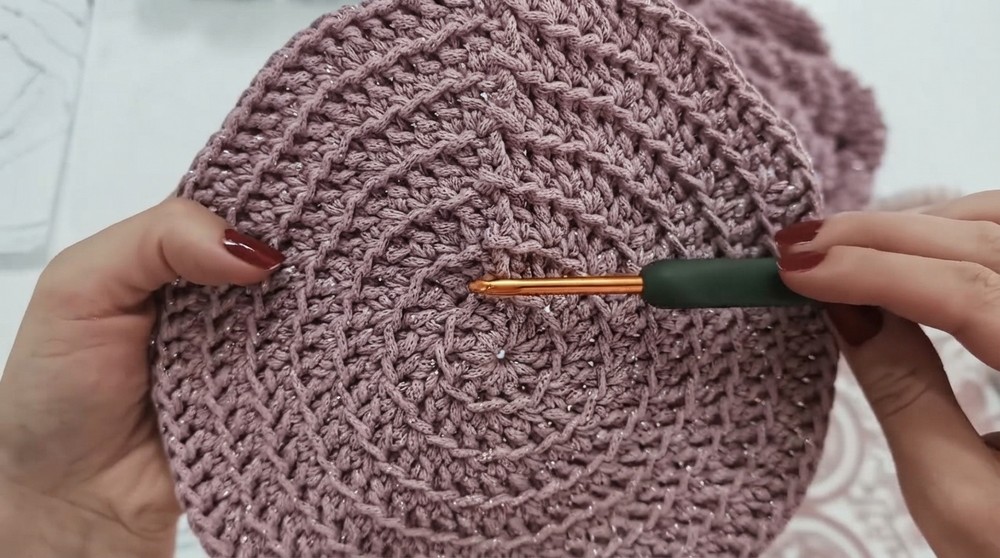
Step 2: Petal Layer
- Once the base is complete, chain 3, and begin working in the back loop only (blo) for this round. (Work 1 dc into each back loop and increase by 1 dc every 6 stitches) repeat around.
- Continue working in increasing rounds (as done for the base) until the petal layer matches the base.
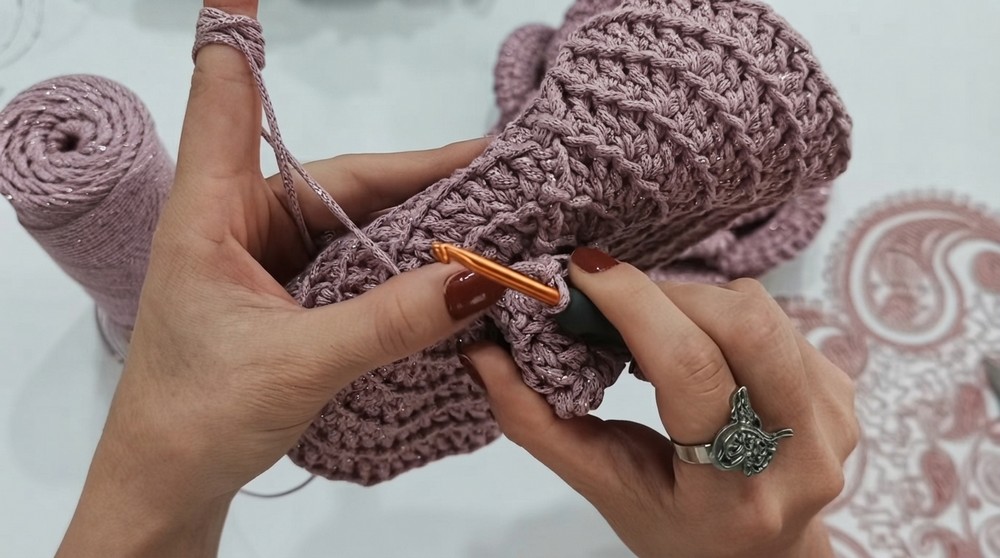
Step 3: Petal Detailing
Now that the petal layer is the same size as your base, you will crochet the flower petals into the unworked front loops of your base.
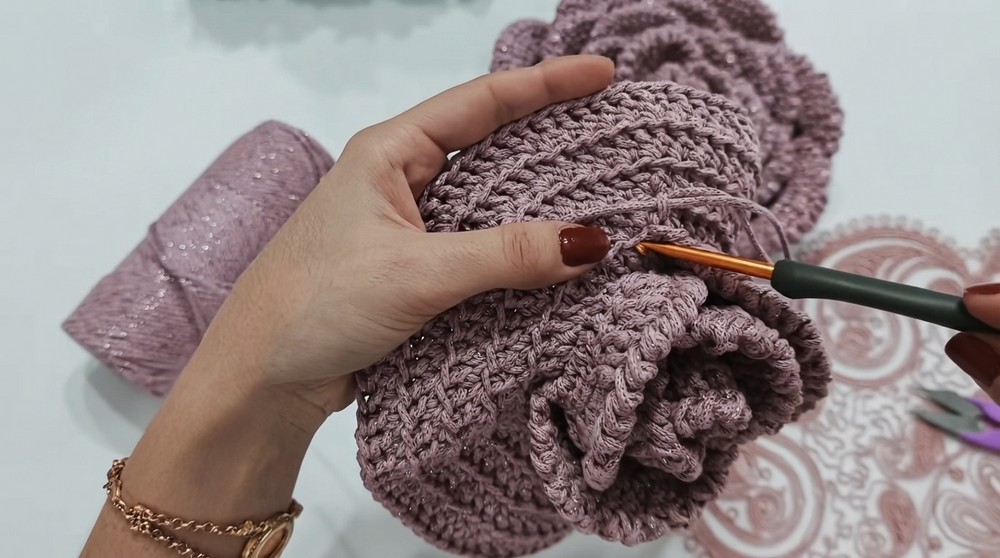
Make a petal:
- Insert your hook into a front loop from the base. Chain 2, work 3 dc into the same loop.
- Skip the next front loop and repeat the above step into every 5th front loop for even petal spacing. Continue until all petals are complete.
Step 4: Bag Assembly
- Bag Edges: Add 2–3 rounds of single crochet (sc) at the edges of the base and the petal layer to create a bag structure.
- Handles: If using metal wire, wrap it with single crochet stitches, then sew or attach it securely to the bag. Alternatively, crochet strap handles directly from the bag’s edges and attach later.
- Optional Lining: Sew a fabric lining for added durability.
- Closure: Add a zipper or button closure at the bag's opening, if desired.
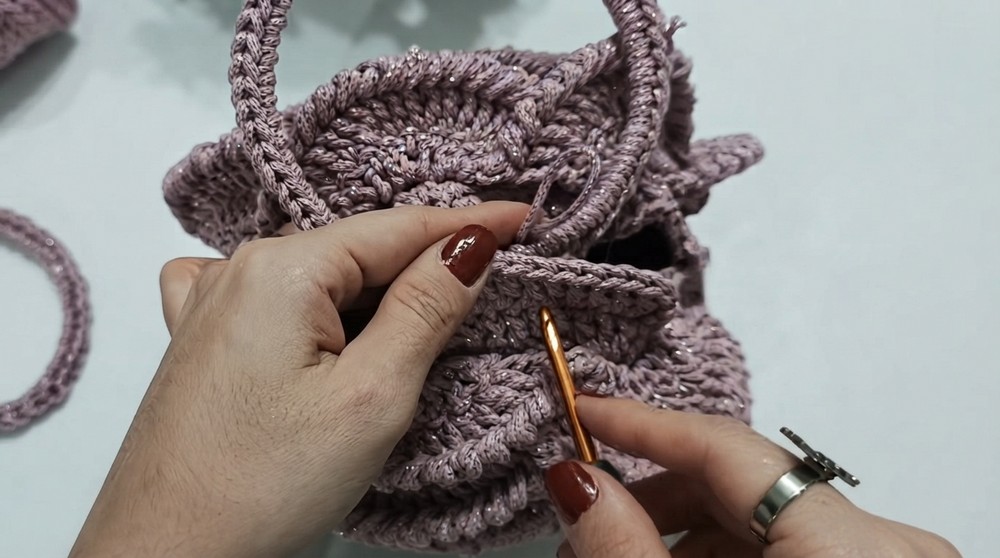
Assembly and Finished Size
Once all the parts are complete, attach the handles to the top edge of the bag. Ensure the handles are securely sewn in place. The final assembled bag measures approximately 25 cm in diameter, making it the perfect size for a small tote or stylish accessory.
Conclusion and Ending Words
Thank you for following this stunning crochet floral bag tutorial. This eye catching bag combines beauty with purpose and is surprisingly simple to work on with just a few foundational stitches. Customize your bag with unique color combinations, materials, and optional lining for a signature look that’s uniquely yours.