
Beautiful Free Pattern to Crochet Your Own Hair Clip
Enjoy this free crochet hair clip pattern that teaches you how to make a sweet and colorful clip that is easy to crochet and fun to wear.
Making your own hair clip is a delightful way to express your creativity and crochet a personalized accessory that’s both functional and stylish. This charming project is perfect for adding a touch of elegance to your everyday look or gifting something unique to loved ones. With its intricate details and thoughtful design, this hair clip is sure to complement various outfits and occasions, from casual outings to formal events.
Inspired by Chan Yang Handmade, this hair clip design combines simplicity and beauty with a step by step approach that’s beginner friendly. The tutorial makes it easy to follow along, ensuring that crocheting this adorable piece becomes a fun and rewarding experience for all skill levels.
Free Crochet Hair Clip Pattern for Handmade Gifts
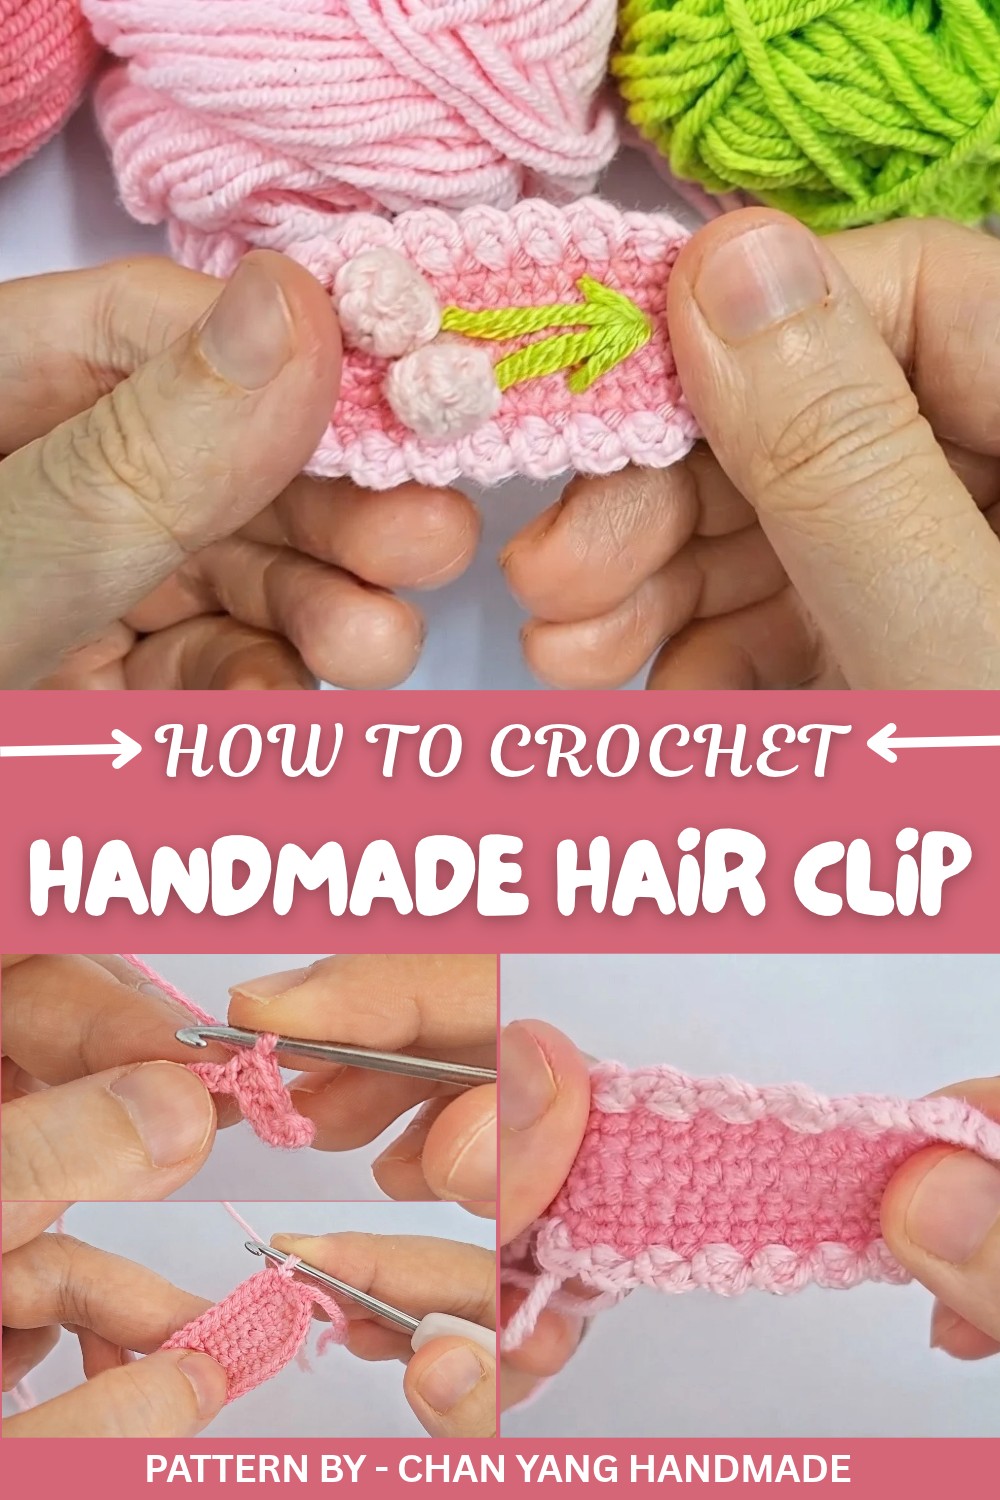
The hair clip’s standout feature is the combination of a ruffled border and a delicately crocheted floral embellishment. The border, worked in a contrasting yarn color, frames the clip beautifully and adds a whimsical touch. The flower, created using the magic circle technique, serves as a centerpiece and can be customized with any color to reflect your style. Once finished, the clip is then securely attached to a flat metal base with glue, making it sturdy and wearable.
The thoughtful design of this pattern prioritizes ease of working. It starts with a simple base made of single crochet stitches, followed by delicate embellishments that elevate the entire piece. Whether you’re a crochet beginner or a confident crocheters, this pattern is a satisfying way to use your skills and create something truly beautiful. You’ll love the handmade charm and practicality of this lovely hair accessory.
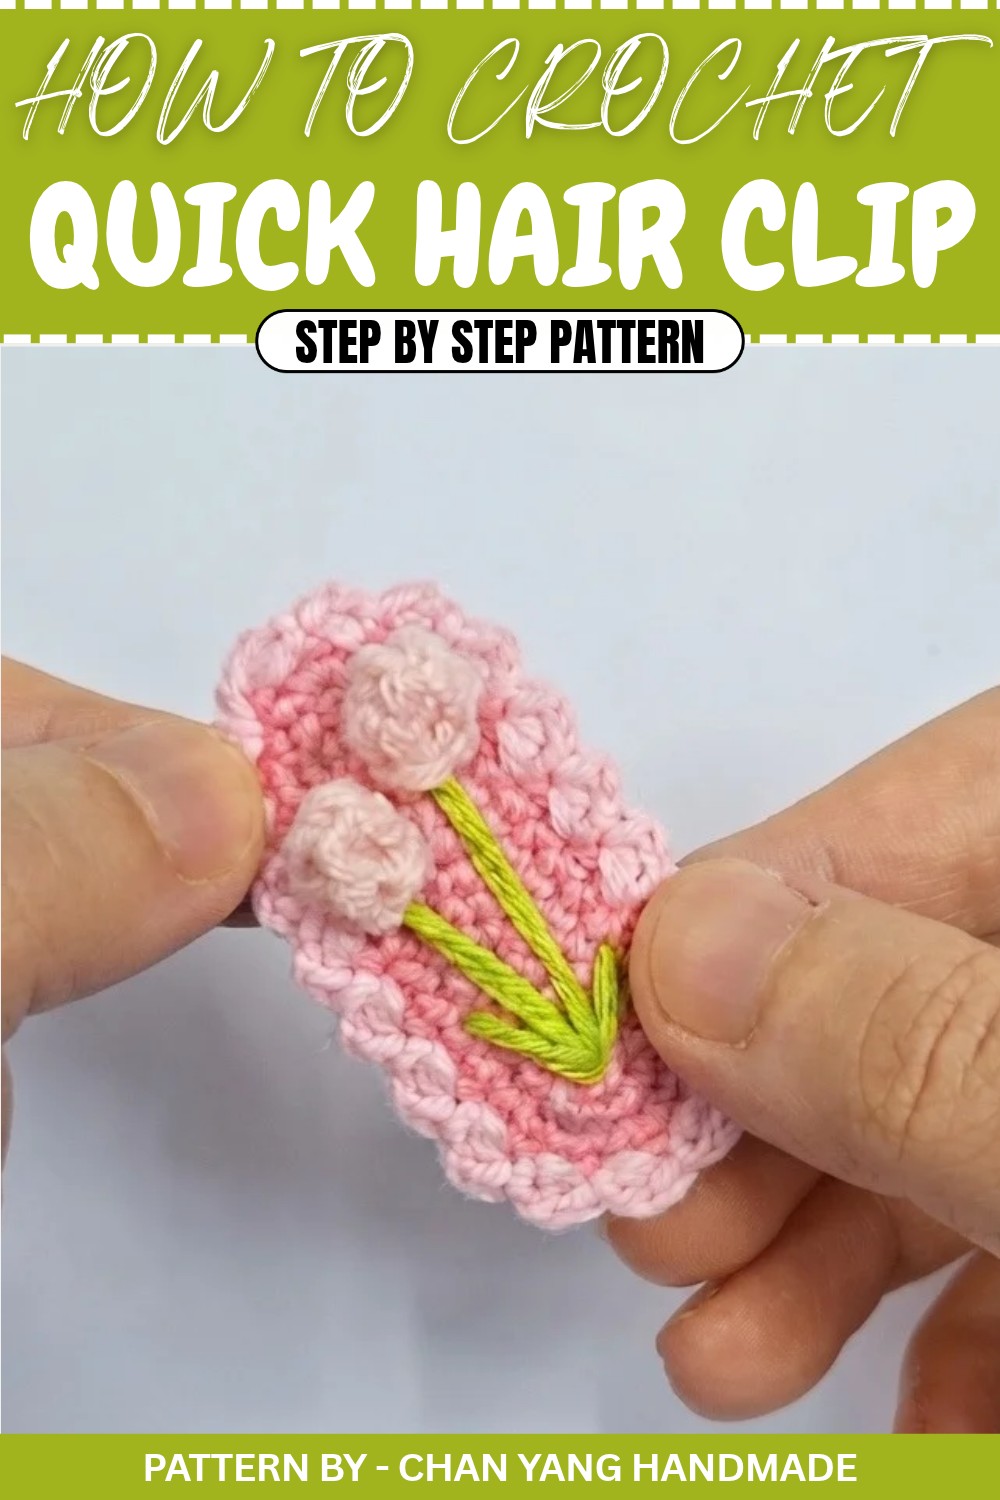
Crochet Pattern: Cute Hair Clip with Decorative Edging
Quick Overview of the Pattern
- Project Name: Cute Crochet Hair Clip with Decorative Edging
- Purpose: Create a handmade stylish hair clip with borders and embellishments
- Key Techniques: Chain stitch, single crochet, slip stitch, double crochet, crocheting in rounds, and a magic ring
- Suitability: Perfect for beginners and intermediate crocheters
- Customization: Use your favorite yarn colors and decorate with unique toppers such as flowers or shapes
Notes
- The hair clip consists of a foundation layer, decorative edging, and optional embellishments like leaves and flowers.
- Use a slightly smaller crochet hook to ensure the structure is tight enough for the purposes of the accessory.
- Be sure to measure the length of your hair clip in advance and adjust the starting chain accordingly for the perfect fit.
- Use a light colored yarn for easy visualization if you are new to crocheting.
Skill Level
Beginner to Intermediate – Requires basic crochet knowledge, and making embellishments (e.g., a small flower) can be optional for more seasoned crocheters.
Materials
- Yarn: Light or sport weight yarn in three colors (e.g., blue for the base, a contrasting color for edging, and green for leaves)
- Crochet Hook: 2.5 mm or 3 mm hook (adjustable based on chosen yarn weight)
- Hairclip Base (metal clip or barrette)
- Scissors
- Yarn Needle for weaving in ends and sewing
- Hot Glue Gun and glue sticks for attaching the crocheted piece to the hair clip
Measurements / Sizing
- Finished Size: Adjustable to fit hair clips. Example size: Approx. 10 cm (length) x 2.5 cm (width).
Gauge
Gauge is not critical for this project since it is small and can be easily adjusted. Measure the length of your hair clip to match the completed project.
Stitch Abbreviations
- ch: Chain
- sc: Single Crochet
- dc: Double Crochet
- sl st: Slip Stitch
- v-stitch: Work two double crochets into the same stitch
Special Stitches
- Magic Ring (MR): Used to begin crocheting in a closed circle without a hole in the center of your work.
The Crochet Pattern
Step 1: Crochet the Base of the Hair Clip
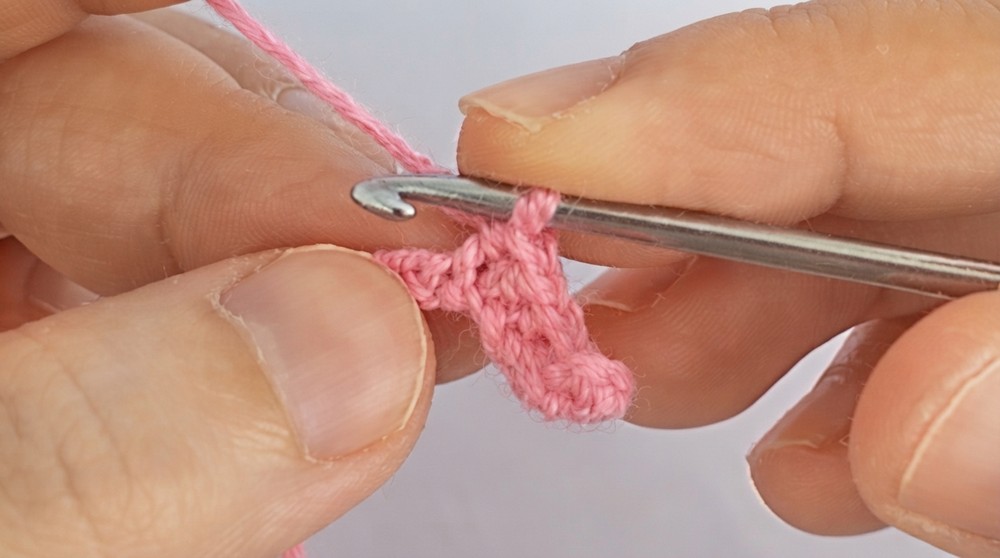
- Foundation Chain: Start by making a slip knot, then chain 13 stitches.
- Row 1: Turn your work, skip the first chain, and in the second chain from the hook, work one single crochet (sc). Continue working 10 more single crochet stitches along the chain.
- End of the Row: At the last chain, work a single crochet increase by crocheting 3 single crochet stitches into the same stitch. This helps round out the edge of your project.
- Row 2: Turn your work and crochet back along the opposite side of the foundation chain. Work 10 single crochet stitches evenly back across.
- Final Stitch for the Row: At the last stitch, end the row with a slip stitch (sl st). This completes the first row of the base. Cut off any excess yarn.
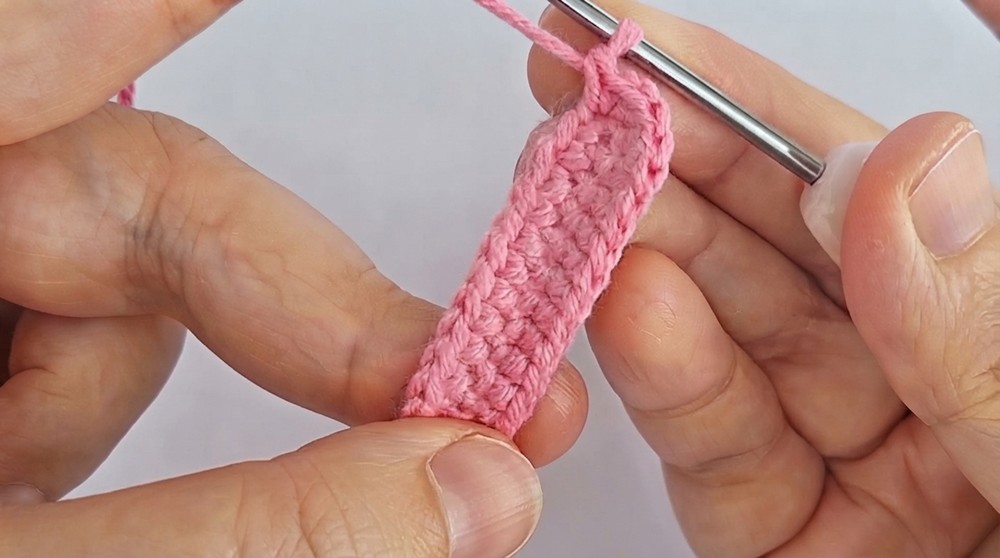
Step 2: Build the Hair Clip Foundation
- Joining for Round 2: Insert your hook into the first stitch of the previous row. Make 1 slip stitch to join and start the next round. Chain 1.
- Row 3:
- In the first stitch, work 1 V-stitch (2 double crochets in the same stitch).
- For the next 10 stitches, work 1 single crochet in each stitch.
- In the next 3 stitches, work 1 V-stitch in each stitch.
- Then crochet 10 more single crochet stitches.
- End the row by working 1 V-stitch in each of the last 2 stitches. Join with a slip stitch to finish the round.
- Row 4:
- Chain 1 to start the next row. Work 1 single crochet in the first stitch.
- Work 1 single crochet in the next stitch, then work 1 V-stitch in the following stitch.
- Continue with 10 single crochet stitches.
- At the center, crochet 3 sets of “1 single crochet then 1 V-stitch.”
- Add 10 single crochet stitches, then for the last 4 stitches, work 2 sets of “1 single crochet then 1 V-stitch.”
- Join the final stitch with a slip stitch. This finishes the base.
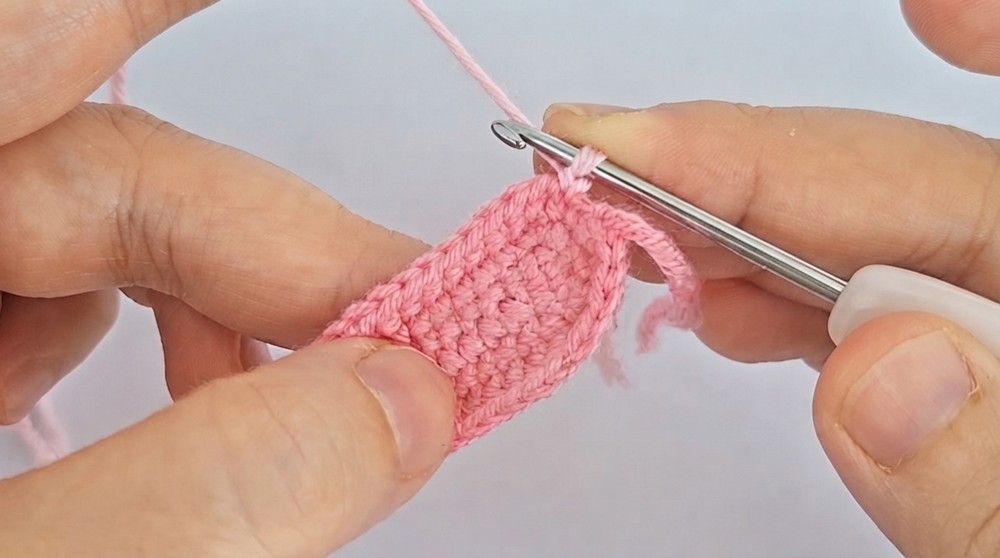
Step 3: Add Decorative Border
- Change Yarn Color: Switch to a contrasting yarn color. Begin by joining the new yarn and chaining 2 to start the next round.
- Work Edging:
- Work 1 single crochet, then skip 1 stitch.
- In the next stitch, work 1 slip stitch. Repeat this pattern (single crochet, skip, slip stitch) evenly around the edges of the hair clip base until you complete the round.
- Fasten Off: Once the border is complete, secure the yarn with a slip stitch, cut the working yarn, and weave in ends.
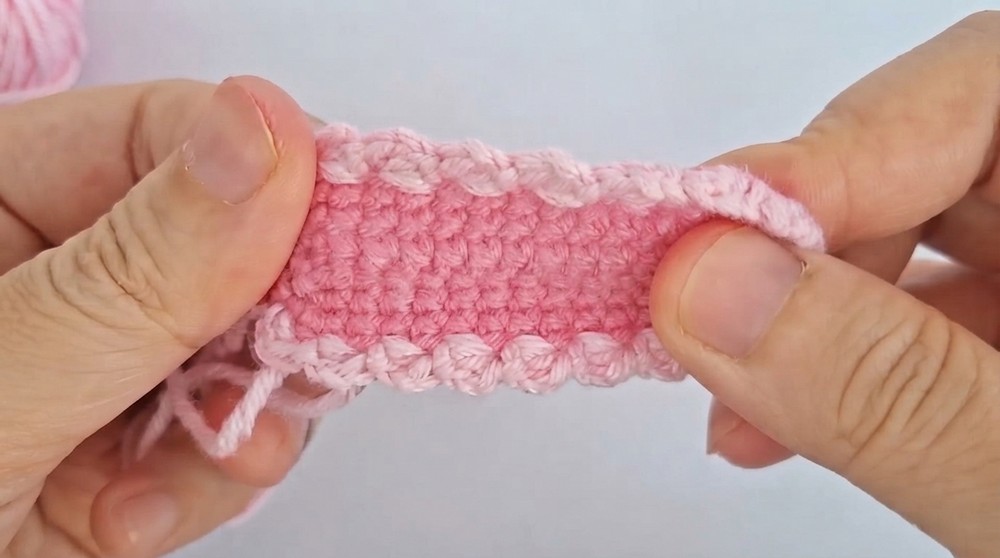
Step 4: Add Embellishments (Optional)
Crochet a Small Flower
- Create the Flower Center:
- Begin with a magic ring.
- Chain 3, then work 5 double crochet stitches into the ring.
- Close the magic ring by pulling the tail tight and joining the round with a slip stitch to the first chain.
- Shape the Flower: Pull and adjust the petals if necessary to create an even, circular flower.
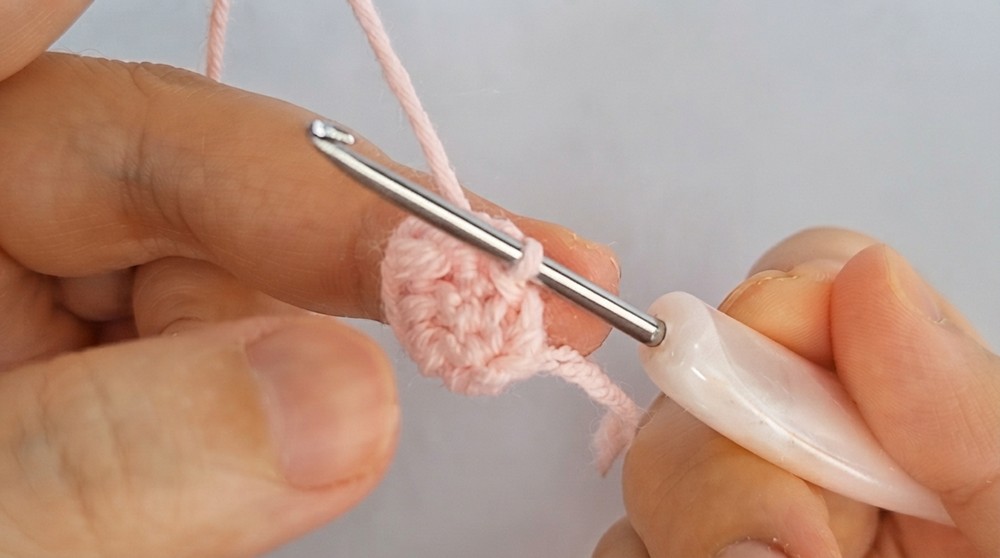
Add Stem and Leaves (Optional):
- Use green yarn and a needle to embroider a simple stem and leaf shape on the base of the hair clip.
Step 5: Assembly
- Attach the completed crochet hair clip foundation securely to a metal hair clip or barrette using a hot glue gun.
- Add the flower or other embellishments as desired and firmly secure them to the base using glue or sewing.
Finished Size
- Size: Approximately 10 cm long
- Clip Compatibility: Choose a metal clip or barrette that matches the length of the crochet base.
Conclusion
Congratulations! You’ve successfully created a beautiful and adorable crochet hair clip with a decorative edge. This handmade accessory is perfect for adding a personal touch to your hairstyle or gifting to a loved one. Thank you for following along.