
Free Fun Crochet Bag Pattern You’ll Want to Show Everyone
Work up this Free Amazing Crochet Shoulder Bag Pattern to make a roomy summer tote that carries your beach towels and sunscreen effortlessly.
A small and stylish shoulder bag can be the perfect handmade accessory to add a touch of charm to your daily outfits. What’s special about this design is how simple yet beautiful it is. With its smooth, rounded shape and soft texture, the bag offers just the right size to carry your essentials like a phone, some cash, cards, or even a few small makeup items, all while keeping things lightweight and cute.
Crochet Shoulder Bag Pattern Totally Free & So Gorgeous
This delightful bag uses basic crochet techniques, making it a great project for beginners or anyone looking for a fun way to relax with their hooks and yarn. It starts with a strong base made using single crochet stitches and grows into a sturdy and neat little pouch. The strap is created by stitching 32 chains, finished with a row of slip stitches to give it a sleek and minimalistic look without adding bulk. Whether you choose velvet yarn or any soft, slightly thicker yarn, the results are incredible. The creator, Trang Lam Crochet - Left Handed, makes this project super beginner friendly with clear instruction and tips, her calm and encouraging approach makes it feel like crafting alongside a friend.
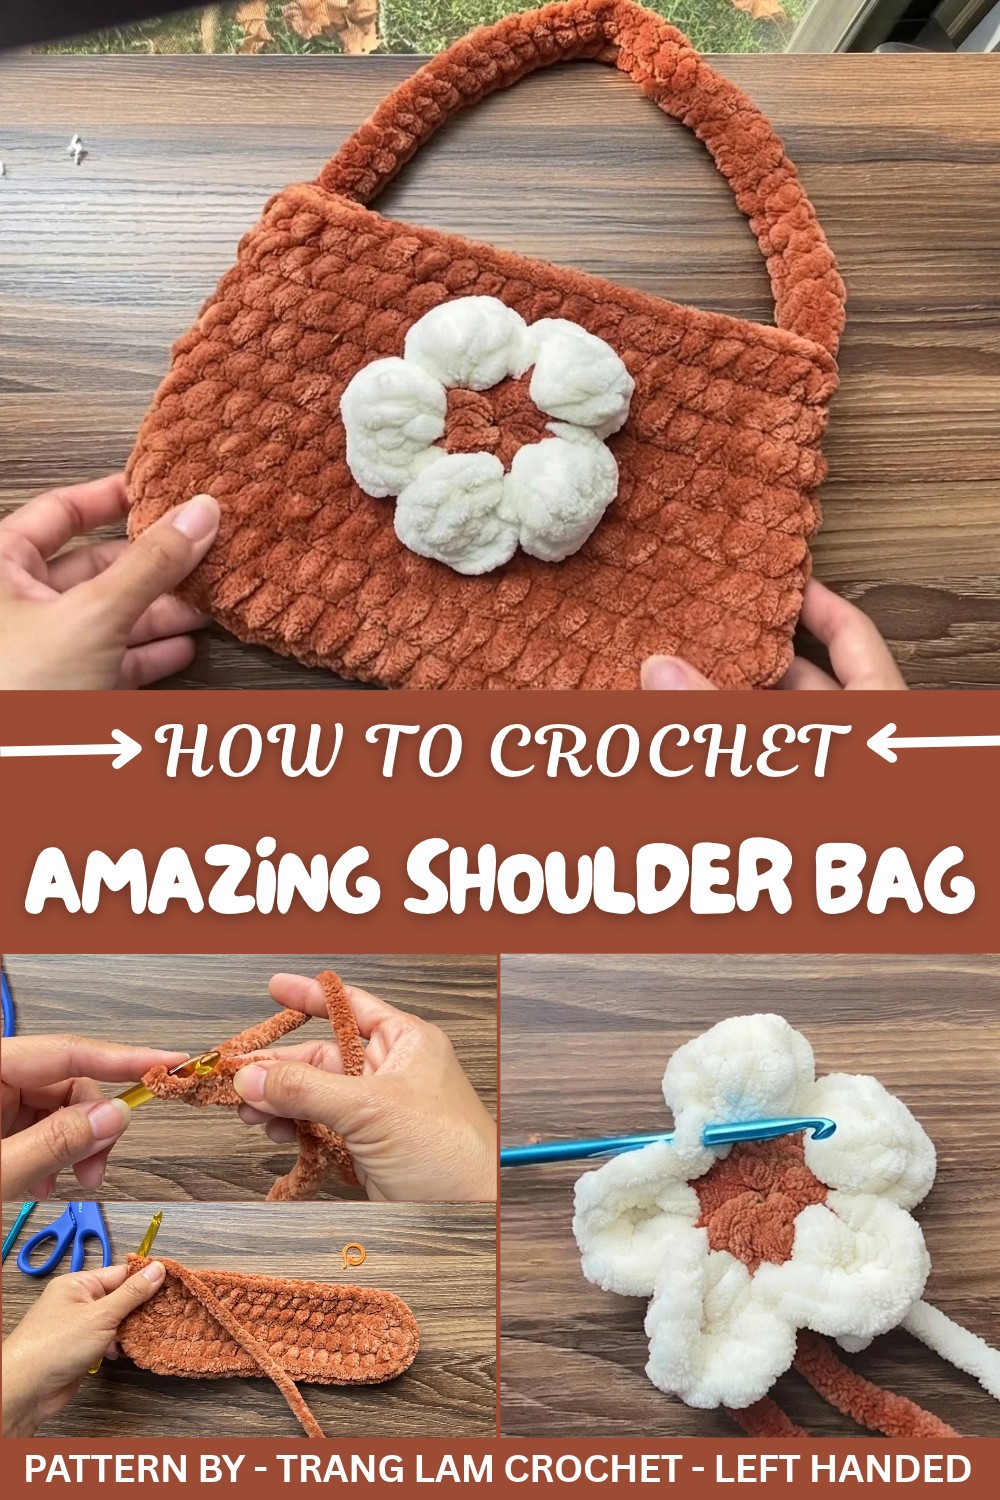
The cutest element? The tiny five petal flower sewn onto the front of the bag. Made using a magic ring and small crochet hooks, the flower adds an extra pop of fun and personality. You can switch up the colors of the flower and bag to match your style or season.
This bag is not just beautiful; it’s incredibly functional. Great for casual use or as a handmade gift, it’s perfect for anyone who loves trendy yet practical accessories. Follow along with Trang Lam Crochet - Left Handed, and you’ll have your very own adorable bag in no time.
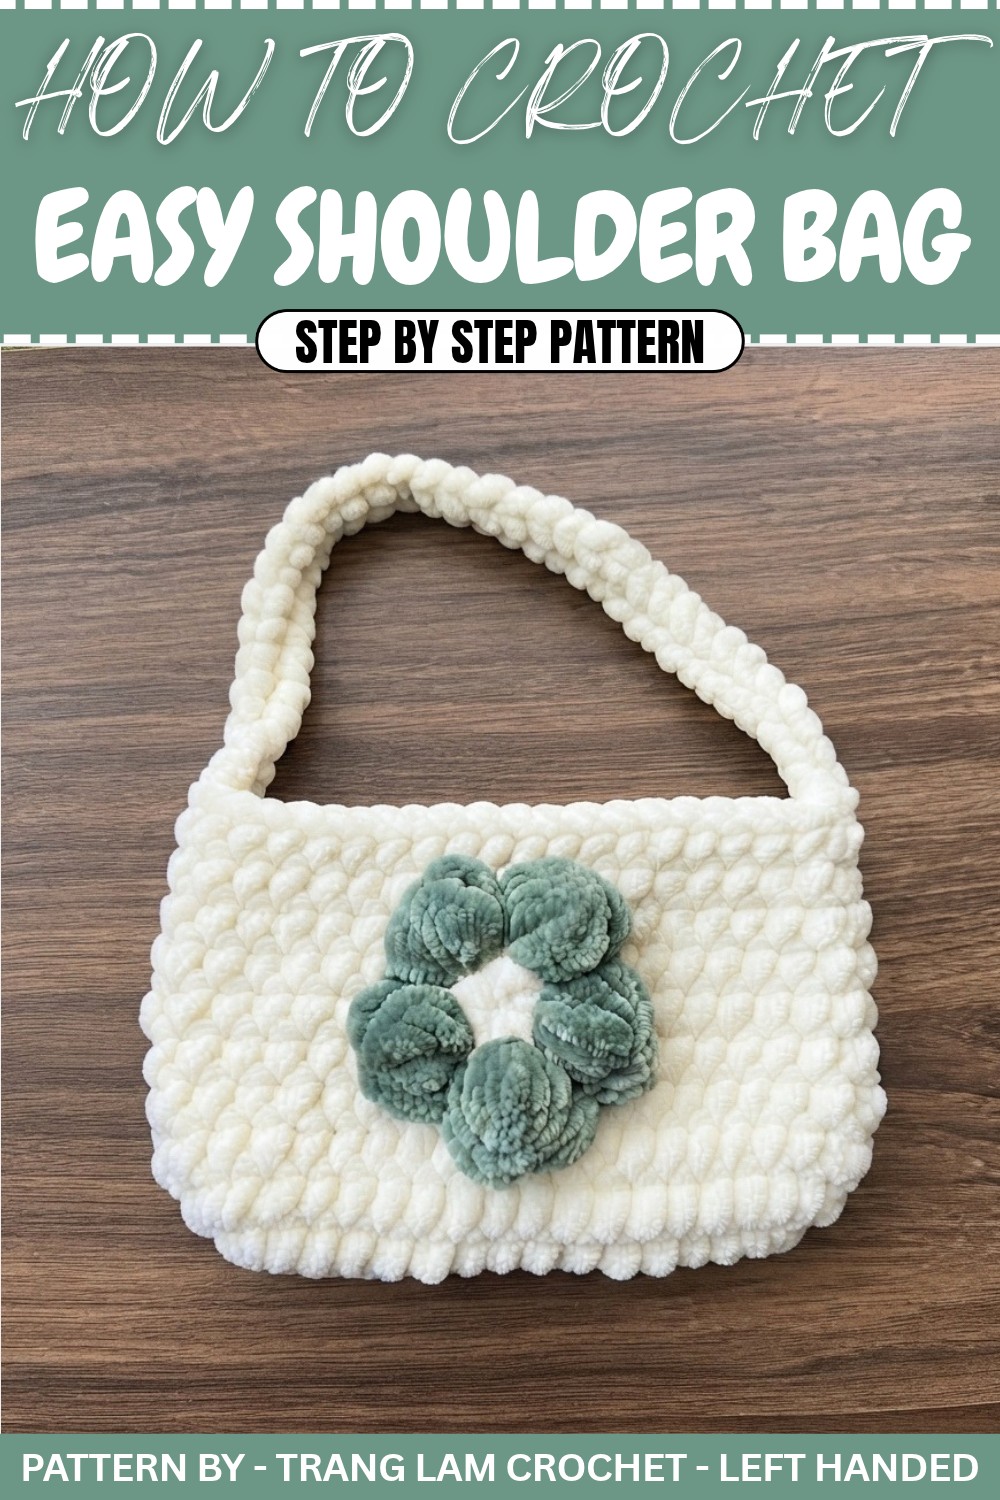
Crochet Pattern: Simple Shoulder Bag with Flower Embellishment
Introduction
This crochet pattern will guide you through creating a simple yet beautiful shoulder bag, perfect for carrying a phone or other small essentials. Made with bulky yarn, this bag features a minimalist design, an adjustable strap, and an optional flower decoration for a touch of charm. Whether for yourself or as a handmade gift, this project is both fun and functional.
Quick Overview Of Pattern
- Project: Easy crochet shoulder bag with a decorative flower.
- Design: Stylish shoulder bag with lightweight texture and embellishments.
- Uses: Ideal for carrying your phone, wallet, or small accessories.
- Adjustable: The strap length and flower size can be altered to match your preference.
Materials Required
- Yarn: Bulky weight yarn (ideal: velvet or chenille type yarn) in your chosen colors.
- Crochet Hooks:
- 8mm hook for the bag body.
- 5.5mm or 6mm hook for the flower embellishment.
- Additional Tools:
- Scissors.
- Yarn needle (for weaving ends and sewing).
- Stitch marker.
Notes
- This pattern uses US terminology for stitches.
- Customize the strap length by adjusting the number of chains.
- Weave in all ends securely to ensure the bag remains durable.
- Chenille or velvet yarn may be fragile; crochet gently to avoid yarn breakages.
- If desired, attach a magnetic snap button to the opening for secure closure.
Gauge
While gauge is not critical for this pattern, it is helpful to achieve consistent tension.
- With an 8mm hook and bulky yarn, 10 SC x 10 rows = ~4” x 4” square.
Abbreviations
- CH: Chain.
- SC: Single Crochet.
- SL ST: Slip Stitch.
- HDC: Half Double Crochet.
- DC: Double Crochet.
Crochet Pattern Instructions
Bag Body Pattern: (Using an 8mm Hook)
Foundation Row:
- Make a foundation chain of 15 stitches (14 chains for the base + 1 turning chain).
Round 1: Create the Oval Base
- Skip the first chain.
- Work 1 SC in each of the next 13 chains.
- In the last chain, work 5 SC to form a rounded edge.
- Continue crocheting along the other side of the chain, working 1 SC into each of the next 12 chains.
- In the final stitch, which already has 1 SC, work 4 additional SC for a total of 5 SC in the same stitch.
- Use a slip stitch (SL ST) to join the end of the round to the first SC.
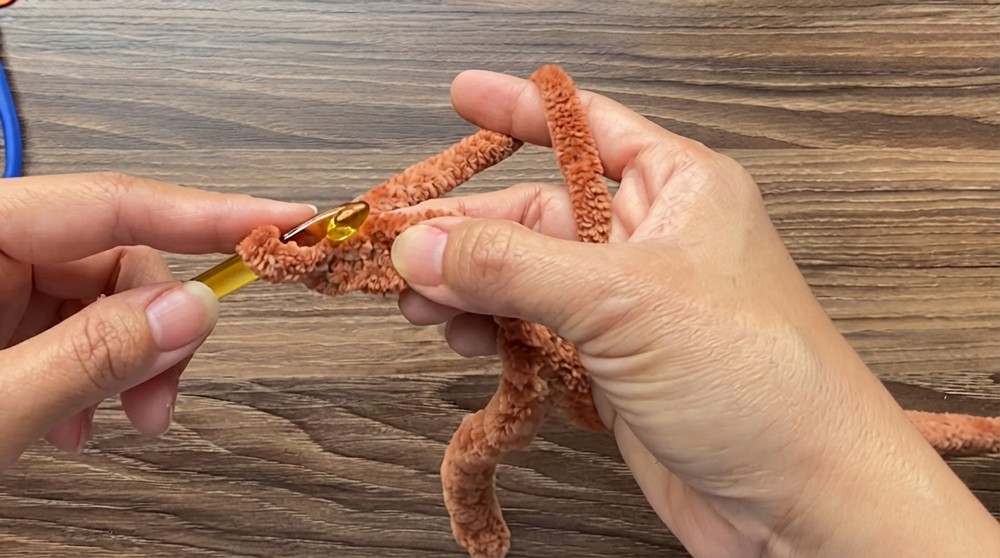
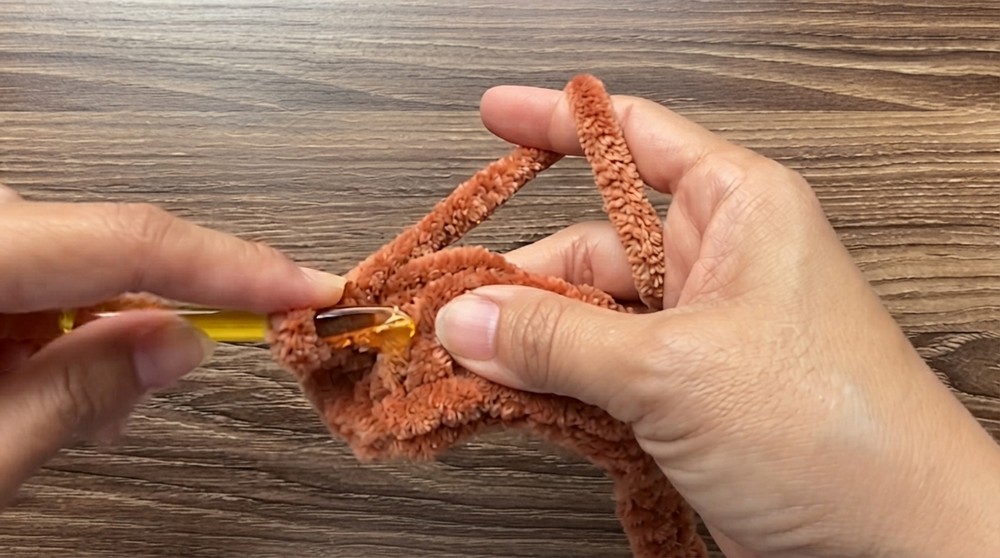
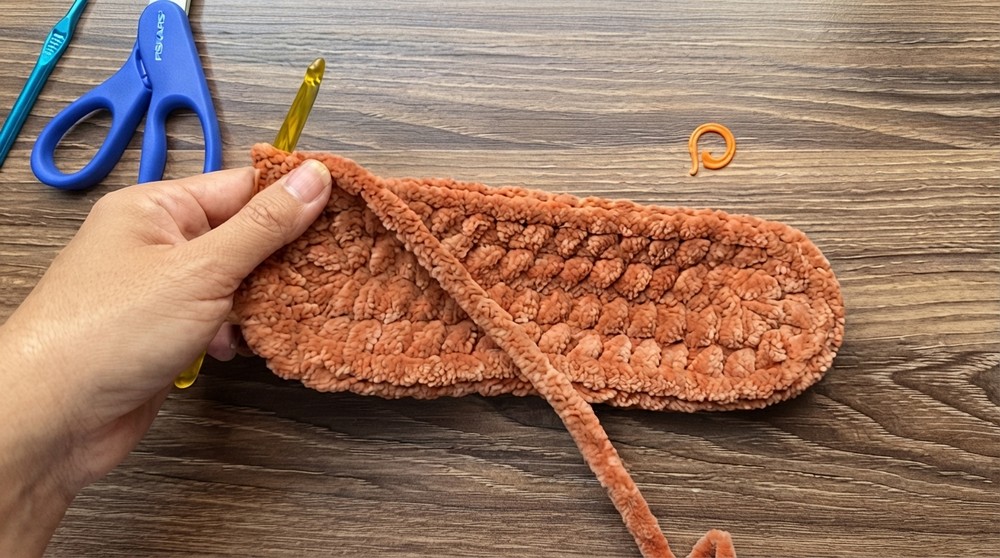
Round 2: Shape the Base
- Start with a CH 1, which does not count as a stitch.
- Work 14 SC along the base edge without increasing or decreasing. Place a stitch marker in the first stitch for reference.
- At the rounded section (corner with 3 stitches):
- Work 2 SC in each of the next 3 stitches (total of 6 stitches).
- Continue with 14 SC down the opposite straight edge.
- At the final curved section (corner with 3 stitches):
- Work 2 SC in each of these 3 stitches (total 6 stitches).
- Join the round with a SL ST to the first stitch.
Rounds 3–10: Build the Bag’s Walls
- Work each round as follows:
- CH 1, then 1 SC in every stitch around (total of 40 stitches per round).
- At the end of each round, join the last stitch to the first SC with a SL ST.
- Repeat this process until you complete 10 rounds (rounds 3 through 10).
Finishing the Bag Body
- After completing Round 10, cut the yarn and weave in the ends using a yarn needle.
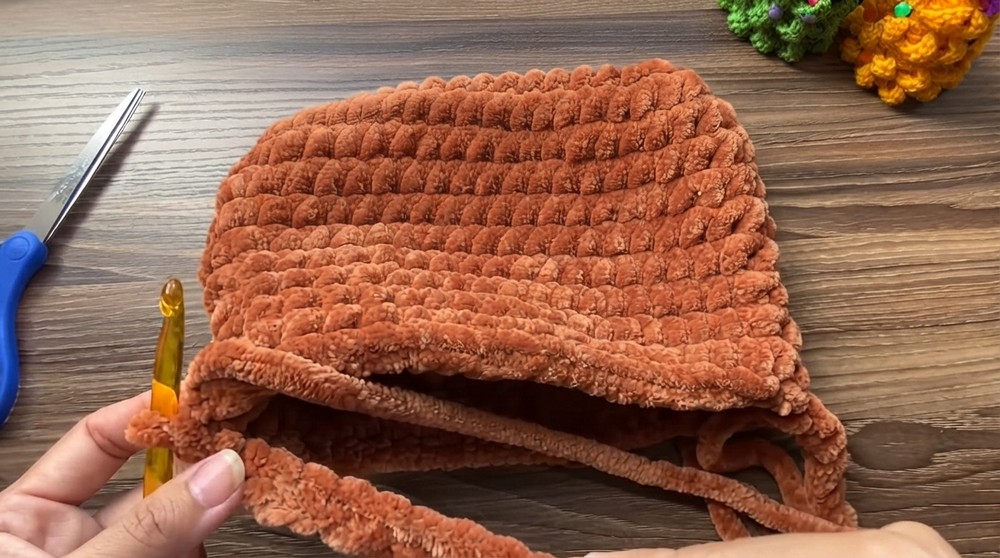
Strap Pattern: (Using the same 8mm hook)
Step 1: Attach the Strap
- Identify two stitches on opposite edges of the bag for attaching the strap.
- Join the yarn on one side with a chain stitch.
Step 2: Create the Strap
- Work a CH of 32 stitches (or customize the strap length by adding or removing chains).
- Attach the free end of the chain to the opposite side of the bag with a SL ST.
- Work one more SL ST in the adjacent stitch to secure the strap.
Step 3: Reinforce the Strap
- Work 32 SL ST back along the chain, moving toward the start.
- When you reach the starting side of the strap, use a SL ST to join. Cut the yarn and weave in the loose ends.
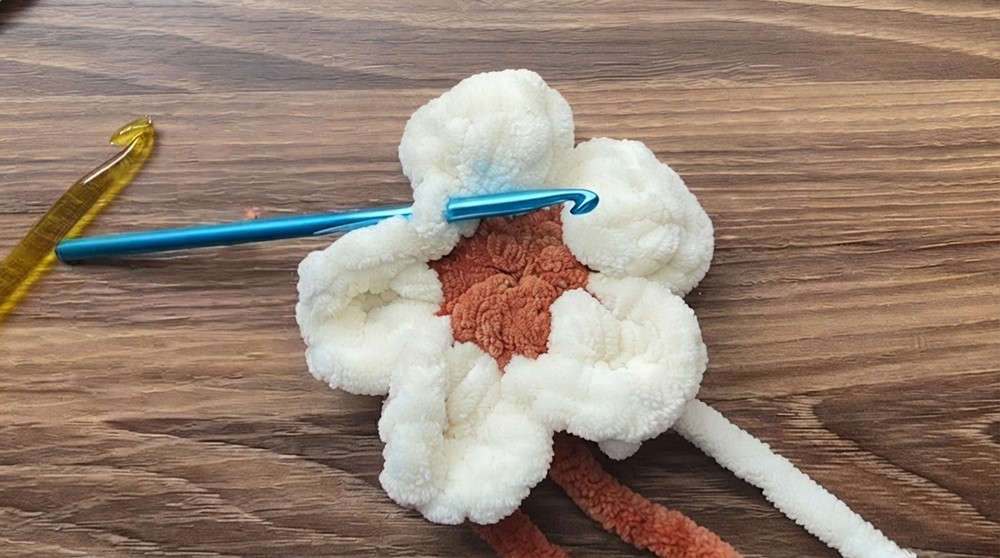
Flower Embellishment Pattern: (Using a 5.5mm or 6mm Hook)
Step 1: Create the Flower Center
- Begin with a magic ring.
- CH 1, then work 10 SC into the magic ring.
- Pull the loop tightly to close the ring.
- Use a SL ST to join the last SC to the first SC.
Step 2: Create the Petals
- Using a contrasting thread color, join yarn to any SC.
- For the first petal:
- CH 3, work 4 DC into the next stitch, CH 3, and join with a SL ST in the same stitch.
- Repeat this process for a total of 5 petals:
- CH 3, 4 DC in next stitch, CH 3, SL ST.
- After completing all 5 petals, fasten off the yarn and leave a long tail for attaching.
Assembly and Final Steps
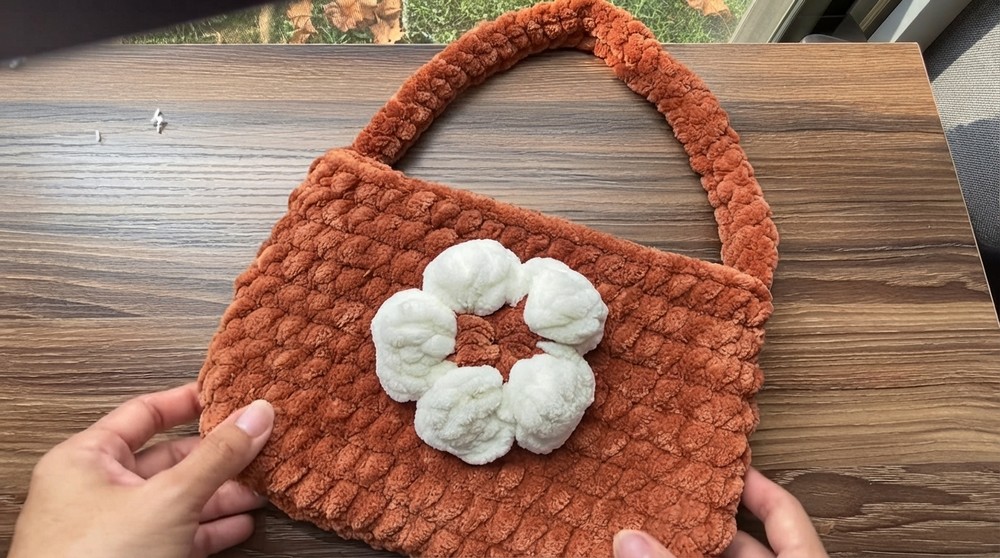
- Attach the Flower:
- Using the yarn tail left from the flower, securely sew it to the bag wherever you desire. Alternatively, use hot glue or fabric glue for easier attachment.
- Optional Closure:
- For additional security, attach a magnetic snap button to the top of the bag’s opening. This will help keep items inside.
Conclusion
Well done! You’ve successfully completed your handmade crochet shoulder bag with an elegant floral embellishment. It’s a fun project for beginners to practice basic stitches, and the result is not only beautiful but functional. Feel free to add extra accents, alternate colors, or modify it in size to make it uniquely yours.