
Free Crochet Net Bag Pattern to Keep Your Pool Gear Together
Create your very own stylish and lightweight crochet net bag with this easy pattern, ideal for beginners and perfect for daily errands or shopping.
A crochet mesh bag is a stylish and functional accessory that combines elegance with practicality. This particular design showcases a unique twist with sturdy corn (popcorn) stitches at the four corners of the bag. These textured stitches not only add a decorative touch but also provide structure and durability to the bag, ensuring it holds its shape when carrying items. The bag’s lightweight and airy mesh design makes it perfect for carrying groceries, books, or everyday essentials, while remaining beautiful and easy to handle.
Crochet Net Bag Pattern for Fresh Fruit Shopping Trips
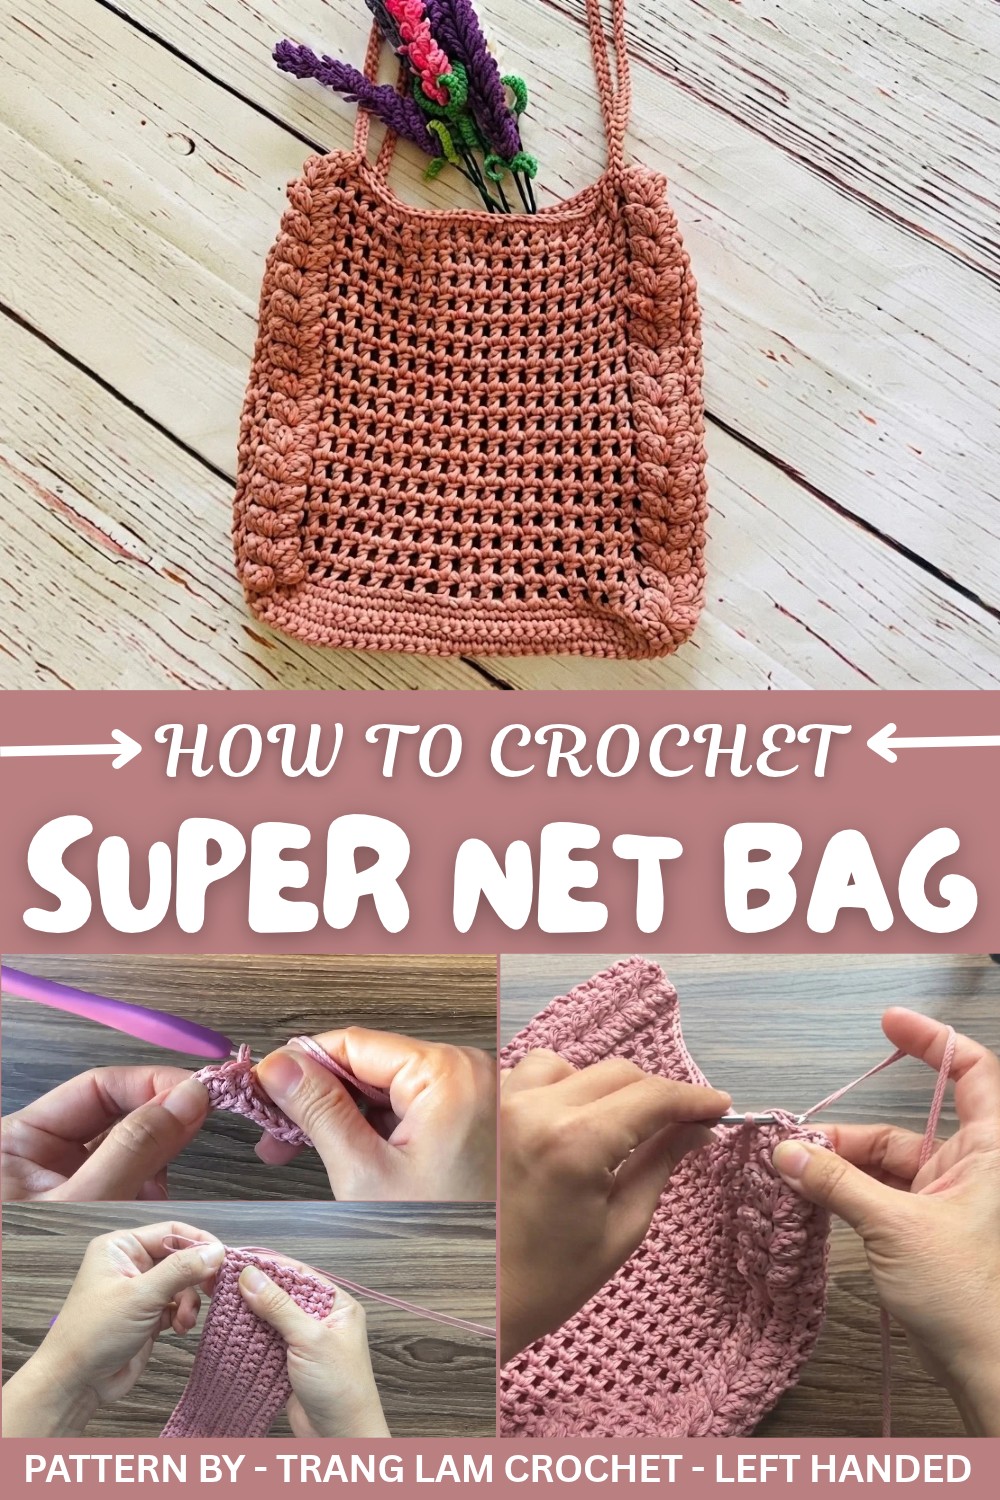
The most attractive feature of this design is the delicate balance between its aesthetic appeal and sturdiness. The open work mesh body is light and flexible, while the reinforced corners and bottom ensure durability. The strap of the bag is cleverly designed so that it doesn’t need to be sewn into place, it’s threaded through the bag’s top and can be adjusted for the perfect fit. Made with Vietnamese yarn, the bag has a soft and natural texture, giving it both functionality and charm.
Trang Lam Crochet – Left Handed is known for creating easy tutorials, especially tailored for left handed crocheters. In her video, she explains every step in detail, from crocheting the firm base with single crochet rows to incorporating the textured popcorn stitches that define the bag’s edges.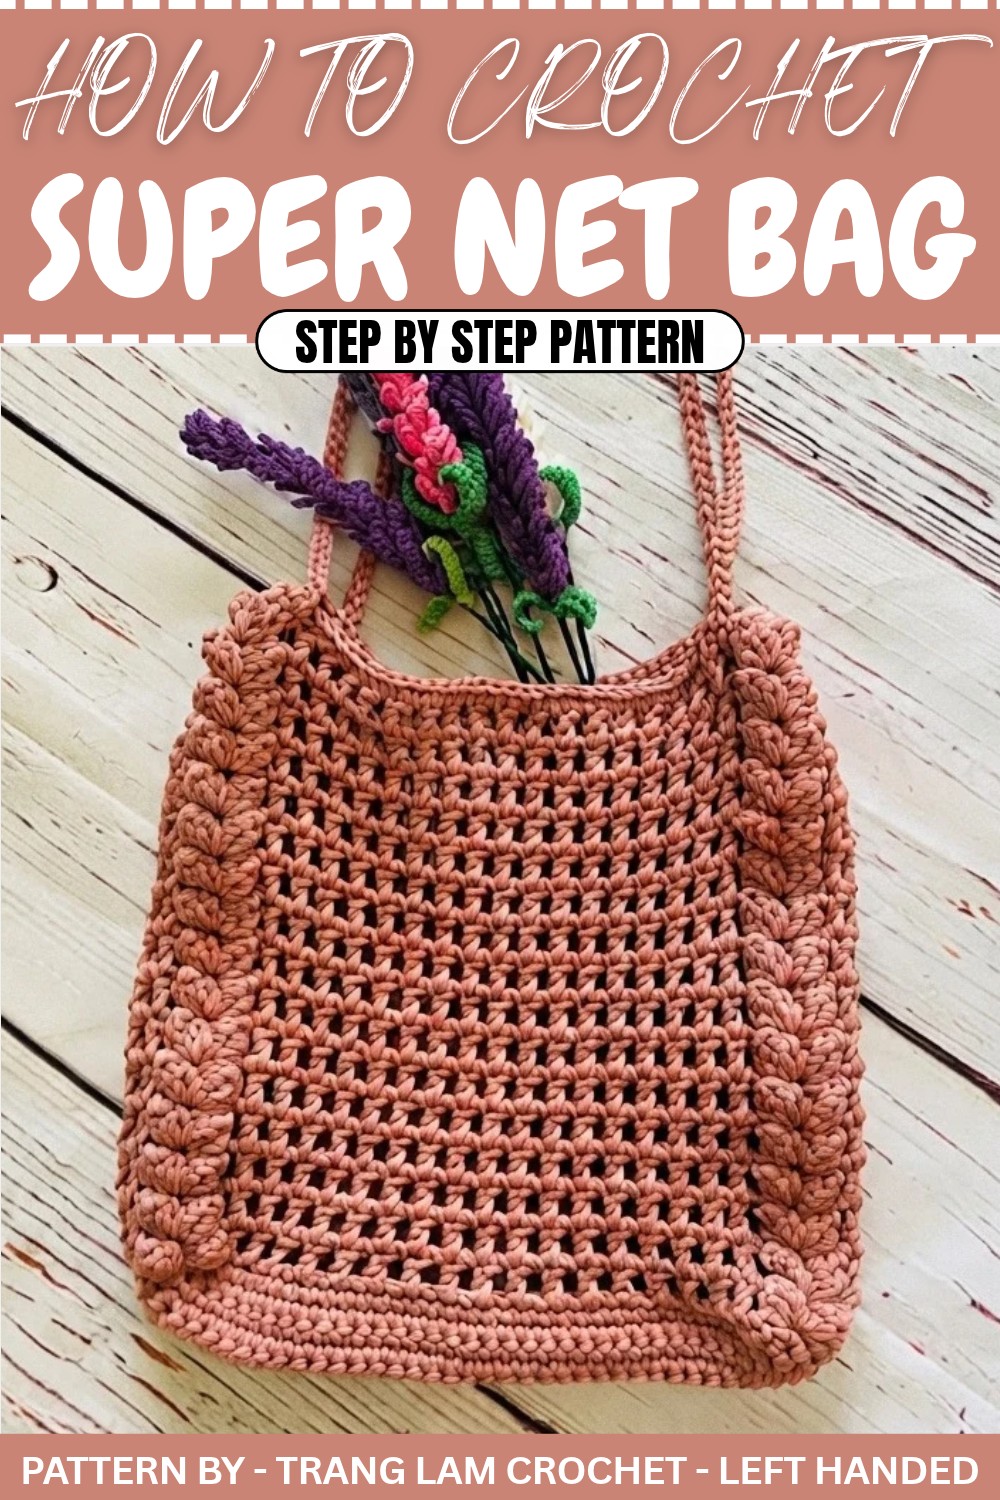
She even provides a simple technique for making a rope style adjustable strap, ensuring the bag is versatile for different needs. Whether used for shopping, a casual day out, or as a handmade gift, this crochet mesh bag is a delightful and practical project that you’ll enjoy making and showing off.
Crochet Mesh Tote Bag Pattern
Quick Overview of the Pattern
- Project Name: Crochet Mesh Tote Bag
- Purpose: A practical and stylish bag for everyday use
- Key Details:
- Textured puff stitch details at the corners for durability.
- Adjustable strap design, effortlessly woven through the bag's loops.
- Spacious and lightweight mesh structure, ideal for carrying personal items or groceries.
- Construction: Worked in a continuous method starting from the bag’s base, onto the body, and finishing with the strap attachment.
Notes
- This pattern uses puff stitches to reinforce the four corners of the bag.
- The body of the bag features a mesh like structure, providing a lightweight and breathable design while maintaining durability.
- The strap is created separately, attached, and woven into the bag for customization.
- The width of the bag can be adjusted in the foundation chain, but always ensure the stitch count is an even number.
- Keep a consistent tension throughout for uniform mesh and structure.
Skill Level
Beginner to intermediate. This pattern uses simple stitches, but techniques such as puff stitches and working in rounds require some familiarity with crochet.
Materials
- Yarn: Vietnamese cotton yarn or any suitable stranded yarn for durable crochet bags (approximately 2.5 skeins).
- Hook: 3.5mm crochet hook.
- Accessories:
- Tapestry needle for weaving in ends and sewing the strap.
- Scissors.
Measurements / Sizing
- Bag Dimensions (finished size):
- Width: ~23cm (adjustable through foundation chain length)
- Height: ~18 rows of mesh (adjustable as preferred).
- Strap Length: ~125–130cm.
Gauge & Stitch Pattern
- Gauge: Not critical, but the bag should have a tight enough stitch to maintain structure.
- Stitch Pattern: Textured puff stitches for reinforcement and mesh stitch for the body.
Stitch Abbreviations
- CH: Chain
- SC: Single Crochet
- HDC: Half Double Crochet
- DC: Double Crochet
- SL ST: Slip Stitch
- YO: Yarn Over
Special Stitches
- Puff Stitch (4dc Puff):
- YO, insert hook, and pull up a loop (3 loops on hook).
- YO, insert hook again, and pull up a loop (5 loops on hook).
- YO, repeat for a total of 4 times (9 loops on hook).
- YO and pull through all loops.
- CH 1 to secure the puff stitch.
Crochet Pattern
Step 1: Bag Base
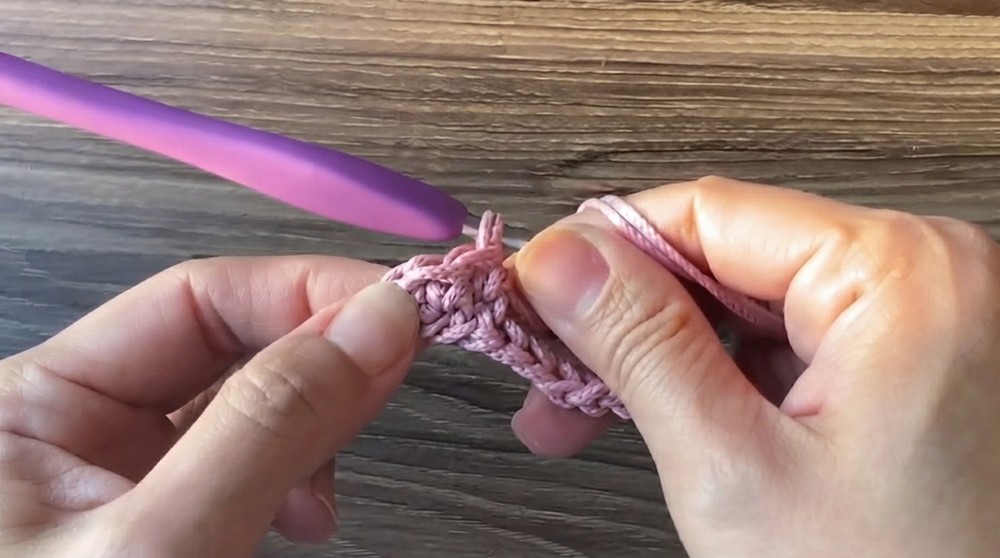
- Foundation Chain: CH 36. If you want a wider base, increase the number of chains, but ensure the count is an even number.
- Row 1:
- Skip the first chain. In the second chain from the hook, work 1 SC.
- Continue by working 1 SC into each chain across. At the end of the row, you should have 35 SC.
- Row 2 to 10:
- CH 1, turn, and skip the first stitch. Start working 1 SC into each stitch across. Repeat this row until you have completed 10 rows, each containing 35 SC.
- This will create a flat rectangular base for the bag.
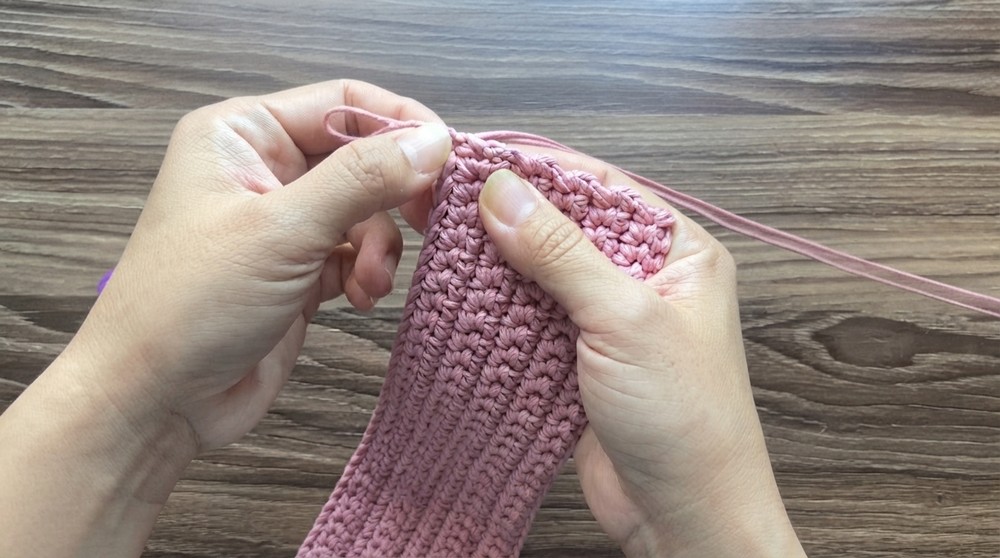
Step 2: Building the Sides
- Start the Sides:
- After completing the 10 rows of the base, you will now work around the edges.
- Count the stitches along the sides of the base—there should be 9 chain spaces on each side.
- First Edge Row:
- Begin by working SL ST into the edge at the corner of the rectangle.
- CH 1, then work 2 SC into the first stitch. Mark this stitch to indicate the corner.
- In the next 7 stitches, work 1 SC into each stitch.
- For the last stitch, work 2 SC to create the next corner.
- Second Edge Row (Longer Side):
- Work 35 SC evenly into the longer edge, ensuring each SC is evenly spaced along the stitches.
- Repeat: Follow the same sequence to work the other two edges, ensuring corners have 2 SC in the same stitch.
- Complete the First Round: After finishing the edges, join the last stitch with the first one using a SL ST.
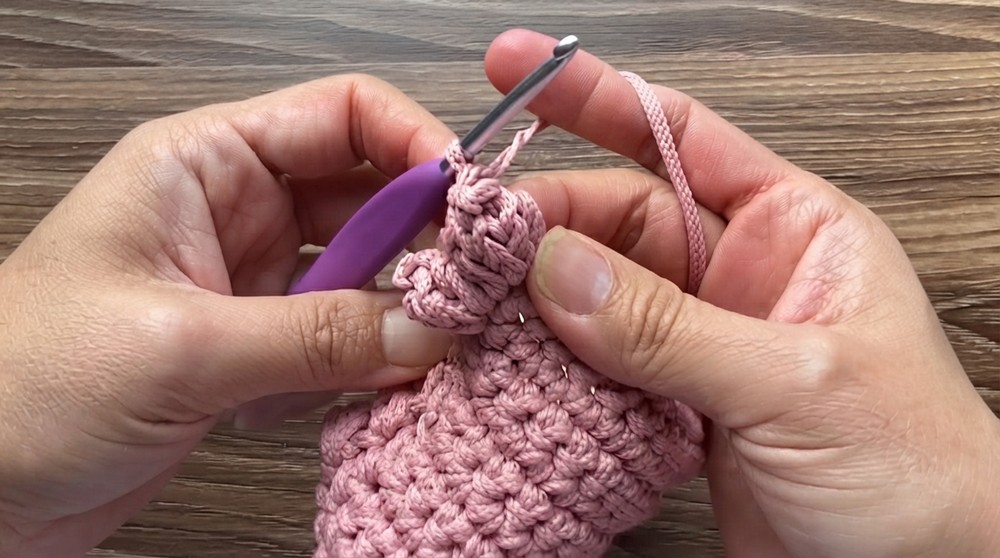
Step 3: Bag Body
- Round 1 (Start the Mesh):
- CH 3 to begin the first round of the bag body (counts as 1 DC).
- Into the first stitch, work 4 DC together to form the first puff stitch. Secure with CH 1.
- Skip the next stitch and work another puff stitch into the following stitch. Secure with CH 1.
- Continue this process (skip one stitch, work a puff stitch, CH 1) around the row until you reach the starting corner.
- Round 2 to 18:
- SL ST into the space between the puff stitches of the previous row.
- CH 3, and then into the same space, work 1 puff stitch followed by CH 1.
- Work 1 puff stitch into each space between the puff stitches of the previous row, followed by CH 1.
- Continue until the desired height is achieved (approximately 18 to 19 rounds).
Step 4: Final Border Round
- Single Crochet Border:
- After the last row, CH 1 and work 1 SC into each stitch or chain space across the entire top edge.
- Make sure to crochet consistently into chain spaces, puff stitches, and other gaps for a neat, sturdy appearance.
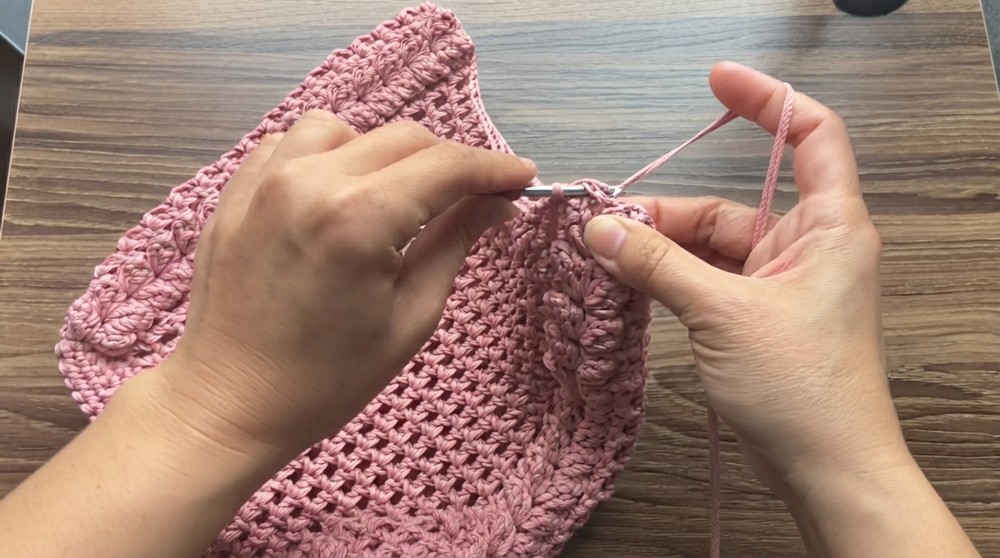
Step 5: The Strap
- Foundation Chain for Strap:
- Using a double strand of the same yarn, work a foundation chain that is 125 to 130cm long, depending on how long you’d like the strap to be.
- Secure and Weave Strap:
- Once the strap is made, weave it through the edge gaps of the bag as a drawstring like closure.
- Overlap the two ends of the strap and sew them together using your tapestry needle.
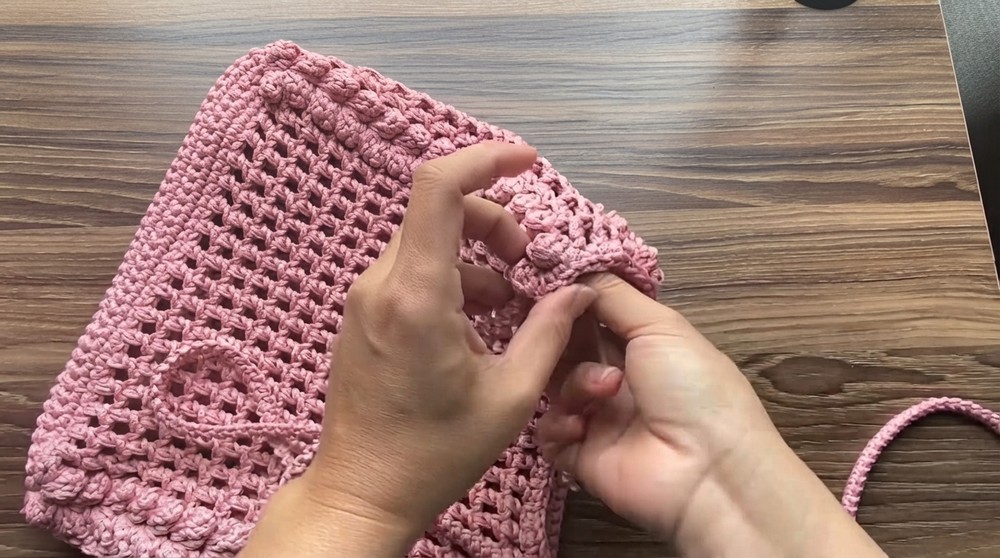
Assembly & Finishing
- Construction of Bag:
- Ensure that all loose ends are securely woven into the bag using the yarn needle.
- If you’d like extra reinforcement, you can reinforce corners by sewing them gently.
- Final Adjustments:
- Adjust the strap so it is evenly woven and length balanced across the bag.
- Confirm the bag feels secure and comfortable for carrying.
Conclusion
Congratulations on completing your own crochet mesh tote bag. This versatile, stylish, and functional design is perfect for any occasion, from casual outings to daily errands. Whether used to carry groceries, books, or personal items, your tote bag is sure to be a durable and beautiful companion.