
Free Crochet Bird Keychain Pattern Puts a Tweet on Your Tote
Add a playful touch to your keys with the Crochet Bird Keychain Pattern, a charming accessory perfect for brightening your bag or gifting to someone special.
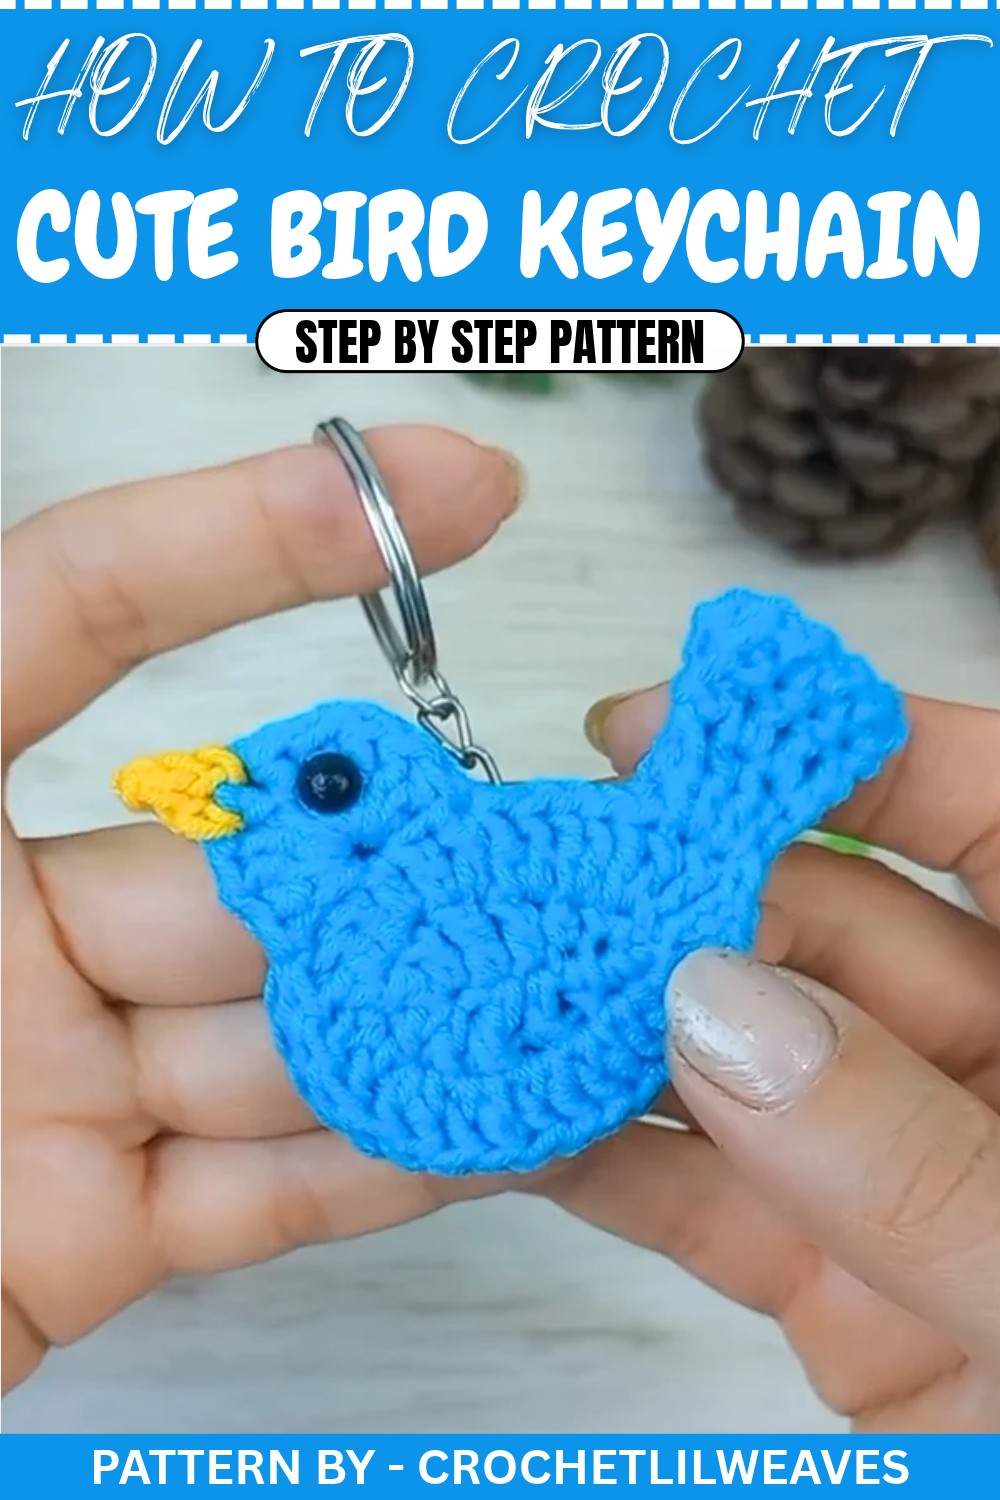
Looking for a charming small project that’s both fun and functional? This Crochet Bird Keychain Pattern might be just what you need. With its cute, bird inspired shape, it’s a perfect mix of adorable and practical. The keychain features a rounded body and a sculpted tail, giving it the soft and lightweight feel that’s ideal for carrying around daily or gifting to loved ones.
Free Crochet Bird Keychain Pattern for Lovely Bird Lover Gifts
The texture is varied and adds interest, with stitches like double crochets giving the body shape a structured yet gentle curve. The addition of flat eyes makes the bird more expressive and lively, while the tail adds balance and an element of detail. The shape of this little accessory is compact, making it easy to slip into your pocket or hang from your favorite bag.
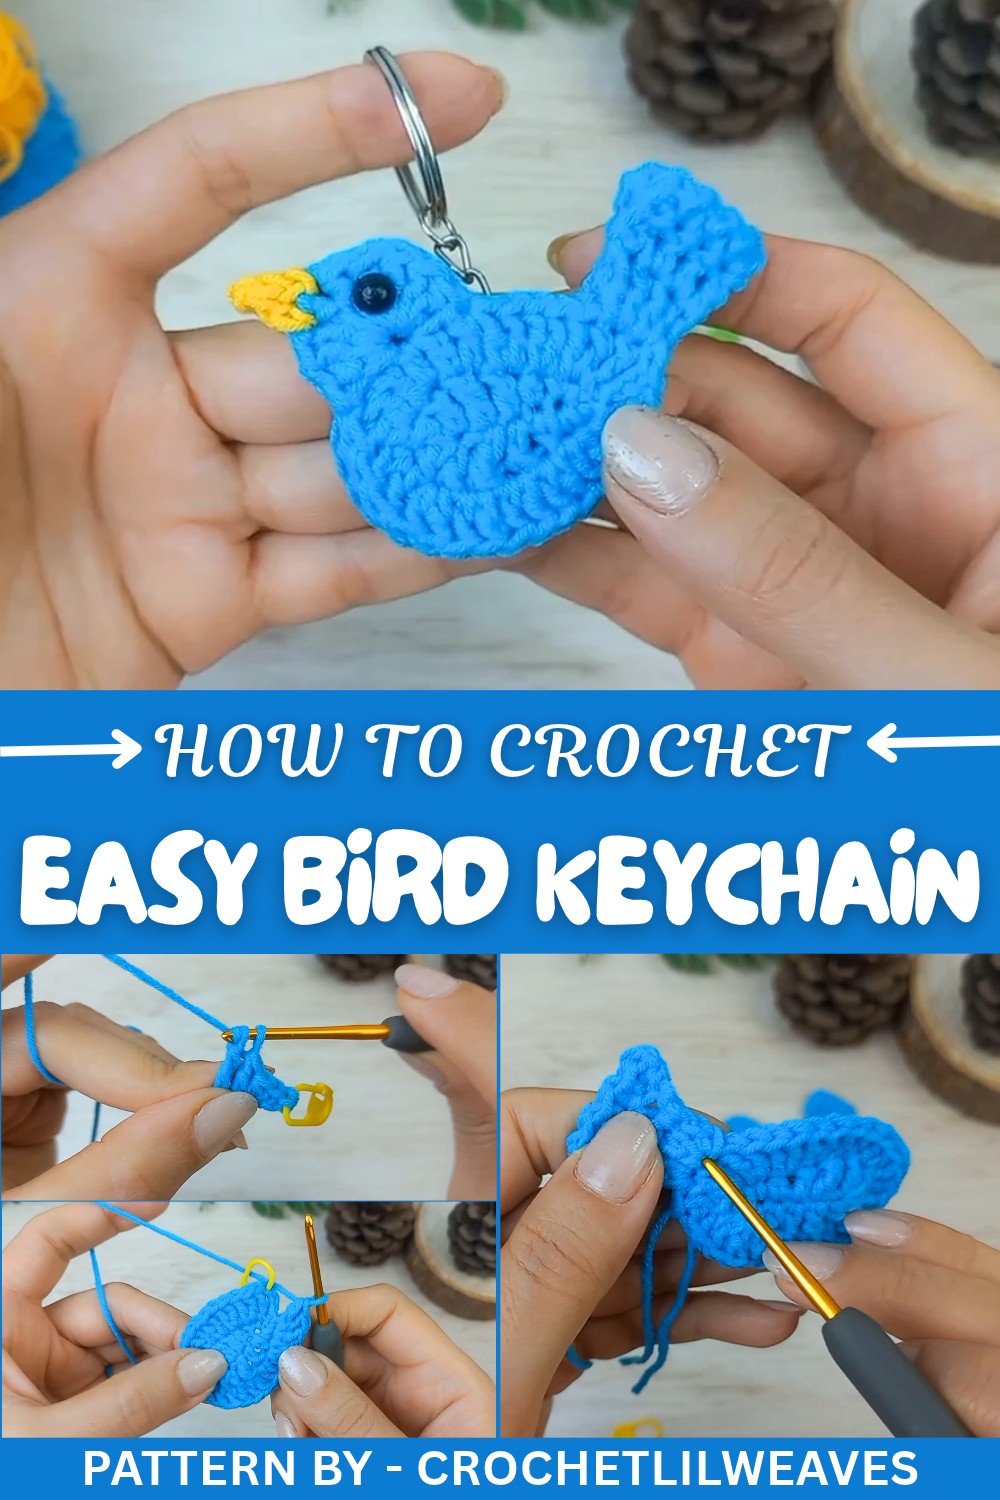
This project involves working up separate parts—the body, tail, and head—which are joined together at the end. Using stitch markers will help keep your work precise and tidy, making the process smoother. Multi purpose glue is used as part of its construction, ensuring every element stays securely in place when assembled. For the best results, choose bright or pastel shades of yarn to add personality and charm to your finished piece.
These tiny birds make wonderful gifts for birthdays, holidays, or as favors at special events. You can personalize them with different color combinations to suit the recipient. Whether you make just one or an entire flock, this cute project will bring smiles wherever it goes. Have fun bringing the character of this little bird to life.
Crochet Bird Keychain Pattern
This guide will help you create a delightful crochet bird keychain. The bird consists of two identical pieces that are either glued or sewn together. Each piece is made in two primary stages: the body and the head, complemented by the tail. Follow the step by step instructions to create one piece, and then repeat to make the second. Finally, the two pieces are joined with added embellishments to create the keychain.
Materials Needed
- Yarn: Category 2 lightweight yarn in two colors (for the bird's body and details)
- Crochet Hook: 2.5mm
- Accessories:
- Keyring
- Stitch markers
- Yarn needle
- Scissors
- A pair of flat eyes
- Multi purpose glue
Stitch Key (US Terminology)
- CH: Chain
- SC: Single Crochet
- HDC: Half Double Crochet
- DC: Double Crochet
- TC: Triple Crochet
- SL ST: Slip Stitch
- YO: Yarn Over
Piece 1: Bird Body Construction
Foundation
- Slip Knot and Chains:
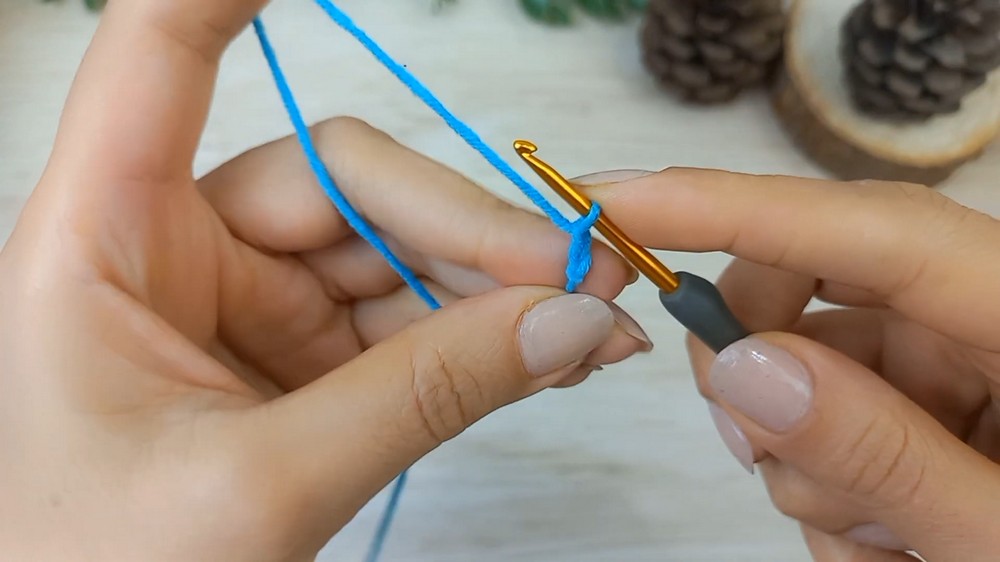
- Begin by making a slip knot. Wrap yarn around your pinky finger, place it on top of your index finger, and make a loop. Insert your crochet hook, grab the working yarn, and pull it through to create the knot.
- CH 7 to make the foundation chain.
Round 1
- Work Into the Chains:
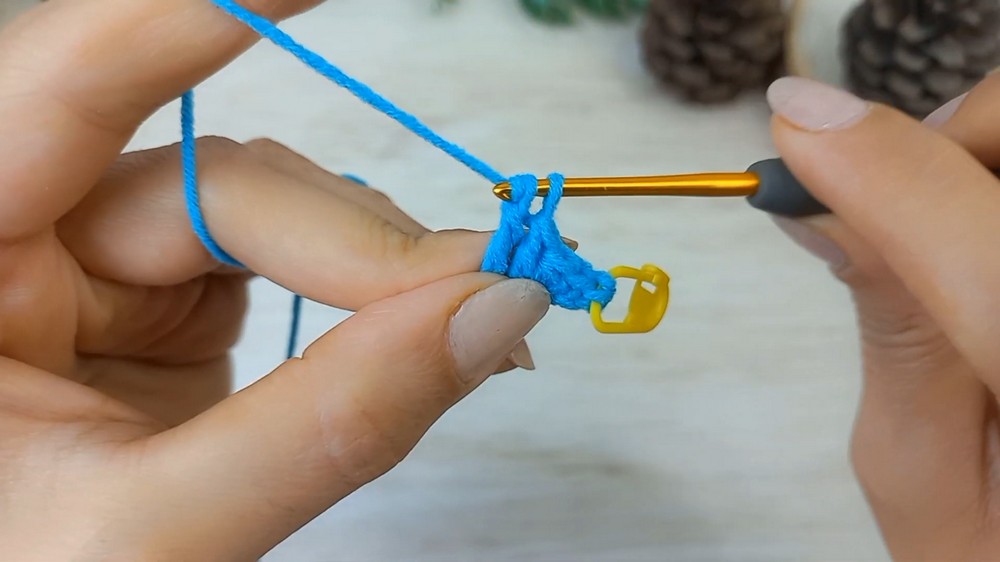
- In the second CH from the hook, make 1 SL ST. Place a stitch marker in this SL ST to mark your starting point.
- In the next chain, make 1 SC.
- In the next chain, make 1 HDC.
- In the next chain, make 1 DC.
- In the next chain, make 1 TC.
- In the final chain, make 4 DC into the same stitch to create a rounded corner.
- Work Along the Other Side of the Chains:
- Turn your work to the opposite side of the chains and crochet the following stitches:
- 1 TC
- 1 DC
- 1 HDC
- 1 SC
- End with 1 SL ST
- Turn your work to the opposite side of the chains and crochet the following stitches:
Round 2
- Double Crochet Around:
- Begin the round by chaining 3 CH, which counts as the first DC of the round. Add 1 DC into the same stitch as the CH-3.
- Increase Round:
- For the rest of the round, make 2 DC into each stitch from the previous round until you complete the circle. At the end, you should have 28 double crochet stitches in total.
- Join the Round:
- Join with a SL ST into the top of the CH-3 to close the round and complete the body of the bird.
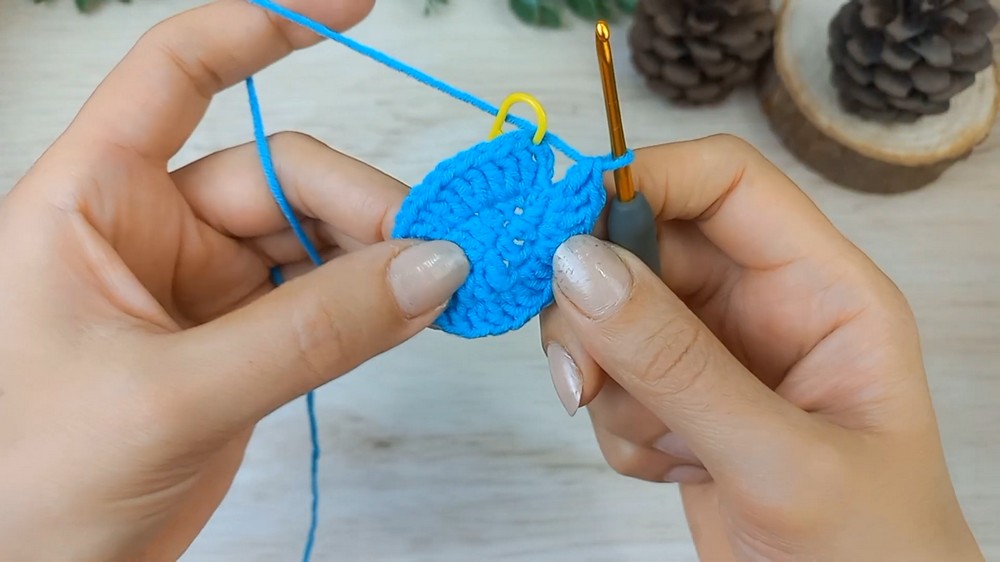
Tail Construction
Tail Row 1
- Start Tail:
- Move to the next stitch, CH 1 and make 1 SC in the same stitch. Also, insert the hook into the left bar of the previous V and make another SC.
- Add 1 DC to the same stitch.
- Into the next stitch, make 2 DC.
Tail Row 2
- Turn and Crochet Row 2:
- CH 1 and turn your work.
- Work 1 SC in the first stitch, followed by 1 SC into the left bar.
- Make 1 DC into each of the next 30 stitches, working across the row.
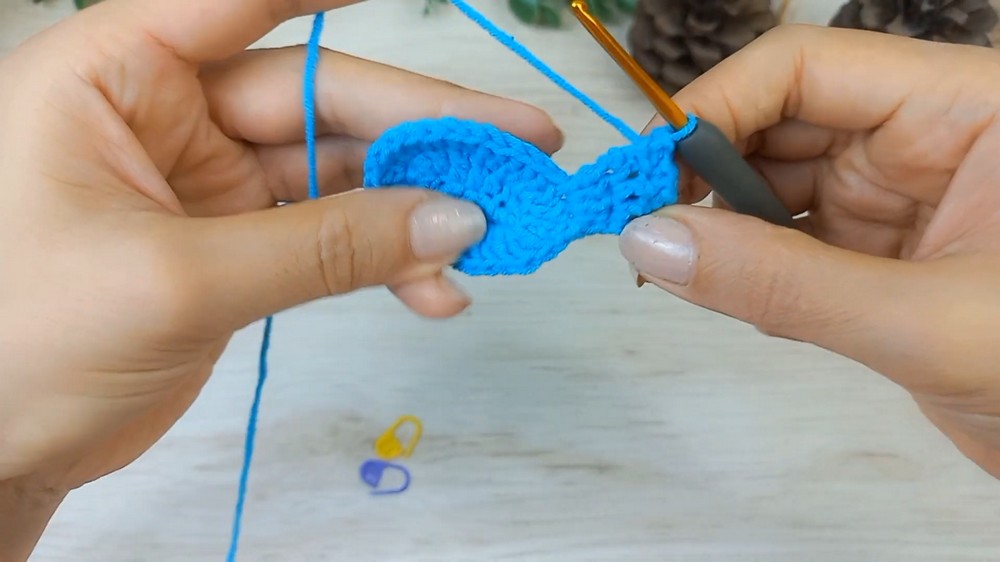
Tail Row 3
- Adding Texture:
- CH 1 and turn your work again. Create 1 HDC into the first stitch, followed immediately by 1 SL ST into the same stitch.
- Repeat this pattern (1 HDC, 1 SL ST) for each of the next 30 stitches to give the tail a decorative edge.
- Fasten Off:
- End by working a SL ST, chaining 1, and cutting the yarn. Pull the tail and tighten to secure the work.
Head Construction
Foundation
- Count and Attach Yarn:
- Starting from the tail's base, count 7 stitches and attach the yarn into the 7th stitch.
Head Round
- Forming the Head:
- Make 3 CH, which counts as the first DC. Move two stitches to the right, insert the hook, and pull the loop through to join.
- Building the Head:
- Into the base of the CH-3, work 9 DC to create the head's rounded shape.
- Finish the Round:
- Skip one stitch and make a SL ST into the next to secure the head.
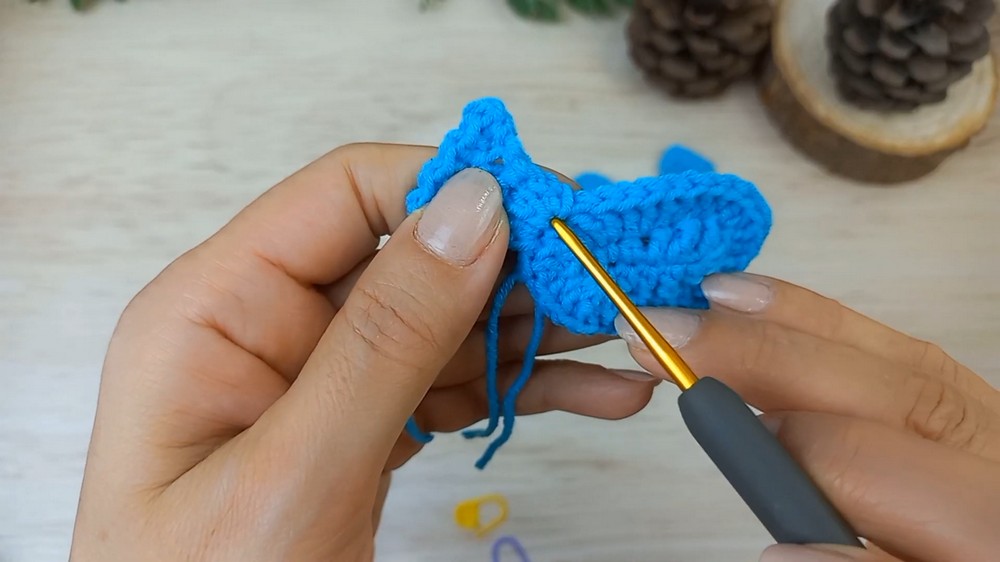
Finishing Detail
- Final Touch for the Head:
- Attach the yarn to the 6th DC of the head section. CH 1 and make 1 DC into the next stitch. Secure the end by making a SL ST, chaining 1, cutting the yarn, and pulling the end through.
Assembly
- Create a Second Piece:
- Repeat the entire pattern above to create a second identical bird piece.
- Align and Join:
- Place the two pieces back-to-back so that the wrong sides face inward and the right sides face out.
- Use multi-purpose glue or a yarn needle to attach the edges of the two pieces together, ensuring the parts line up evenly. Make sure to leave no gaps between the pieces.
- Add Embellishments:
- Use the glue to attach flat eyes to the bird’s head on both sides.
- Securely attach the keyring to the top of the bird's body.
Final Notes
The completed crochet bird keychain should be small, portable, and perfect as a charming accessory for your keys or bag. Feel free to experiment with different yarn colors to create unique designs. This keychain can also be customized with additional decorative elements like beads or small embroidered details to further personalize your crochet bird.
Conclusion
Congratulations, You’ve just completed your very own crochet bird keychain. This fun and imaginative project is a great addition to your crochet skills. Use your bird keychain as a creative flair for your keys or a thoughtful handmade gift.