
Free Crochet Flower Hair Accessory Pattern That Steal the Spotlight
Add beauty to your hair with easy to make crochet flower accessory that is perfect for every age and style with our quick and simple guide.
A flower hair accessory adds a special touch to your outfits and hairstyles with its delicate charm and elegance. These handmade flowers are not just visually stunning but also practical, they can be clipped onto hair, used to adorn hats or bags, or even gifted as a thoughtful present to loved ones. You can tweak the size, shape, and colors to match any occasion or mood, from soft pastels for a summery vibe to bright shades for a playful, bold look.
Free Crochet Flower Hair Accessory Pattern That Look Store Bought
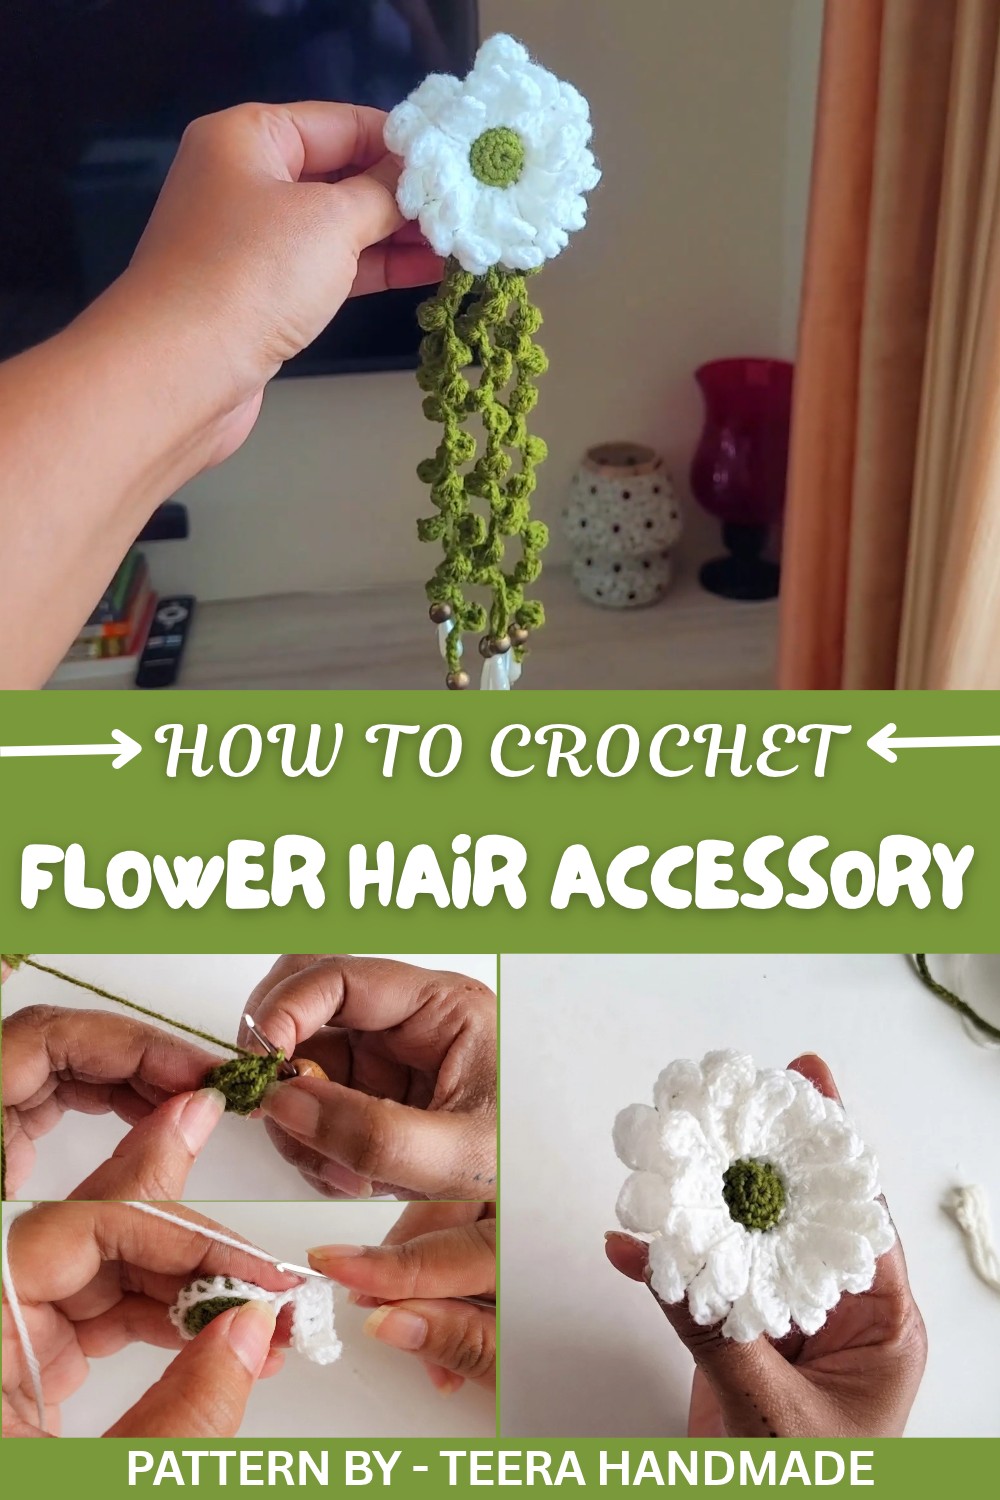
The double layer flower pattern is particularly remarkable. The outer petals are slightly longer and more defined, giving the flower a rich, dimensional appearance, while the inner petals add a compact yet intricate detail. This beautiful layering makes the accessory eye catching yet subtle, ideal for adding elegance to casual or formal outfits. The final accents, like delicate vines and drop shaped beads, only enhance its charm, making it perfect for beach parties, weddings, and even daily use.
Pattern by Teera Handmade
Teera Handmade is a treasure trove of creative and beautiful crochet patterns. Known for their clear, step by step tutorials, In this particular tutorial, Teera Handmade ensures you can replicate the beautiful flower accessory at home, providing easy instructions, explanations of each technique, and tips for customization.
This crochet flower hair accessory pattern is a delightful way to express your creativity and craft something stylish yet meaningful. With its stunning double layer design and intricate detailing, it’s sure to elevate your look and charm anyone who sees it.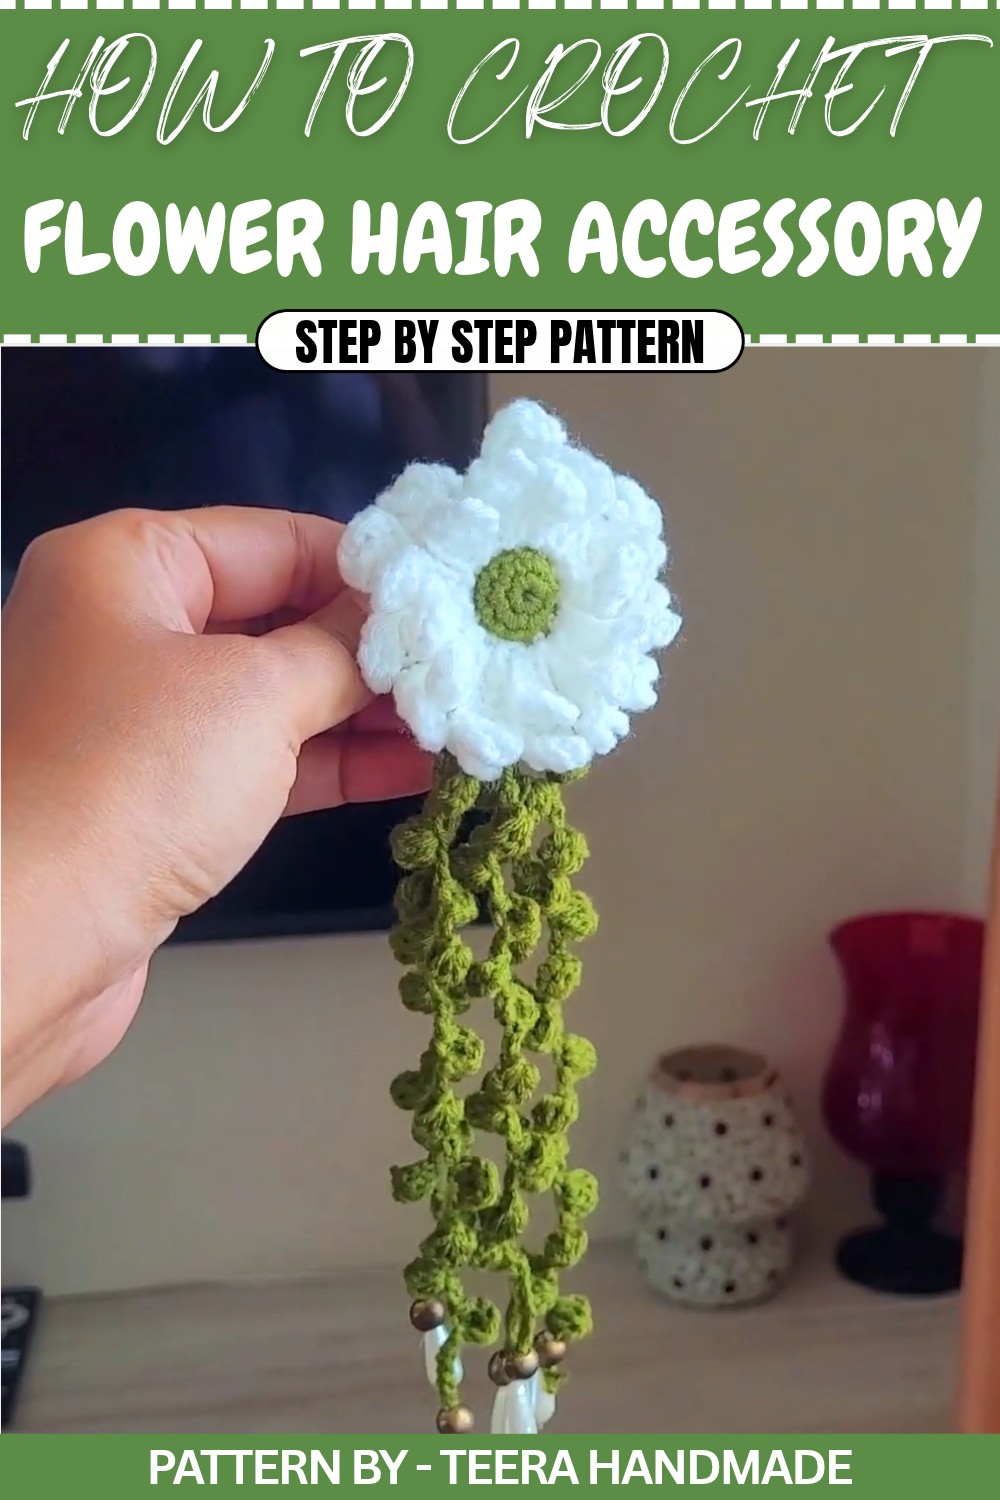
Double Layer Daisy Flower Hair Accessory – Crochet Step by Step Pattern
Let’s make a beautiful and stylish Double Layer Daisy Flower Hair Accessory. This accessory is ideal for adding elegance to your look and can be paired easily with any outfit. It features a double layer daisy flower, vine detailing, and drop shaped beads, making it perfect for creating a professional yet personal handmade design.
Quick Overview of Pattern
- Project Type: Double Layer Daisy Flower Hair Accessory
- Purpose: Hair decoration, gifting, or personal use
- Techniques Covered: Magic ring, single crochet, slip stitch, triple crochet, petal creation, and bead attachment
- Estimated Completion Time: 2–3 hours
Notes
- Adjustable Size: You can alter the petal count and vine length to suit your accessory requirements.
- Embellishment: Use a glue gun to secure the design and beads effectively.
- Eco Friendly Option: Create unique hair accessories with minimal materials and cost.
Skill Level
Beginner to Intermediate: This design requires basic crochet skills such as single crochet, slip stitch, and working in rounds.
Materials
- Yarn:
- Medium weight yarn in two colors (yellow for the daisy center and white for petals)
- Army green yarn for vine detailing
- Hook Size:
- 2.0 mm for daisy components
- 1.5 mm for vine detailing
- Scissors: To cut yarn.
- Needle: Thin needle compatible with beads.
- Beads: Drop-shaped beads and small decorative beads for embellishment.
- Glue Gun: For attaching flower and vines to the clip.
- Hair Clip Base: To fix your completed accessory onto.
Measurements / Sizing
- Flower Diameter: Approximately 2 inches.
- Vine Length: Adjustable to personal preference.
Gauge
Gauge is not critical for this pattern but consistent stitch tension ensures an even, professional finish.
Stitch Abbreviations
- ch: Chain
- sc: Single Crochet
- dc: Double Crochet
- hdc: Half Double Crochet
- tr: Triple Crochet
- sl st: Slip Stitch
Special Stitches
- Magic Ring:
- Wrap yarn around your fingers to form a loop. Insert hook into the loop, pull through a loop, and chain. Work stitches into the ring and pull the loose yarn end to close.
The Crochet Pattern
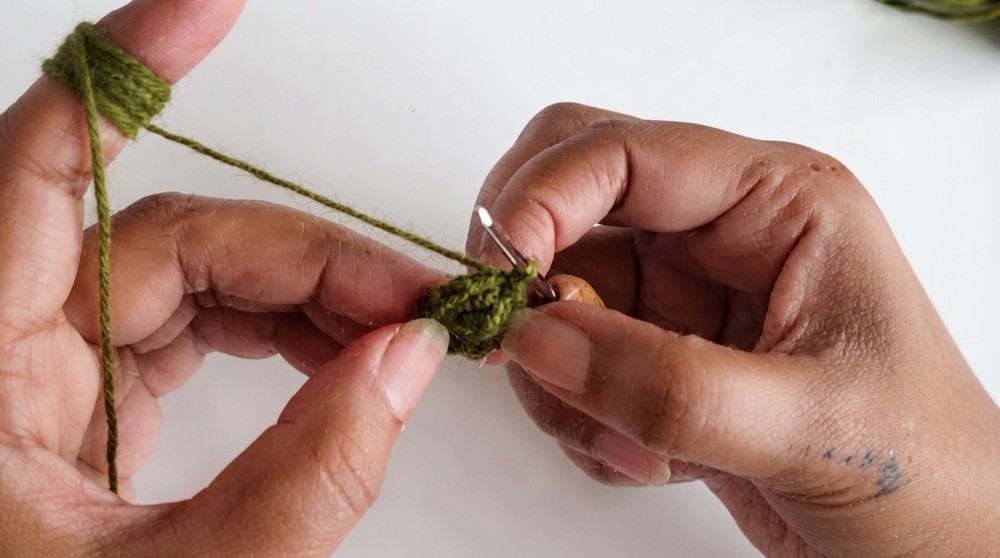
Step 1: Create Daisy Center (Round 1)
- Begin with a Magic Ring: Form the ring and chain 1 to start.
- Work 6 sc into the ring:
- Count your stitches as you go:
- 1 sc
- 2 sc
- 3 sc
- 4 sc
- 5 sc
- 6 sc.
- Count your stitches as you go:
- Pull the loop tight to close the ring.
- Join with a sl st to the first sc to complete the round.
Step 2: Increase for Daisy Base (Round 2)
- Chain 1.
- Work 2 sc into each stitch around (total 12 sc):
- Stitch 1: 2 sc
- Stitch 2: 2 sc
- Continue repeating this across all stitches.
- Join with sl st to finish the round.
Step 3: Daisy Center Completion (Round 3)
- Chain 1.
- Work 1 sc in each stitch around (12 sc) to maintain the base:
- Stitch 1: 1 sc
- Stitch 2: 1 sc
- Continue until the round is complete.
- Join with sl st to secure the base.
Step 4: Create Second Daisy Center
Follow Steps 1–3 again for the second daisy center. Fasten off and weave in ends on both centers.
Step 5: Join Daisy Centers
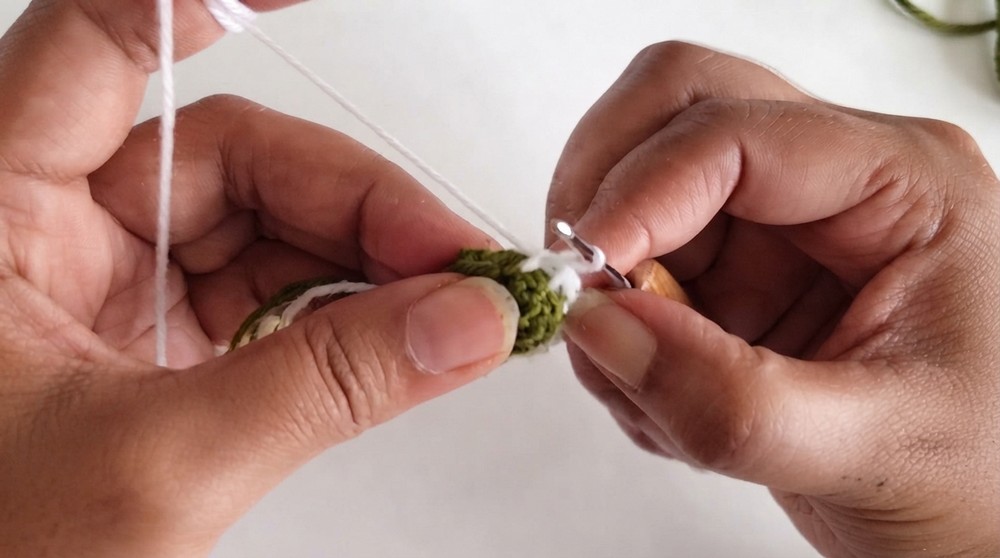
- Position both centers back to back.
- Use white yarn to join the two centers:
- Insert hook through one stitch of each center and work single crochet (sc) all around to bind them together.
- Leave a small gap to insert loose yarn ends, then close the gap with sc stitches.
Step 6: Petal Formation
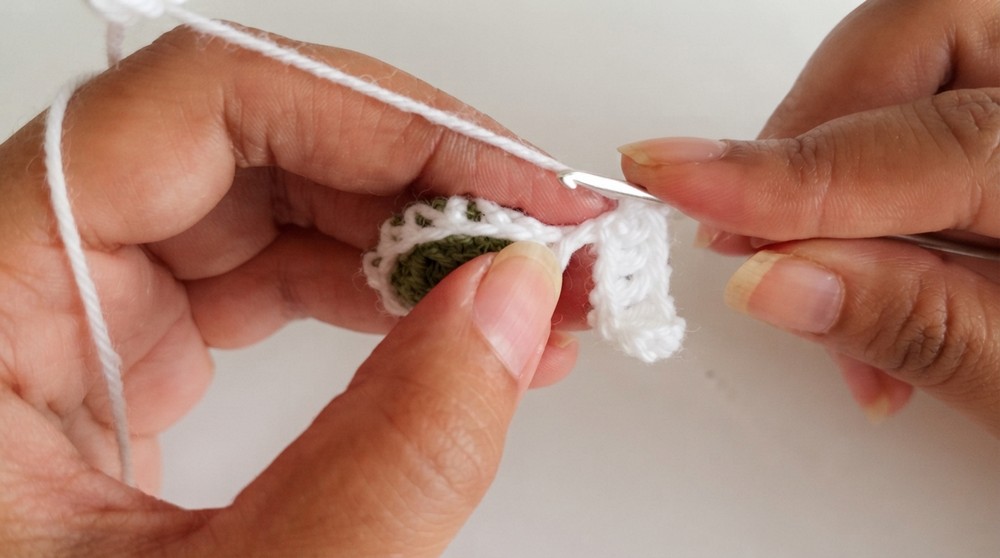
Outer Layer Petals (Round 1)
- Join white yarn to one outer stitch.
- Work 9 ch for the petal’s foundation.
- Follow this sequence in the stitches:
- 1 tr in the 3rd ch from hook.
- 1 tr in the next stitch.
- 2 dc in the next two stitches.
- 1 hdc in the next stitch.
- 1 sc in the final stitch.
- Sl st into the next outer stitch.
- Repeat this petal sequence until the entire layer is complete (total 8 petals).
Inner Layer Petals (Round 2)
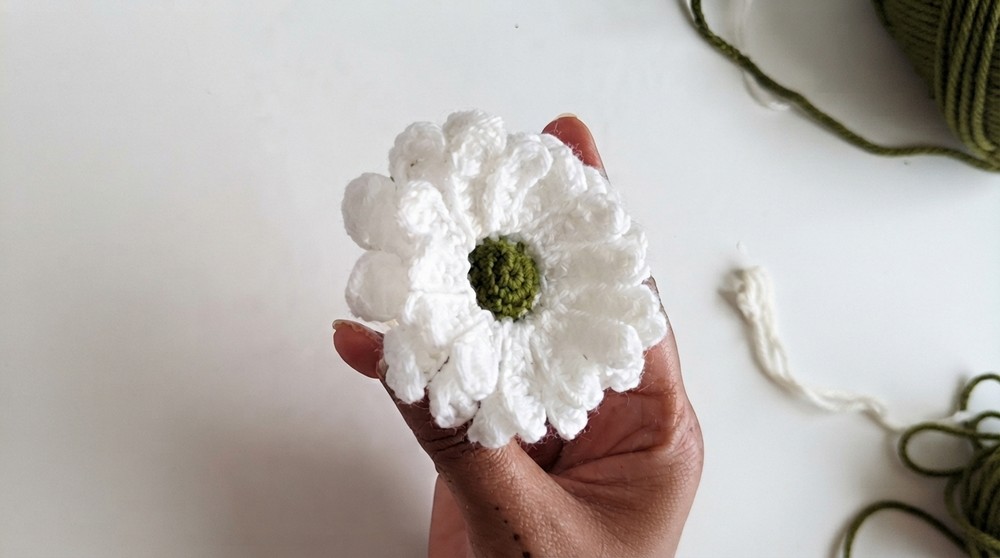
- For the inner petals, attach yarn to the inner loop of the base stitches.
- Work 8 ch for the petal foundation.
- Repeat the petal sequence:
- 1 tr in the 3rd ch.
- 1 tr in the next stitch.
- 2 dc in the next two stitches.
- 1 hdc followed by 1 sc in the final stitch.
- Sl st into the next inner stitch.
- Complete the inner petal layer with 8 petals.
Step 7: Create Vine Detailing
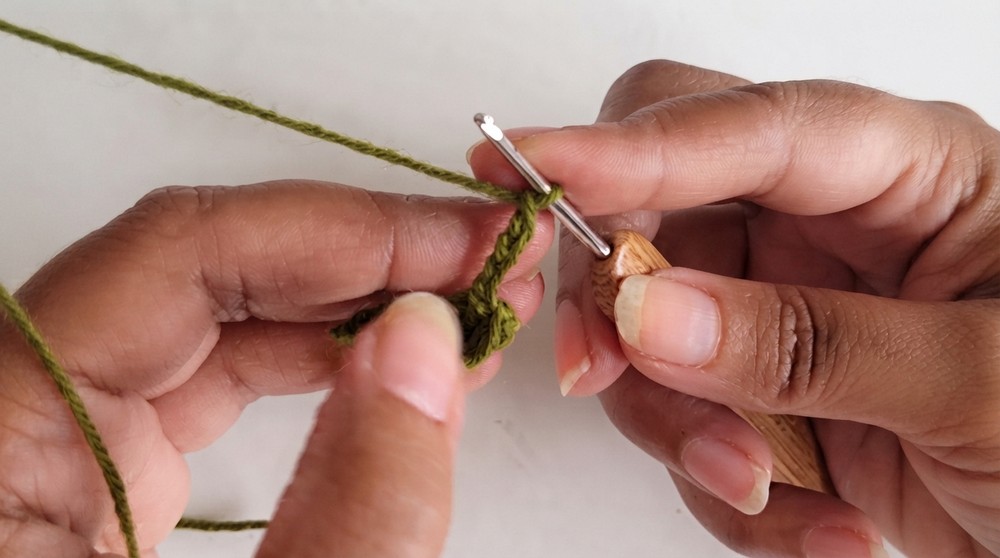
- Use army green yarn and a 1.5 mm hook.
- Begin with a slip knot and work 8 ch as the foundation.
- Skip the first 2 stitches and work 1 hdc into the 3rd ch.
- Continue creating bead like sections:
- Chain 5.
- Skip 2 ch and repeat hdc.
- Repeat for desired vine length.
Step 8: Attach Beads
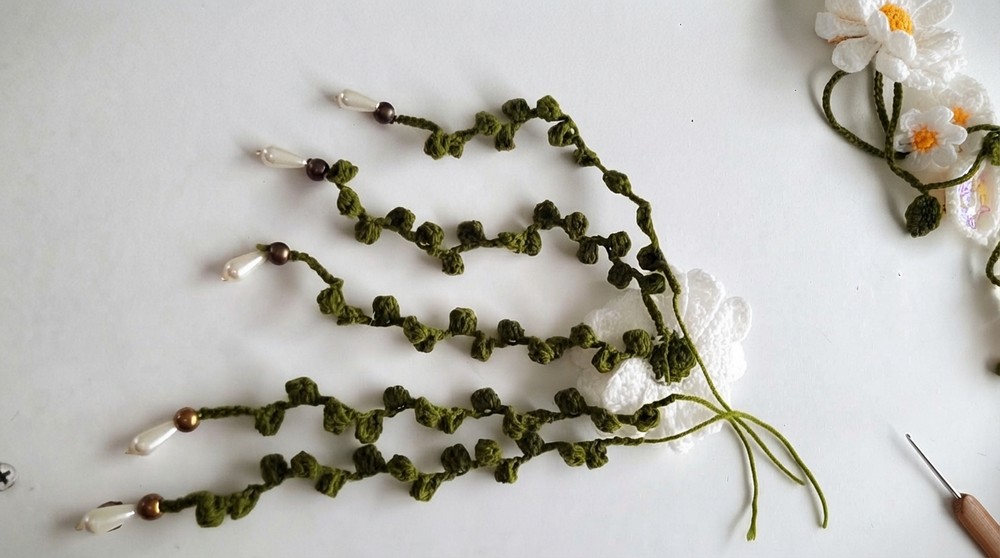
- Use a needle to thread drop shaped beads onto your vine.
- Secure beads in place with firm knots.
Step 9: Assembly
- Attach the vine to the daisy with a glue gun.
- Securely affix the flower and vine to the hair clip base.
Assembly & Finished Size
The completed Double Layer Daisy Flower Hair Accessory will measure about 2 inches across with adjustable vine lengths.
Conclusion and Ending Words
Your Double Layer Daisy Flower Hair Accessory is now ready. This elegant and versatile piece is perfect for personal use or as a handmade gift. Follow this pattern to create more accessories in different colors and styles.