
Wonderful Free Crochet Headband Pattern for Everyday Hair Fixes
Dress up your hair with this Free Crochet Headband Pattern and make a cute handmade piece with easy steps that are great for beginners and gift ideas.
Ffew things feel as rewarding as working on a small crochet project that blends style and functionality. A crochet headband fits that description perfectly. It’s an ideal accessory for keeping ears warm during chilly days or adding a touch of handmade charm to any outfit. Whether used as a cozy winter essential or a cute hair accessory for workouts or daily errands, this pattern is a blend of beauty and simplicity.
Free Crochet Headband Pattern for Last Minute Gifts
The elegance of this headband comes from its textured design, achieved through basic and special stitches. Using stitches like single crochet, double crochet, and the front post double crochet creates a ribbed or slightly raised effect, giving the headband a polished and unique look. Once familiar with these stitches, creating matching items such as chunky scarves, hats, or ear warmers becomes effortless.
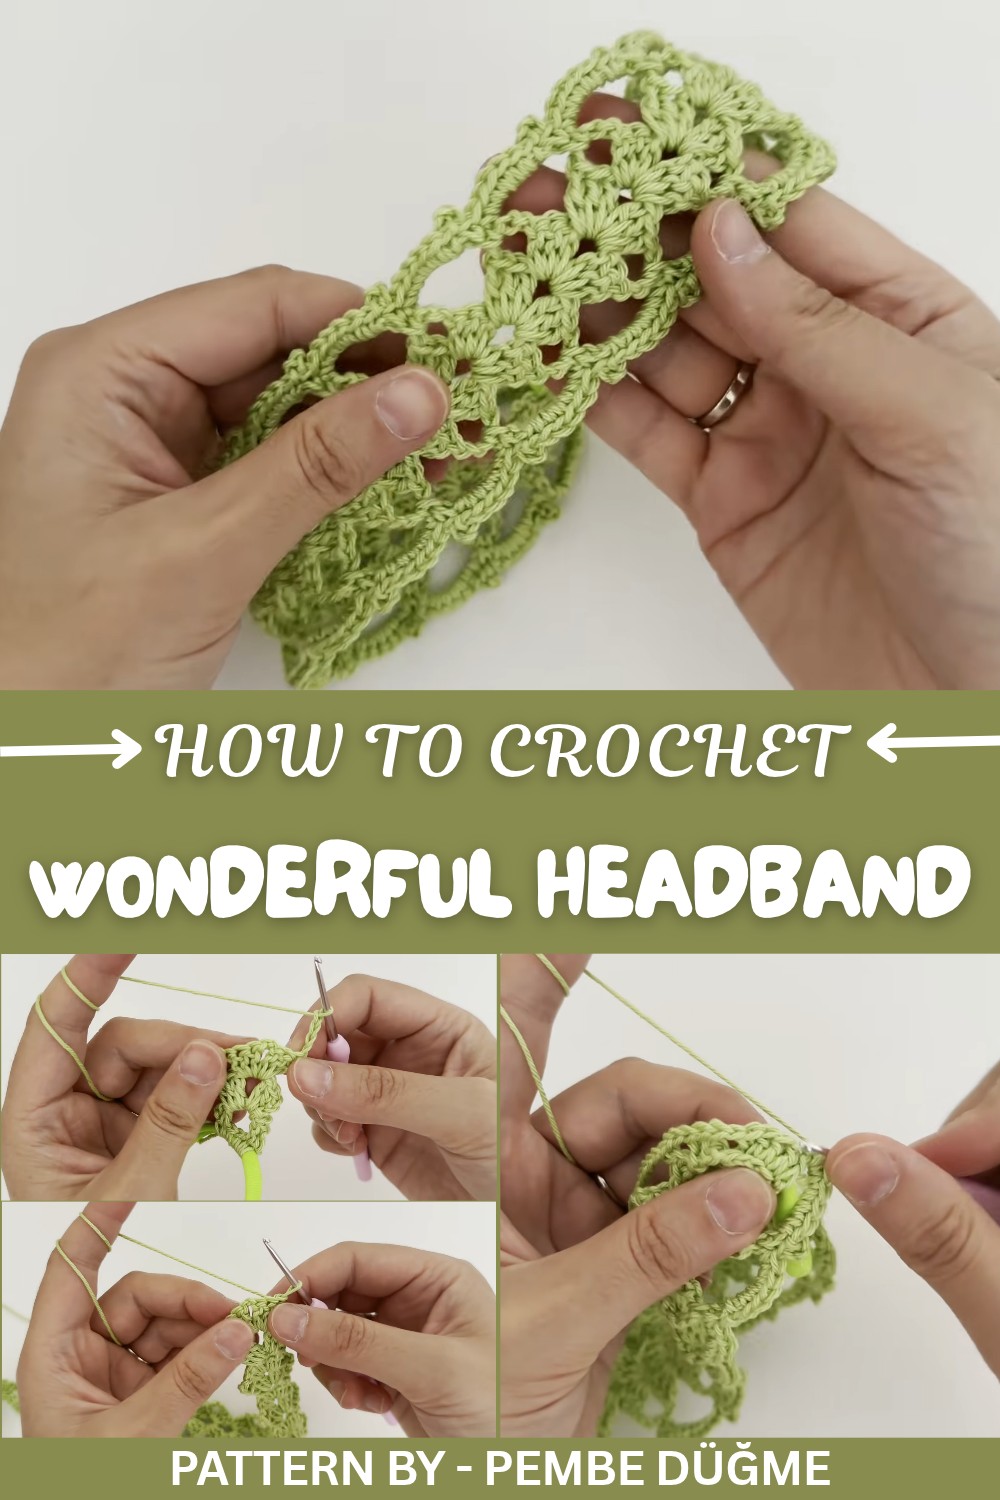
With minimal supplies, a ball of soft yarn and a crochet hook, and just a bit of time, this project is easy to complete. It’s beginner friendly yet offers enough creativity for experienced crafters to enjoy. The headband design is completely adjustable, making it suitable for all ages: toddlers, teens, and adults alike.
Featured By Pembe Düğme
The versatility of this pattern allows for personalization. Solid colors create a classic vibe, while multicolored or gradient yarns bring a playful twist. Lightweight summer yarn can be used for decorative hairbands, while thicker, cozy yarns suit cold weather wear. Crocheting one adds immense joy, and gifting it makes it all the more special.

Crochet Step by Step Pattern for a Hairband
In this pattern, we’ll learn how to crochet a simple and versatile hairband that’s easy to make and adjustable for any size. The hairband features a comfortable elastic backing to ensure it stays securely in place. The technique is beginner friendly and suitable for crocheters of all skill levels.
Quick Overview of the Pattern
- Crochet a hairband with elastic backing for a secure fit.
- Adjustable for all sizes—design it for babies, kids, or adults.
- Uses basic crochet stitches like single crochet, double crochet, and slip stitches.
- Comfortable handmade accessory, perfect for gifting or personal use.
- Detailed stitch repetition ensures consistency and flexibility in size.
Notes
- The pattern is highly customizable for any head circumference. Adjust the length according to the person’s measurements.
- A smooth elastic band is used to secure the fit and maintain shape.
- Use cotton yarn for durability and comfort.
- Ensure proper tension while working to achieve a neat finish.
- Practicing basic stitches beforehand will help maintain smooth progress.
Skill Level
Beginner
Materials
- Yarn: Cotton yarn (brand and type will depend on personal preference; details provided in video).
- Hook: 2 mm crochet hook.
- Elastic Band: Easily available at any tailoring shop, approximately 5–7 cm.
- Scissors: For cutting yarn tails.
- Tapestry Needle: To weave in the yarn ends.
Measurements / Sizing
- The example works up to 41 cm (approximately 16 inches) in length, including elastic.
- Adjust the size based on head circumference; the pattern is flexible to increase or decrease the total length.
Gauge
Gauge is not critical for this pattern; adjust tension as needed for a snug fit.
Stitch Abbreviations
- CH: Chain
- SC: Single Crochet
- DC: Double Crochet
- SL ST: Slip Stitch
Special Stitches
- Picot: A decorative stitch made by chaining three stitches and slip stitching into the same stitch or space. This adds a lovely texture to the rows, giving the design elegance.
The Crochet Pattern
Foundation – Elastic Attachment
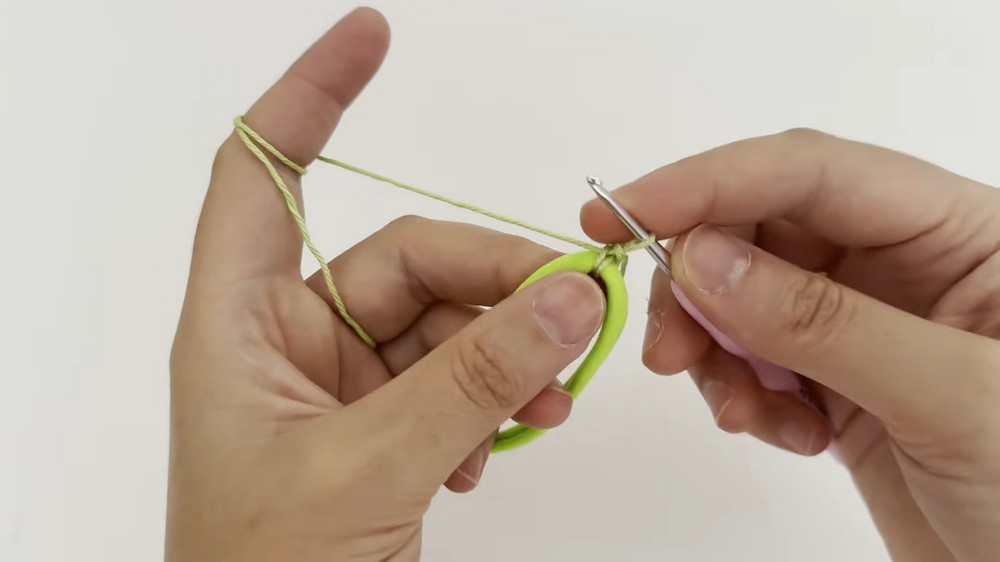
- Begin by preparing the elastic band. Fold the smooth elastic band into a circular shape.
- Create a slip knot on your hook.
- Insert your hook through the elastic band. Pull yarn through and work SC 1 around the elastic. Continue to make 5 SC evenly spaced around the elastic.
- When you have 5 SC on the elastic, CH 3, turn your work.

Row 1
- Yarn over and insert your hook into the first stitch from the previous row. Pull up a loop and create a DC (double crochet).
- Work 2 CH. Skip the next 2 SC and make another DC into the following SC.
- Repeat Step 2 until you reach the end of the row.

Row 2
- Turn your work and skip the first DC stitch.
- Work a SL ST into the second DC stitch from the previous row.
- Insert your hook into the 2 CH space, pull up a loop, and make a SL ST.
- CH 3, yarn over, and work 3 DC into the same 2 CH space, followed by 2 CH.
- Work 3 DC into the same space again.
- Repeat the entire sequence in each space until the end of the row.
Row 3+ – Building the Pattern
- For all rows, repeat Row 2, ensuring to follow the sequence of {CH 4, turn work, 2 CH spaces filled with 3 DC, 2 CH, 3 DC}.
- Work in rows until your hairband reaches your desired length.

Last Row – Finish Off
- Once the length of the hairband is complete, count and measure the rows. (The example has 32 spaces and measures 41 cm.)
- Turn your work and work SL ST into the nearest DC, then work additional SL ST into the next stitch and into the CH spaces to smooth the edge.
Connecting the Elastic
- Fold the hairband so that both ends meet without twisting.
- Line up the elastic with the opposite end of the completed hairband.
- Hold the elastic and the crochet piece flat, then insert your hook through both the elastic and the fabric of the hairband.
- Create SC 5 to attach the elastic securely.

Decorative Edging with Picots
- Begin by creating CH 4 and work a SC into the top of each DC group.
- For every CH section, work 6 SC evenly spaced.
- At the corners or special points, make Picot stitches by chaining 3 and slip stitching into the same stitch to add texture and decoration.
- Continue the decorative edge pattern around the hairband until all sides have been completed.

Assembly & Finished Size
- Once the decorative edging is complete, ensure all ends are securely woven in using a tapestry needle.
- Use light steam blocking or ironing (with a covering cloth) to smooth and even out the texture of the band.
- The finished hairband measures approximately 41 cm in length, including elastic.

Conclusion
Your crochet hairband is now complete. Whether you are making it for yourself or as a thoughtful handmade gift, this project adds a personal touch to your accessory collection. It is easily adjustable for all ages and offers both comfort and style. Feel free to use different yarn colors and experiment with textures to customize it.