
Free Crochet Big Mouth Monster Keychain Pattern for Car Mirror Decor
Add some silly fun to your crochet projects with this free Big Mouth Monster keychain pattern and create a playful charm for your keys, bags, or zipper pulls.
Late one night, as the moon cast its silver glow across the room, I found myself staring at a basket overflowing with colorful yarn. I was determined to make something fun and a little spooky, something that would make my friends gasp in surprise and laugh out loud at the same time. That’s when the idea struck: a tiny monster keychain with a hilarious open mouth, oversized lips, and wild, messy hair that seemed to dance in every direction.
Pattern By Begin with Anita
The project itself is playful and super practical. On the one hand, it’s the perfect little addition to your keys—cute enough to keep you smiling all day long—and on the other hand, it’s a fun way to practice simple crochet techniques like single crochet and the magic ring. These techniques help shape the monster’s wacky body, expressive features, and adorable limbs.
Free Crochet Big Mouth Monster Keychain Pattern for Crochet Swaps
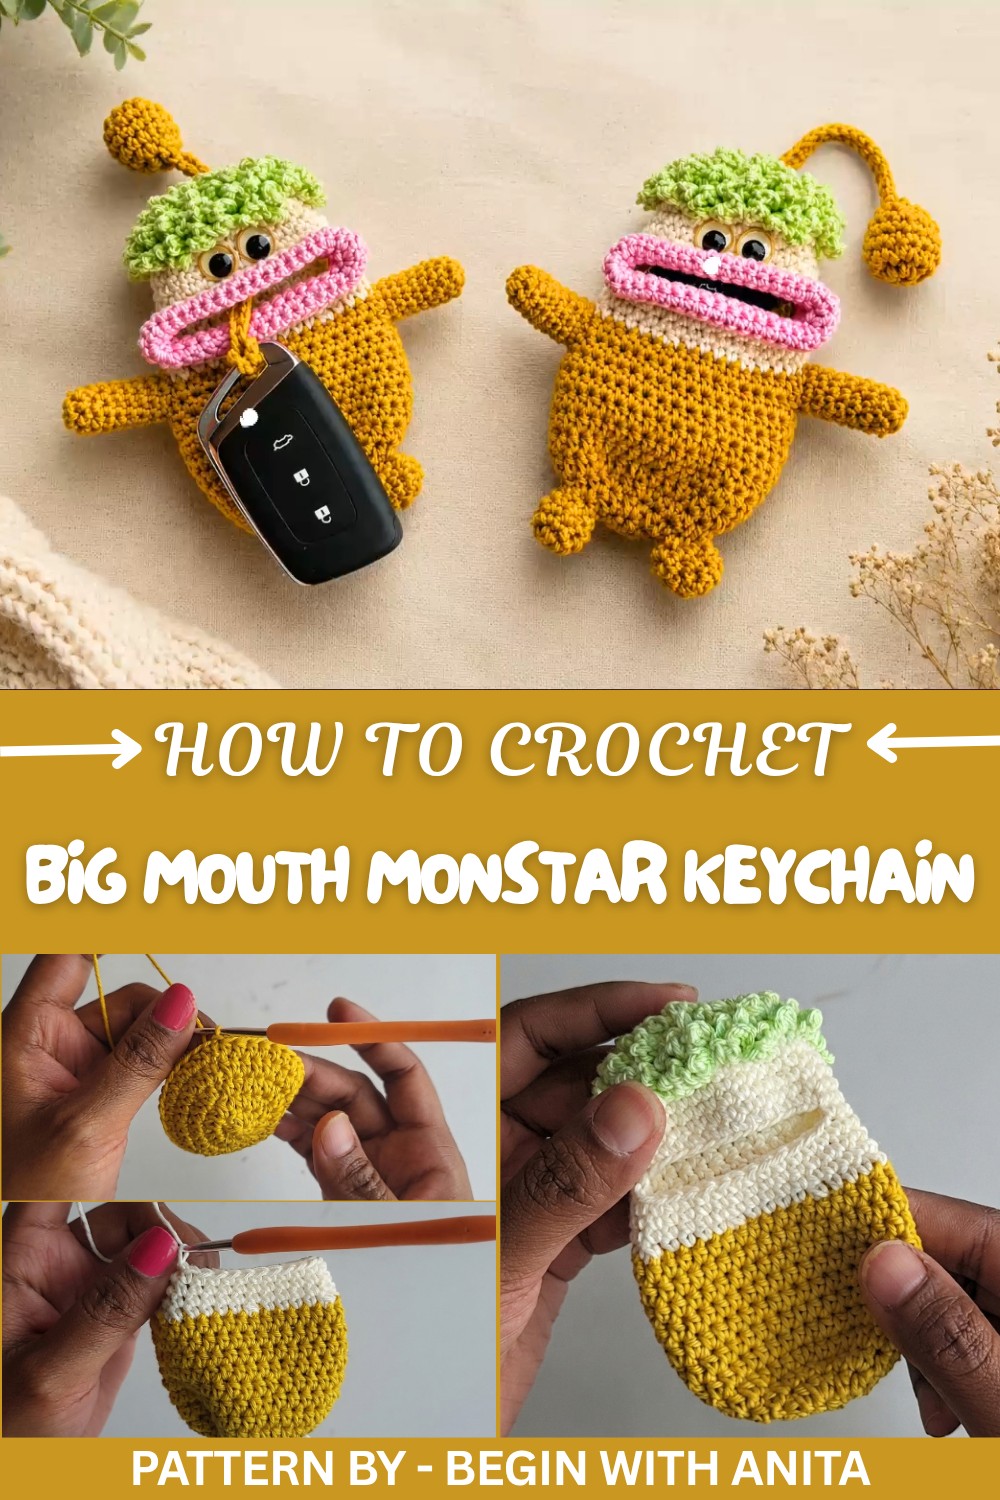
In this project, you’ll work step by step to give your monster its big personality. You’ll practice shaping with increases and decreases, work on small details like arms and legs, and even learn how to make a pompom tail. The process may look tricky at first, but with some patience, you’ll see your little monster come alive before your eyes, complete with a goofy grin that’s as hilarious as it is spooky.
Once you're confident with this project, the possibilities are endless. You can turn your monster into a cuddly doll, a fridge magnet, or a decorative phone charm. Why stop at monsters? You can adapt the techniques to make cute aliens, animals, or even characters from your favorite cartoons. All it takes is a little creativity and the same skills you practice here.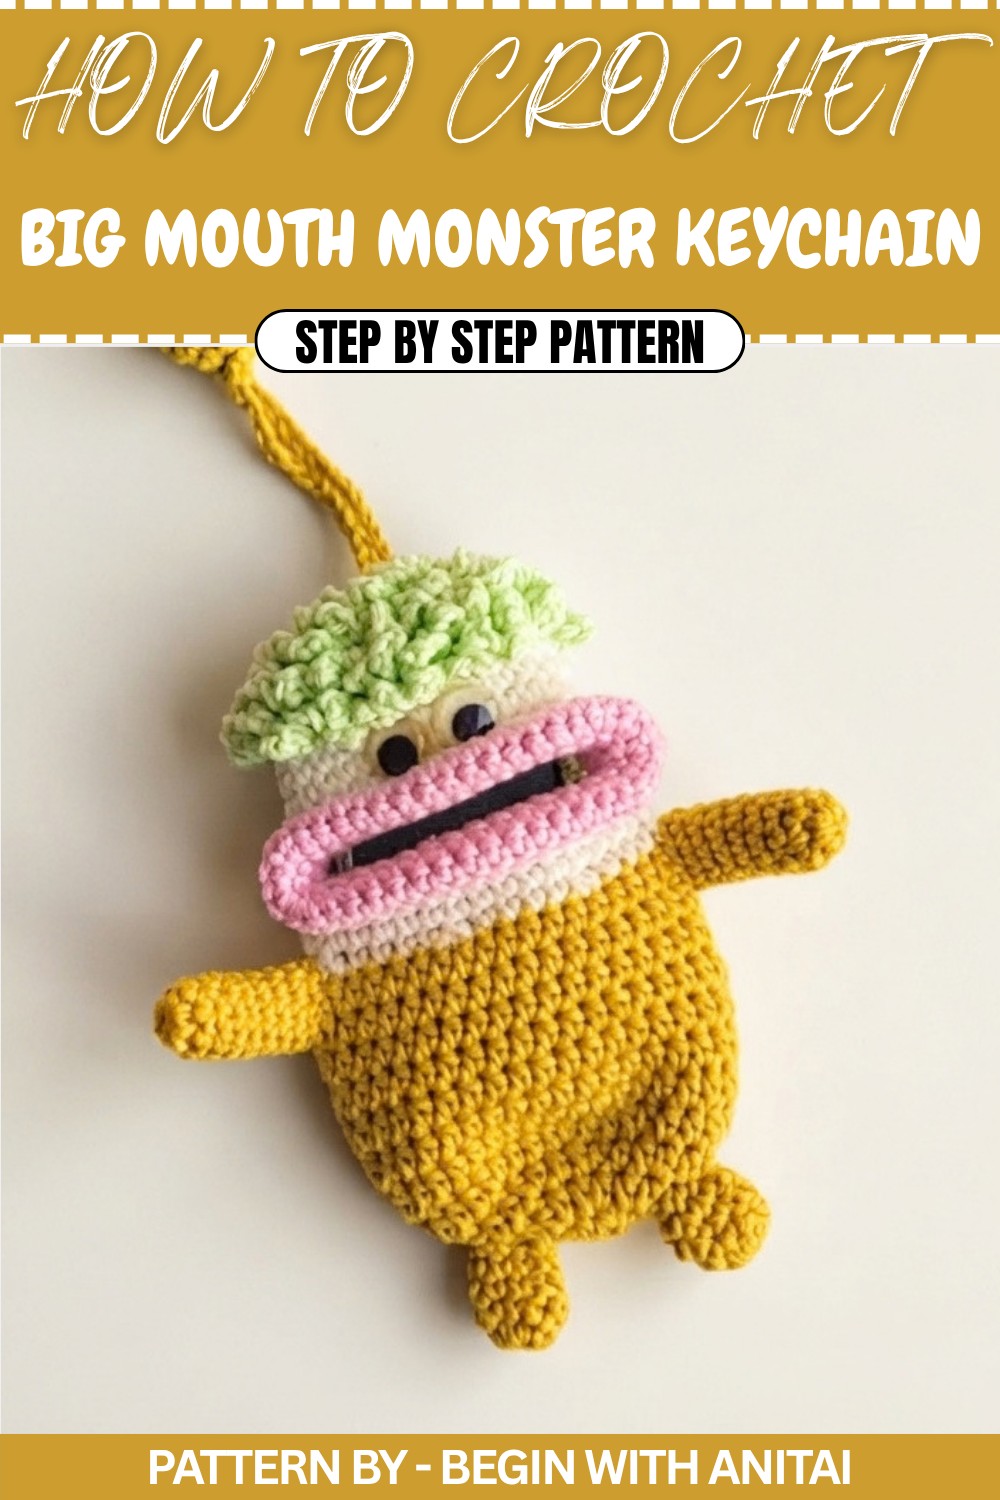
Crochet Big Mouth Monster Keychain
This crochet key holder pattern is designed using a 2.5 mm crochet hook. Below is the clear, complete, and step by step guide based on the tutorial.
Body Construction
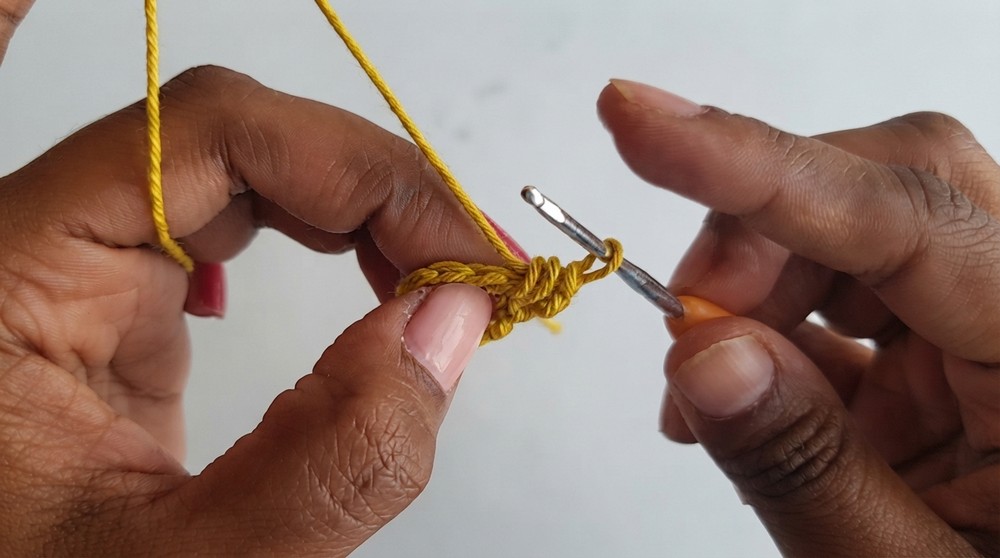
Round 1:
- Create a magic ring.
- Chain 2 (this does not count as a stitch).
- Work 9 half double crochets (HDC) into the ring.
- Pull the ring tight to close the center.
- Slip stitch (sl st) into the first HDC to close the round.
- Stitch Count: 9 HDC.
Round 2:
- Chain 1.
- Work 2 HDC in each stitch around.
- Repeat this for all stitches in the round.
- Slip stitch into the first HDC to close the round.
- Stitch Count: 18 HDC.
Round 3:
- Chain 1.
- In the first stitch, work 2 HDC.
- In the next stitch, work 1 HDC.
- Repeat the sequence: 2 HDC, 1 HDC all around.
- Slip stitch to the first HDC to close the round.
- Stitch Count: 27 HDC.
Round 4:
- Chain 1.
- Work 1 HDC in the first two stitches, and 2 HDC in the third stitch.
- Repeat the sequence: 1 HDC, 1 HDC, 2 HDC all around.
- Slip stitch into the first stitch to close the round.
- Stitch Count: 36 HDC.
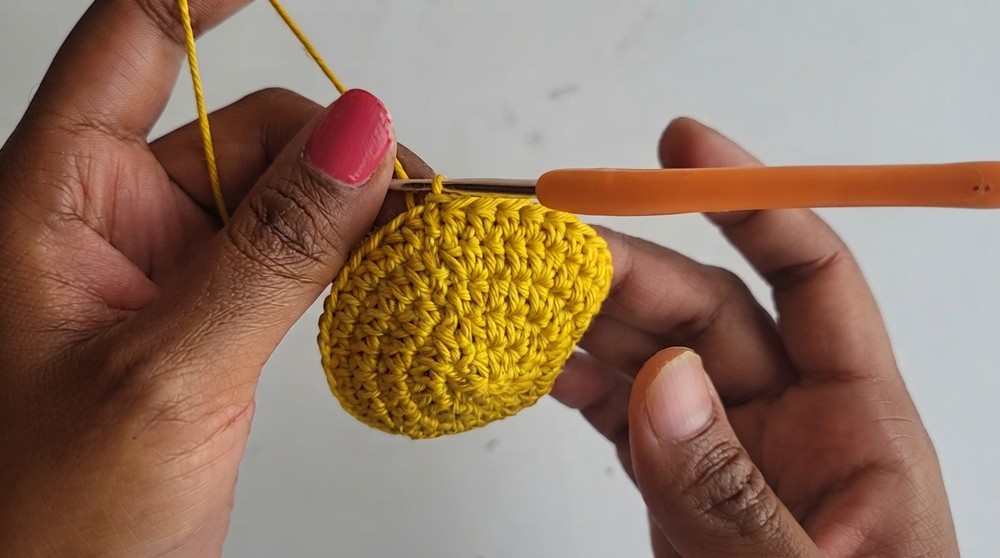
Rounds 5–11:
- For each round (Rounds 5 through 11):
- Chain 1.
- Work 1 HDC in each stitch around.
- Maintain a consistent count of 36 HDC per round.
- Slip stitch at the end of each round to join.
- After completing Round 11, switch to off-white yarn. Slip stitch the new yarn into place to begin Round 12.
Round 12 – Decrease Start:
- Chain 1.
- Work 4 single crochets (SC) – one SC into each of the next 4 stitches.
- Decrease: Use SC2tog over the next 2 stitches (insert hook into the next stitch, yarn over, pull through, insert hook into the next stitch, yarn over, pull through, yarn over, pull through all loops on hook).
- Repeat the sequence 4 SC, SC2tog all around.
- Slip stitch to the first SC to close the round.
- Stitch Count: 30 SC.
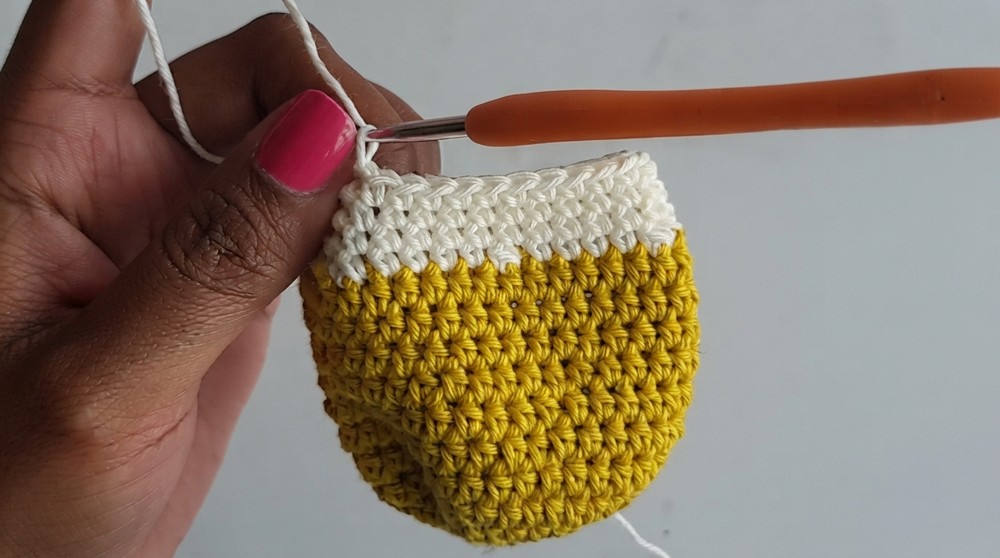
Rounds 13–15 – Stable SC Rounds:
- For each round from Round 13–15:
- Chain 1.
- Work 1 SC in each stitch around.
- Maintain 30 SC per round.
- Slip stitch to the first stitch to close the round.
Round 16 – Creating the Mouth Opening:
- Chain 1.
- Work 8 SC across the first 8 stitches.
- Chain 14 and skip 14 stitches on the body.
- Join the chain back to the body by slip stitching into the 14th skipped stitch.
- Continue working 1 SC into the next stitch to complete the round.
- This creates a mouth opening in the body.
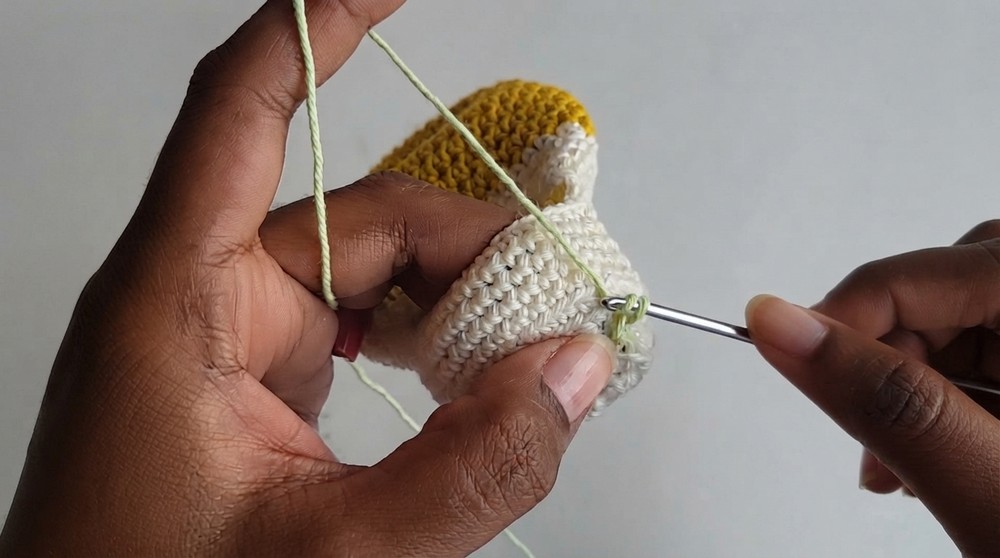
Rounds 17–21 – Face Extension:
- For each round from Round 17–21:
- Work SC across, including stitching into the chain loops created in Round 16.
- Ensure to maintain 30 SC per round.
- At the end of each round, join with a slip stitch.
Head Construction – Back Loop Only
Round 22 – Back Loop Work Start:
- Begin by working in the back loops only (BLO) for the next rounds.
- Chain 1.
- Work 1 SC in the back loop of each stitch all the way around.
Round 23 – Begin Decrease (BLO):
- Chain 1.
- In back loops only:
- Work 3 SC, and then perform a decrease (SC2tog) for the next two stitches.
- Repeat 3 SC, SC2tog around.
- Slip stitch to finish the round.
- Stitch Count: Decrease to 24 SC.
Round 24 – Continue Decrease (BLO):
- Chain 1.
- In back loops only:
- Work 2 SC, then SC2tog (decrease two stitches).
- Repeat 2 SC, SC2tog all around the round.
- Slip stitch to join the round.
- Stitch Count: 18 SC.
Round 25 – Final Round and Closing:
- Chain 1.
- In back loops only:
- SC2tog in every stitch. Repeat SC2tog 6 times.
- You should now have 6 stitches left, and the top will be mostly closed.
- Cut the yarn, leaving a long tail.
- Use a yarn needle to weave the tail through the remaining stitches and pull tight to close the head.
Details & Finishing
Hair Construction:
- Attach neon green yarn at the top of the head.
- Chain 5, then slip stitch (sl st) into the next stitch on the top round.
- Repeat the sequence of chain 5 and sl st to the next stitch.
- Continue this pattern around the top section of the head to create the decorative loops that resemble hair.
- Once complete, fasten off the yarn and weave the tail into the project.
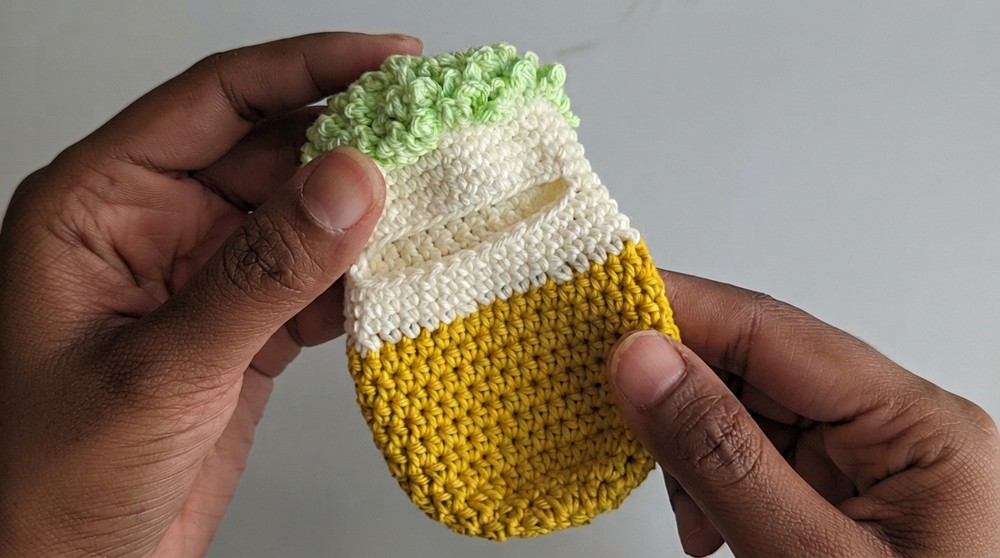
Mouth/Lips Detail:
- Attach pink yarn at one corner of the mouth opening.
- Work 14 SC across the bottom open edge of the mouth.
- Work 4 SC in each corner (two SC per side corner stitch) to create rounded edges.
- In the next round, continue in SC and expand the corners to 8 SC for additional width in these sections.
- Finish with a final round by working 1 SC in each stitch around. Secure the yarn and weave in the tail.
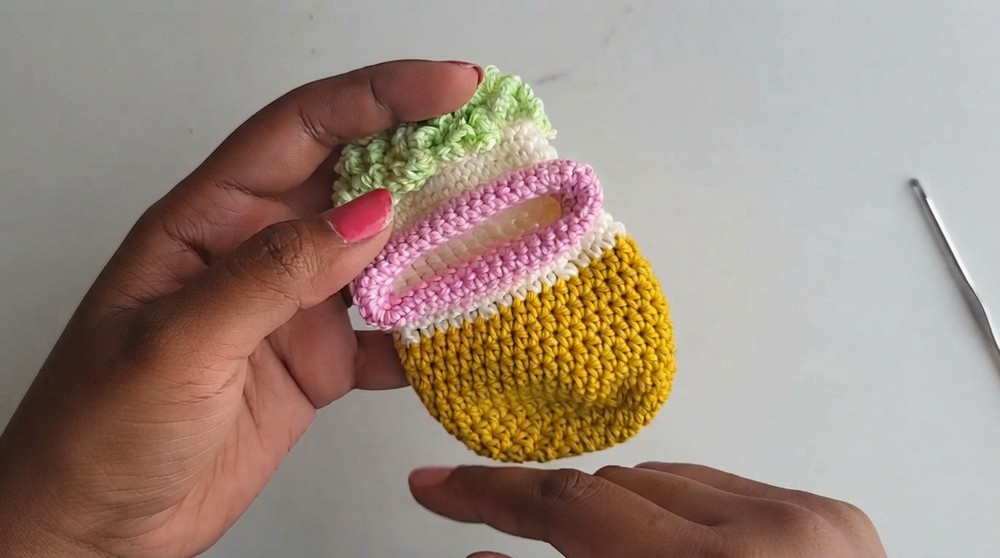
Hands and Feet:
- Create a magic ring and make 7 SC into the ring.
- For the hands: Work 8 rounds of 7 SC in a spiral.
- For the feet: Work 4 rounds of 7 SC in a spiral.
- Secure the stitches and fasten off, leaving long tails for sewing.
Top String and Pompom:
- To create the pompom-like top decoration, start with a magic ring.
- Work 7 SC into the ring. Gradually increase to 14 SC, then maintain 14 SC for 4 rounds.
- Once the 4 rounds are complete, decrease back down to 7 SC using SC2tog.
- Stuff lightly with fiber filling before closing the pompom shape.
- After closing, chain 40 from the remaining yarn for the hanging loop.
- Pull the chain through the top opening of the key holder to act as a handle or hanging loop.
Finishing Touches:
- Attach the hair, mouth, hands, and feet to the completed body using a yarn needle and the leftover yarn tails.
- For the key attachment, place the key into the mouth opening and pull tight using the loop created by the top string.
- Adjust any loose ends and weave the remaining tails into the project for a clean finish.
Conclusion:
This crochet key holder is now complete! It’s a cute, functional, and customizable project perfect for daily use or gifting. The vibrant colors and detailed design bring this accessory to life, while the construction provides durability. Play around with color options and minor design adjustments to suit your personal style.