
Quick & Fun Free Crochet Heart Keychain Pattern for You
Show your love with a handmade heart keychain using this free crochet pattern, simple to make and perfect for creating thoughtful gifts, bag charms, or key rings.
Pattern By CrochetLilWeaves
Sometimes the smallest projects can bring the biggest joy, and a crochet heart keychain is the perfect example. This sweet little project is lightweight, charming, and full of personality. Shaped like a classic heart, it has a soft, textured finish that feels great in your hand while also being sturdy enough for everyday use. Whether it’s hanging from your bag, attached to your keys, or gifted to someone you care about, it’s sure to bring a smile.
Learn How to Make a Heart Keychain with This Free Pattern
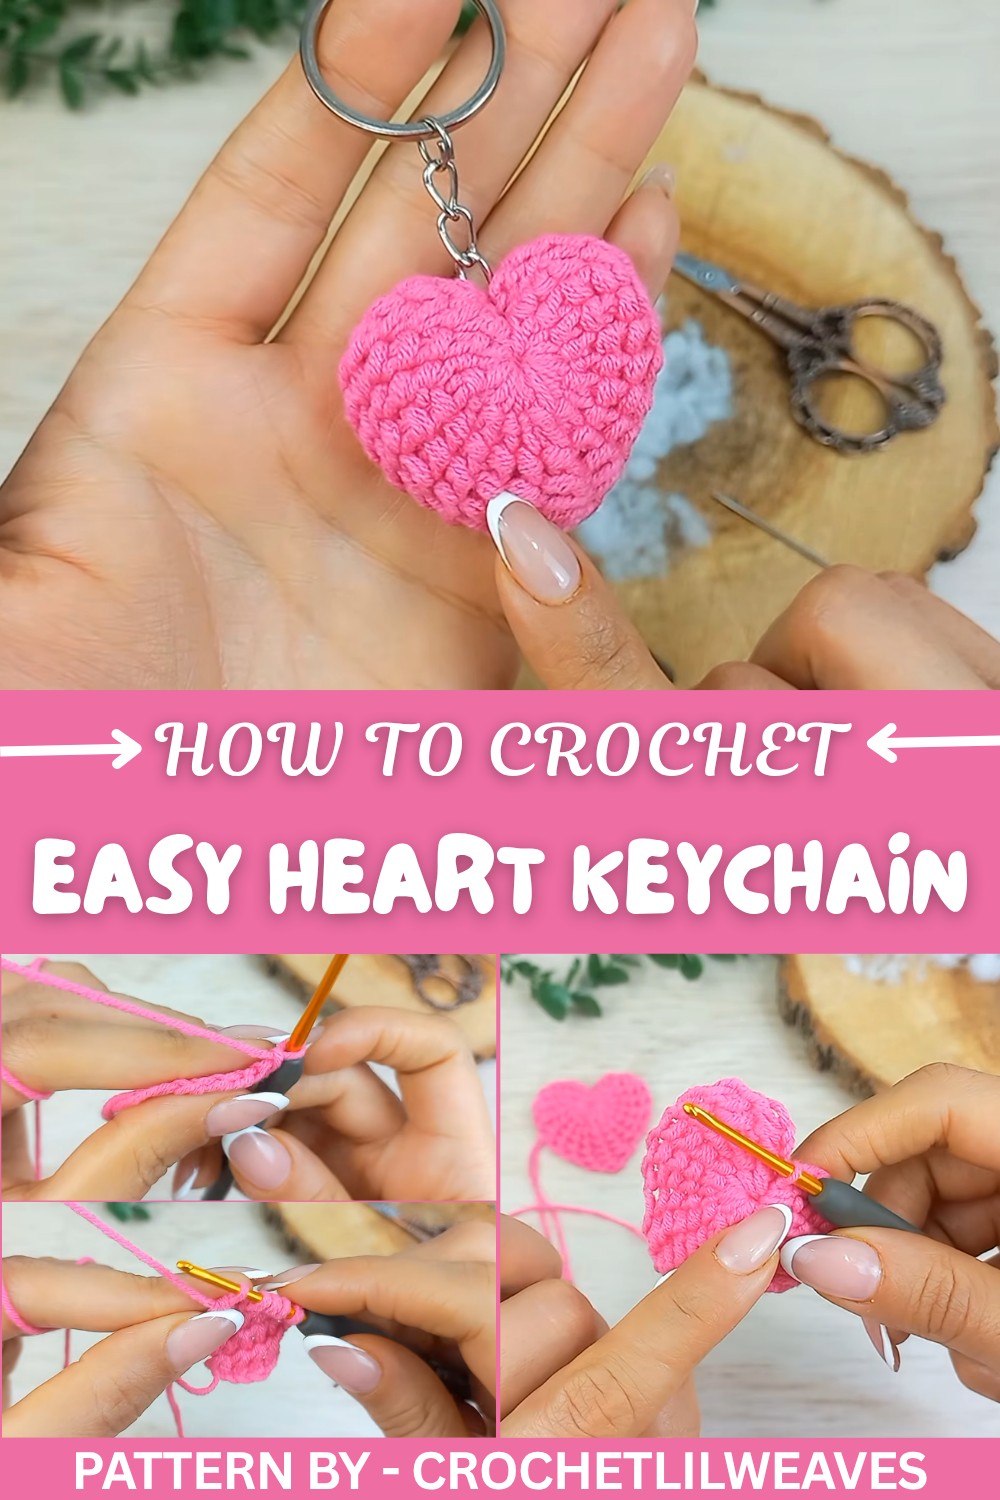
It can be made in various sizes just by adjusting the type of yarn or hook you use. Cotton yarn is one of the best choices because of its clean definition, but softer acrylic can provide a cozy, plush feel. A pop of red or pink is always a classic choice, but there’s no limit, go bold with vibrant colors, earthy tones, or even variegated yarn for a unique look.
The heart is crocheted in two separate pieces, which are then lightly stuffed before being stitched together. A bit of patience while sewing the pieces can make all the difference in giving the finished piece a polished look. To personalize the keychain, consider embellishing it with tiny buttons, small flowers, or even embroidered initials.
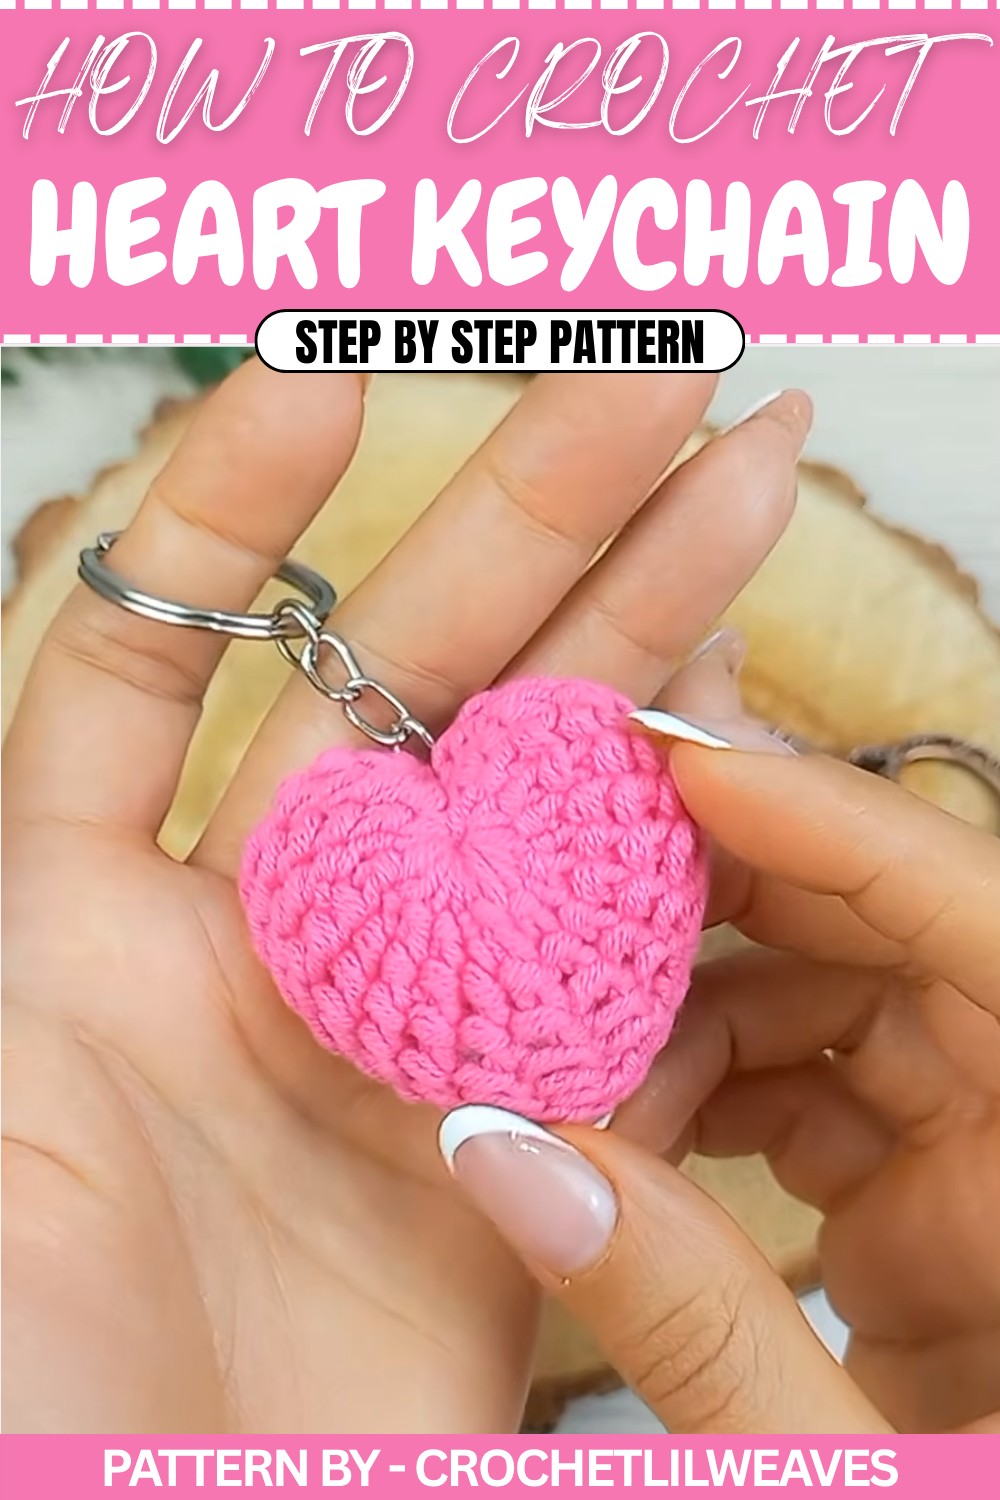
It’s a sweet project to make as gifts for holidays like Valentine’s Day, anniversaries, Mother’s Day, or even as a thoughtful gesture for friends. The small size and meaningful shape make this keychain an easy way to spread love wherever you go.
Crochet Heart Keychain Pattern
This heart keychain is made by crocheting two identical pieces and joining them together to create a beautiful accessory. Use this complete step by step pattern to create your own lovely crochet heart. Perfect as a functional keychain or decorative charm for bags and other projects.
Quick Overview of Pattern
- Two Pieces: Create two identical heart shapes using magic ring techniques.
- Joining: Secure the pieces together with slip stitches around the edges.
- Finishing: Add stuffing and attach the keyring for the final look.
Notes
- Ensure the magic ring is closed tightly for a clean finish.
- Match tension while crocheting both pieces for symmetry.
- Use proper stuffing to make the heart plump and durable.
Skill Level
Beginner to Intermediate – Basic crochet knowledge and slip stitch assembly.
Materials
- Yarn: Category 2 yarn of your choice.
- Hook: 2.5 mm crochet hook.
- Tools: Yarn needle, scissors.
- Accessories: Keyring and stuffing (fiberfill).
Stitch Abbreviations
| Abbreviation | Definition |
|---|---|
| MR | Magic Ring |
| CH | Chain |
| SL ST | Slip Stitch |
| YO | Yarn Over |
Special Stitches
Magic Ring (MR)
Wrap the yarn around two fingers to form an adjustable loop. Insert the hook into the loop, grab the working yarn, pull it through, twist, and secure with a chain stitch.
Pattern Instructions
Make Two Identical Heart Pieces
Magic Ring
- Create a magic ring:
- Wrap the yarn over two fingers to form a loop.
- Insert your hook into the loop, grab the working yarn, pull through, and twist the hook.
- Chain 1 to secure the ring.
Row 1
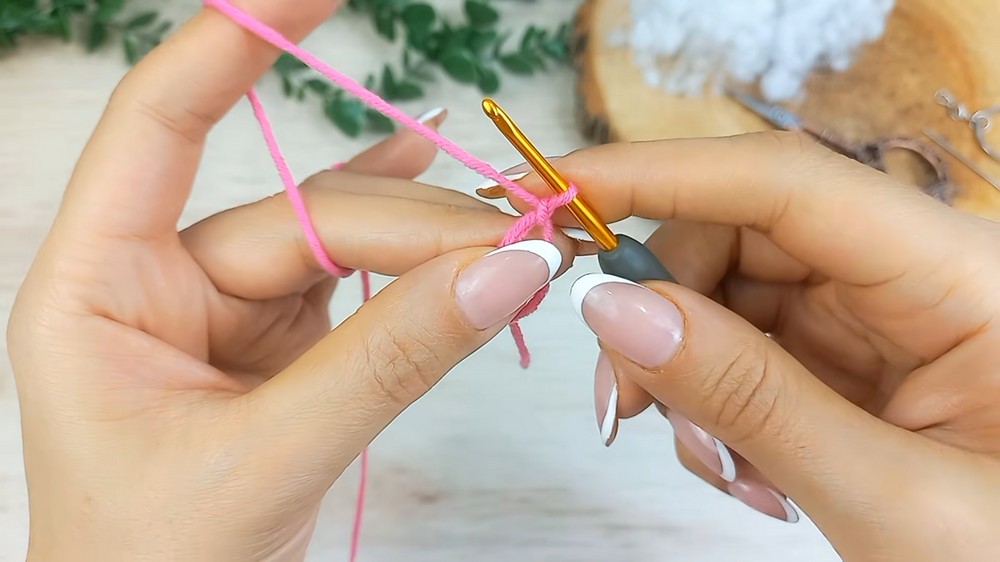
- Chain 4.
- Skip the first chain.
- Pull up a loop in:
- The 2nd chain,
- The 3rd chain,
- The 4th chain,
- The magic ring.
- You should now have 5 loops on the hook.
- Yarn over and pull through 2 loops at a time until one loop remains.
Row 2
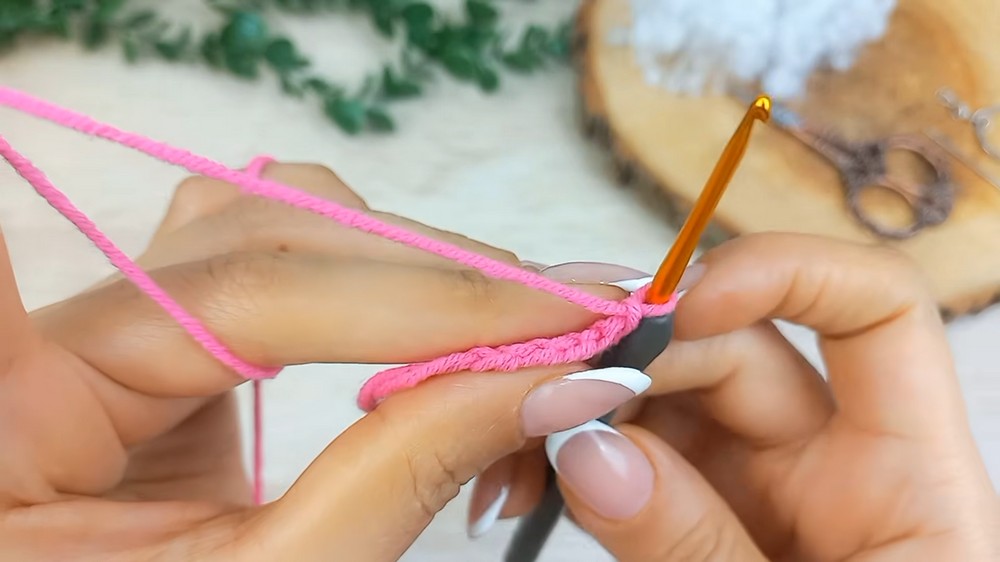
- Chain 1.
- Pull up loops as follows:
- 1 from the back loop of the chain (near the base),
- 4 from the horizontal loops in the row below,
- 1 from the magic ring.
- You should now have 6 loops on the hook.
- Work back by yarning over and pulling through 2 loops at a time until one loop remains.
Rows 3–7
- For each row:
- Pull up 4 loops from the horizontal stitches in the previous row, plus 1 from the magic ring.
- You will always have 6 loops on the hook.
- Work back by pulling through 2 loops at a time until one loop remains.
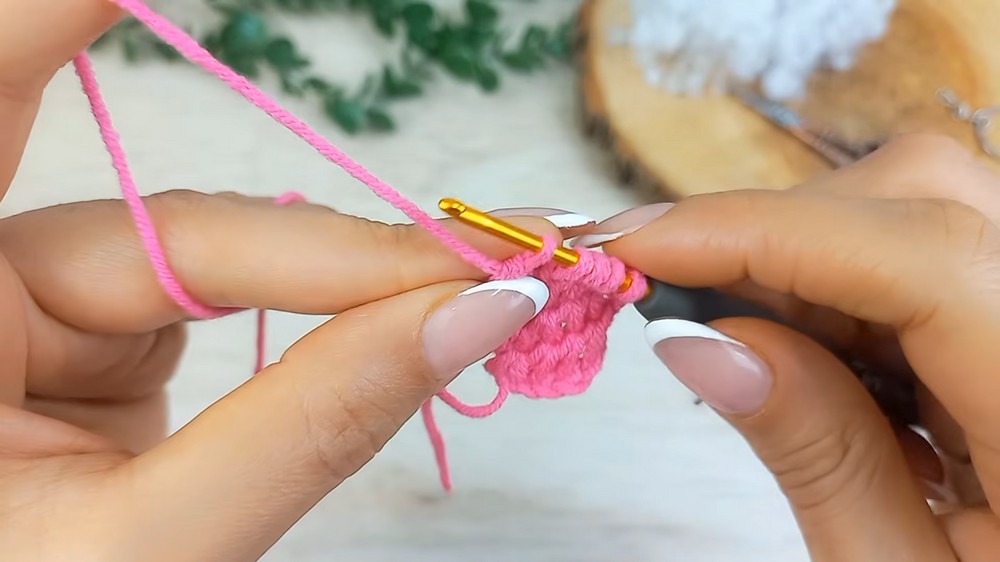
Row 8
- Chain 1.
- Pull up loops from:
- The chain,
- The next 5 horizontal loops,
- The magic ring.
- You should now have 7 loops on the hook.
- Work back by pulling through 2 loops at a time.
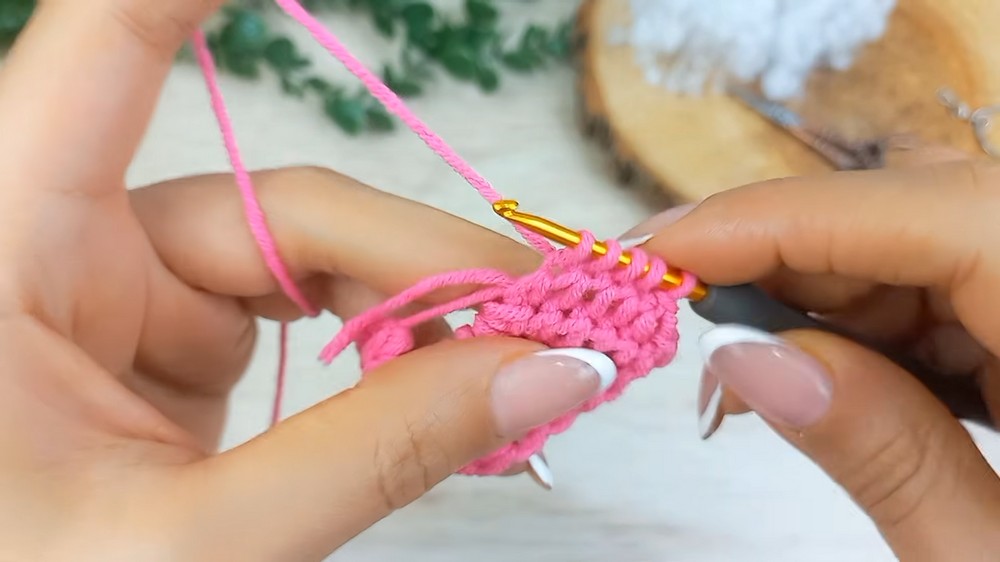
Row 9
- Chain 1.
- Pull up loops from:
- The chain,
- The next 5 horizontal loops,
- The magic ring.
- You should now have 8 loops on the hook.
- Work back as before.
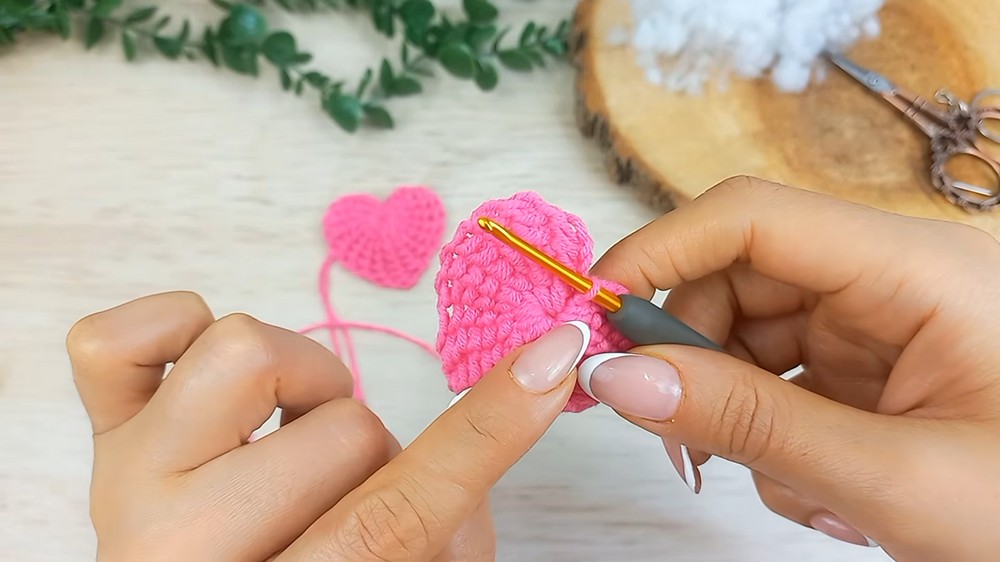
Row 10
- Chain 1.
- Skip the first 2 loops.
- Pull up loops from:
- The next 4 horizontal loops,
- The magic ring.
- You should now have 7 loops on the hook.
- Work back by pulling through 2 loops at a time.
Row 11
- Chain 1.
- Skip the first 2 loops.
- Pull up loops from:
- The next 3 horizontal loops,
- The magic ring.
- You should now have 6 loops on the hook.
- Work back as before.
Rows 12–16
- Chain 1 at the start of each row.
- Pull up loops from:
- The chain,
- The next 3 horizontal loops,
- The magic ring.
- Always have 6 loops on the hook.
- Work back by pulling through 2 loops at a time for Rows 12, 13, 14, 15, and 16.
Row 17
- Chain 1.
- Skip the first 2 loops.
- Pull up loops from:
- The next 2 horizontal loops,
- The magic ring.
- There should now be 5 loops on the hook.
- Work back as before.
Row 18 (Finishing)
- Chain 1.
- Skip the first 2 loops.
- Make a slip stitch into:
- The next 2 loops,
- And the magic ring.
- Fasten off and pull the magic ring tail tightly to close the hole completely.
Assembly Instructions
Finish the First Piece
- After completing Row 18, fasten off.
- Pull the magic ring tail tightly to close the hole securely.
Joining the Two Pieces
- Do not fasten off the second heart piece. Keep working from the last loop.
- Place the two heart pieces back-to-back, ensuring the wrong sides face inward and everything lines up neatly.
- Use the working yarn to slip stitch around the edges:
- For each stitch, insert the hook through a loop from each heart piece.
- Yarn over, pull through both loops, and complete the slip stitch.
- Continue joining the edges row by row.
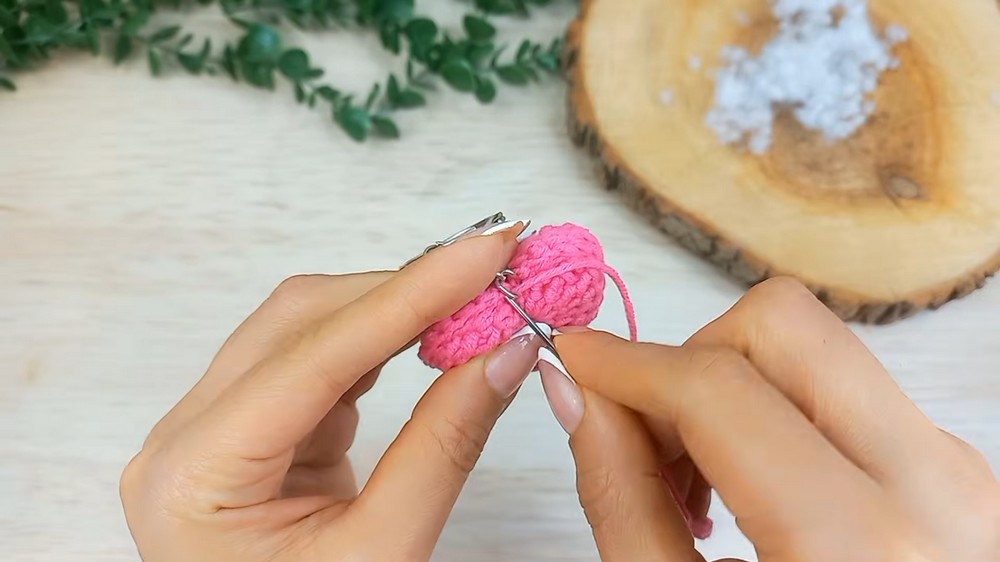
Add Stuffing
- Leave a small opening after slip-stitching most of the heart.
- Insert a small amount of stuffing into the center of the heart. Don’t overstuff to avoid distorting the shape.
- Once the heart is plump and evenly stuffed, finish slip-stitching around the edges to close the gap completely.
Finalize Keychain Attachment
- After finishing the heart, fasten off the yarn and weave in any loose ends using a yarn needle.
- Attach a keyring to the top of the heart using the remaining yarn or a jump ring.
- Ensure the keyring is securely fastened so it can withstand use.
Conclusion
Your heart keychain is done. This adorable crochet project is quick to make and can be customized with different yarn colors or sizes. Whether it’s for personal use, gifting, or adding flair to accessories, this heart keychain is sure to brighten someone’s day.