
Free Crochet Butterfly Pattern to Make Adorable Brooches
Make your project shine with this free crochet butterfly pattern that is easy and great for creating something fun and colorful for everyone.
Pattern By CrochetLilWeaves
Butterflies have always been a source of inspiration, and this crochet project offers a chance to bring their beauty to life with yarn and a hook. The wings are carefully shaped to resemble a delicate flutter, with texture created through combinations of basic and slightly advanced stitches. The lightweight feel adds to its charm, providing a soft and airy finish that’s perfect for embellishing accessories like bags or even home décor pieces.
Free Crochet Butterfly Pattern for Beautiful Decor
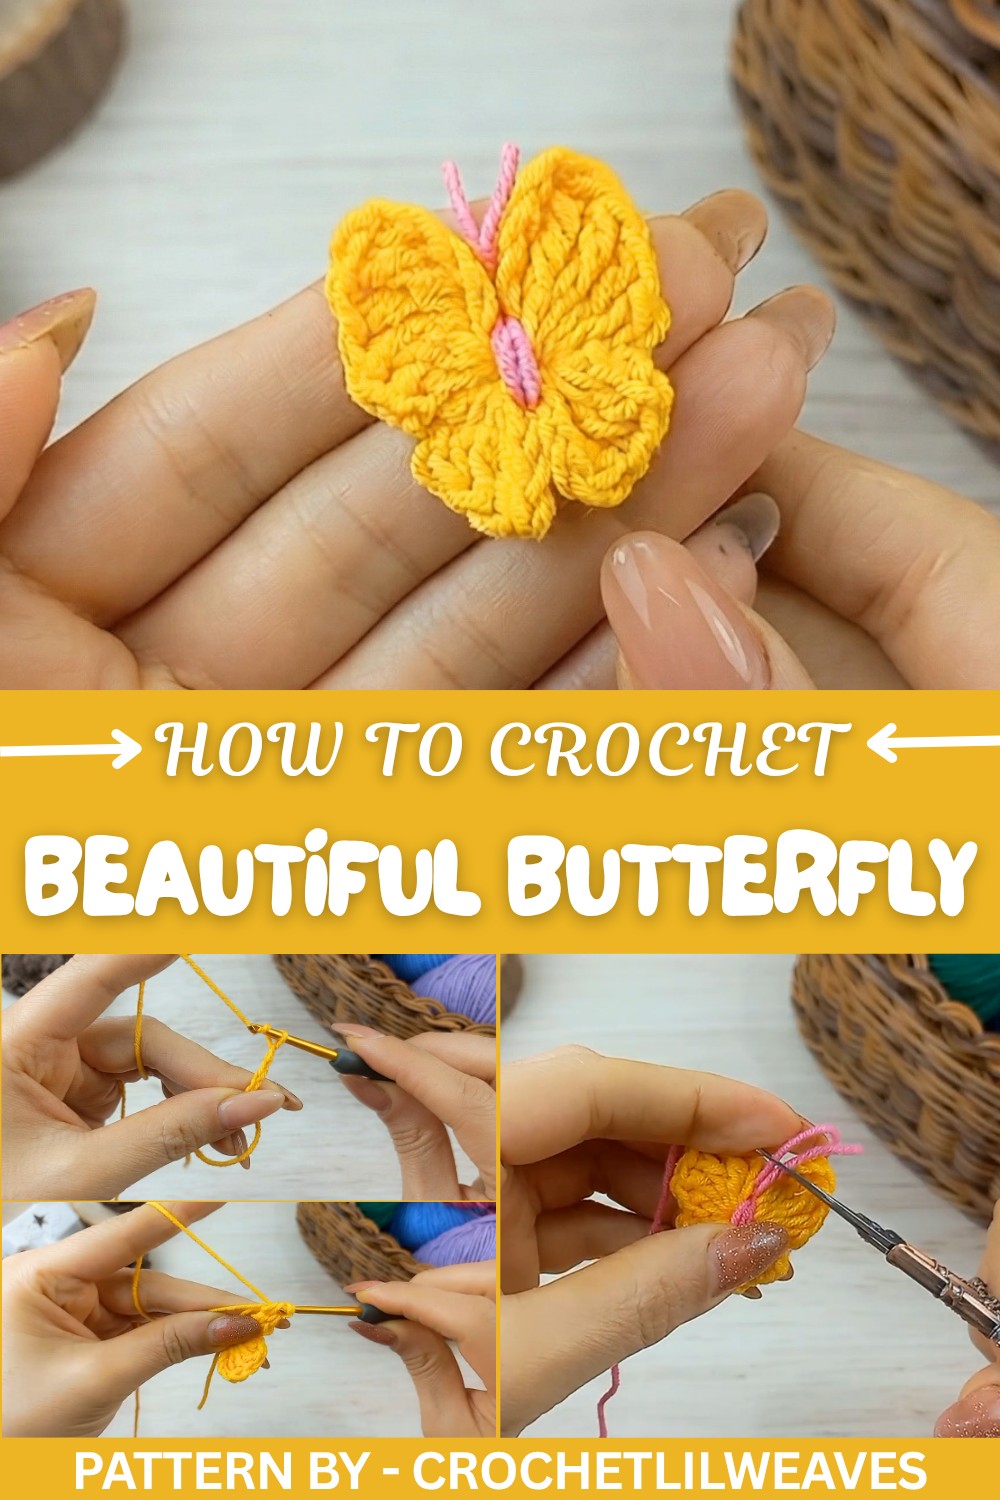
This butterfly features balanced symmetry with a central body wrapped neatly for texture and dimension. The construction begins with the magic ring, allowing for a tidy center, and the wings are built using chains and a mix of double and treble crochet stitches. The result is a graceful shape that highlights the flow and curve of each wing.
Lightweight yarn works beautifully for this project as it brings out the stitch definition without overwhelming the final shape. Bright tones or soft pastels give it a cheerful vibe, while variegated yarn adds depth to the design effortlessly.
A helpful tip for this project is to keep your tension consistent and take care when fastening off and weaving in the ends for a clean finish. Using a small crochet hook ensures the stitches stay neat and the butterfly retains its delicate appearance. This crochet butterfly is a charming way to brighten up simple projects or give as a little handmade gift to someone you love.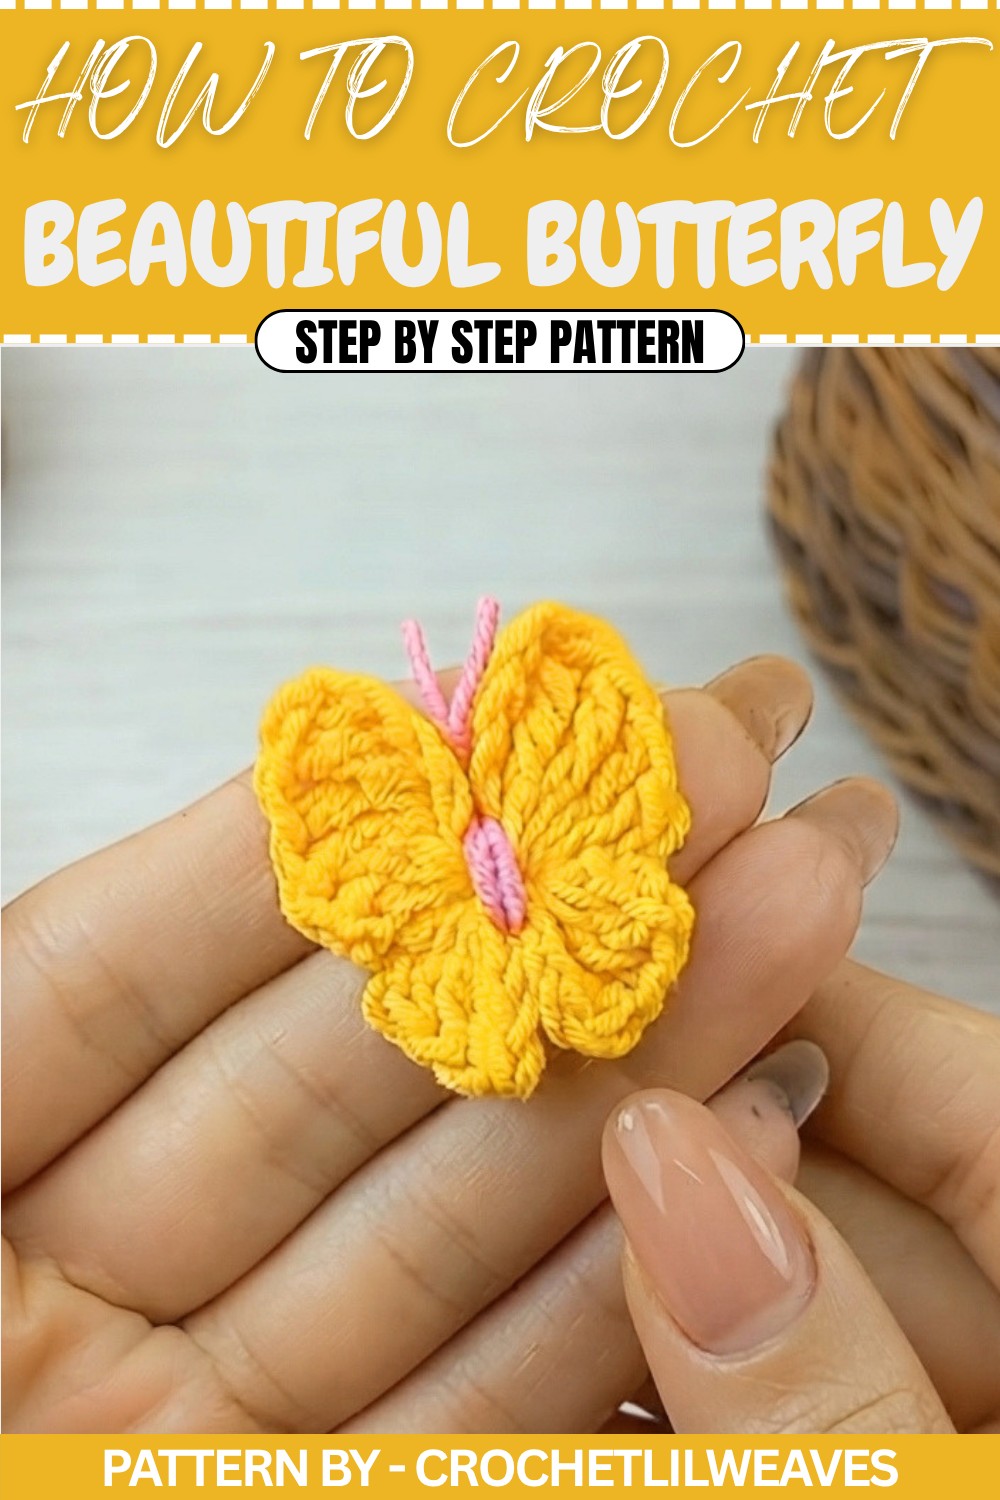
Simple Crochet Butterfly Pattern
In today’s pattern, we’ll create the cutest and simplest crochet butterfly together. This adorable butterfly requires only a small amount of category 2 yarn in two colors and is a perfect project for beginners or seasoned crocheters who are looking for a quick, but fun, crochet activity.
Quick Overview of the Pattern
- A crochet butterfly made with two colors of category 2 yarn.
- Uses foundational skills such as the magic ring and basic crochet stitches.
- Completed in two halves, creating a mirror image for a symmetrical design.
- Final assembly involves tying the center and creating a small body for the butterfly.
- Perfect for keychains, appliqués, or decorative purposes.
Notes
- This is a beginner friendly project, but it involves some advanced stitches like double treble and triple treble crochets. Take your time practicing if needed.
- The size of the butterfly can be adjusted by using different yarn weights or changing the number of stitches for each wing.
- Ensure to pull the magic ring tightly to complete your butterfly’s shape neatly.
- Use a complementary color for the body of the butterfly to make it stand out.
Skill Level
Beginner, with some familiarity with crochet basics.
Materials
- Yarn: Category 2 lightweight yarn in two colors (e.g., pastel colors for a spring feel).
- Hook: 2 mm or 2.5 mm crochet hook (choose size based on your yarn).
- Scissors: For trimming loose ends.
- Tapestry Needle: For weaving in ends and tying knots securely.
Measurements / Sizing
- Finished size of the butterfly depends on the yarn and hook used. With category 2 yarn and a 2 mm hook, the butterfly will measure approximately 7 cm in width and 5 cm in height.
Gauge
Gauge is not crucial for this project as the size can be customized.
Stitch Abbreviations
- CH: Chain
- SL ST: Slip Stitch
- SC: Single Crochet
- HDC: Half Double Crochet
- DC: Double Crochet
- TR: Treble Crochet (Tripple Crochet)
- DTR: Double Treble (Tripouble) Crochet
Special Stitches
Magic Ring: A foundational technique that creates a tidy, adjustable ring to begin crocheting in the round.
The Crochet Pattern
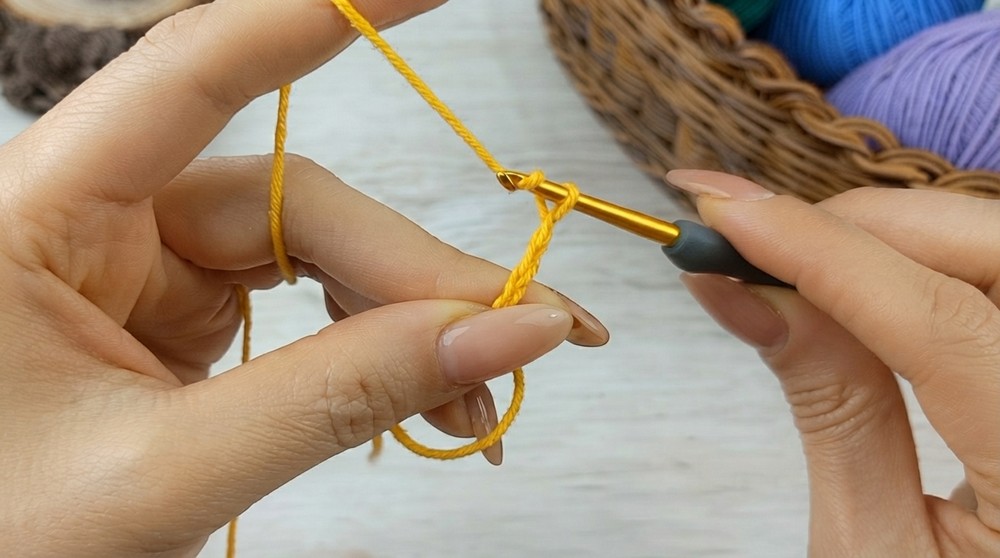
Step 1: Create the Magic Ring
- Wrap the yarn around two fingers to form an X at the front.
- Insert the crochet hook under the first loop, grab the second loop, and pull it through.
- Twist the hook slightly to create a loop and make one chain with the working yarn.
- Remove your fingers from the center of the ring. Hold the ring between your thumb and middle finger to maintain grip.
Step 2: Make the First Half of the Butterfly
First Wing:
- Create CH 5 (the first chain is already made; add four more).
- Work 1 DTR (double treble crochet) into the magic ring:
- Yarn over 3 times, insert hook into the magic ring, and pull up a loop (5 loops on the hook).
- Yarn over and pull through 2 loops at a time until only 1 loop remains on the hook.
- Work 2 TR (treble crochets) into the magic ring:
- Yarn over 2 times, insert hook into the magic ring, pull up a loop (4 loops on the hook).
- Yarn over and pull through 2 loops at a time until 1 loop remains. Repeat for the second TR.
- Work 1 DC (double crochet):
- Yarn over, insert hook into the magic ring, and pull up a loop (3 loops on hook).
- Yarn over, pull through 2 loops, yarn over, pull through last 2 loops.
- Create CH 2.
- Make 1 SL ST (slip stitch) into the magic ring.
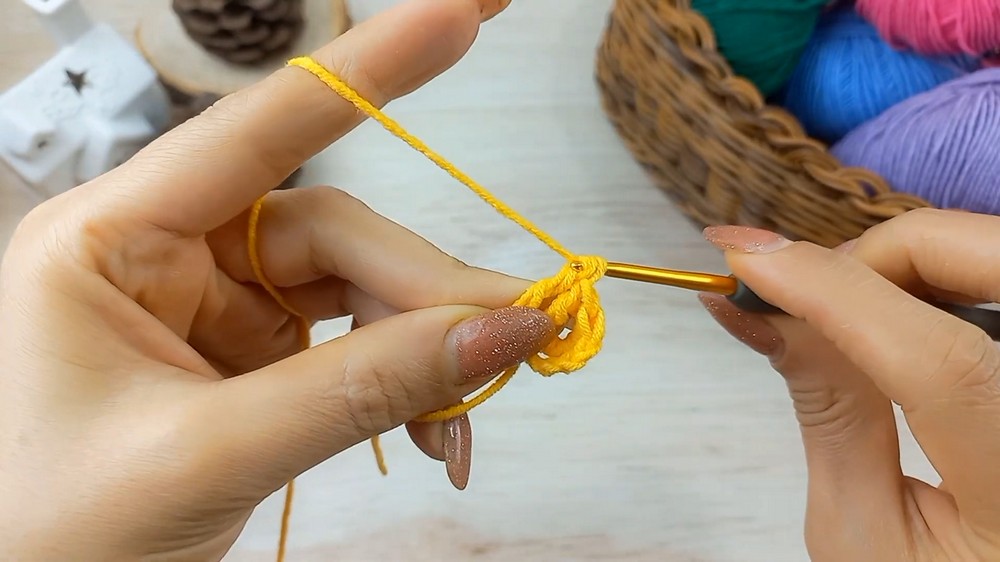
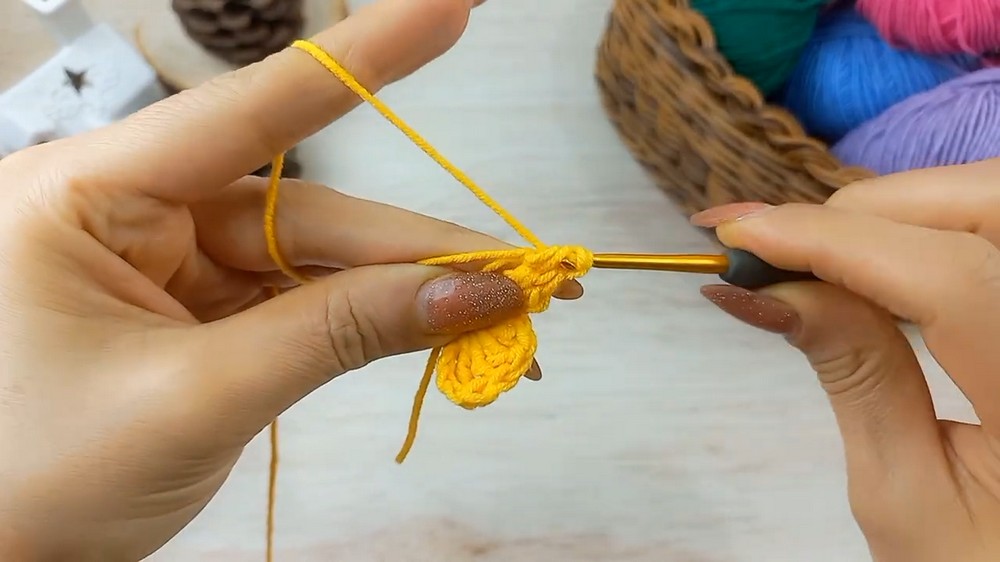
Now your first butterfly wing is complete.
Second Wing:
- Create CH 2.
- Work 2 DC into the magic ring.
- Work 1 TR into the magic ring.
- Create CH 3, then make 1 SL ST into the magic ring.
The first half of the butterfly is now complete.
Step 3: Make the Second Half of the Butterfly
The second half of the butterfly mirrors the first half.
Third Wing:
- Start with CH 3, followed by 1 TR into the magic ring.
- Work 2 DC into the magic ring.
- Create CH 2, then make 1 SL ST into the magic ring.
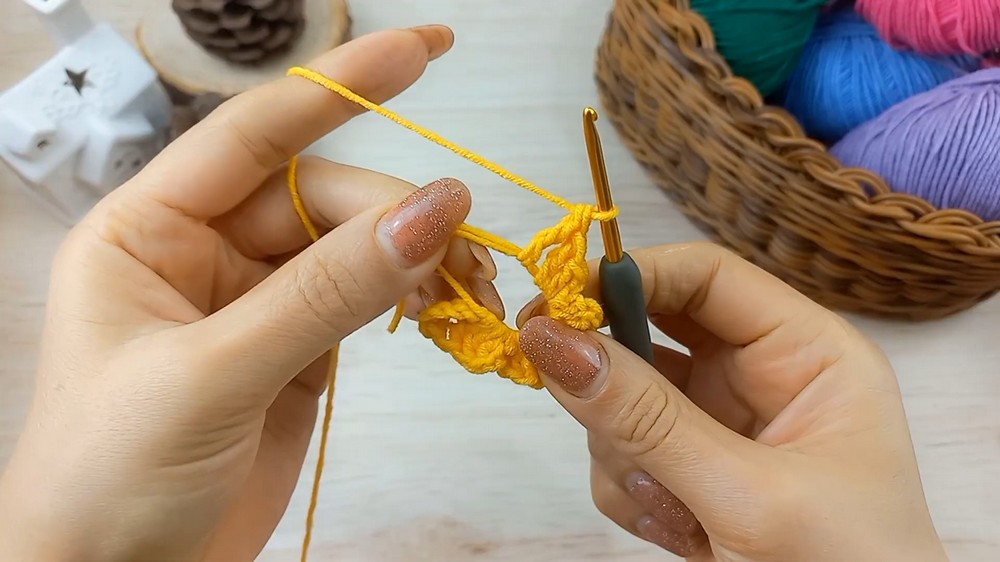
Fourth Wing:
- Start with CH 2, followed by 1 DC into the magic ring.
- Work 2 TR into the magic ring: Repeat the same steps as before.
- Work 1 DTR into the magic ring: Repeat the same steps as before.
- Finish this last wing with CH 5, then make 1 SL ST into the magic ring.
Step 4: Closing the Butterfly
- Pull the starting tail of the magic ring tightly to close the circle completely.
- Create 1 CH, leave a long tail, and then cut the yarn. Pull the loop to tighten and secure.
Assembly & Finished Size
- Tie the Tails:
- Turn the butterfly to the back side. Tie the starting and ending tails together securely, first once, and then tie them one more time.
- Hide the Tails:
- Using a tapestry needle, weave each tail through the back of the stitches to secure them. Cut off any excess.
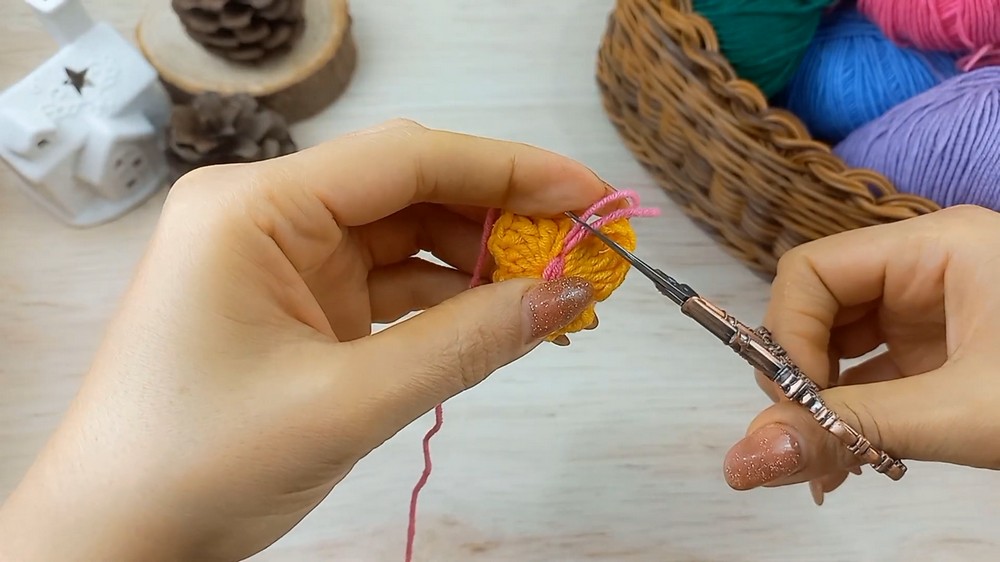
- Create the Butterfly Body:
- Take a contrasting color of yarn and carefully wrap it around the center of the butterfly several times to form the butterfly’s body.
- Tie the ends of the yarn at the top of the butterfly and trim any excess.
Conclusion
Your beautiful and simple crochet butterfly is now complete. Use it as a keychain, a brooch, or an embellishment for clothing, accessories, or gift wrappings. This cute butterfly is an enjoyable and relaxing crochet project that will bring colorful charm to any item. Experiment with yarn colors to produce unique designs and make as many butterflies as you'd like.