
Trendy Free Crochet Coaster Pattern for Colorful Homes
Quick way to freshen your space, the Free Crochet Coaster Pattern brings fun, colorful vibes while keeping tabletops clean and cute.
Coasters are a wonderful way to add a personal touch to your home while protecting your tables from spills and stains. If sitting down for a cup of tea with friends, neatly placing these handmade crochet coasters under your mugs. They not only bring warmth and charm to your space but also make for great gifts. This simple coaster pattern uses the magic ring technique to create a neat, round base. The main stitches involved are double crochets, which build layers of texture and thickness, making the pattern durable and absorbent. The pattern is beginner-friendly, offering a great way to practice essential stitches while making something useful.
Beautiful Crochet Coaster Pattern for Everyday Use
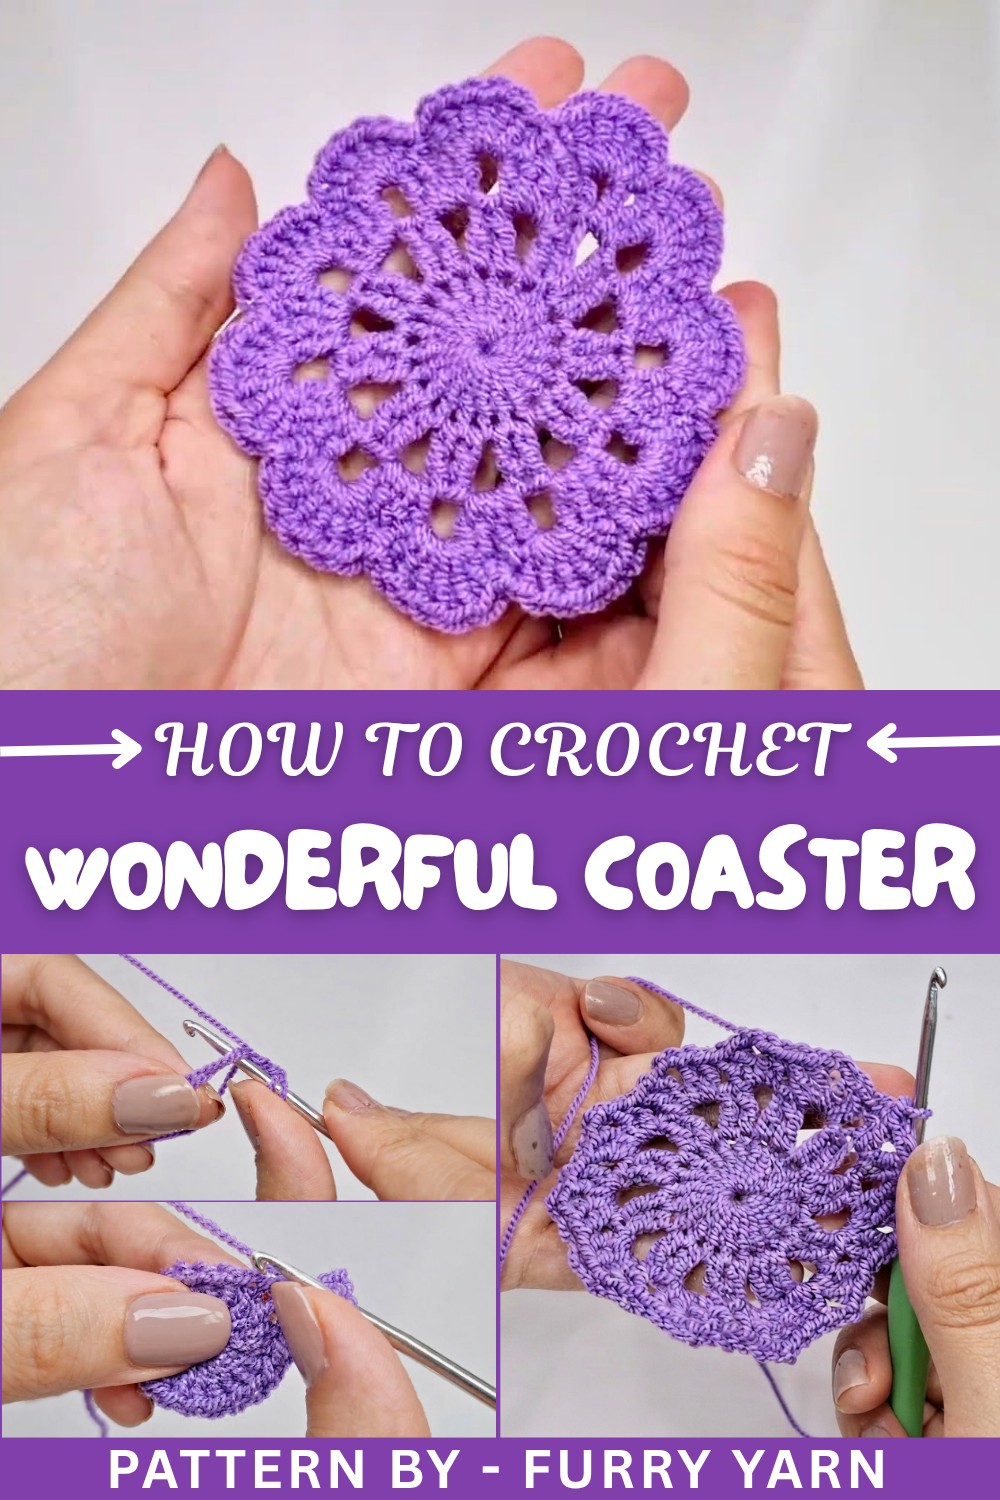
A heartfelt thanks to Furry Yarn for sharing such a clear and easy-to-follow tutorial. Their step-by-step instructions break down the process, making it perfect for those just starting to crochet. The calming and supportive teaching style on the Furry Yarn channel encourages everyone to pick up their hooks with confidence. This friendly guidance transforms learning into a joyful experience, helping crocheters at all levels create beautiful projects like this coaster.
Exploring More With This Pattern
Once you’ve mastered making the coaster, this pattern opens the door to many other creative possibilities. You can make larger versions for placemats or hot pads, or combine several coasters to create an eye-catching table runner. Personalize them by experimenting with different yarn colors or even adding decorative borders. This simple base pattern is a fantastic way to explore crochet, paving the way for gifts and home décor that are both handmade and heartfelt.
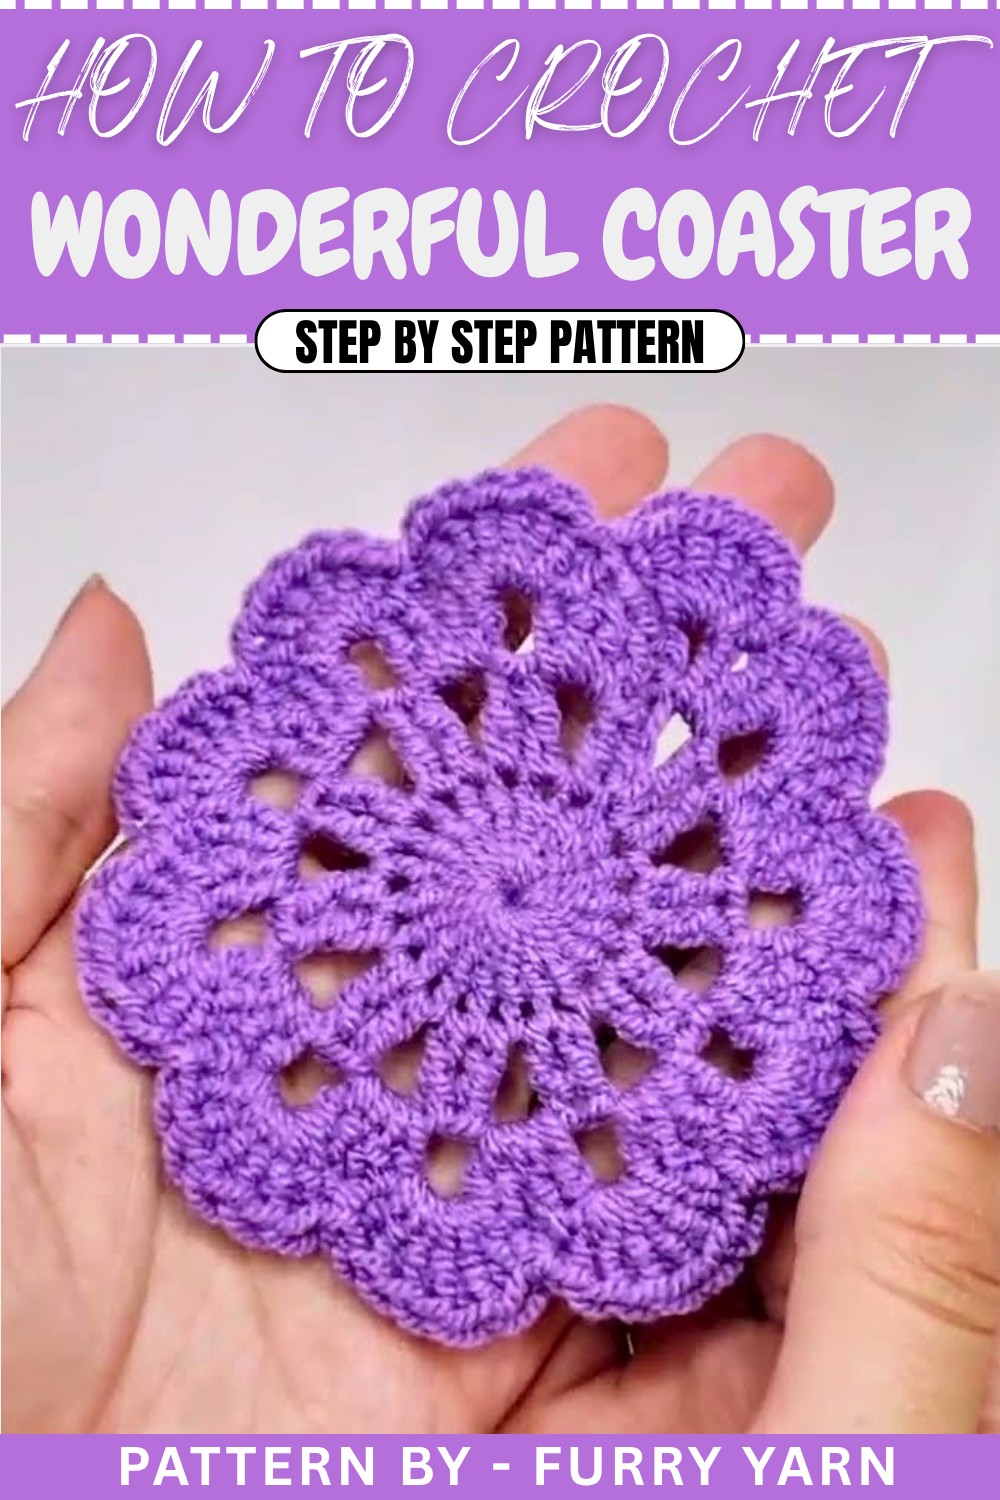
Crochet Pattern: Simple Coaster
Introduction: Uses of This Pattern
This simple crochet coaster pattern is a quick and beginner-friendly project that produces a practical and beautiful result. It’s perfect for protecting your furniture from water rings or hot beverages while adding a handmade touch to your decor. These coasters make wonderful gifts, can be created in a variety of colors, and can easily be customized to suit any theme!
Skill Level & Terminology
- Skill Level: Beginner. This pattern involves easy stitches (double crochet and slip stitch) with a bit of repetition.
- Terminology: This pattern uses US crochet terminology.
Materials & Tools
- Yarn: Use medium-weight (category 4) cotton yarn. Cotton works best for coasters as it absorbs moisture well.
- Crochet Hook: 3 mm crochet hook. Adjust the hook size if needed to suit your chosen yarn.
- Scissors: For cutting yarn ends neatly.
- Tapestry Needle: For weaving in ends and finishing your coaster.
Gauge
Gauge is not critical for this pattern, as coasters are small decorative pieces.
Abbreviations List
Below is the list of abbreviations used in this pattern:
- ch: Chain
- dc: Double Crochet
- sl st: Slip Stitch
- yo: Yarn Over
Special Stitch Instructions
- Magic Ring: To begin your project, form a loop with your yarn, insert your hook, yo, pull through the loop, and secure the ring by making chains. Work your stitches into this adjustable ring, which allows for a tight and neat circular base.
Finished Size
The coaster measures approximately 4–5 inches in diameter, depending on yarn weight and tension.
What You'll Learn from This Pattern
With this pattern, you’ll gain confidence in:
- Working with a magic ring for flawless starts in circular crochet.
- Using basic stitches like the double crochet and slip stitch to create texture and structure.
- Creating consistent increases to ensure smooth and even rounds in circular designs.
- Finishing and weaving ends for a clean, professional-looking result.
Simple Coaster Pattern
Part 1: Create the Foundation Circle
- Magic Ring Start:
- Form a magic ring by looping the yarn around your fingers, inserting the hook into the loop, yo, pull through. Secure the ring with a ch 2 (this does not count as a stitch).
- Round 1 (20 dc):
- Work 20 dc into the magic ring:
- Yo, insert hook into the ring, yo, pull up a loop (3 loops on hook), yo, pull through 2 loops, yo, pull through remaining 2 loops.
- Pull the starting yarn tail to close the magic ring tightly.
- Work 20 dc into the magic ring:
- Join Round 1:
- Insert the hook into the top of the first dc made, yo, pull through both loops to create a sl st.
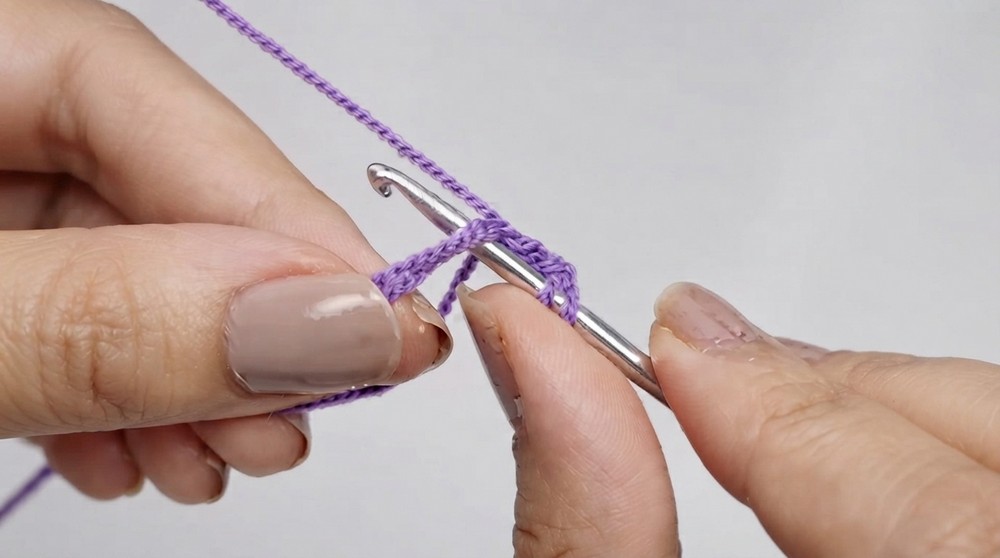
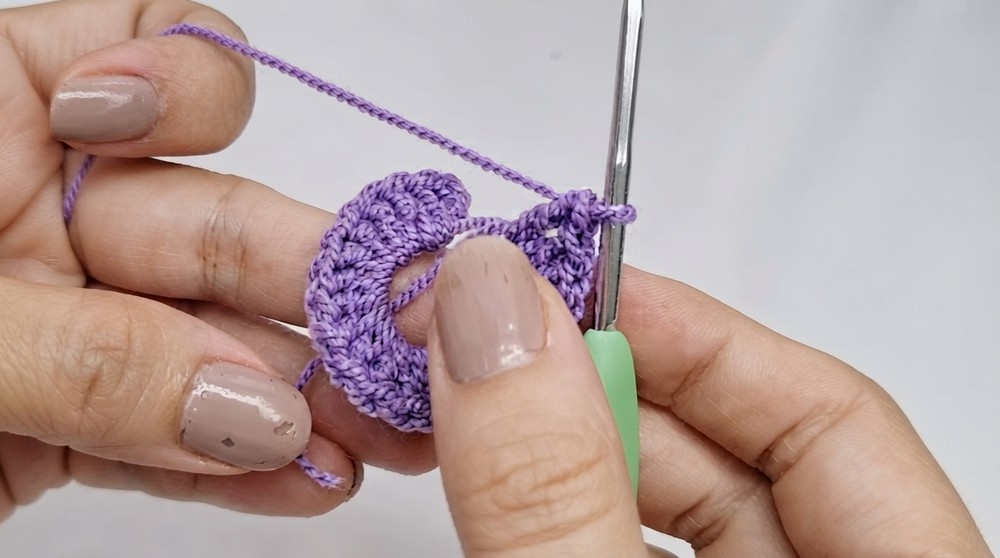
This forms the flat circular base of the coaster. If you’re new to the magic ring, you can use a chain-4 loop as an alternative to start your round.
Part 2: Building the Second Round
Round 2 (Increase Round):
- Start Round 2:
- Ch 3 (counts as the first dc).
- In the same stitch, work 1 dc.
- Pattern of Increases:
- Continue around, working 2 dc in each stitch from the previous round.
- Join Round 2:
- Once you’ve finished 40 dc (after increasing), join the round by inserting the hook at the top of the initial ch 3, yo, pull through to complete a sl st.
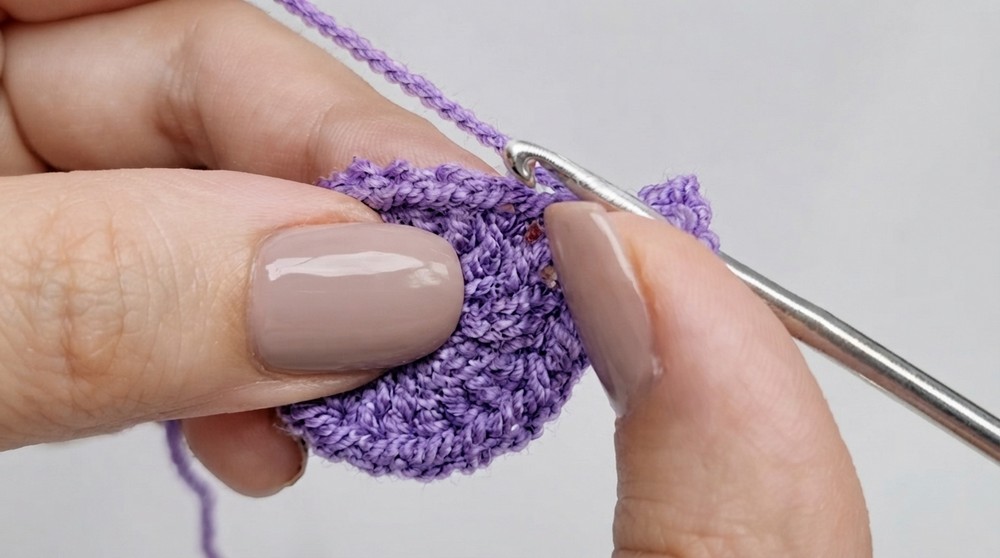
You’ve now doubled the size of your coaster, while maintaining its circular shape thanks to the consistent increases.
Part 3: Adding Decorative Texture
Round 3 (Forming Double Crochet Pairs with Chains):
- Start Round 3:
- Ch 3. Work 1 dc into the same stitch.
- Stitch Clusters:
- Ch 2, then into the next stitch, work 2 dc.
- Repeat this pattern: [2 dc, ch 2, 2 dc in the next hole] all the way around to create texture and spacing.
- Finish Round 3:
- Insert your hook into the top of the starting ch 3, and work a sl st to close the round.
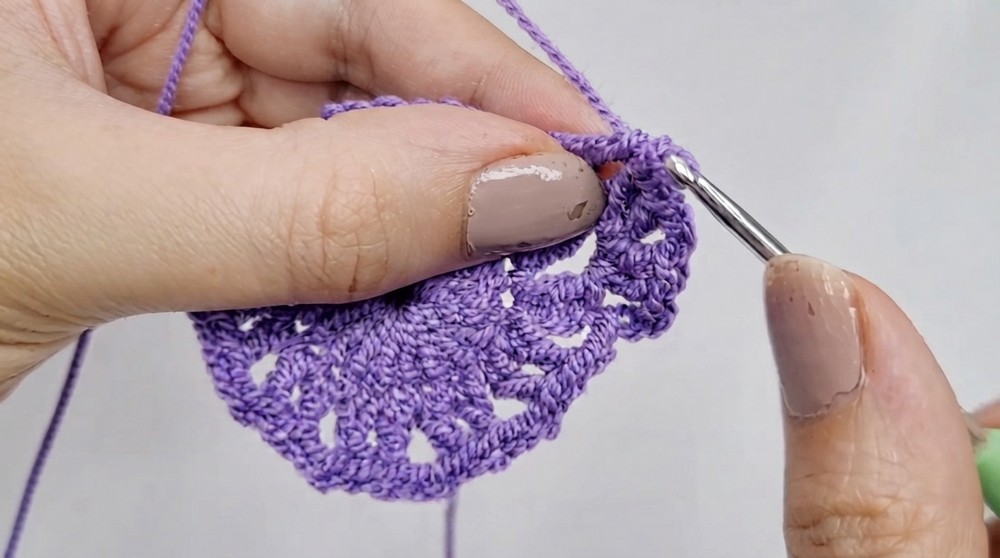
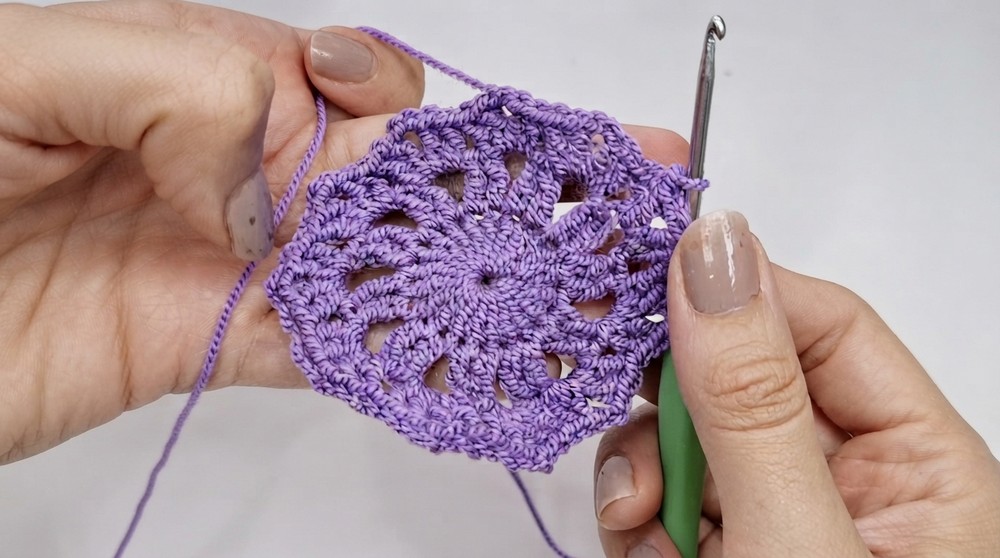
This step starts creating gaps between clusters, which give the coaster its subtle decorative look.
Part 4: Adding a Decorative Border (Optional)
Round 4 (Scallops):
- Start the Scallops:
- Ch 3, count three stitches ahead, and add 6 dc into the next hole. These 6 dc form one scalloped edge.
- Slip Stitch Between Scallops:
- After completing 6 dc, insert your hook into the next hole, work a sl st to secure the edge. This gives the scalloped shape.
- Repeat:
- Continue working 6 dc in each hole, followed by a sl st, until you reach the end of the round.
- Final Slip Stitch:
- At the end, insert your hook into the starting stitch, work a sl st, and secure the yarn.
- Fasten Off:
- Cut the yarn with scissors, tie it securely, and weave the loose ends into the back of the coaster.
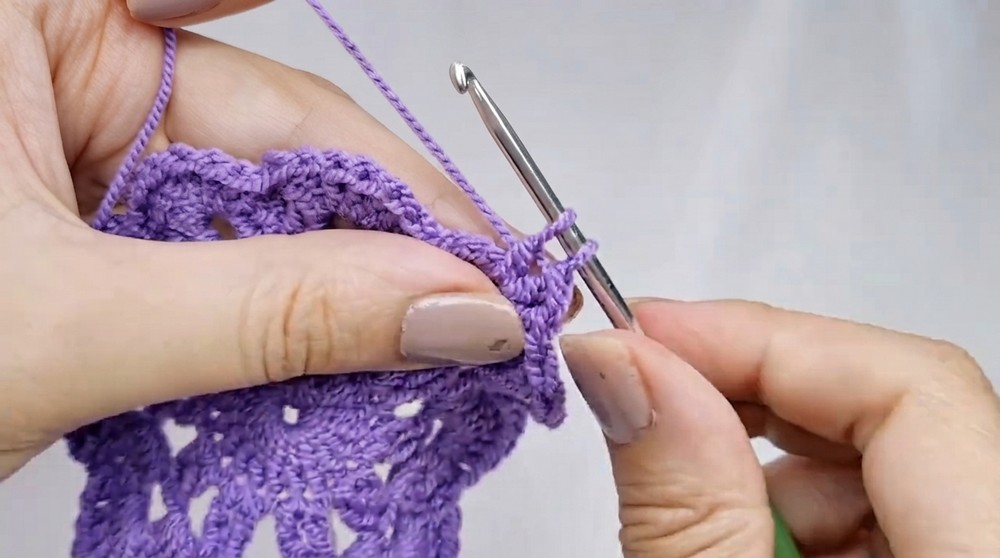
This optional scalloped border gives your coaster an elegant and refined appearance.
Assembly & Finishing
- Use a tapestry needle to hide any remaining yarn tails by weaving them into the back of your work. Trim any excess.
- To ensure your coaster lays flat, you can lightly steam block it if necessary.
Why I Love This Pattern
This coaster is not only functional but also aesthetically pleasing, thanks to its scalloped border and textured design. It’s a fantastic project for beginners learning circular crochet and for experienced crocheters looking for a quick, satisfying project.
Potential Difficulties & Solutions
1. Uneven Rounds:
- If your coaster appears wavy or bowl-shaped, ensure that your tension remains consistent and you’re not accidentally skipping stitches. Blocking the piece may help correct minor imperfections.
2. Issues with the Magic Ring:
- Some beginners may find the magic ring tricky. Replace it with a traditional chain loop (e.g., chain 4 and join to form a ring), and work your stitches into that instead.
3. Scalloped Edges Not Forming Properly:
- Double-check that you’re placing all 6 dc into the same stitch. Confirm the spacing between scallops by ensuring the slip stitches are secure within the correct gaps.
Final Thoughts
This simple crochet coaster pattern is a great skill-building project, introducing techniques like the magic ring, double crochet increases, and decorative edging. It’s customizable, allowing you to experiment with colors, borders, and yarn types to fit any occasion or style. Handmade coasters are timeless and can elevate your home decor or make memorable gifts.