
Wonderful & Simple Crochet Bow Pattern for Handmade Decor
Unlock the secret to stylish accessories with this Free Crochet Bow Pattern for quick, charming results in any project.
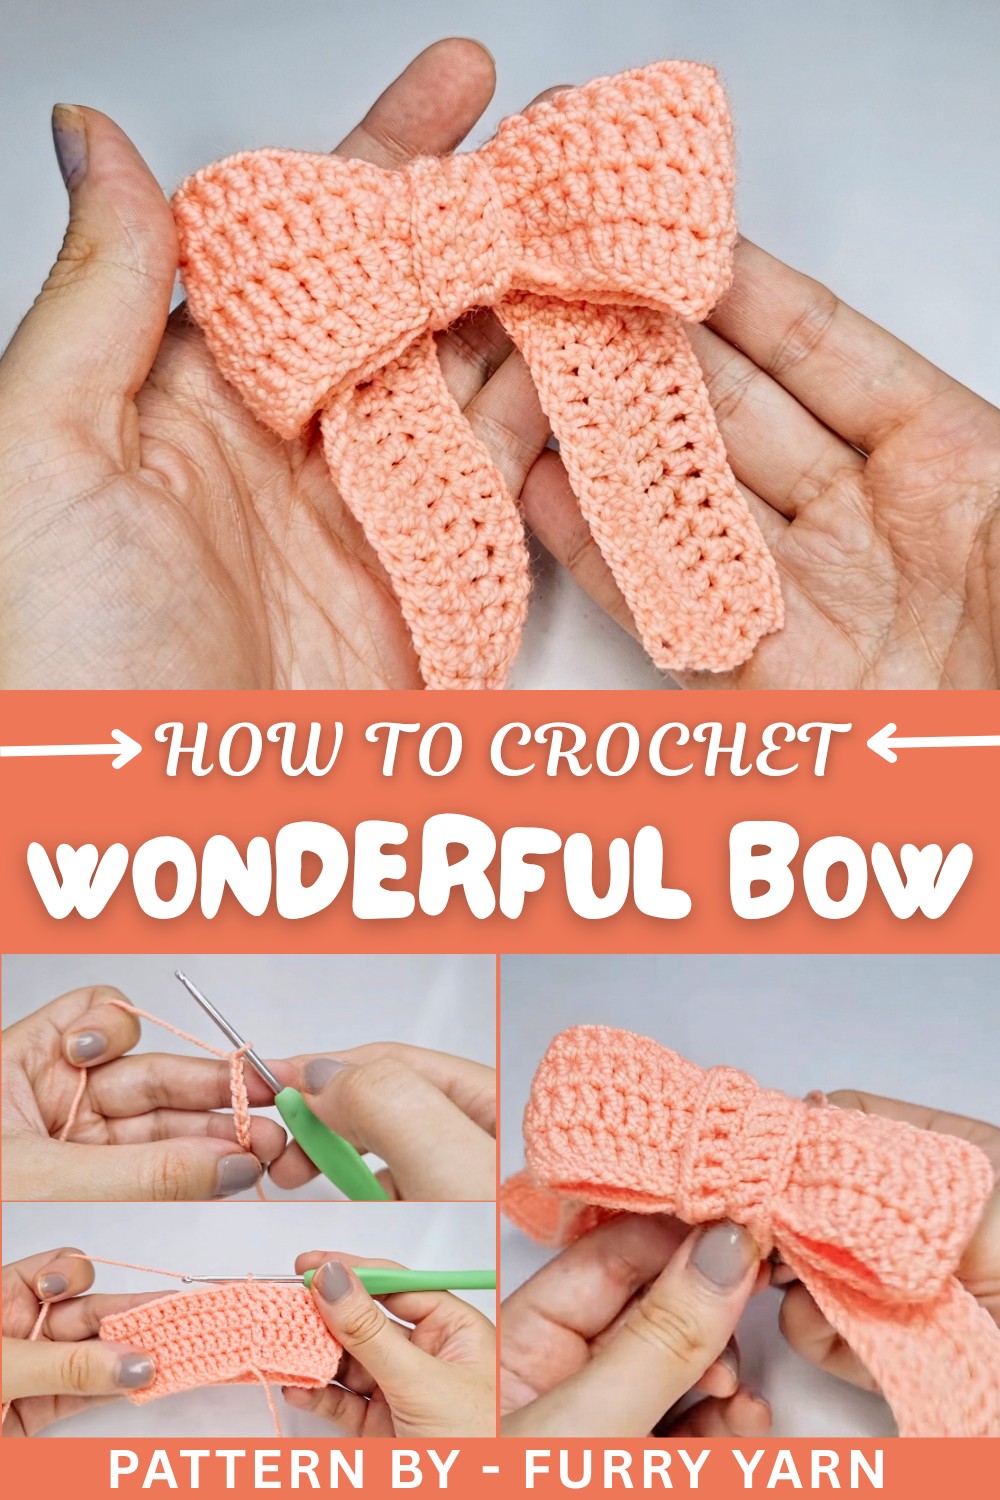
Crocheting can turn simple yarn into charming little treasures, and learning to make a beautiful bow. The beauty of this project lies in its simplicity and versatility. With just a few basic crochet stitches, mainly the double crochet stitch, you can create a soft, textured bow that looks elegant and feels light. This bow pattern can brighten up your hats, scarves, or hair accessories instantly. It also makes a thoughtful handmade gift decoration that’s much more special than store-bought ribbons. What’s great about this pattern is how beginner-friendly it is: starting with a slip knot, then making chains, and working rows of double crochets all clearly explained step-by-step.
Best Crochet Bow Pattern In Easy Steps for Charming Creations
For a clear and friendly guide on crocheting this charming bow, the Furry Yarn Channel is an amazing resource. Their video tutorial leads you through every stitch, teaching how to pull the yarn, chain, work double crochets, and tie it all together into a perfect bow. The easy explanations and encouraging tone make it ideal for beginners or those just looking for a relaxing, creative project.
What Else Can You Make from This Pattern?
The stitches and techniques in this bow pattern open the door to many other fun crochet projects. You could try making small flowers, cute headbands, or multiple bows for decorative garlands. Adjusting the size allows you to create bows for baby clothes or toys. By playing with colors and yarn types, this simple pattern becomes a foundation for a variety of charming accessories waiting for your personal touch.
Crochet Bow Pattern
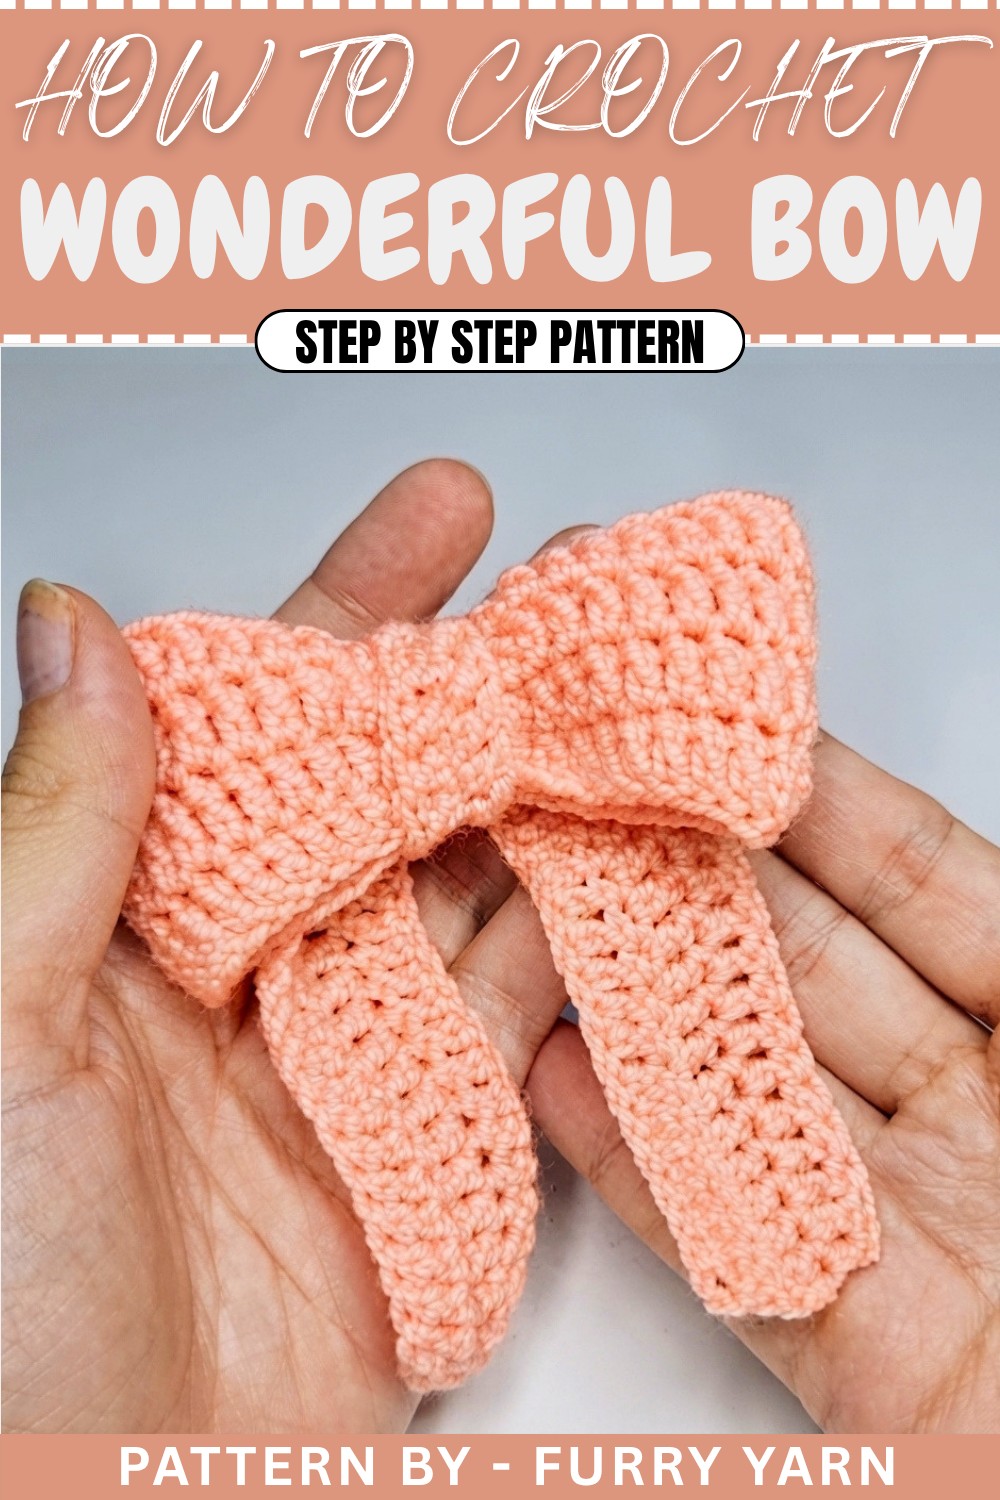
Crochet bows are versatile and adorable! You can use them to accessorize headbands, hair ties, hats, bags, or even gift wrapping. This simple yet beautiful pattern is perfect for beginners, and once completed, you'll have a cute bow ready to embellish your projects.
Skill Level & Terminology
- Skill Level: Beginner.
- Terminology: This pattern uses US crochet terms.
Materials & Tools
- Yarn: Any medium-weight (worsted) yarn. Choose a soft, vibrant color for best results.
- Crochet Hook: Size H/5.0 mm or size compatible with your chosen yarn.
- Scissors: To cut the yarn at the end of sections.
- Tapestry Needle: To weave in ends neatly.
- Optional: Tape measure (to check gauge if desired).
Gauge
While gauge isn't crucial for this project, as bows are flexible in size, here’s a general guide if you wish to follow:
- 4 stitches x 2 rows of double crochet = 1 inch x 1 inch
Abbreviations List
Here’s what to interpret in this pattern:
- ch: Chain
- sl st: Slip Stitch
- dc: Double Crochet
- yo: Yarn Over
Special Stitch Instructions
No unique stitches are used in this pattern. You’ll only be working chains, slip stitches, and double crochet stitches.
Finished Size
- Approximately 4 inches wide and 2 inches tall, depending on yarn and hook size.
What You'll Learn
This project will teach you how to:
- Make a slip knot and work foundation chains.
- Crochet double crochet stitches evenly across rows.
- Fasten off and weave in ends.
- Assemble the bow to achieve its final shape.
This pattern is beginner-friendly and helps build foundational crochet skills, making it enjoyable and rewarding!
Step-By-Step Crochet Bow Pattern
Part One: Create the Main Bow Rectangle
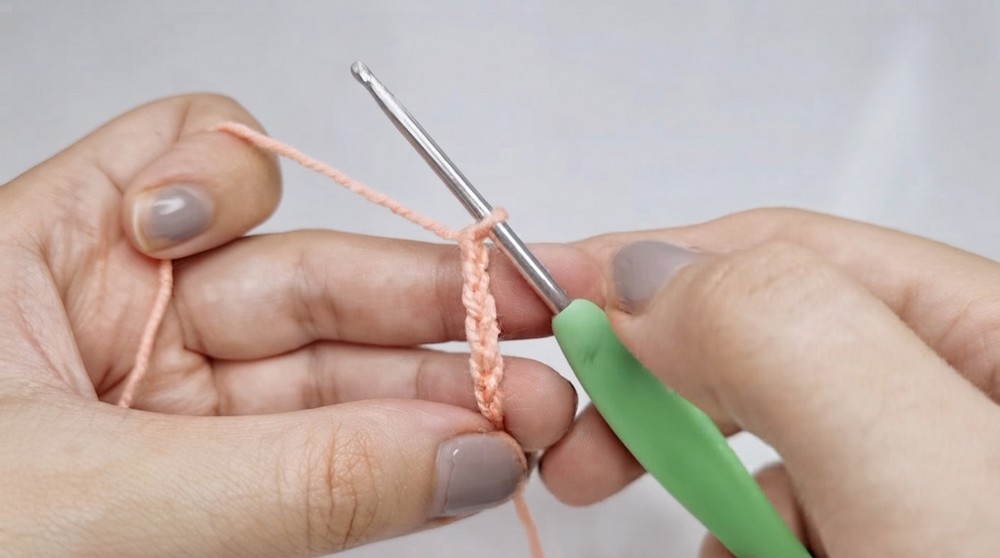
- Slip Knot:
- Make a slip knot: Wrap the yarn around your finger, insert the hook, yo, and pull through. Tighten the yarn to secure.
(For those unfamiliar with the steps: Create a loop with your yarn, insert the hook into the loop, and gently pull on the long side of the yarn to tighten it.)***
- Foundation Chain:
- Ch 40.
- Tip: Keep your chains loose to make it easier for your hook to work into them.
- Row 1:
- Turn your work. Insert your hook into the first chain. Yo, pull through the chain, yo again, pull through two loops, yo, pull through the last two loops. This is your first dc.
- Continue working one dc in each chain across. You should have 40 dc at the end of Row 1.
- Rows 2–4:
- Ch 2. Turn your work. Work one dc in each stitch across (40 dc). Repeat until you complete 4 rows in total.
- Finishing This Section:
- Once you’ve finished Row 4, ch 1, leaving a long tail for sewing later. Tie and secure the yarn, then cut it with scissors.
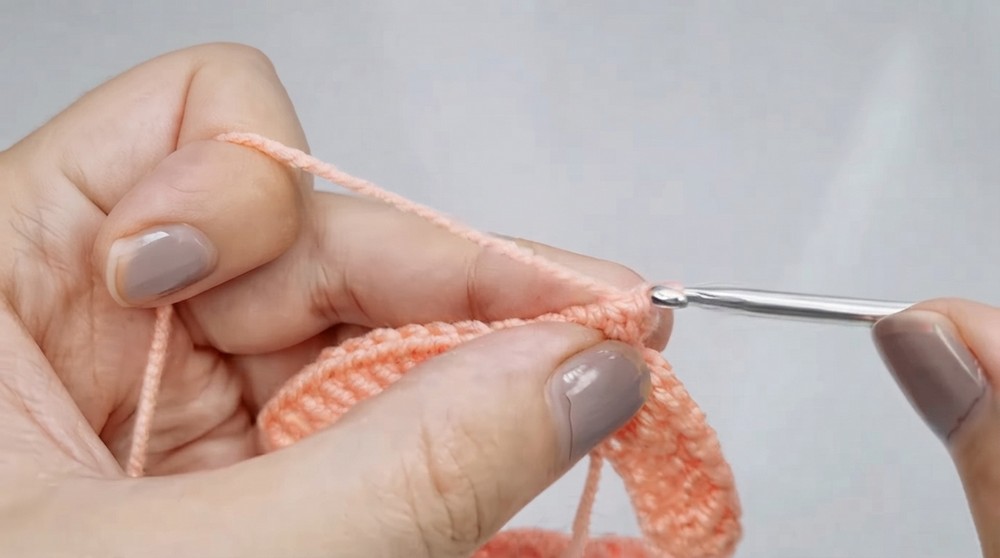
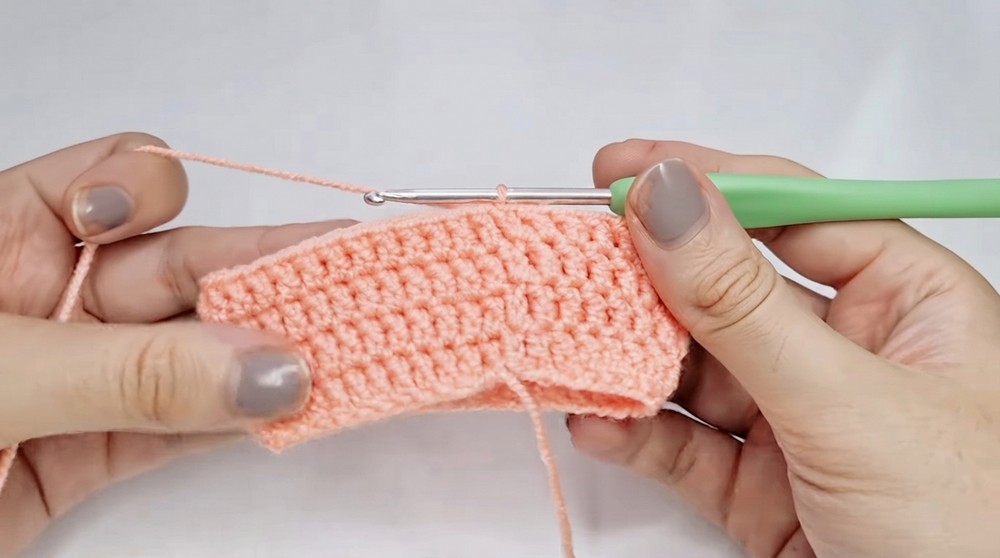
Beginners: If the rectangle seems uneven, take a break and double-check each stitch count. A consistent number of rows and stitches will make your bow symmetrical.
Part Two: Create the Bow Center (Small Wrap)
- Slip Knot & Foundation Chain:
- Make another slip knot and then ch 14.
- Row 1:
- Skip the first two chains and begin working dc in the 3rd chain.
- Work one dc in each chain across.
- Rows 2–3:
- Ch 2, turn your work. Work one dc in each stitch from the row below. (12 dc per row).
- Finishing This Section:
- After completing Row 3, ch 1, leave a long tail, tie off the yarn, and cut it.
New crocheters: If your smaller piece is curling, no need to worry! It will smoothen out when wrapped tightly around the bow later on.
Assembly & Finishing
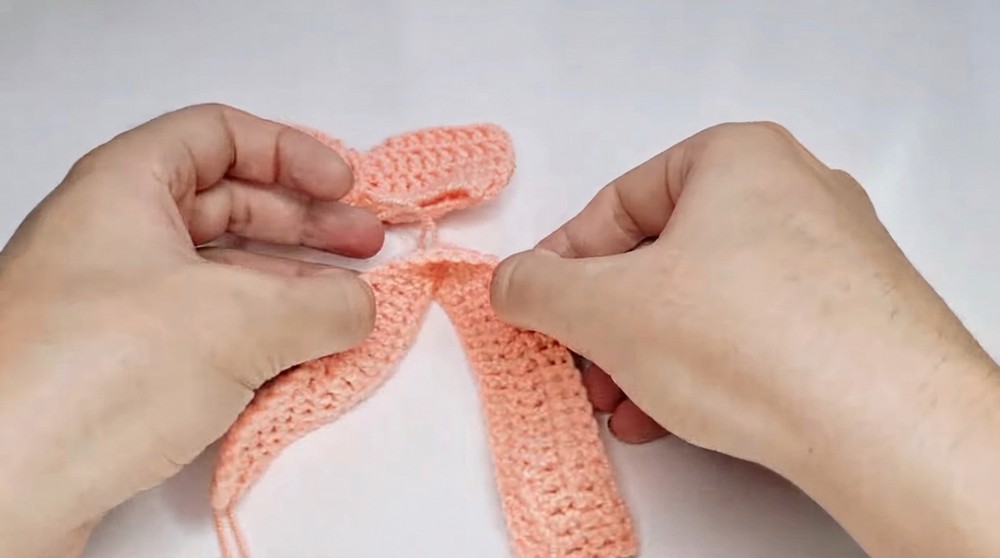
- Place the larger piece (the bow rectangle) horizontally and fold each end toward the center. This creates the "bow" shape.
- Lay the smaller piece (the center wrap) over the middle of the bow, securing the folds in place.
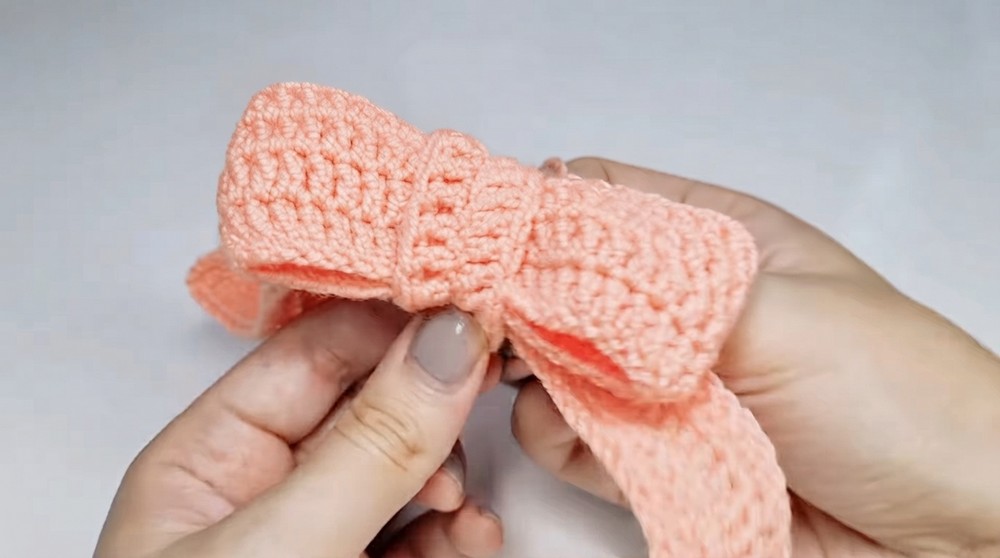
- Using the long yarn tail from the smaller piece, wrap it around the center of the bow tightly several times. This step defines the bow’s shape.
- Tie a knot at the back to secure the yarn in place.
- Optional: Use a tapestry needle to weave in any loose ends for a neater finish.
Why I Love This Pattern
What I love about this pattern is its simplicity and versatility. With just a few basic crochet skills, you can create an accessory that’s both cute and functional. It’s a beginner-friendly project that’s perfect for learning or teaching others how to crochet foundational stitches. Plus, you can easily adjust the size for bigger or smaller bows!
Potential Difficulties & Solutions
- Trouble maintaining straight edges:
- Always count your stitches at the end of each row. Missing stitches or adding extra stitches often leads to uneven shapes.
- Loose or tight stitches affecting size/shape:
- Keep your tension consistent. Practice holding the yarn gently but firmly, as this impacts individual stitch size.
- Center piece sliding out of place:
- Wrap the center tightly and consider securing it with a few hidden stitches using a needle and yarn for extra stability.
Final Thoughts
This bow crochet pattern is an ideal project for beginners who want to explore simple yet functional techniques. Whether you're crocheting for a gift, accessory, or decoration, this adorable bow is the perfect handmade touch! Don’t forget to experiment with different yarn colors and textures to create unique variations.