
Easy Crochet Little Flag Earrings Pattern for Everyday Cheer
Revolutionize your look effortlessly with the Free Crochet Little Flag Earrings Pattern for bold earrings that capture attention.
Making something small and colorful with your hands can bring so much joy, and these little flag earrings are a perfect example. Crocheted with simple stitches, these earrings catch the eye with their charming shape, reminding many of festive celebrations. Using single crochet stitches throughout the piece, this pattern focuses on simplicity while achieving a neat and sturdy finish, ideal for beginners and anyone looking to whip up a quick project. They’re lightweight, fun to wear, and great for adding a splash of personality to your style, especially during special occasions like festivals.
Stylish Crochet Little Flag Earrings Pattern for Unique Accessorizing
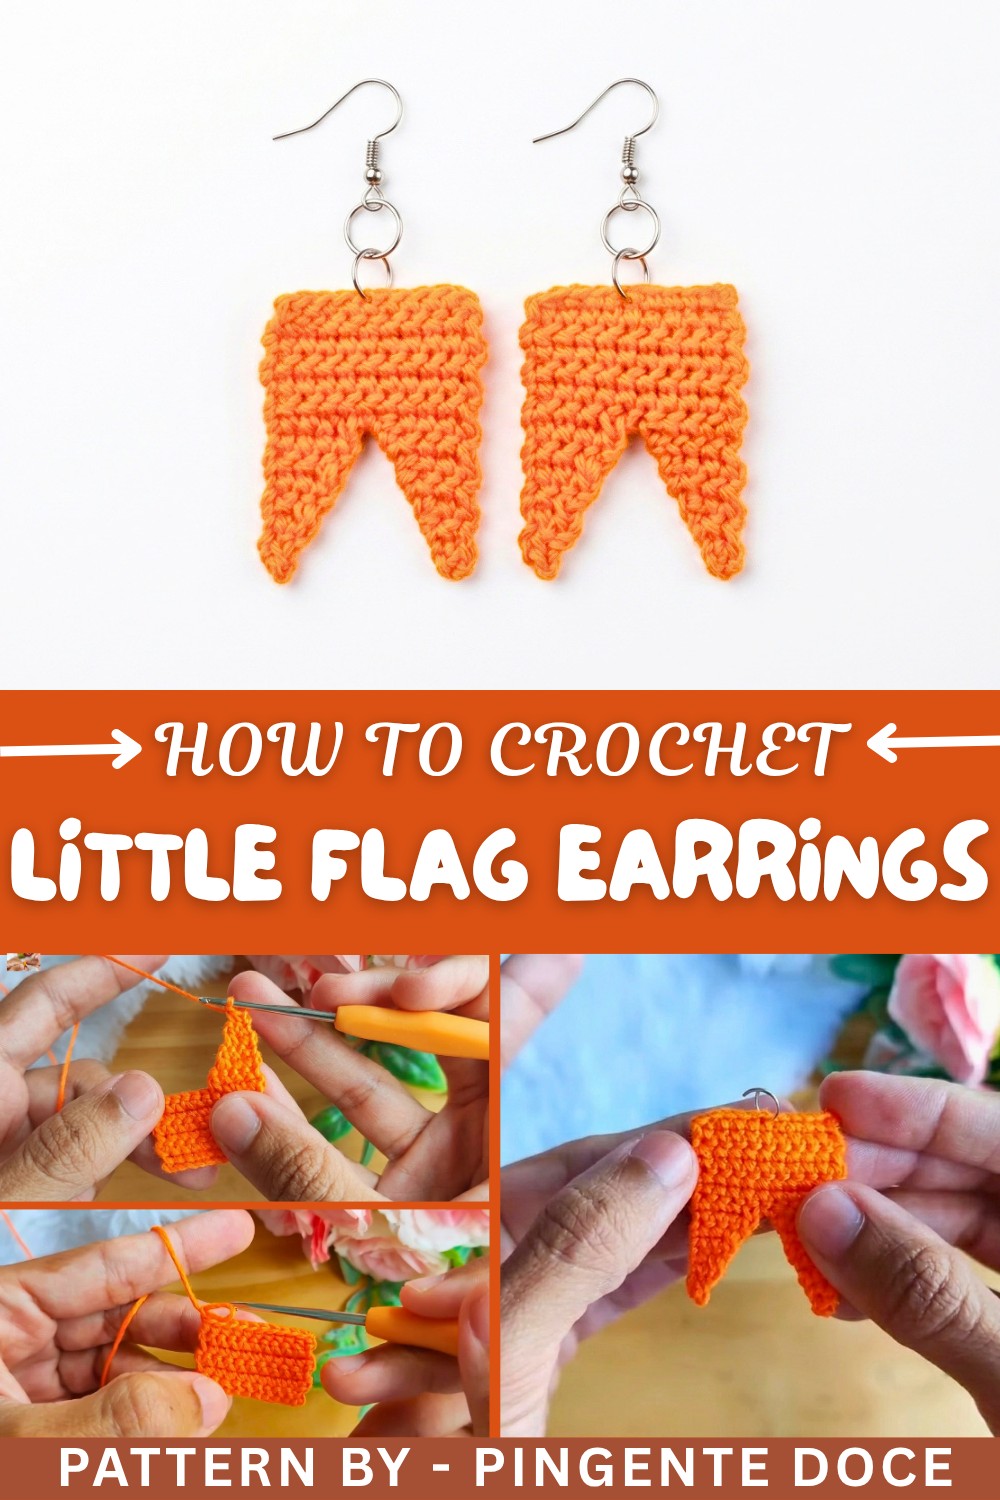
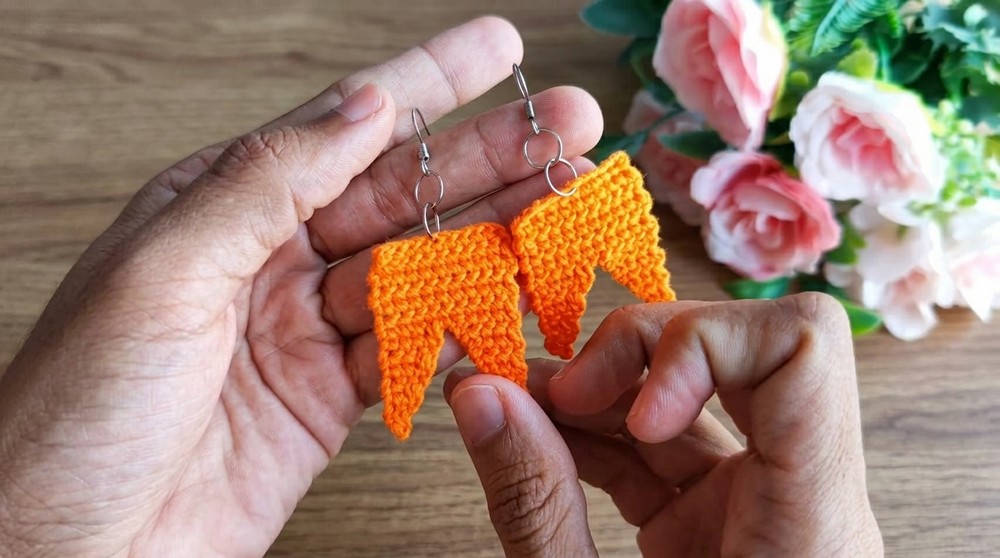
The process begins with a slip knot followed by a chain of 11 stitches. Then, single crochet stitches are worked into each chain, building up rows with careful increases and decreases to create the little flag shape. The piece grows with six rows of single crochets, and shaping techniques like decreases made by pulling loops together add dimension and interest. After creating two identical sides, they are finished securely with fabric glue applied using a small brush, which helps the earrings hold their shape without stiffness. Finally, small rings and earring hooks are attached to complete these delightful accessories.
Creative Uses Beyond Earrings
This simple pattern can be adapted into many other creative projects. Try making small flags to use as keychains or zipper pulls for bags. Combine several flags to create a festive garland or use them as playful appliques on clothes and hats. Changing yarn colors or sizes lets you customize these for different celebrations or personal styles. The easy-to-follow nature of the stitches makes this pattern a great starting point for many crafty ideas.
Crochet Flag Earrings Pattern
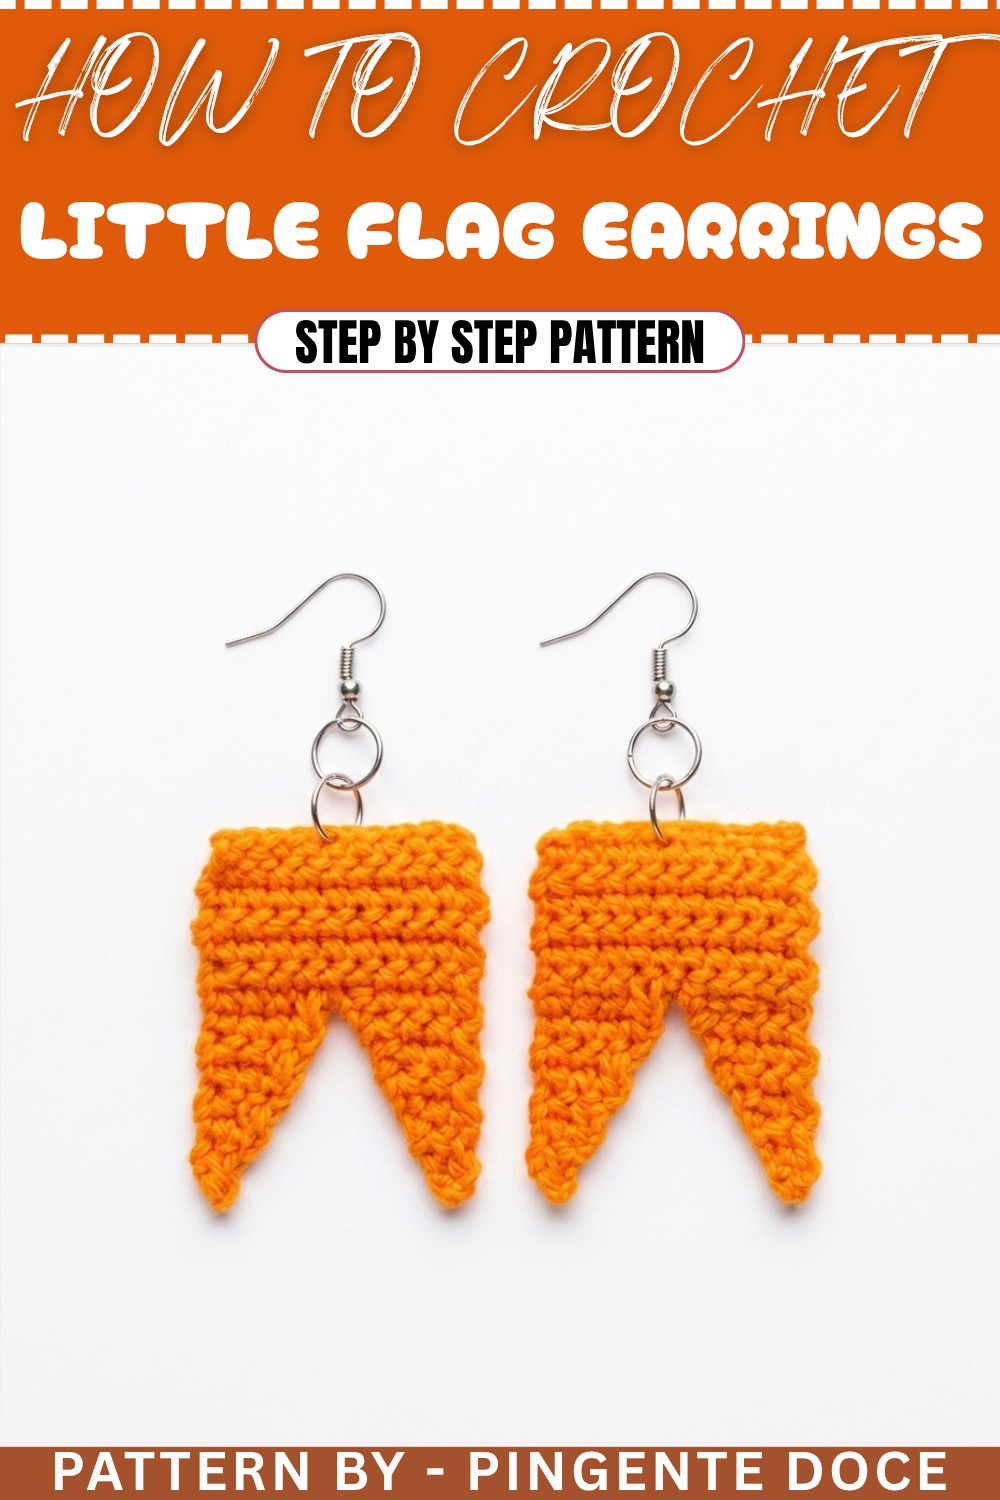
These flag-inspired crochet earrings are perfect for celebrating traditional festivals like São João or simply for adding a playful touch to your outfit. The design is simple yet elegant, making it ideal for beginners who want to experiment with single crochet stitches and shaping techniques. Using lightweight embroidery floss and basic materials, these earrings can be made quickly and customized to match any occasion. Whether you’re creating them for yourself or as a thoughtful handmade gift, this project allows for creativity and versatility in color and design.
Skill Level & Terminology
- Skill Level: Beginner: This project uses basic crochet stitches, such as chains, single crochets, slip stitches, and simple decreases. It’s a great starter project to practice working evenly and shaping pieces.
- Terminology: This pattern uses US Crochet Terms:
- Single Crochet (Sc): A compact stitch used throughout the piece for structure.
- Chain (Ch): Basic stitch forming loops to start rows.
- Slip Stitch (Sl st): Used for joining or finishing sections.
- Decrease: A technique used to reduce the number of stitches for shaping.
Materials & Tools
- Thread:
- Embroidery floss in two or three colors of your choice (e.g., red, white, and blue for a flag-inspired look).
- Hook: 1.75 mm crochet hook.
- Scissors: To trim loose ends.
- Tapestry Needle: For weaving in loose threads and finishing.
- Fabric Glue (optional): Mixed with water for stiffening the piece.
- Small Brush: For glue application.
- Earring Hardware: Hooks and hoops for completing the design.
Gauge
Gauge is not crucial for this pattern, as the size can be customized. The finished flag earring measures approximately 1.5 inches tall and 1 inch wide when following the pattern.
Abbreviations List
| Abbreviation | Meaning |
|---|---|
| Sc | Single Crochet |
| Ch | Chain |
| Sl st | Slip Stitch |
| Dec | Decrease (pulling loops together to reduce stitches) |
Special Stitch Instructions
Decrease (Dec):
- Insert the hook into the next stitch and pull up a loop.
- Insert the hook into the following stitch and pull up another loop.
- Yarn over and pull through all the loops on the hook.
This stitch forms a clean reduction for shaping.
What You’ll Learn & Why You’ll Love This Pattern
What You'll Learn:
- How to create small, symmetrical crochet pieces with consistent stitch counts.
- Techniques to shape crochet pieces using simple decreases.
- How to stiffen, finish, and assemble crocheted items into jewelry.
Why You’ll Love It:
This pattern is quick, fun, and suitable for beginners. It allows for easy customization, whether you’re experimenting with color combinations or adding accessories. The lightweight embroidery floss keeps the earrings comfortable for everyday use while giving a polished, handcrafted look. It’s a great skill-builder and a creative way to celebrate special occasions with handmade jewelry.
Finished Size
The completed earring measures approximately 1.5 inches in height and 1 inch in width, excluding the hoop and earring hook.
The Pattern Itself
Part 1: Starting the Base
Foundation Row:
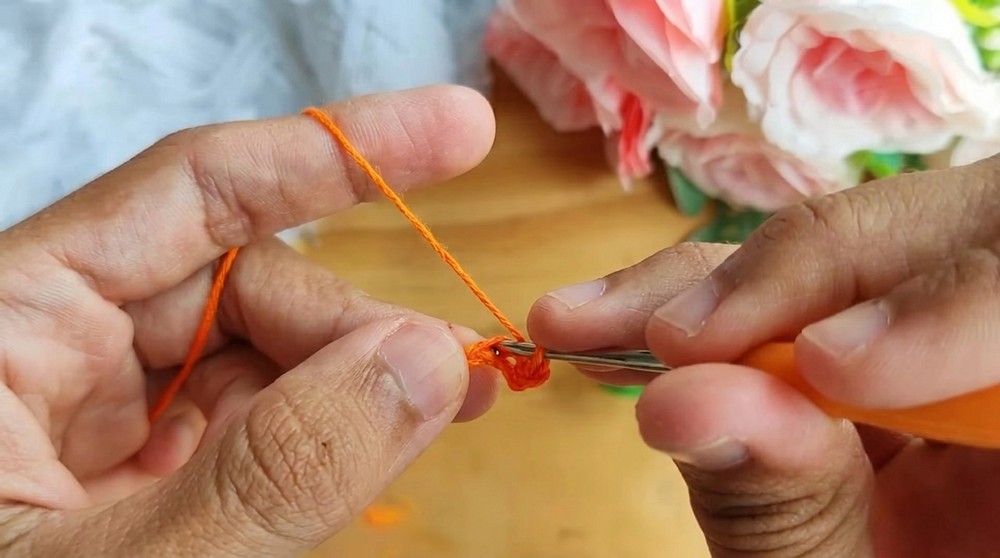
- Make a Slip Knot and chain 11 (Ch 11).
Row 1:
- Skip the first chain and work 1 Single Crochet (Sc) in the second chain.
- Continue making 1 Sc into each chain across the row (10 stitches total).
Part 2: Building the Rectangle
Rows 2–6:
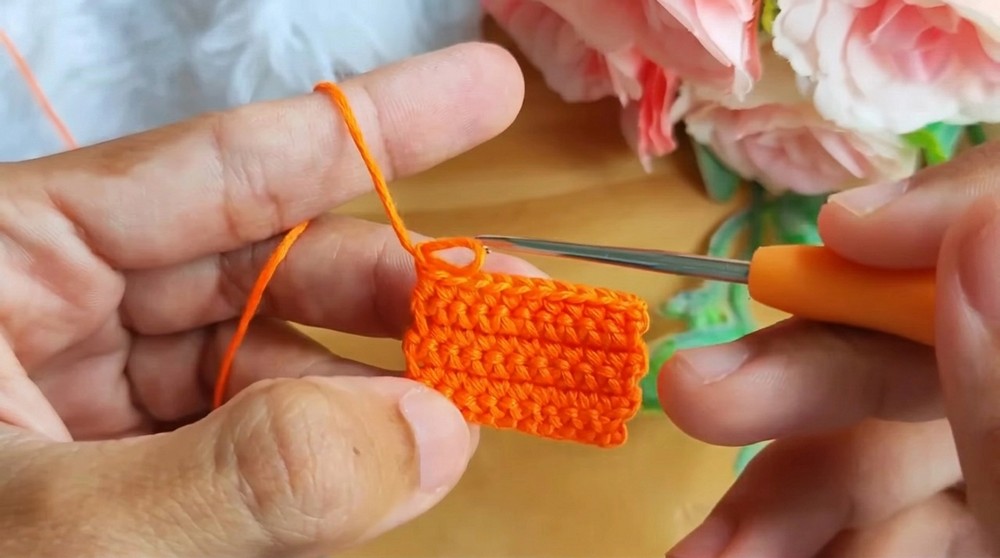
- Ch 1, turn the piece, and work 1 Sc into each stitch across (10 stitches per row).
- Repeat for 6 rows total.
Tip: At this stage, you should have a small rectangular foundation measuring approximately 1 inch wide and slightly longer than 1 inch tall.
Part 3: Shaping the Flag Edge
Row 7 (First Decrease Row):
- Ch 1, turn, and make 3 Sc (1 Sc in each stitch).
- Work 1 Decrease (Dec) over the next 2 stitches.
- Insert your hook into the next stitch, pull up a loop, and repeat in the following stitch. Yarn over and pull through all loops.
- Ch 1, turn, and proceed to the next row.
Tip: This row shapes the smaller edge of the flag while maintaining stability.
Row 8:
- Work 4 Sc evenly across the base stitches.
Row 9 (Second Decrease Row):
- Ch 1, turn, and make 2 Sc in the base stitches.
- Work another Dec across the last 2 stitches.
Row 10:
- Work 3 Sc evenly.
Row 11 (Final Decrease Row):
- Ch 1, turn, and work 1 Sc.
- Finish the row with 1 Decrease across the final stitches.
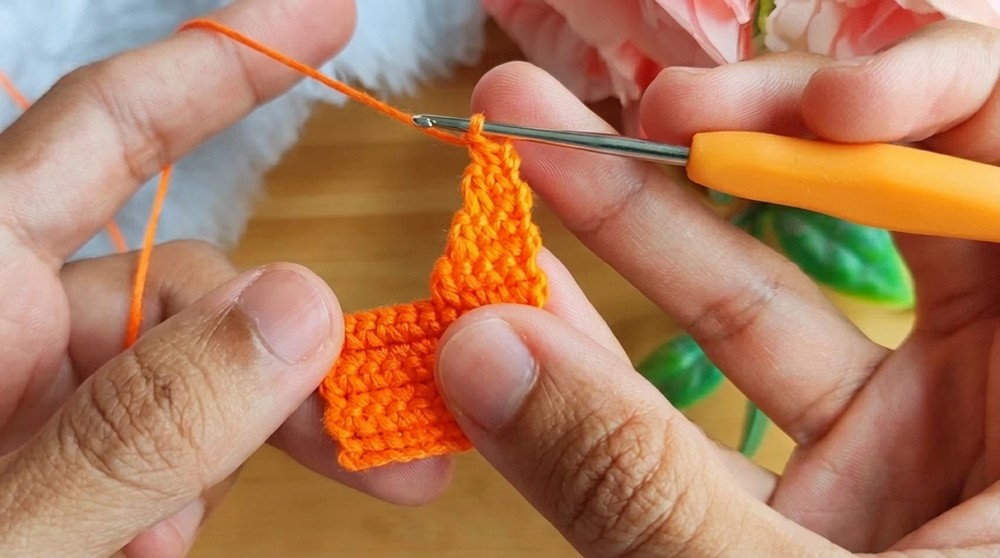
Cut the thread, leaving a tail for finishing.
Part 4: Completing the Second Side
Repeat Part 3 on the unused side of the rectangle to create an identical flag shape.
Assembly & Finishing
- Stiffen the Piece:
- Mix fabric glue with a small amount of water and apply gently to one side of the piece using a small brush.
- Let it dry completely before moving on to attaching hardware.
- Add Hardware:
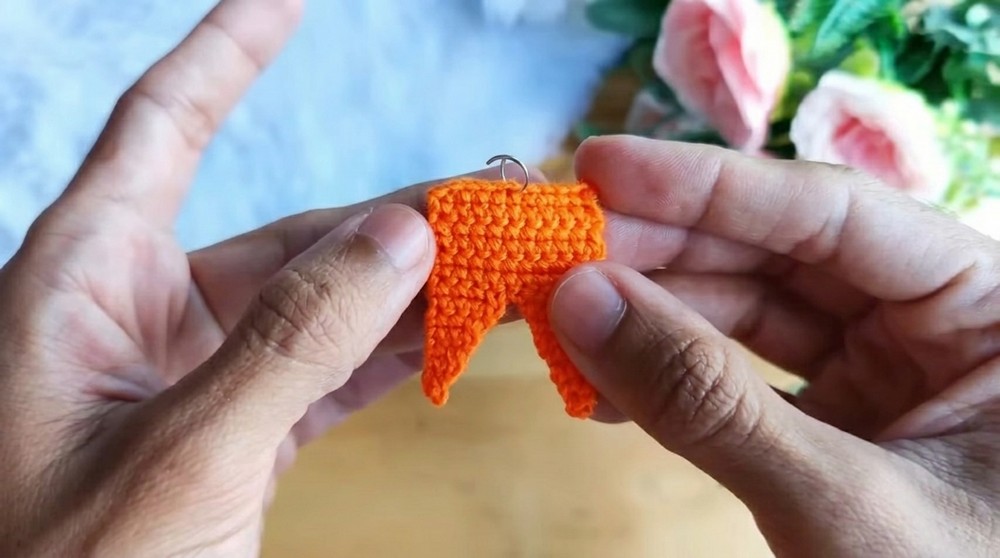
- Insert a small hoop at the top center of the flag piece, threading it carefully to secure the earring.
- Add a second hoop to the first and attach the earring hook to complete the jewelry.
Difficulties & Solutions
Challenge: Stitches Flaring Unevenly
Solution: Maintain consistent tension throughout the row, especially while working decreases, which can distort the edges.
Challenge: Flag Losing Shape After Assembly
Solution: Use fabric glue or steam blocking to stiffen the flag and ensure it holds its form.
Final Thoughts
This crochet flag earring pattern is a lightweight and festive accessory that is both practical and fun. With its simple construction and ability to customize, it’s a perfect project for beginners eager to hone their skills or experienced crocheters looking for a quick crochet. The fact that it uses minimal materials and only takes a short time makes it perfect for creating batches for gifts, festivals, or holidays. Just add your creativity, and you’ll have a stunning handmade piece that reflects both your personality and love for crochet!