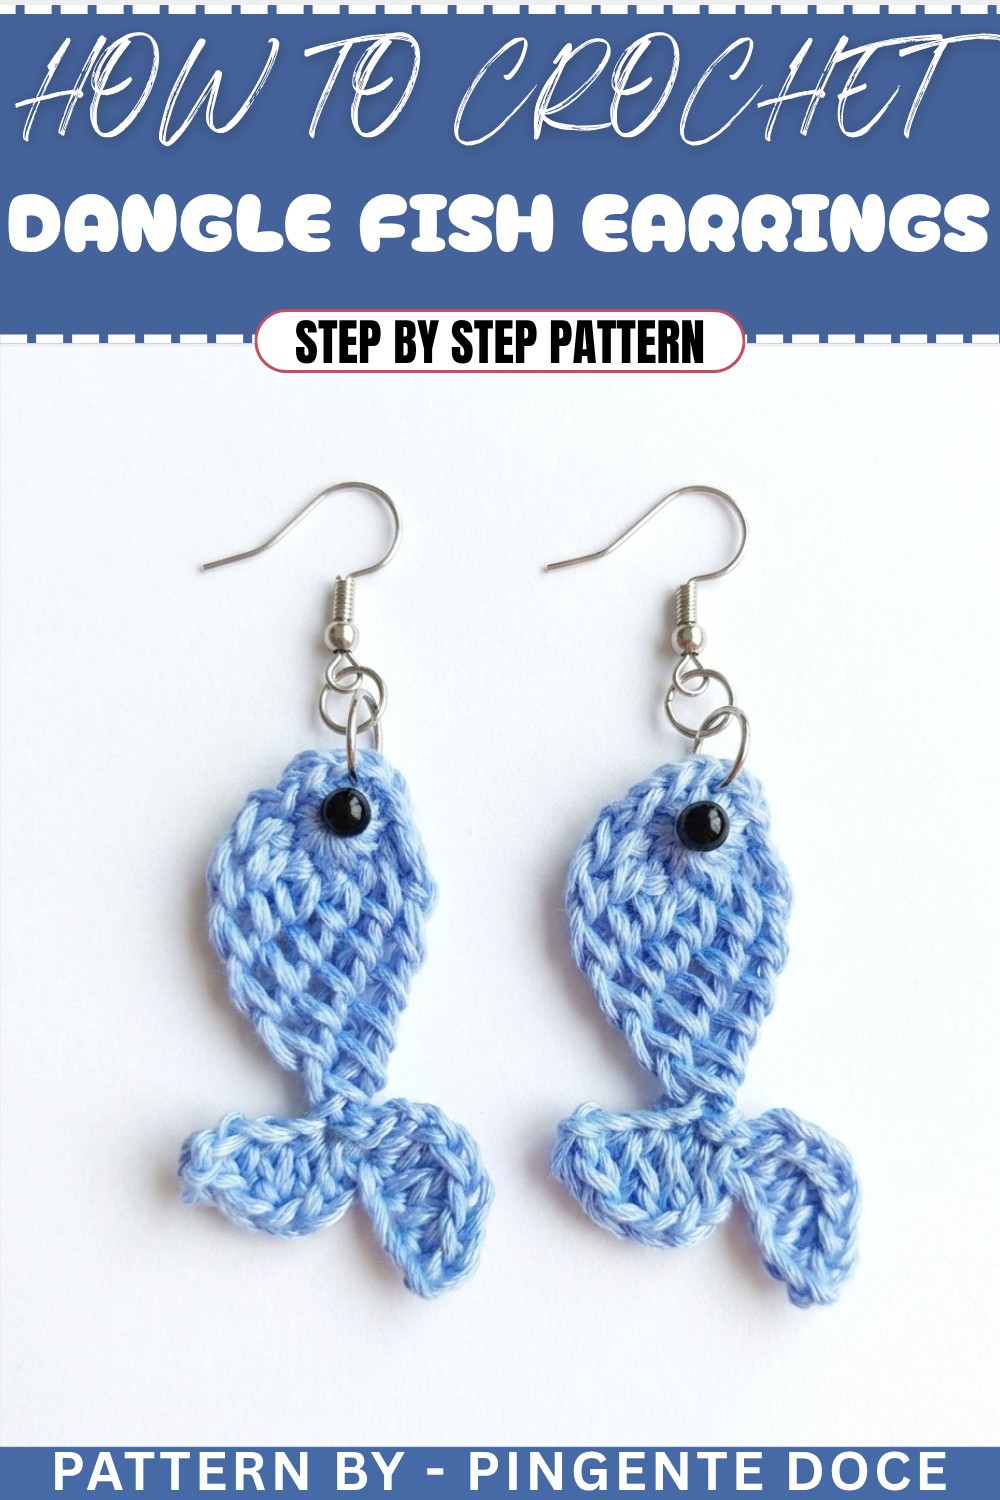
How to Crochet Dangle Fish Earrings Pattern For Nautical Charm
Shake up your accessories game using a free crochet dangle fish earring pattern for a vibrant, fun statement everyone will notice.
Bright and playful, these tiny fish earrings bring a splash of fun to any outfit. They are great for adding a touch of handmade charm, whether you're dressing up for a day out or gifting something special to a friend. The earrings get their unique texture from a simple but clever technique: single crochet stitches worked mainly in the back loops. This stitch gives the piece a neat, bumpy look that resembles fish scales and helps shape the design beautifully. Even beginners will find this stitch easy to follow, making it a perfect project to build confidence while creating something lovely and light to wear.
Quick Crochet Dangle Fish Earrings Pattern For Playful Fashion
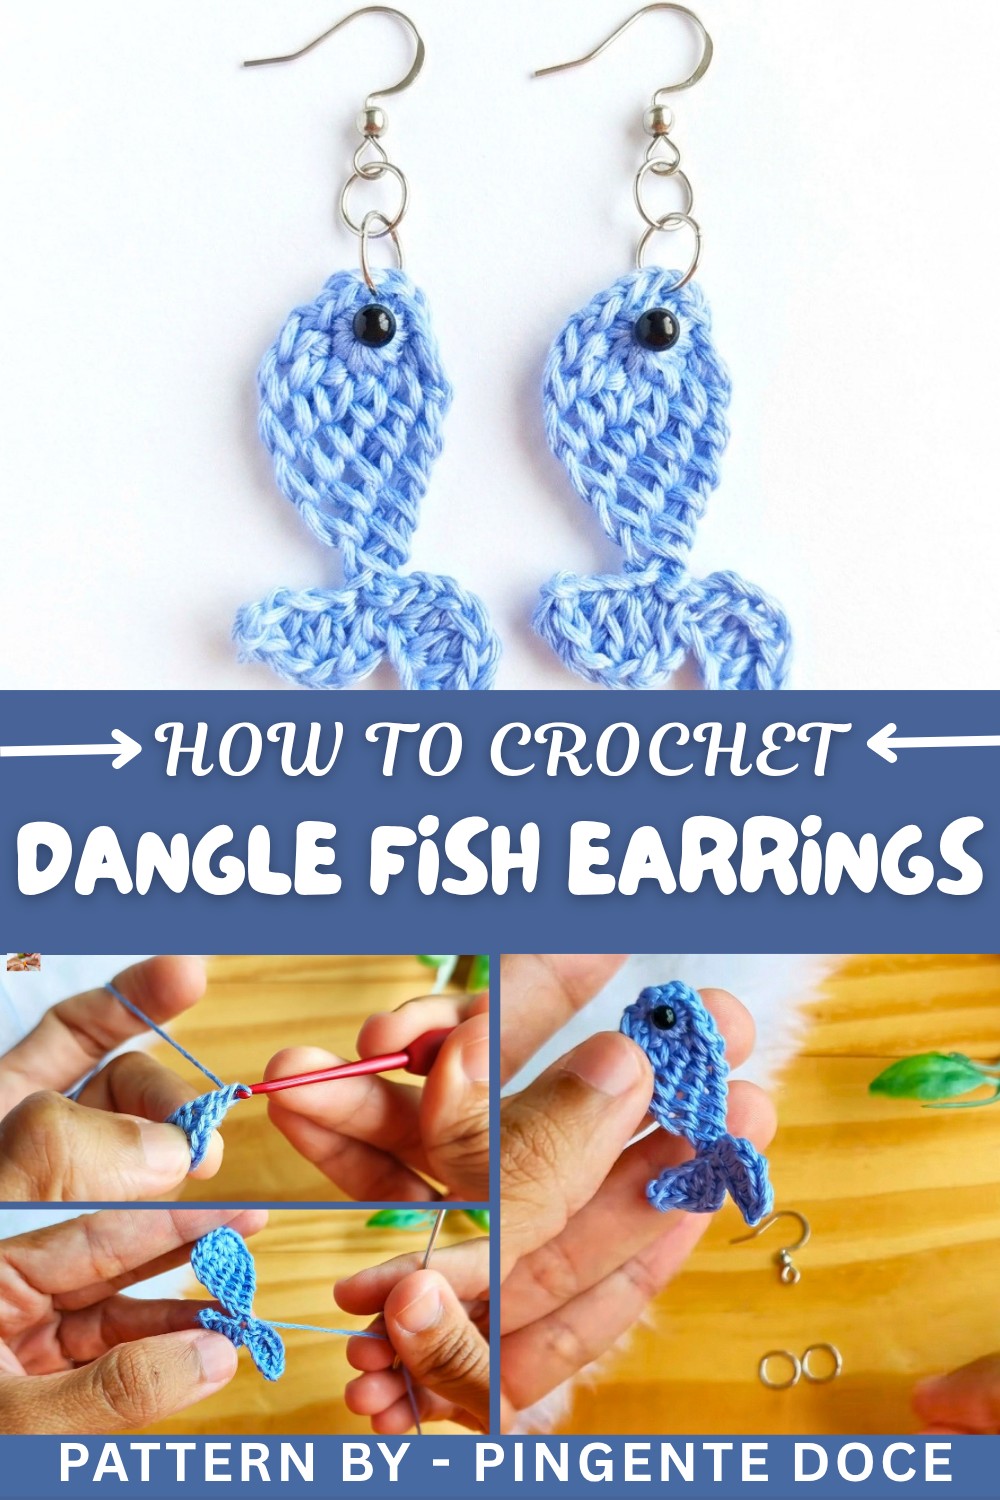
The pattern begins with a magic ring to form a tight, smooth center that makes the fish’s body sturdy yet flexible. By focusing on the back loops in each stitch, the pattern creates subtle ridges that resemble fish scales, lending a delicate texture. Chains and double crochet stitches extend into a softly flowing tail, giving movement and life to the design. Adding a small bead in the center adds a little sparkle, mimicking a fish eye. With just a few simple materials and beginner-friendly steps, you can finish this dazzling pair quickly and easily.
Other Fun Projects with This Fish Pattern
Using the same method, you can easily fashion other charming items such as fish keychains, brooches, or pendants to wear or gift. By changing colors or sizes, these motifs could also become cheerful decorations for bags or home spaces. The simplicity of this pattern allows plenty of room to experiment and add personal touches without extra complexity.
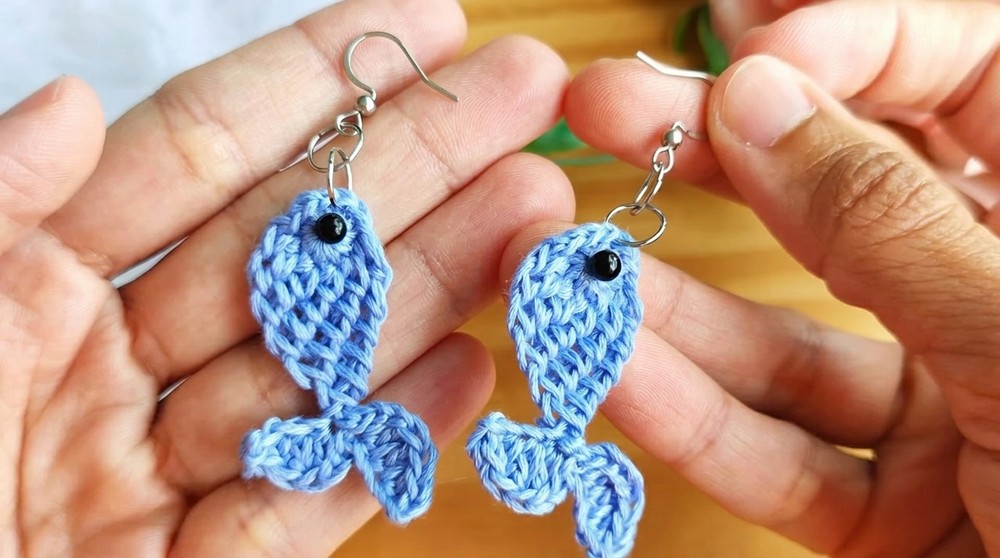
Crochet Pattern: Fish-Shaped Earrings
This tutorial walks you through crafting adorable crochet fish earrings, a unique and quick project that’s perfect for beginners or seasoned crocheters looking to create elegant accessories. These earrings are lightweight, customizable, and use minimal materials, making them ideal for gifting or selling as handmade souvenirs. Whether you're looking to explore jewelry-making or create playful accessories, this pattern will guide you step by step.
Uses of This Pattern
- Jewelry: Stylish and lightweight earrings for everyday wear or special occasions.
- Gift Idea: A heartfelt handmade creation for friends and family.
- Craft Sale Item: Quick and affordable to make, these earrings are perfect for craft markets.
Skill Level & Terminology
- Skill Level: Beginner. This project uses basic stitches, including single crochet, double crochet, slip stitch, and chains, making it accessible to new crocheters.
- Terminology: This pattern uses standard US crochet terms.
Materials & Tools
You will need the following:
- Yarn: Two colors(optional can use one color)—one for the main fish body (blue) and one for the fin (optional green). Choose soft cotton crochet thread or embroidery thread for lightweight earrings.
- Crochet Hook: 1.25 mm hook, or corresponding to your yarn.
- Tapestry Needle: For weaving in ends and finishing details.
- Scissors: To trim thread and yarn neatly.
- Earring Findings: Two earring hooks and hoops.
- Glue: Silicone glue (optional) for attaching pieces or stiffening the back.
- Bead: Small bead for embellishing the center.
Gauge
Gauge is not critical for this project since the piece is decorative. However, tight and even stitches will enhance the final look.
Abbreviations List
Here’s the key to understanding the abbreviations:
- ch: Chain stitch
- sc: Single Crochet
- dc: Double Crochet
- sl st: Slip Stitch
- MR: Magic Ring
Special Stitch Instructions
Magic Ring (MR):
Wrap the yarn around your fingers to create a ring. Insert the hook into the loop, yarn over, and pull through to secure. Work stitches directly into the ring.
Single Crochet (sc):
- Insert hook into the stitch.
- Yarn over, pull through the stitch (2 loops now on hook).
- Yarn over once more and pull through both loops.
Double Crochet (dc):
- Yarn over, insert hook into the stitch, yarn over and pull up a loop (3 loops on your hook).
- Yarn over, pull through the first two loops, yarn over, pull through the remaining two loops.
Finished Size
Each completed fish earring will measure approximately 2 inches long and 1 inch wide, making them lightweight and perfectly portable as accessories.
The Pattern
Step 1: Fish Body with Blue Yarn
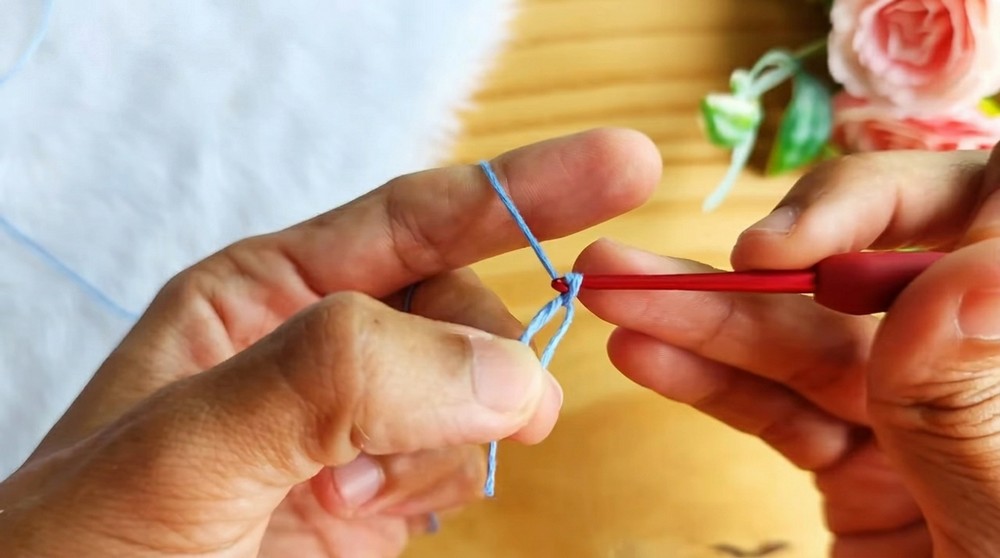
- Start with a Magic Ring (MR):
- Form the magic ring with blue yarn.
- Round 1:
- Work 10 single crochets (sc) into the magic ring.
- Tighten the ring by pulling the yarn tail. Join the round with a slip stitch (sl st) into the first stitch.
For Beginners: The magic ring method allows you to create a tightly closed circle for the start of the fish’s body. This step forms the base.
Step 2: Constructing the Body
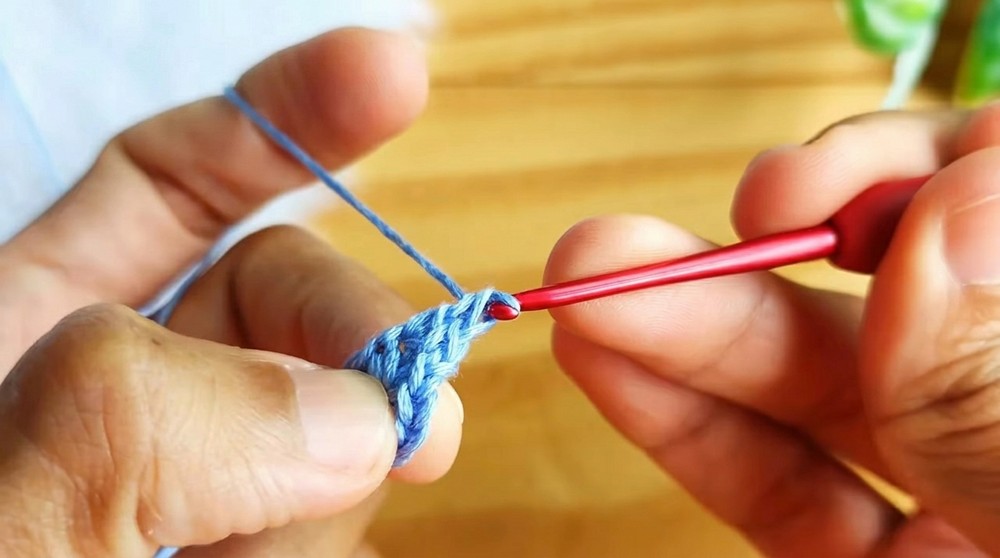
- Round 2:
- Ch 1 and work 1 sc into the first stitch.
- Turn the piece over and work into the back loop of the sc.
- Start Forming Depth:
- Insert your hook in the next back loop of the stitch, yarn over, and pull through.
- Yarn over, pull off two loops, and then yarn over again to pull off the last two loops.
- Continue Working in the Back Loops:
- Insert your hook into the remaining back loops, pick up the yarn, and repeat the process of pulling off two loops at a time.
- Work through the loops until no stitches remain, and turn the piece.
- Repeat the Process:
- Continue working back loops in this way, forming six total rounds.
For Beginners: Always work into the back loops to start creating textured ridges that mimic the scales of the fish. Turn the piece over after each round to maintain uniformity in your work.
Step 3: Adding the Tail with Green Yarn
- Attach Blue Yarn:
- Cut the Blue yarn, fasten off, and attach the green yarn. Form a slip knot and ch 5.
- Work the Tail Structure:
- Skip the first chain, and work 1 sc into the second chain.
- Yarn over and work 1 dc into each of the next 2 chains.
- Form the Tip of the Tail:
- Ch 2, sl st into the last stitch to form the pointy end of the tail.
- Repeat for Symmetry:
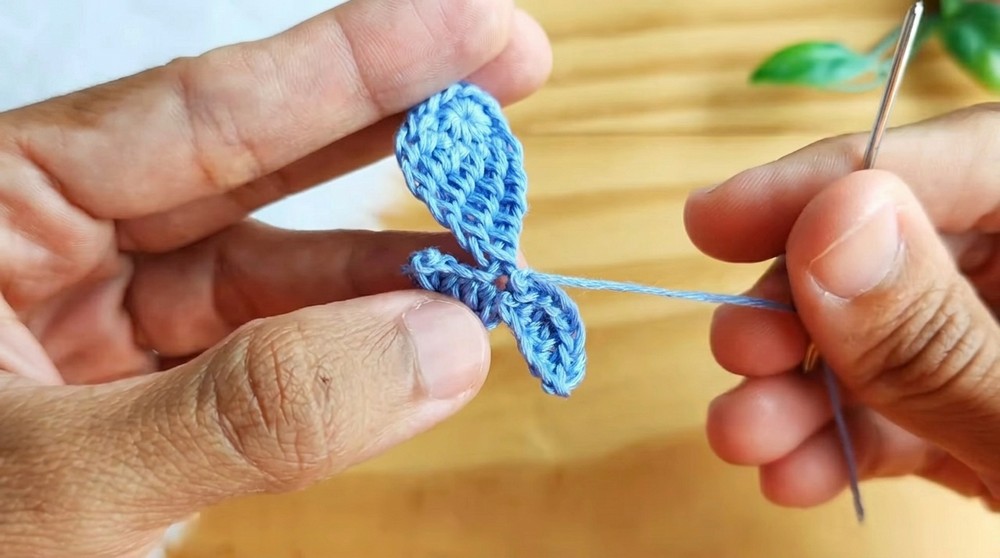
- Work 5 chains again to begin the second half of the tail, skipping the first chain.
- Repeat the same sequence: 1 sc, 2 dc, ch 2, sl st into the last stitch and attach the tail to the fish body using a sl st.
Tip: Adjust the tightness of your stitches on the tail to create a smooth and symmetrical finish. Attach the tail securely to prevent shifting.
Step 4: Shaping and Embellishing
- Cut Yarn and Finish Edges:
- Leave a small tail after the crochet and use a tapestry needle to neatly weave in and secure loose ends.
- Add Bead to the Center:
- Use the tapestry needle and remaining thread to sew a small bead into the center of the magic ring for an added touch of charm.
Creative Add-Ons: You can personalize your earrings with different color yarns, beads, or even small decorations near the tails for a customized look.
Step 5: Stiffening and Attachment
- Apply Glue:
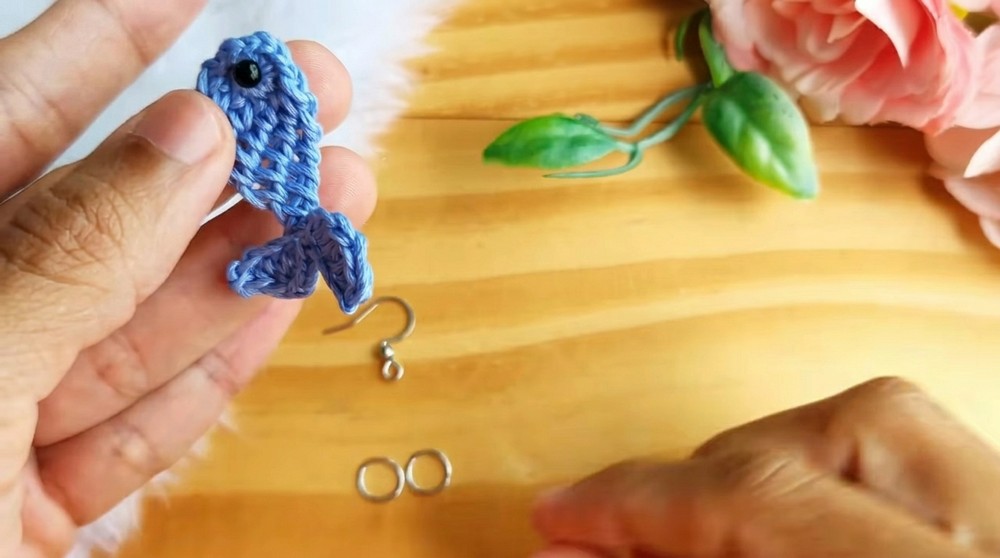
- To stabilize your fish and provide firmness, apply a thin layer of silicone glue or fabric glue mixed with water on the back of the piece. Let it dry completely before handling.
- Attach Hoops and Hooks:
- Using pliers and jump rings, insert one hoop through the top of the fish near the magic ring.
- Add a second hoop for length, and then attach the earring hook securely.
Tip: Proper placement of hoops enhances the dangling effect of the earring and ensures a polished appearance.
What You’ll Learn From This Pattern
- Magic Ring Technique: Learn how to create tightly closed centers for circular designs.
- Back Loop Crochet: Understand how working in the back loops creates texture and depth in projects.
- Assembly Skills: Discover how to add jewelry findings and create wearable crochet art.
- Customization: Explore creative options like beads, glue, and makeup to make your piece unique.
This project is a great way to practice basic crochet stitches while creating stunning and practical jewelry accessories.
Difficulties You May Encounter
Difficulty: Working with Tight Stitches
Some may find working with embroidery thread or fine yarn challenging due to its thinness.
- Solution: Use a lightweight crochet hook and take your time to work each stitch cleanly without pulling the yarn too tightly.
Difficulty: Back Loop Placement
Identifying the back loop can be tricky for beginners.
- Solution: Look carefully for the loop behind each stitch and practice recognizing its placement to ensure consistent texture.
Difficulty: Securing Findings
Attaching the earring hooks with precision can be challenging.
- Solution: Use fine-tipped pliers and work slowly to ensure loops and hooks are properly closed.
Final Notes: Why You’ll Love This Pattern
These charming crocheted fish earrings are perfect for anyone looking to combine their love for crafting and creative accessories. The project is quick, fun, and uses very little material, making it both affordable and beginner-friendly. The design can easily be personalized with different colors, beads, or decorative touches, allowing you to make each pair unique.
Whether you’re crafting for yourself, preparing thoughtful gifts, or creating inventory for a craft sale, this pattern equips you with the skills to create elegant pieces while enhancing foundational crochet techniques like the magic ring. Get ready to impress friends and customers alike with this adorable crochet design.