
Free Crochet Mandala Earrings Pattern for Festival Fashion
Revamp your accessories using the Free Crochet Mandala Earrings Pattern for artistic earrings that pop with flair.
Brighten your day with a burst of colorful charm that catches everyone's attention effortlessly. This mandala-inspired crochet pattern features a lovely mix of double crochet, chain stitches, and clusters of double crochets closed together, resulting in a textured floral design that looks both classic and fresh. These earrings are lightweight and comfortable, perfect to add a cheerful and stylish accent to any outfit, whether casual or for special occasions.
Unique Crochet Mandala Earrings Pattern for Vibrant Looks
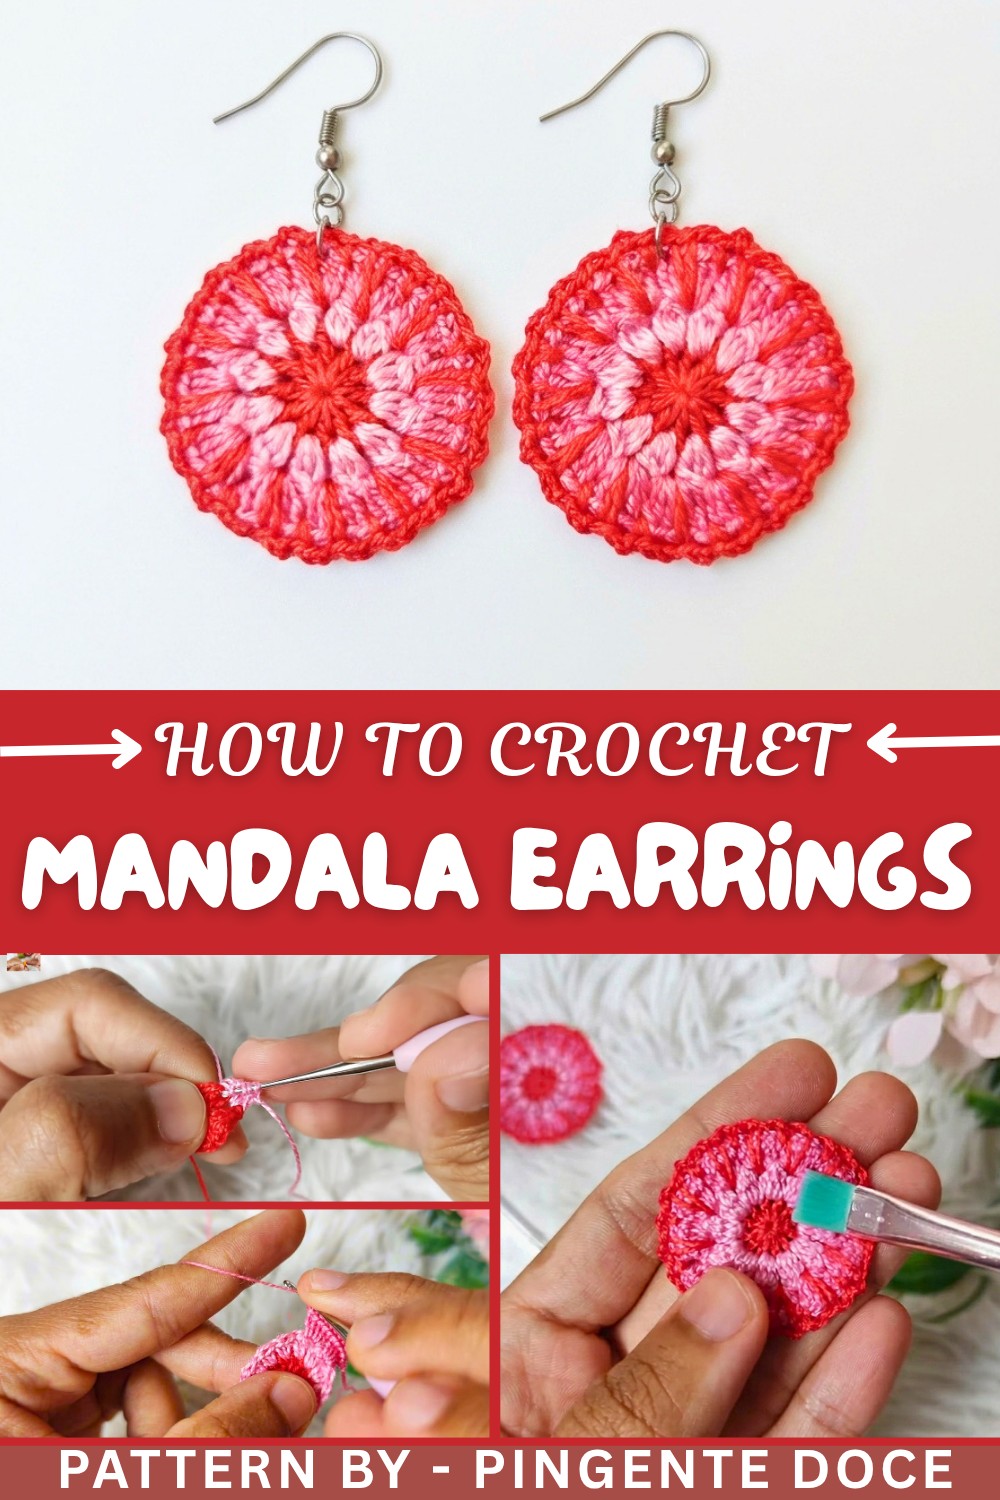
Beginning with a magic ring, the pattern grows outward by alternating double crochets and chain spaces to form a circular flower shape. Clusters of double crochets joined together give a beautiful raised effect, while the finishing round uses elongated single crochets with chains to create gentle, flowing edges. Working with three different yarn colors adds vibrancy and allows you to personalize your earrings in your favorite shades. A simple mix of fabric glue and water is applied at the end to provide stability while maintaining flexibility.
Other Lovely Ideas Using This Pattern
This mandala pattern is quite versatile and can be adapted beyond earrings. It works well for making coasters, wall decorations, or even necklaces by connecting several mandala motifs. Changing the yarn thickness and colors lets you transform the design into unique blankets, table runners, or cushion covers. This pattern offers many possibilities to make beautiful and practical handmade items.
Crochet Mandala Earring Pattern
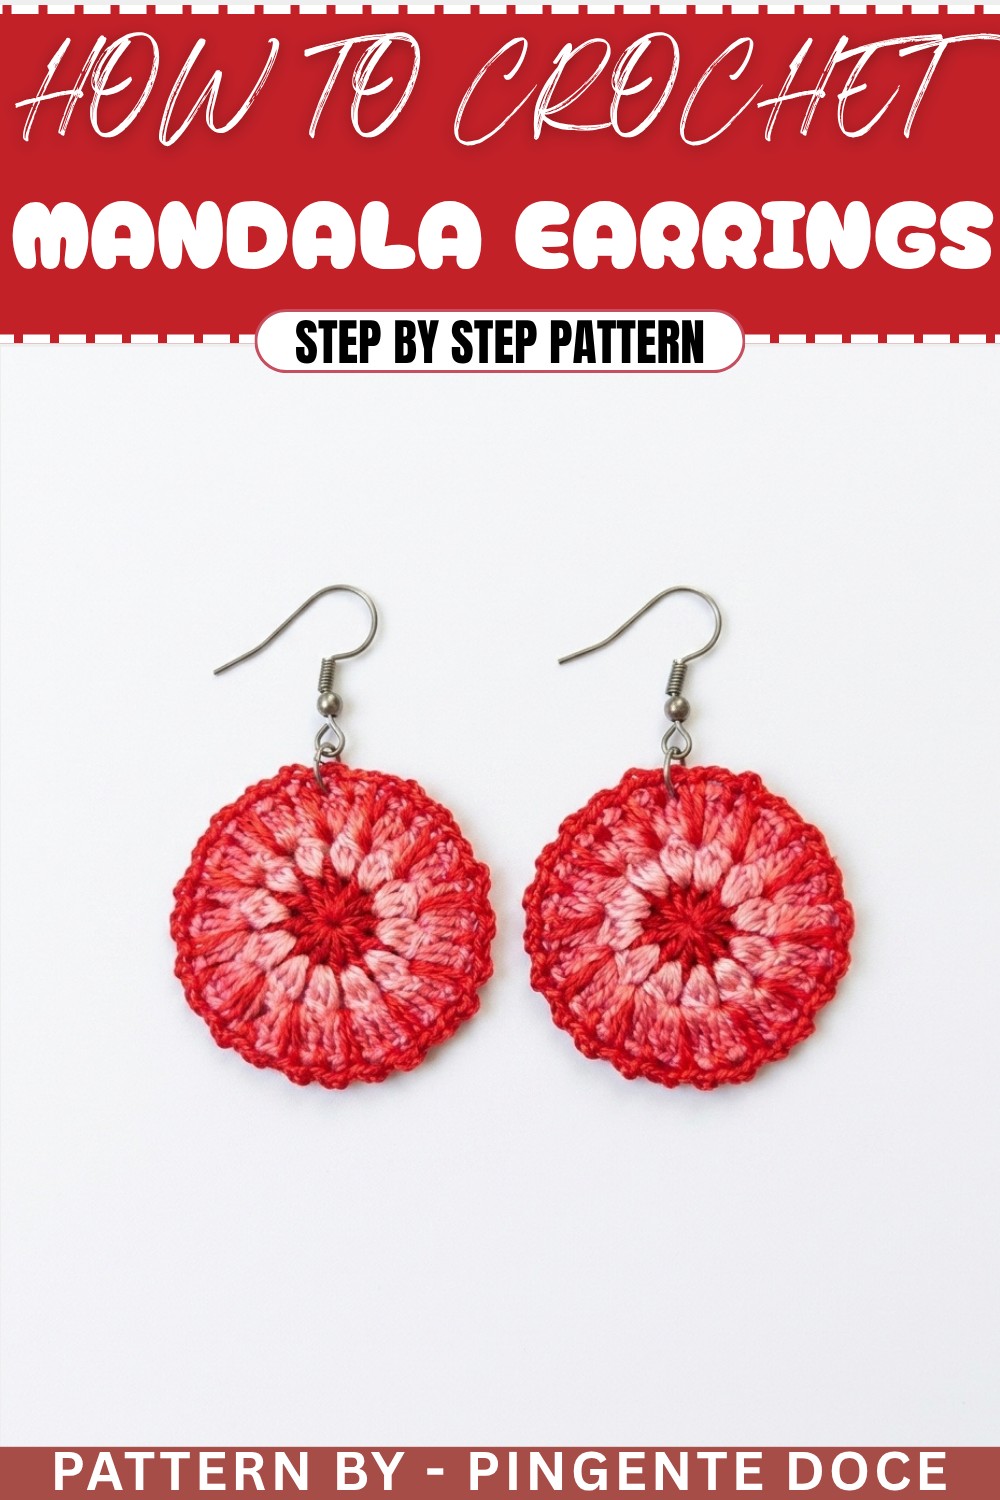
This crochet mandala earring pattern is beautiful, modern, and versatile. With its vibrant colors and intricate design, you can use this pattern to create lightweight, bohemian-inspired jewelry that pairs well with any outfit. It is an enjoyable project that uses basic crochet techniques with a touch of creativity. This pattern can be easily customized by selecting different color combinations or embellishing the earring further with additional beads or decorations.
Skill Level & Terminology
- Skill Level: Beginner-Intermediate. This project includes chains, double crochets, and working in rounds. The only slightly advanced element is the incomplete (clustered) double crochet, which is explained below.
- Terminology: US Crochet Terms:
- Chain (Ch)
- Slip Stitch (Sl st)
- Double Crochet (Dc)
- Single Crochet (Sc)
- Incomplete Double Crochet (explained below)
Materials & Tools
- Yarn/Thread:
- Red embroidery thread.
- Light pink embroidery thread.
- Dark pink or another contrasting shade for the final layer.
- Hook: 1mm crochet hook.
- Scissors: For trimming yarn tails and excess threads.
- Sewing Needle: For finishing and weaving in ends.
- Glue: A mixture of water and fabric glue to stiffen the earring.
- Earring Findings: Hooks and hoops.
- Brush: For applying the glue mixture.
Gauge
Gauge is not critical for this project. The finished earrings will measure approximately 2.75 inches in diameter when using a 1mm crochet hook and embroidery thread. To make smaller or larger earrings, adjust the thread thickness or hook size.
Abbreviations List
- MR – Magic Ring.
- Ch – Chain.
- Sl st – Slip Stitch.
- Dc – Double Crochet.
- Sc – Single Crochet.
- Inc – Increase (two stitches in one stitch).
- Inc-Dc – 3 double crochets worked together in the same stitch.
Special Stitch Instructions
- Magic Ring (MR): Create a circle with your thread, insert your hook into the loop, yarn over and pull through the loop, then work stitches into the ring. After completing the round, pull the tail to tighten the ring.
- Incomplete (Cluster) Double Crochet (Inc-Dc): This stitch combines three double crochets into one:
- Yarn over, insert the hook into the stitch, and pull up a loop.
- Yarn over, pull through two loops (do not complete the double crochet yet).
- Repeat the process of yarn over, insert needle, and pull up a loop into the same space until three incomplete double crochets are made. This will leave four loops on the hook.
- Yarn over and pull through all loops on the hook at once.
What You'll Learn & Why You'll Love This Pattern
- What You'll Learn:
- How to create and work in a magic ring.
- Working with incomplete double crochet for a textured cluster look.
- Attaching earring hoops and finishing your crochet jewelry.
- Using a glue-water mixture to stiffen crochet pieces for durability and style.
- Why You'll Love It:
This pattern is quick, versatile, and produces an eye-catching result. It’s perfect for learning new stitches while creating something unique and fashionable. The pattern blends form and function, and you’ll gain confidence while working on creating cohesive patterns in the round.
Finished Size
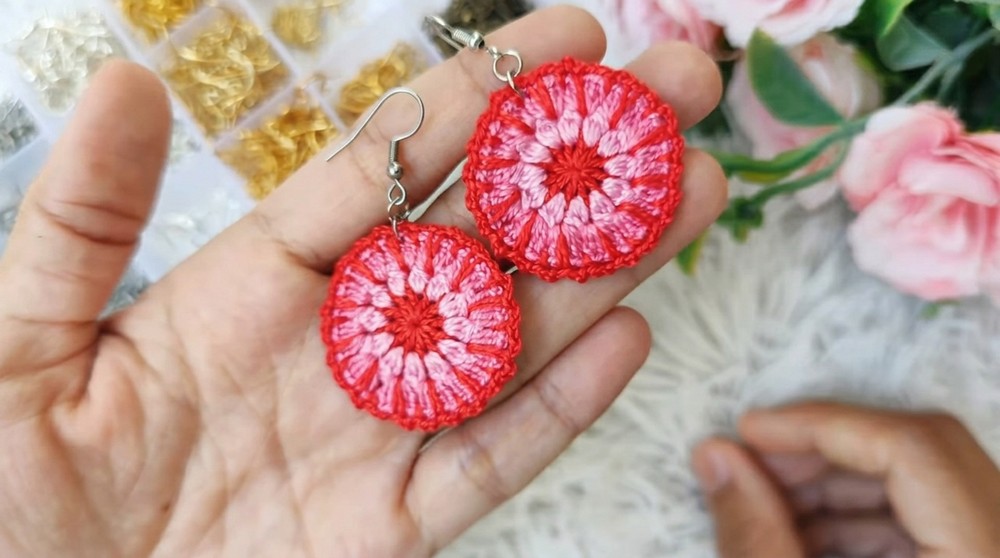
The completed mandala earring measures approximately 2.75 inches in diameter.
The Pattern
Round 1: Foundation Circle – Base with Red Thread
- Create a Magic Ring: Form a magic ring using red thread and secure with a Ch 1.
- Work Foundation Stitches:
- Ch 4 (this is your first Dc plus a chain spacer).
- Work 1 Dc, Ch 1 into the magic ring, repeating 12 times for a total of 12 Dc stitches (including the first Ch 4).
- Close the Round: Insert your hook into the third chain of your starting Ch 4. Join with a Sl st.
- Cut the thread: Tie off and weave in the loose end using a sewing needle.
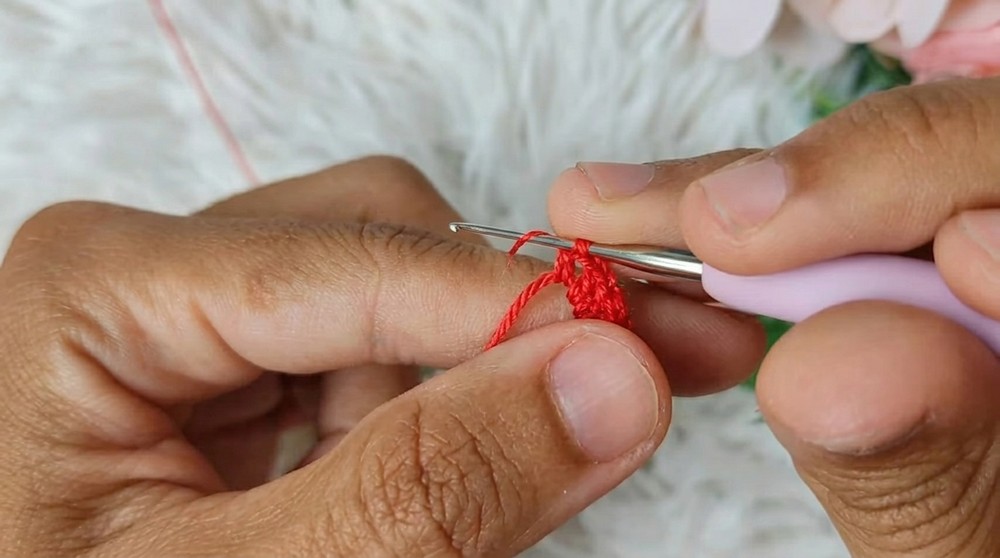
Tip for Beginners: The first round is the foundation of your earring. Pull the magic ring tight and double-check that you have the correct stitch count to ensure symmetry later.
Round 2: Cluster Stitches with Light Pink Thread
- Start the Round: Create a slip knot with light pink thread and leave the loop on the hook. Insert the hook into any chain space of Round 1.
- Work Cluster Stitches:
- Step 1: Yarn over, insert the hook into any chain space, and pull up a loop. Extend the loop to match the height of your chains.
- Step 2: Work 3 incomplete double crochets (Inc-Dc) as described in "Special Stitches." Leave 4 loops on the hook after making the incomplete double crochets.
- Step 3: Yarn over, pull through all 4 loops. Ch 1.
- Repeat Around: Continue working 3 Inc-Dc + Ch 1 into each chain space around.
- Close the Round:
- Insert the hook into the first group of Inc-Dc stitches from this round. Join with a Sl st, Ch 1, and cut the thread.
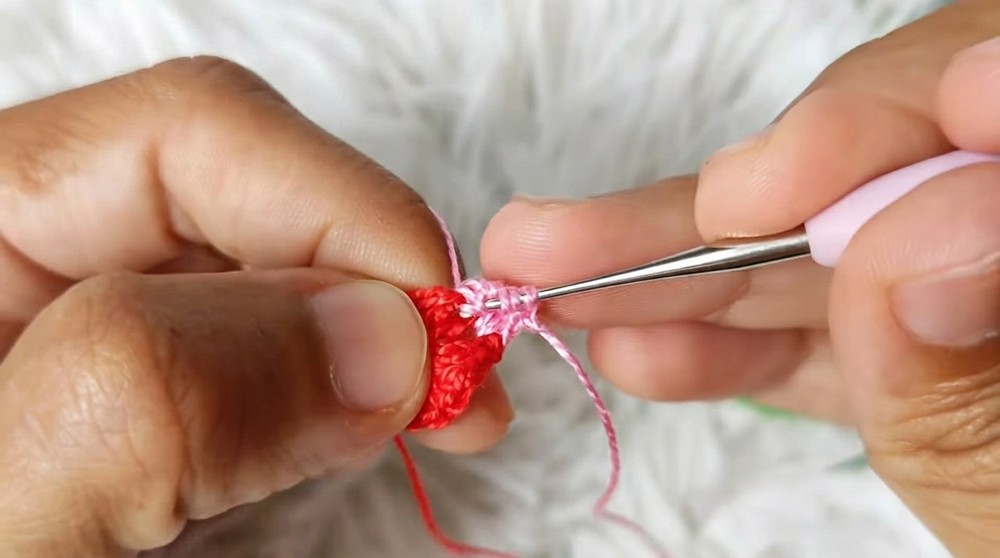
Helpful Hint: Keep your tension steady when working the cluster stitches. If your yarn loops are uneven, the final piece may look inconsistent.
Round 3: Expanding with Dark Pink and Full Double Crochets
- Start with a Slip Knot: Use dark pink thread to create a slip knot and leave the loop on the hook.
- Work in Each Chain Space:
- In the first chain space (any chain space is fine), work 5 Dc in the same space.
- Move to the next chain space and work another 5 Dc.
- Repeat Around: Continue working 5 Dc in each chain space between clusters from the previous round.
- Close the Round: Tie off the thread with a knot and weave in the ends using a sewing needle.
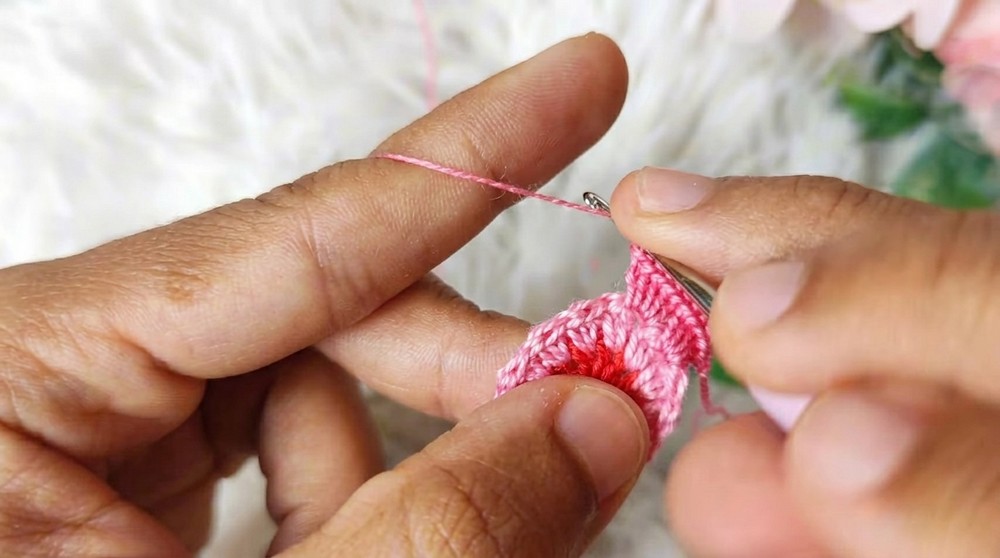
Overview: This round adds volume and texture by increasing the stitch count. The cluster shapes from the previous round will provide a nice structural base underneath the double crochet groups.
Round 4: Adding the Red Chain Edging
- Start with a Slip Knot: Using the red thread, create a slip knot and leave a loop on the hook.
- Work Edging:
- Insert the hook between clusters of 5 Dc, work Sc, and then Ch 2.
- Work another Sc at the base of the cluster of 5 Dc to create an elongated loop (elongated Sc). Ch 2. Continue this sequence all the way around.
- Close the Round: Join the round with a Sl st into the first stitch. Leave a small thread tail for finishing.
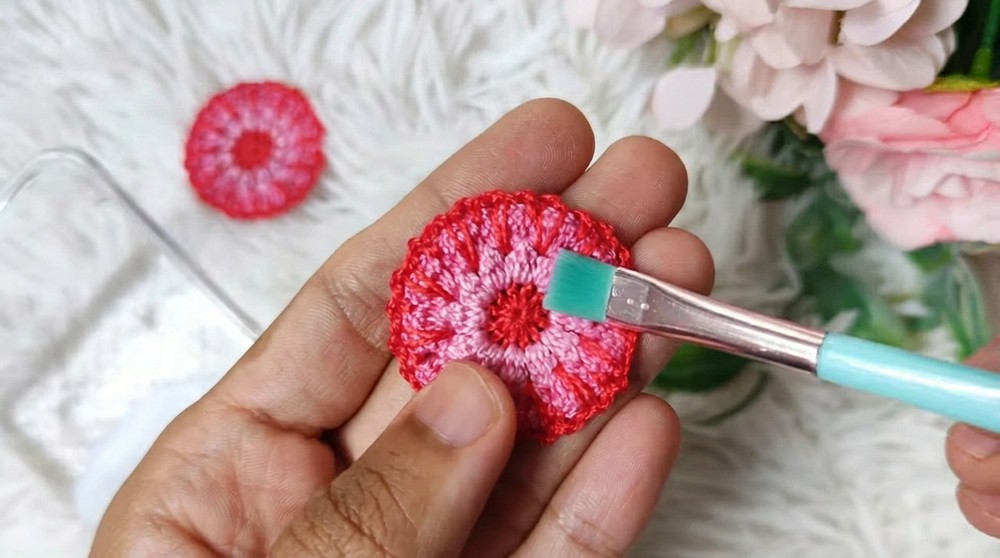
Tip for Beginners: The final edging brings the entire piece together by binding the clusters into a cohesive mandala shape. Focus on even spacing when working single crochets to maintain the shape.
Assembly & Finishing
- Finish and Secure Threads:
- Weave in all thread ends using a sewing needle, guiding them to the back of the piece. Trim excess thread neatly.
- Harden the Earring: Apply the glue-water mixture to the back of your earring using a brush. Leave to dry until the piece stiffens. This step will ensure the earring maintains its shape.
- Attach Earring Hoop: Use a needle to punch a small hole near the top of the earring (if needed) and loop the earring hoop through.
Difficulties & Solutions
Challenge: Uneven stitches in the cluster round.
- Solution: Keep your tension steady and always pull loops to the same length for consistency. Practice the incomplete double crochet stitch on scrap yarn beforehand if needed.
Challenge: Earring losing its structure over time.
- Solution: Use a fabric glue-water solution to stiffen the piece. Allow the glue to dry completely before handling the earring.
Final Thoughts
This crochet mandala earring pattern is a joy to create and offers infinite color possibilities to match your outfits or seasonal preferences. The blend of basic and decorative stitches makes this an excellent project for continued learning, and the results are stunning. You’ll appreciate how quickly these earrings come together and how easily they can be customized, offering a perfect balance of style and creativity. With a bit of practice and your personal flair, you’ll be making these modern mandala earrings for every occasion. Enjoy crocheting your new accessories!