
Stunning Crochet Infinity Earrings Pattern for Standout Accessories
Brighten your style effortlessly with the Free Crochet Infinity Earrings Pattern for chic, never-ending designs that wow.
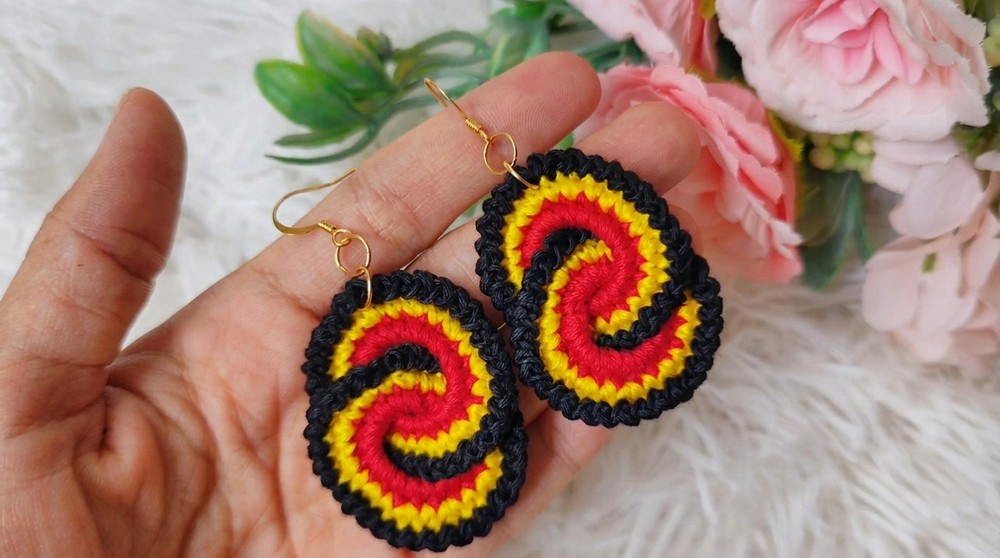
A pair of earrings that gently loops and flows can add a graceful touch to any outfit. These infinity-shaped earrings are simple yet elegant, designed with chains, double crochets, and slip stitches that come together to form continuous flowing loops. The combination of three bright colors creates a lively and fresh look, perfect for casual wear or adding a little sparkle to everyday style. Their lightweight feel means they are comfortable for long hours, making them a great choice for both beginners and experienced crocheters.
Colourful Crochet Infinity Earrings Pattern for Unique Style
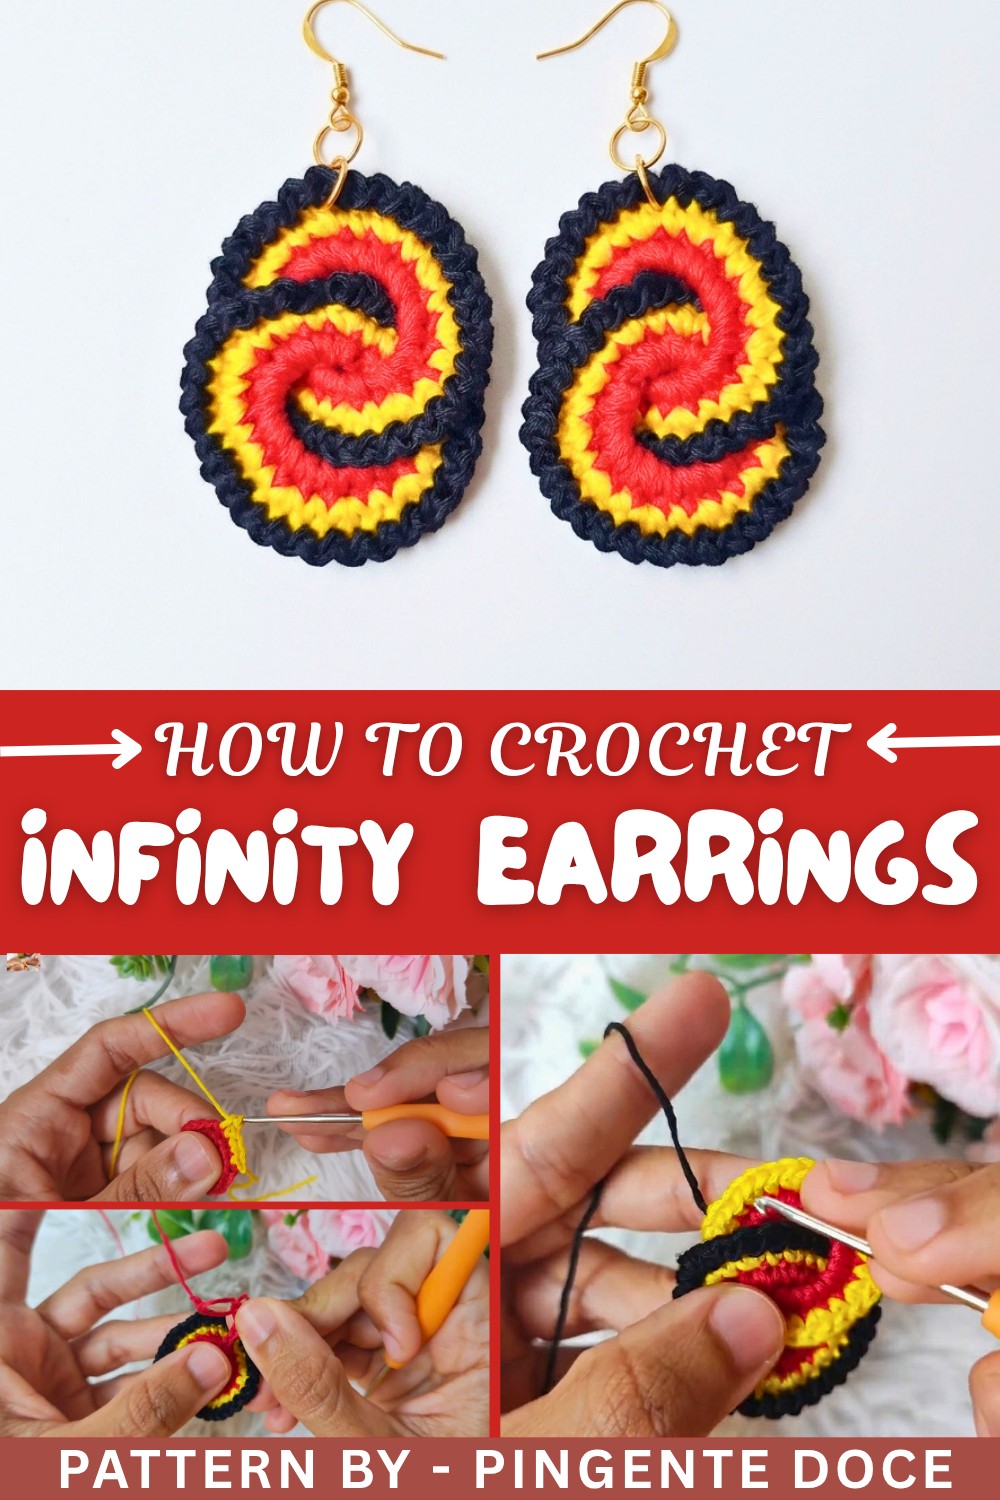
Starting with a slip knot and a foundation chain, the pattern uses rounds of single and double crochets to build a sturdy circular base. The recurring use of chains and slip stitches in the later rounds adds a delicate open pattern, enhancing the infinite loop effect. Changing colors throughout the process adds vibrancy and visual interest without complicating the stitch work. After the crocheting is complete, the pieces are sewn together securely, and a simple mixture of fabric glue and water helps keep everything in place without stiffening the earrings. Finally, attaching earring hoops transforms the crocheted loops into stylish accessories ready to wear or gift.
More Uses for This Infinity Pattern
This design can be adapted in many creative ways beyond earrings. You could make matching pendants, keychains, or even combine multiple infinity loops to create a unique necklace or bracelet. Using different yarn weights and colors can alter the look, allowing you to design home décor accents like coasters or embellishments on bags and clothing. This pattern provides a versatile foundation to inspire many crochet projects.
Crochet Multicolored Layered Earrings Pattern
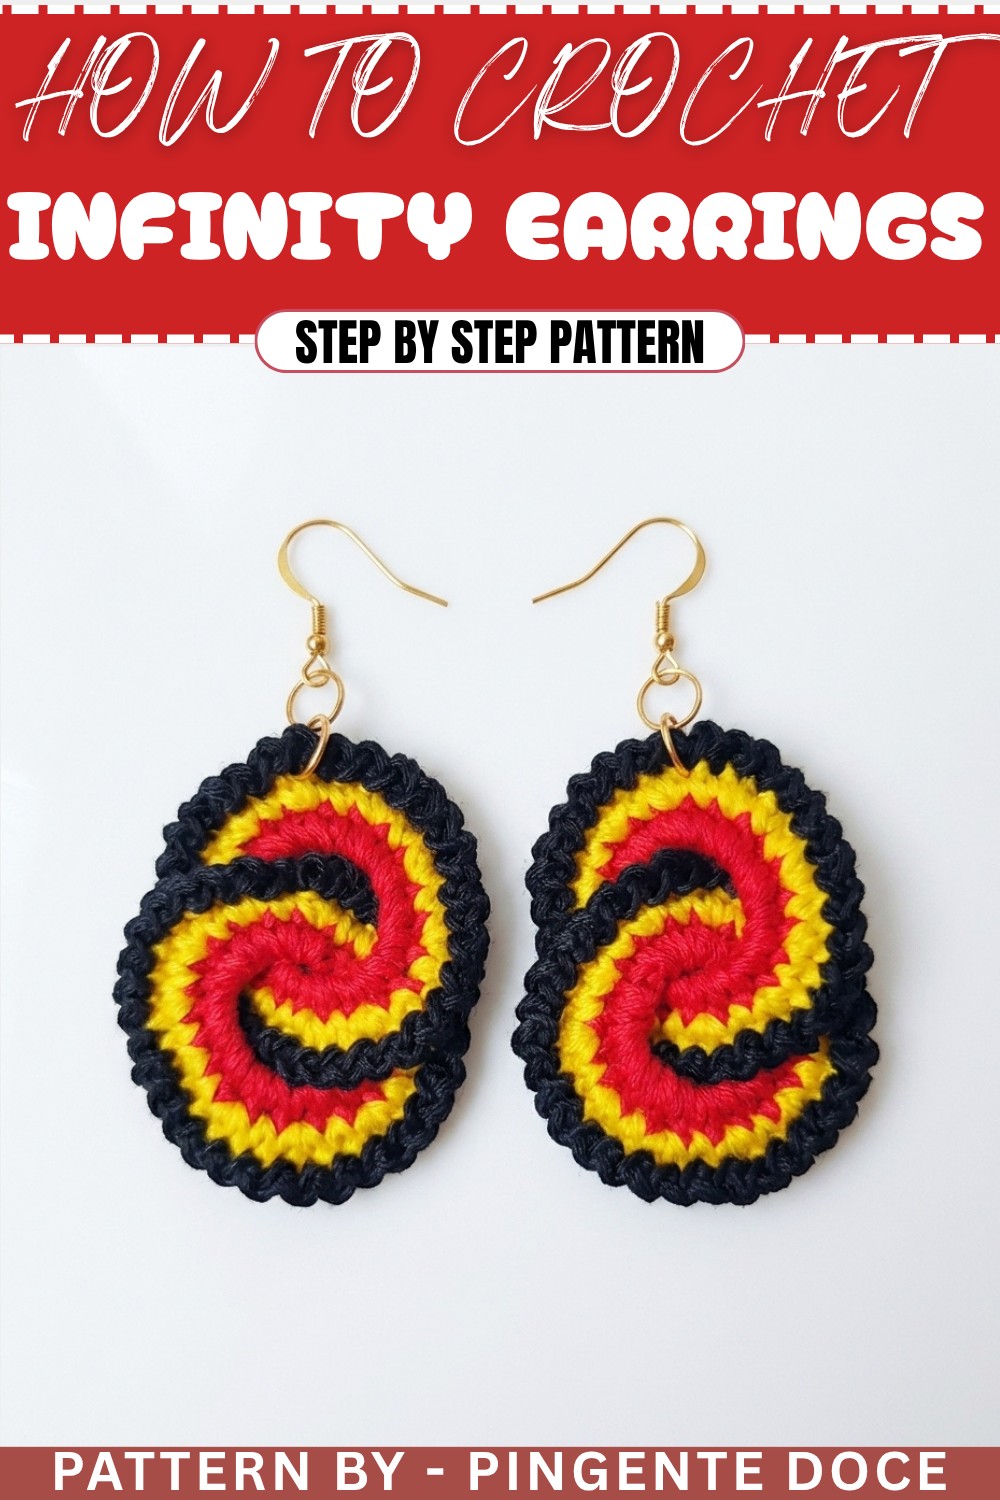
These elegant layered crochet earrings are a vibrant, eye-catching accessory that merges simplistic stitches with beautiful color combinations. Easily customizable with your preferred shades, this project allows you to create a two-piece layered earring with a decorative border. Perfect for both intermediate and beginner crocheters looking to go beyond the basics, this pattern sharpens your skills in creating uniform rounds, shaping, and layering. Whether you aim to add a pop of color to your outfit or create unique handmade gifts, this pattern produces stylish earrings that you’ll love.
Skill Level & Terminology
- Skill Level: Beginner to Intermediate: A great project for beginners looking to practice stitches, such as single crochets, slip stitches, chains, and double crochets, while introducing elements like crocheting in the round to create circular shapes.
- Terminology: The pattern uses US Crochet Terms:
- Slip Knot: The starting loop of the project.
- Chain (Ch): A basic stitch used to create the foundation.
- Slip Stitch (Sl st): Used for joining and finishing rounds/stitches.
- Single Crochet (Sc): A compact foundational stitch.
- Double Crochet (Dc): A taller stitch created with one yarn-over.
Materials & Tools
- Thread:
- Skein embroidery thread in three colors of your choice (e.g., Red, Yellow, and Black).
- Hook: 1.75 mm crochet hook.
- Scissors: For trimming thread ends.
- Sewing Needle: To weave in ends and finish the assembly.
- Earring Hardware: Hooks and hoops for assembling the final earrings.
- Fabric Glue (Optional): Mix with water for stiffening the final piece.
Gauge
Gauge is not required for this pattern as it depends on your hook and thread size. The finished earring is approximately 2.5–3 inches in diameter, depending on the materials used.
Abbreviations List
| Abbreviation | Meaning |
|---|---|
| Slip Knot | Starting loop for crochet |
| Ch | Chain stitch |
| Sl st | Slip Stitch |
| Sc | Single Crochet |
| Dc | Double Crochet |
Special Stitch Instructions
Slip Knot:
- Create a loop by wrapping the thread around your fingers, leaving a short tail.
- Insert the hook into the loop, yarn over, and pull through. Tighten the loop on the hook to begin.
Joining a New Color:
- Insert the hook into the specified stitch.
- Yarn over with the new color and pull through the loop.
- Secure the thread by creating a single crochet, chain, or slip stitch as instructed.
What You’ll Learn & Why You’ll Love This Pattern
What You'll Learn:
- How to work in rounds and create a perfectly symmetrical circle.
- Layering multiple crochet pieces to construct intricate designs.
- How to stiffen, finish, and attach crochet designs to make durable jewelry.
Why You’ll Love It:
This colorful, layered earring design allows you to experiment with bold or muted tones to match your unique style. The method is quick, fun, and opens the door to a variety of creative combinations. Plus, these earrings are lightweight and comfortable to wear, making them a versatile addition to your wardrobe.
Finished Size
The final crochet earring measures approximately 2.5-3 inches in diameter, perfect for statement earrings.
The Pattern Itself
Part 1: The Central Circle (Red Thread)
Round 1: Foundation Round
- Start with a Slip Knot and chain 12 (Ch 12).
- Insert the hook into the first chain and make a Slip Stitch (Sl st) to form a ring.
- Ch 1, and work 20 Single Crochets (Sc) into the ring.
- Work over any excess thread to hide it as you go.
- At the end of the round, cut the thread, pull it through, and weave in the ends with a Sewing Needle.
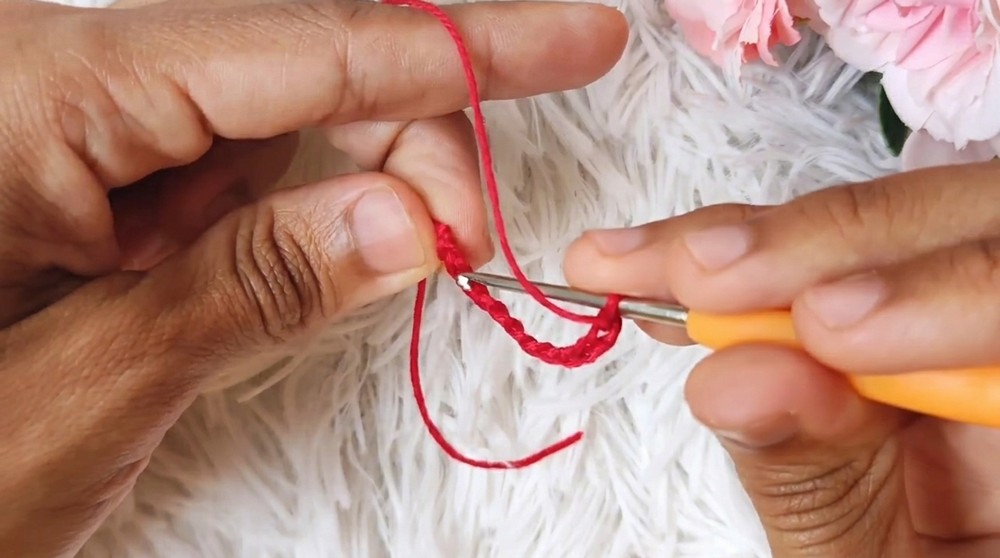
Note: The red circle forms the base for the earring and will serve as a foundational layer.
Part 2: Second Layer (Yellow Thread)
Round 2: Adding Yellow Layer
- With the yellow thread, create a Slip Knot and join it to any stitch of the red circle using a Single Crochet (Sc).
- Work 1 Sc into the next stitch and 2 Sc (an increase) into the following stitch.
- Alternate between 1 Sc and 2 Sc across the entire round for a total of 30 stitches.
- Fasten off the yellow thread, leaving a long tail, and weave in the excess.
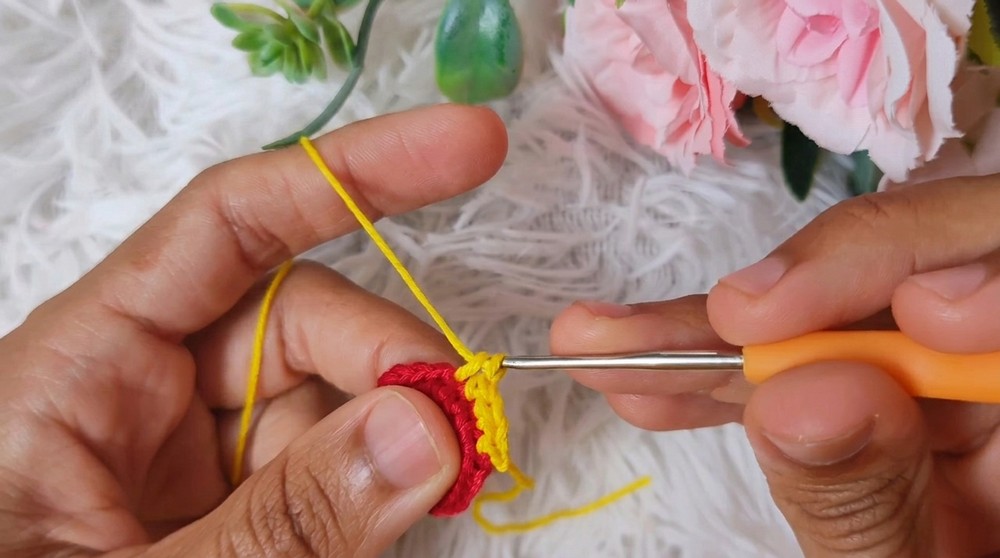
Note: This step enlarges the red center and creates a layered effect for the next round.
Part 3: Decorative Black Edging
Round 3: Black Trim Loop
- Join black thread to any stitch of the yellow layer using a Slip Stitch (Sl st).
- Ch 1 and work a Slip Stitch into the next stitch.
- Repeat the pattern of Ch 1, Sl st in each stitch around without skipping stitches.
- At the end of the round, cut the black thread, pull it through, and weave in the tail.
Tip: The black trim adds an elegant accent and more definition to the earring's edges.
Part 4: Adding the Second Circle (Red Circle)
- Repeat Part 1 to create another red circle using 12 chains and 20 Sc inside the loop.
- Attach this second circle to the yellow layer of the first piece by threading 12 Ch through the center of the yellow circle.
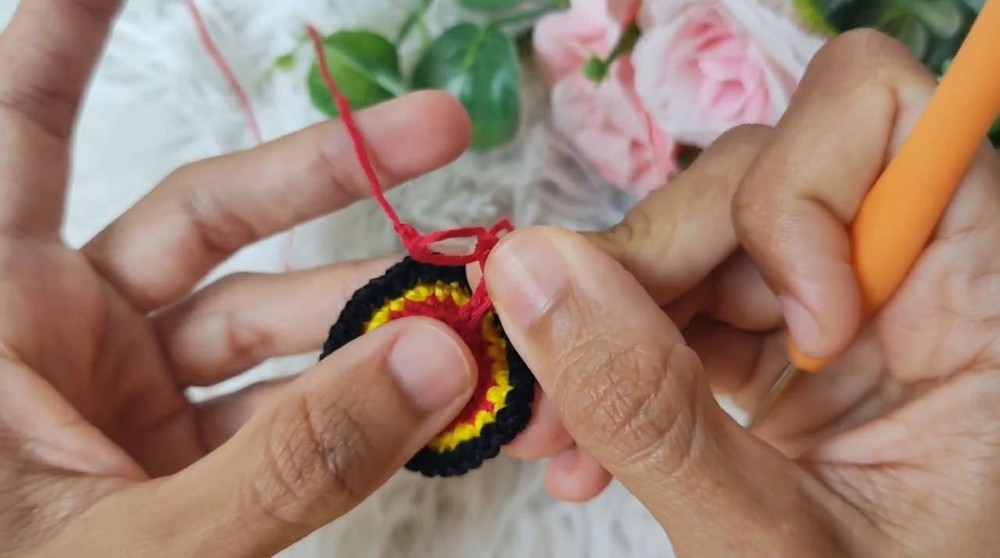
Part 5: Assembly and Second Layer Repetition
- After attaching the second red circle, work 20 Dc inside its center to create fullness and complete the circle.
- Repeat Part 2 and Part 3 (yellow and black layers) around this second circle, following the same steps to match the first earring layer.
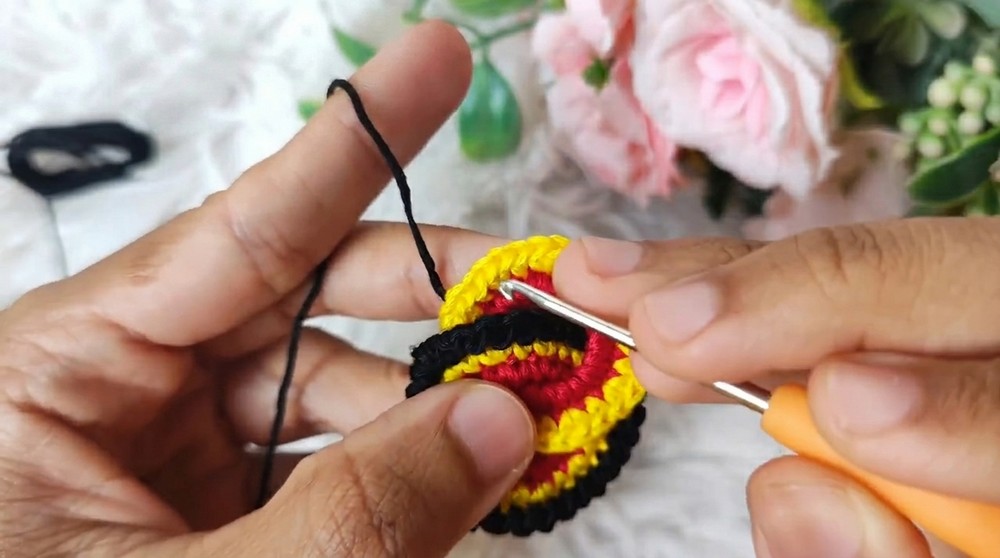
Assembly & Finishing
- Binding the Two Layers:
- Position both pieces back-to-back with the finished sides facing outward.
- With a new thread, use a Slip Stitch to seam the edges of the two circles together, creating a sturdy layered earring.
- Hardware Attachment:
- Attach the hoop and hook to the top center of the black edge using pliers. Ensure they are securely fastened.
- Stiffening the Earring:
- Mix fabric glue with a small amount of water.
- Apply the mixture to the back of the earring for additional firmness. Allow it to air-dry completely.
Difficulties & Solutions
Challenge: Uneven Rounds or Layers
Solution: If you notice inconsistencies in your stitches, count stitches at the end of each row. Block your earring with a steam block or proper shaping to achieve symmetry.
Challenge: Floppy Earrings
Solution: Always use lightweight thread and stiffen your earrings using fabric glue for durability.
Final Thoughts
This crochet infinity earring pattern is a delightful and rewarding project for those who want to pair technical skill with creative design. The bright colors and bold shapes are both stunning and versatile, making these earrings an excellent choice for accessorizing your outfits or gifting to friends. Experiment with different color combinations and layer effects to create your own unique style. Whether you’re experienced or a beginner making small accessories, this pattern will allow you to transform simple materials into a striking and elegant piece of wearable art.