
Crochet Marigold Flower Earrings Pattern for Blooming Style
Refresh your look instantly using the Free Crochet Marigold Flower Earrings Pattern for playful, vibrant blooms on your ears.
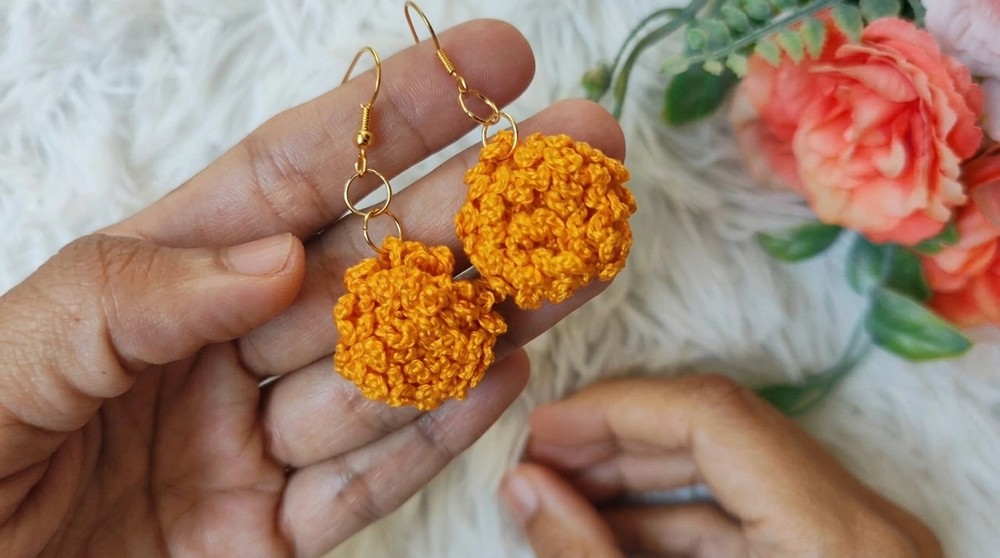
A burst of golden brightness can lift your spirits instantly, and these marigold flower earrings bring just that with their cheerful, handmade charm. The pattern uses a special technique called the magic ring combined with single and double crochet stitches to form soft, full petals that feel light and comfortable on your ears. Their vibrant look works beautifully for casual days or special occasions, adding a splash of color without weighing you down.
Easy Crochet Marigold Flower Earrings Pattern for Handmade Gifts
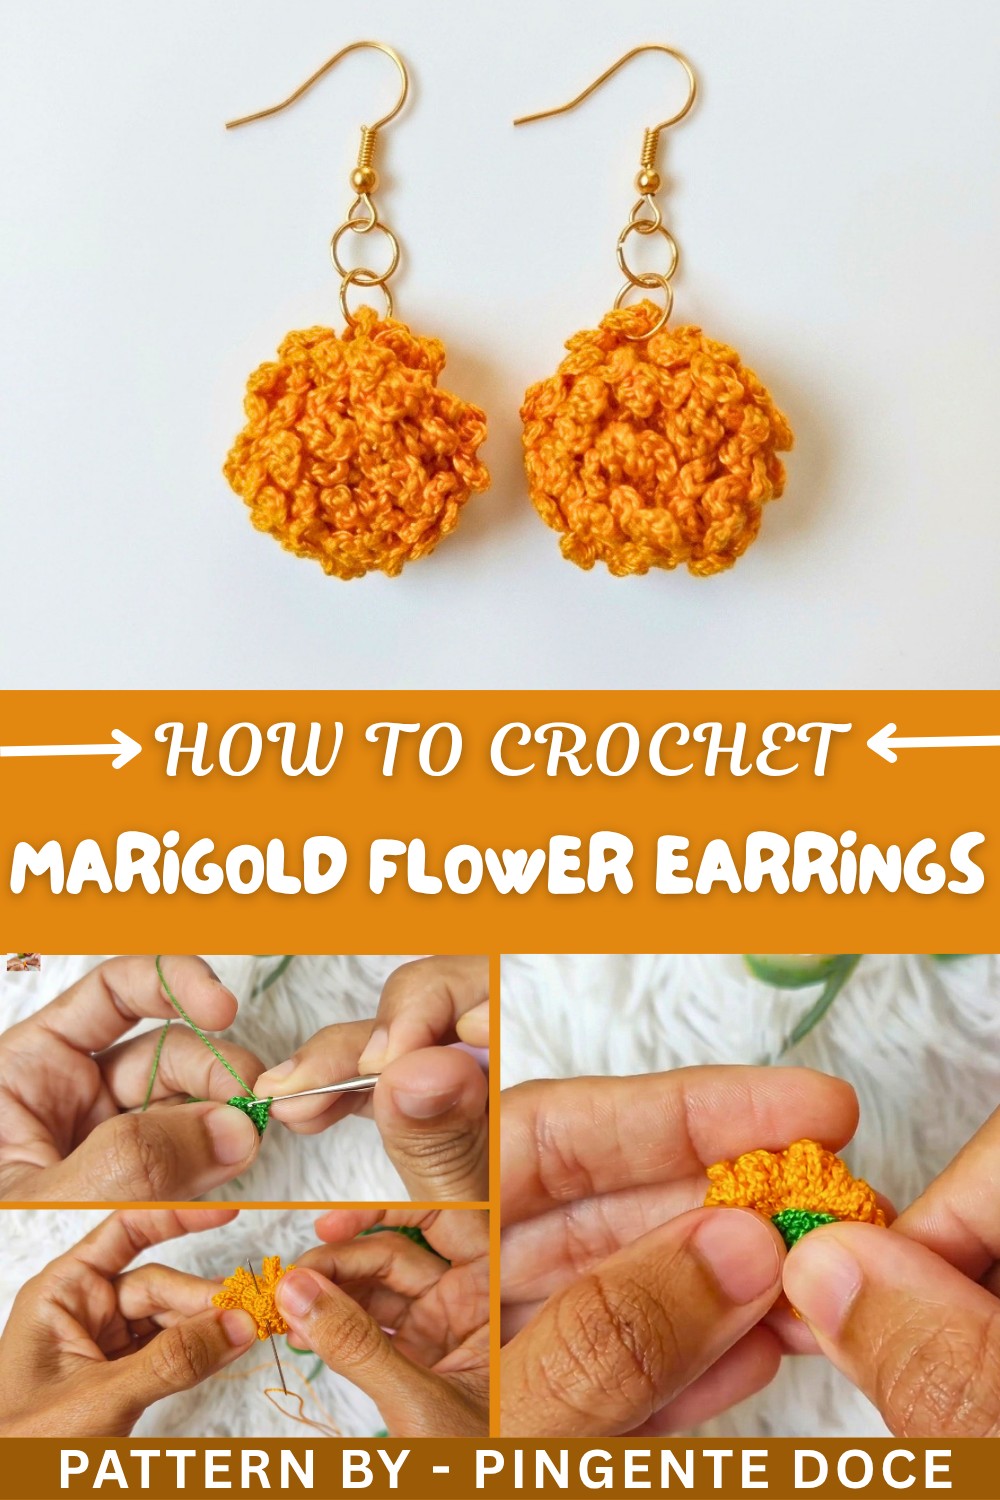
The pattern start with a simple slip knot and chain foundation, followed by carefully placed double crochets that build each petal. Increases in stitches give the flowers their lovely shape and volume. After completing the crochet work, the pieces are sewn tightly to keep them from losing their form. A little fabric glue on the back adds stability without making them stiff, while earring hooks turn these delicate flowers into charming accessories you can wear with pride.
Other Fun Possibilities with This Pattern
This flower pattern lends itself well to many projects beyond earrings. You can attach them to headbands or hats for a fresh touch, use them as pins or brooches, or sew several together for a bright garland or cushion cover. Trying out different colors and thread weights can make each piece uniquely yours, offering lots of ways to enjoy this simple and pretty crochet pattern.
Crochet Rose-Inspired Earring Pattern
Skill Level & Terminology
- Skill Level: Beginner to Intermediate
If you have basic crochet skills and are familiar with stitches like chains, double crochets, and slip stitches, this pattern will be fun and simple to follow! The project also teaches you how to shape your crochet into a rose design. - Terminology: US Crochet Terms are used throughout this pattern:
- Slip Knot: Used to start crocheting on your hook.
- Magic Ring (MR): A circular foundation used for crocheting in the round.
- Chain (Ch): Creates the foundation row or spaces.
- Double Crochet (Dc): A basic tall stitch using yarn overs.
- Single Crochet (Sc): A compact, versatile stitch.
- Slip Stitch (Sl st): Used to join stitches or rounds seamlessly.
Materials & Tools
- Thread:
- Anchor Thread: Two colors of your choice (one for the rose and another for the green base). Lace or embroidery thread sizes work best.
- Hook: 1 mm crochet hook.
- Scissors: Used for trimming loose ends.
- Sewing Needle: For finishing and assembling the flower.
- Earring Hardware: Earring hooks and hoops.
- Fabric Glue: Optional for stiffening and securing the earring.
Gauge
Gauge is not critical for this design as the size of the earring is adjustable based on thread and hook size. The finished earring measures approximately 2 inches in diameter.
Abbreviations List
| Abbreviation | Meaning |
|---|---|
| Slip Knot | Starting loop for crochet |
| Ch | Chain stitch |
| Sl st | Slip Stitch |
| Sc | Single Crochet |
| Dc | Double Crochet |
| MR | Magic Ring |
Special Stitch Instructions
Slip Knot:
- Make a small loop with the thread.
- Insert your hook into the loop, yarn over, and pull through the loop. Tighten the knot to secure.
Magic Ring:
- Wrap yarn around your fingers to create a loop with a tail.
- Insert the hook into the loop, yarn over, and pull through.
- Yarn over again and pull through the loop on your hook to secure it.
What You’ll Learn & Why You’ll Love This Pattern
What You’ll Learn:
- How to make a rose-shaped piece using spiral rows of double crochets.
- How to create and attach a Magic Ring as the base of your design.
- How to assemble and stiffen a crochet piece for durability.
Why You’ll Love It:
This project is a quick, enjoyable, and elegant way to learn the basics of decorative crochet. The rose-shaped earrings are versatile, stylish, and perfect for any occasion, whether casual or formal. Once you complete one pair, you’ll want to experiment with different color combinations to create a variety of unique designs.
Finished Size
The final earring measures approximately 2 inches in diameter, which can vary depending on the size of the thread and hook used.
The Pattern Itself
Part 1: Rose Spiral Base
Foundation Chain:
- Start with a Slip Knot and chain 20 (Ch 20).
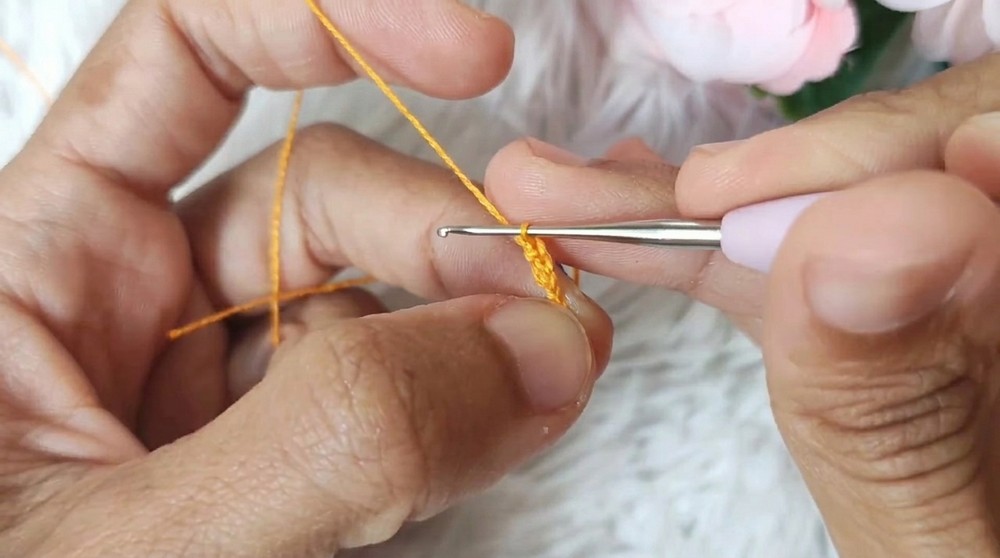
Row 1: (Creating the Petal Foundation)
- Skip the first 2 chains.
- Into the 3rd chain, work 2 Double Crochets (Dc) in the same chain space.
- Move to the next chain and work 3 Double Crochets (Dc).
- Continue worked 3 Dc into each chain until the end of the row.
Tip: At the end of the row, the base will curl naturally into a spiral shape due to the 3 Dcs in each chain. This will become the petals of the rose.
Part 2: The Spiral's Lace Edging
Second Round:
- Chain 8 (Ch 8), turn the piece, and insert the hook into the next stitch.
- Make a Slip Stitch (Sl st) to secure the loop.
- Repeat: Ch 8 and make a Sl st into the next stitch.
- Work this sequence (8 chains + slip stitch) until you reach the end of the piece.
Tip: These chain loops create a decorative and lacy edging along the spiral base.
Part 3: Rolling and Sewing the Rose
- At the end of the round, cut the thread, leaving a tail for sewing.
- Starting from one end, roll the spiral tightly into a rose shape.
- Thread a sewing needle with your leftover tail to secure the edges and middle of the spiral.
- Sew through the layers of the rose starting at the base and working outward until the shape holds together tightly.
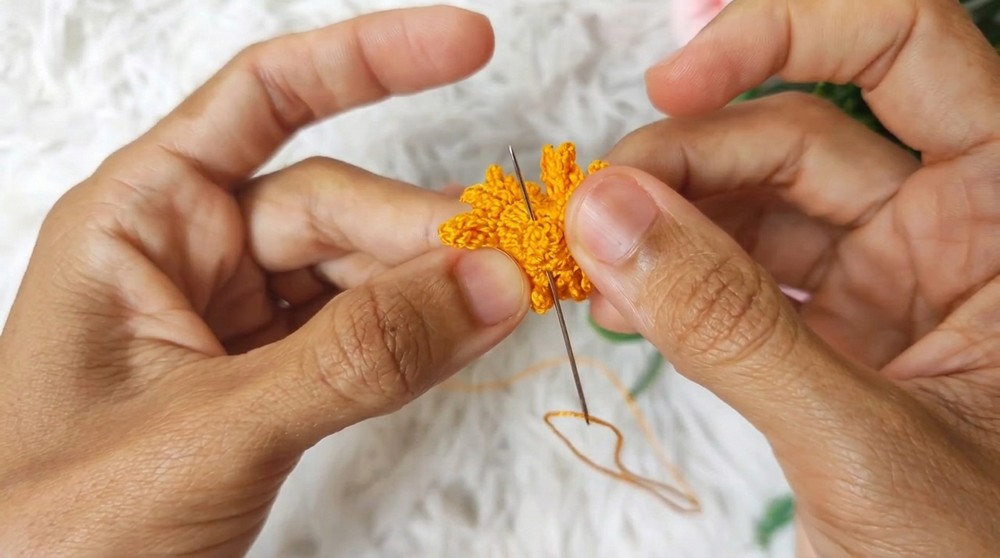
Quick Note: Pull the stitches snugly so the rose doesn’t unravel. You can adjust the tightness of the rose for a more open or closed floral look.
Part 4: Green Base Leaves
Round 1:
- With green thread, create a Magic Ring (MR).
- Work 6 Single Crochets (Sc) into the Magic Ring.
- Pull the tail of the magic ring to close tightly.
Round 2:
- Chain 1 (Ch 1).
- Work 2 Double Crochets (Dc) into each stitch around (increase).
- At the end of the round, you should have 12 stitches total.
- Join with a Slip Stitch (Sl st) to the first stitch.
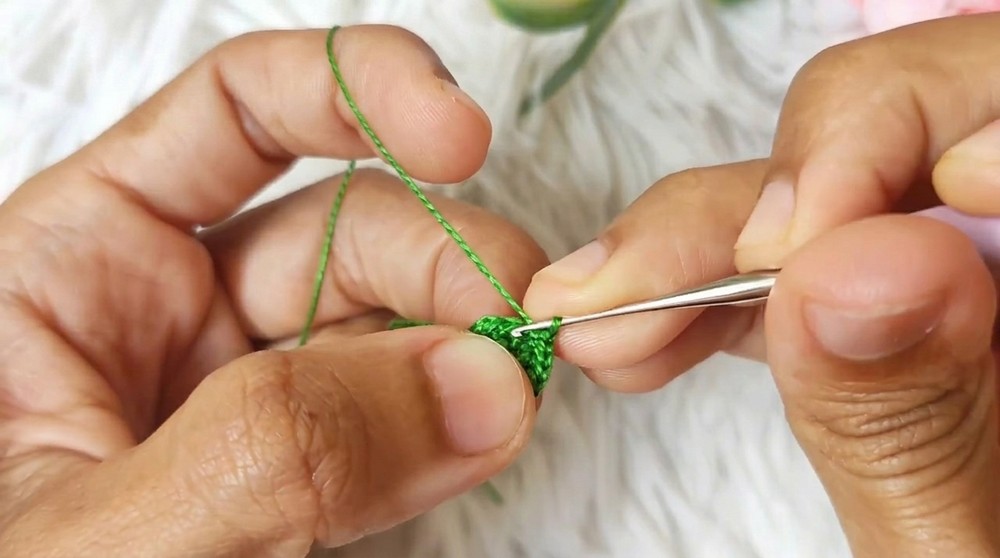
Round 3:
- Ch 1 (Ch), and make 1 Single Crochet (Sc) in the first stitch.
- In the next stitch, work 2 Single Crochets (Sc) (increase).
- Continue alternating: 1 Sc, then 2 Sc (increase) until you’ve completed the round. You’ll now have 18 stitches total.
- Fasten off, leaving a tail for sewing.
Quick Tip: The green base will serve as a backing for the rose. This step adds a pop of color and finishes the flower design.
Part 4: Assembly & Hardware
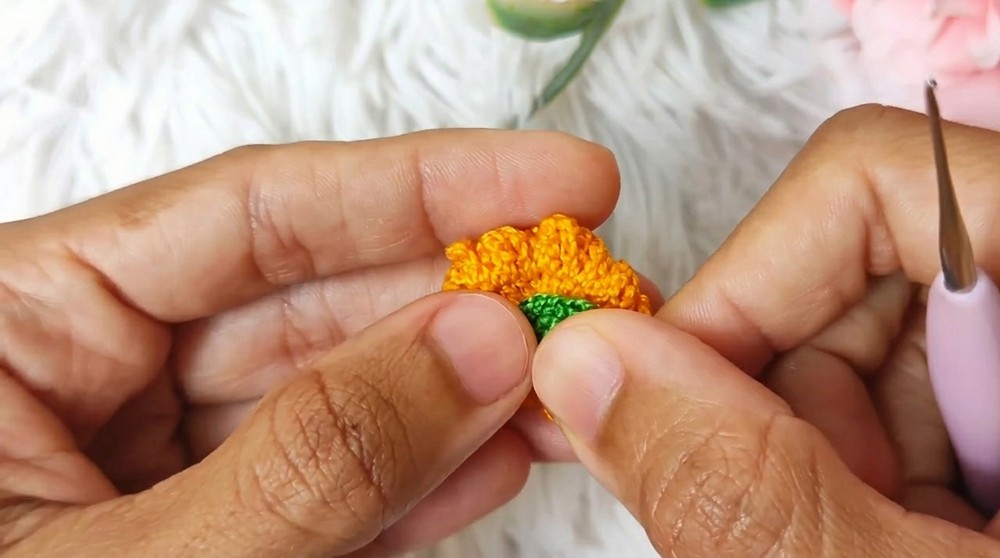
- Use fabric glue to fasten the green base securely to the bottom of the rose. Allow the glue to dry completely.
- Use the leftover tail and a sewing needle to ensure the green base is tightly attached to the rose.
- Once secure, thread the earring hooks and hoops through the top layer of the rose.
Difficulties & Solutions
Challenge: Uneven Spiral Edging
Solution: Be consistent with your chain length, as irregular chaining may cause uneven loops. If the spiral does not naturally curl, gently mold it as you sew.
Challenge: Cloth Rose Losing Shape After Assembly
Solution: Tighten your spiral and sew additional layers with more stitches. Use fabric glue for extra security to help maintain its shape.
Final Thoughts
This crochet rose pattern is a simple but elegant design perfect for anyone who enjoys creating wearable art. The combination of the spiral petals with the lace edging results in a soft, romantic piece, while the green base provides a natural touch of vibrancy. Whether you’re aiming for a modern accessory or a vintage floral design, the customization options are endless. This pattern is quick to make, which means you can craft multiple pairs for yourself or as thoughtful handmade gifts. Enjoy the creative process and wear your beautiful crochet rose earrings with pride!