
Eco-Friendly Crochet Beautiful Earrings Pattern for Elegant Looks
Amplify your style easily using the Free Crochet Beautiful Earrings Pattern for modern, eye-catching handmade accents.
When looking for a handmade accessory that brings a splash of elegance and charm, these crochet earrings are truly a delightful find. Their beauty lies in the delicate lace-like pattern created by double crochet stitches combined with slip stitches and working in the back loops only (BLO). This technique adds texture and a subtle 3D effect that makes the earrings stand out beautifully. Lightweight and comfortable, they are perfect for wearing casually or dressing up an outfit for special occasions. The pattern uses a magic ring to start and builds outward with careful stitch increases, creating a lovely circular base that is both sturdy and intricate.
Crochet Magic Free Beautiful Earrings Pattern for Any Occasion
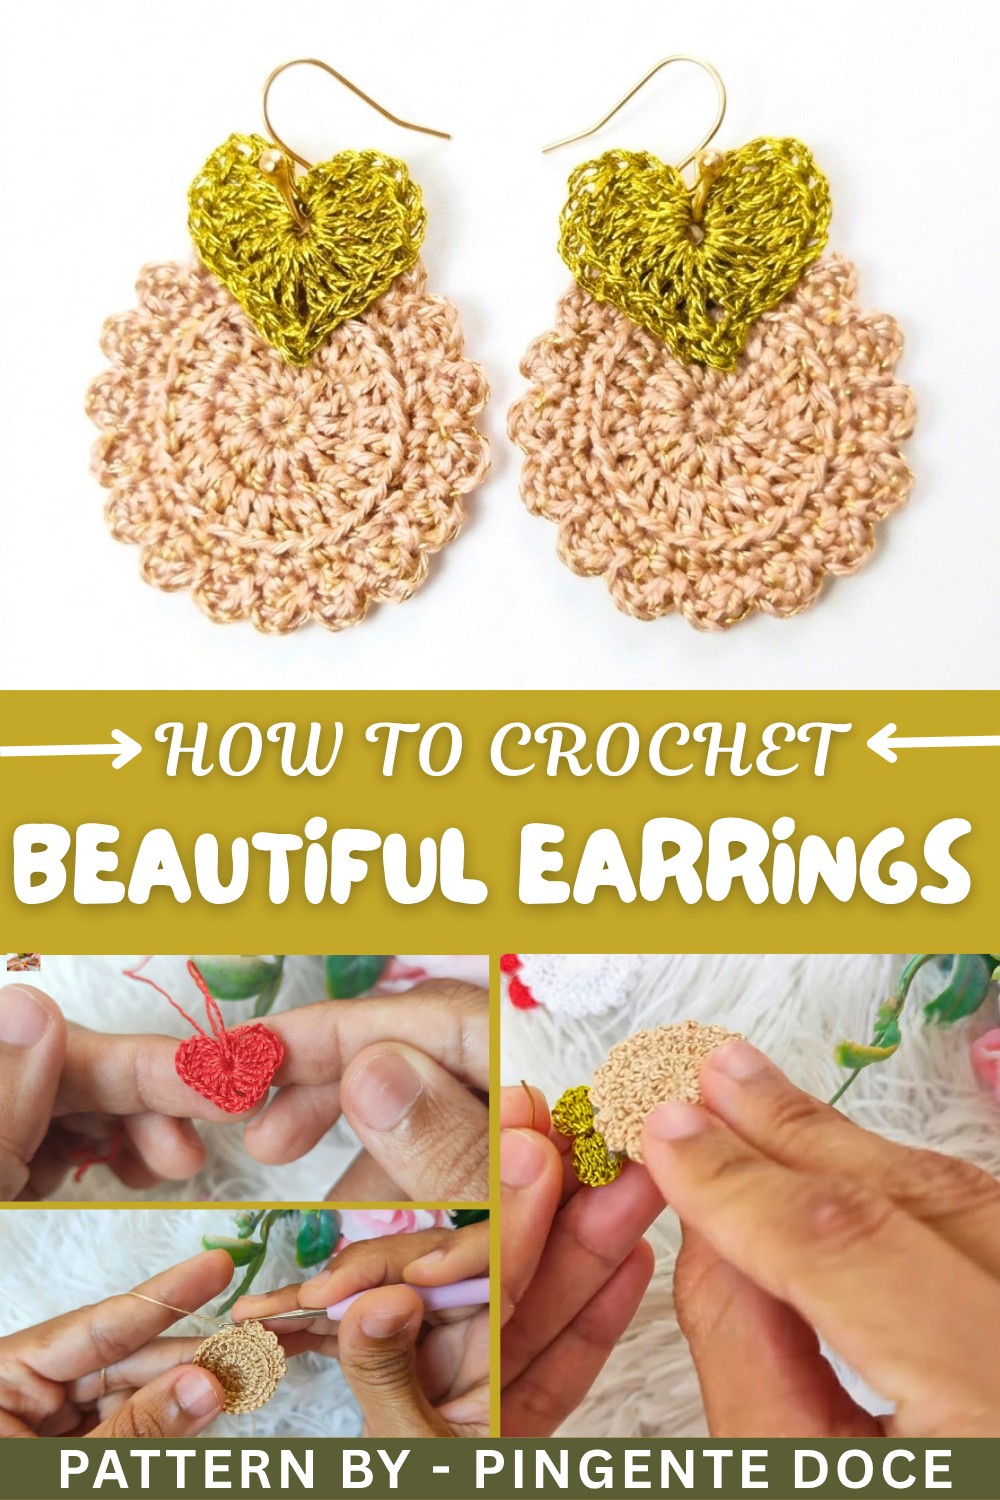
What makes these earrings extra special is the combination of chain loops paired with high stitches and slip stitches, which form charming scalloped edges that feel both classic and fresh. Using fine thread and a small hook brings out the fine details, while a light coating of fabric glue mixed with water gives the earrings shape and durability without weighing them down. Finishing with a neat bow or small decorative element adds a personalized touch that anyone can easily customize.
More Fun Crochet Projects to Try
This versatile pattern is not just for earrings. You can expand your creativity by making matching pendants, delicate bookmarks, or even small coasters using the same stitch sequences. Changing yarn colors or thread thickness can turn these designs into decorative motifs for bags, scarves, or even wall hangings. Exploring different sizes and combinations opens endless opportunities to make your handcrafted collection truly unique and charming.
Crochet Heart Earring Pattern
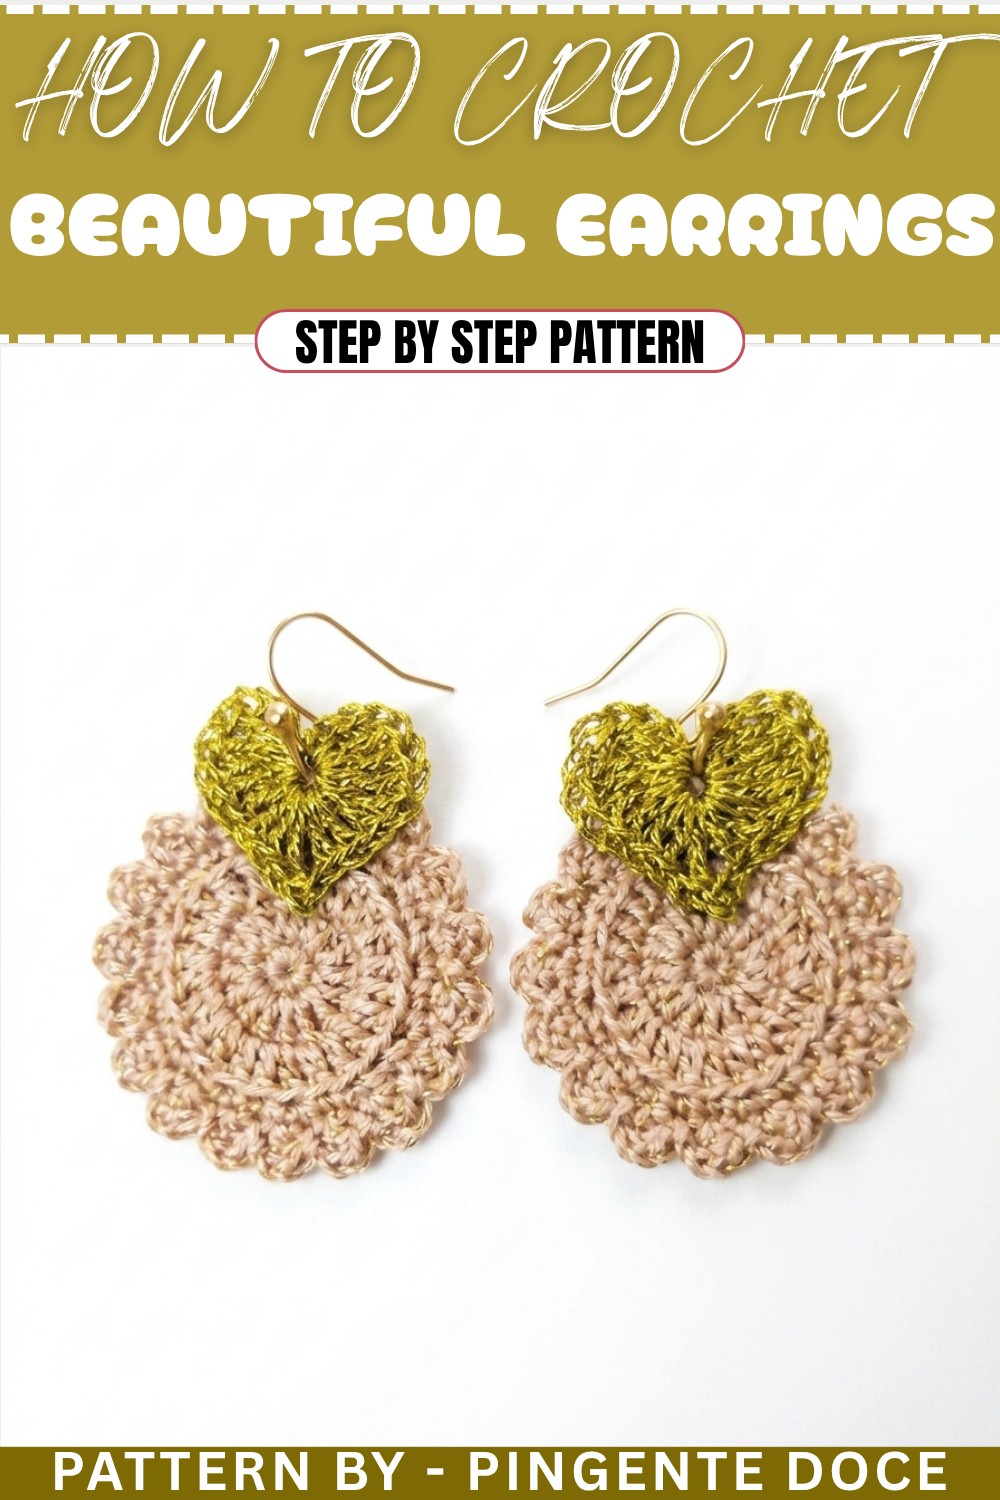
Looking for a creative way to showcase your crochet skills? This crochet heart earring pattern is a cute and fashionable project, perfect for Valentine’s Day or as a special gift for someone you love. The earring combines simple and intermediate crochet techniques like the magic ring, single crochets, double crochets, and picot stitches to create an adorable heart-shaped design attached to a circular base. This quick, versatile pattern is customizable with various thread types and colors, making it perfect for every wardrobe.
Skill Level & Terminology
- Skill Level: Beginner to Intermediate. The tutorial includes accessible stitches but introduces some decorative techniques like the picot and back-loop only (BLO) stitches for textural accents.
- Terminology: The pattern uses US Crochet Terms:
- Magic Ring (MR): Loop of yarn to create a foundation for working in the round.
- Single Crochet (Sc): The basic crochet stitch.
- Double Crochet (Dc): Tall stitch with two yarn overs and pull-throughs.
- Back Loop Only (BLO): Working only into the back loop of a stitch, leaving the front loop unworked for a ridged texture.
- Slip Stitch (Sl st): Used to join rounds and create seamless finishes.
- Picot Stitch (Optional): Decorative chain loops worked into a stitch.
Materials & Tools
- Thread:
- Two colors of embroidery thread or lightweight crochet thread (shiny or matte as per your preference).
- Hook: 1 mm crochet hook.
- Scissors: For trimming loose ends.
- Sewing Needle: For finishing and weaving in thread ends.
- Fabric Glue: Mix fabric glue with water for stiffening.
- Earring Hardware: Earring hooks of your choice.
- Brush: To apply fabric glue evenly to the back of the earring.
Gauge
Gauge is not critical in this project. The finished earring will measure approximately 2.5–3 inches in diameter, depending on the hook size and thread type used. Adjust the size by using thicker or thinner thread and a larger or smaller hook.
Abbreviations List
| Abbreviation | Meaning |
|---|---|
| MR | Magic Ring |
| Ch | Chain |
| Sl st | Slip Stitch |
| Sc | Single Crochet |
| Dc | Double Crochet |
| BLO | Back Loop Only |
| Picot | Picot Stitch (Ch 3, Sl st into initial Ch) |
Special Stitch Instructions
Magic Ring (MR):
- Create a loop by wrapping the thread around your fingers, leaving a tail. Insert the crochet hook into the loop, yarn over, and pull through to secure the loop. Work your stitches inside the loop, pulling the tail to close the ring once the round is complete.
Picot Stitch:
- Work 3 Ch. Insert your hook into the top of the last stitch (through both loops) and make a Slip Stitch (Sl st) to form a loop-like decorative addition to the design.
What You'll Learn & Why You'll Love This Pattern
What You'll Learn:
- How to use the magic ring technique for creating circular foundations.
- How to add texture with BLO stitches and decorative picot stitches.
- How to stiffen crochet pieces for jewelry and add earring hardware.
Why You'll Love It:
This crochet earring pattern is quick, versatile, and perfect for gift-making. It allows you to customize your design with colors and threads, delivering a unique and stylish design that suits any occasion. The heart detail adds a loving touch, making it a beautiful and meaningful accessory.
Finished Size
The completed earring measures approximately 3 inches in total length (including the circular base and heart embellishment).
The Pattern Itself
Part 1: Circular Base
Round 1: Magic Ring and Single Crochets
- Create a Magic Ring using your base thread (color 1).
- Work 8 Single Crochets (Sc) into the Magic Ring.
- Pull the tail to close the ring, then join with a Slip Stitch (Sl st) into the first Sc.
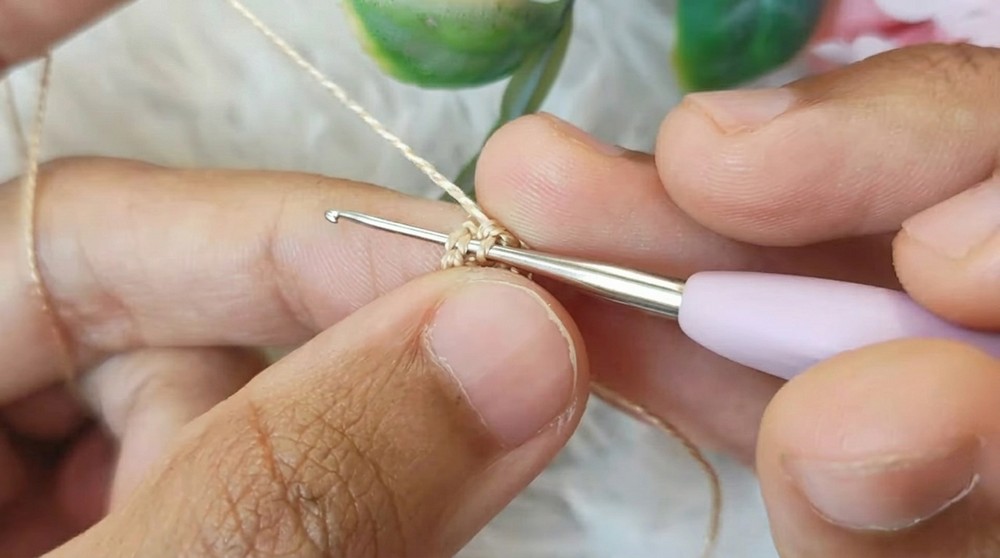
Quick Tip: The magic ring allows you to create a clean, tight center without a noticeable hole. For beginners, practice the magic ring technique a few times before starting the project.
Round 2: Double Crochet Increases
- Ch 2 (this does not count as the first stitch).
- In the same stitch, work 2 Dc (increase).
- Continue working 2 Dc into each stitch around the circle for a total of 16 stitches.
- Join the end of the round with a Sl st into the first Dc.
Round 3: Back-Loop Only Texture with Increases
- Ch 1 to begin.
- Work in Back Loop Only (BLO) for the entire round:
- Work 1 Sc into each of the first 2 BLO stitches.
- In the next stitch, work 2 Sc (increase).
- Repeat: Work 2 Sc, then 1 increase for the entire round. You should finish with 32 stitches.
- Close the round with a Sl st into the first Sc.
Quick Note: By working in the back loop (BLO), you create a ridged texture along the edge of the circular base, enhancing the earring’s aesthetic appeal.
Part 2: Decorative Layer
Round 4: Picot Edging
- Ch 3 to start.
- In the next stitch, work 1 Dc.
- In the next stitch, work 1 Sl st.
- Continue the sequence around:
- Ch 3, 1 Dc, 1 Sl st (repeat for all 32 stitches).
- Finish the Round: After completing the last sequence, tie off the thread and weave in the loose ends with a sewing needle on the backside for a clean finish.
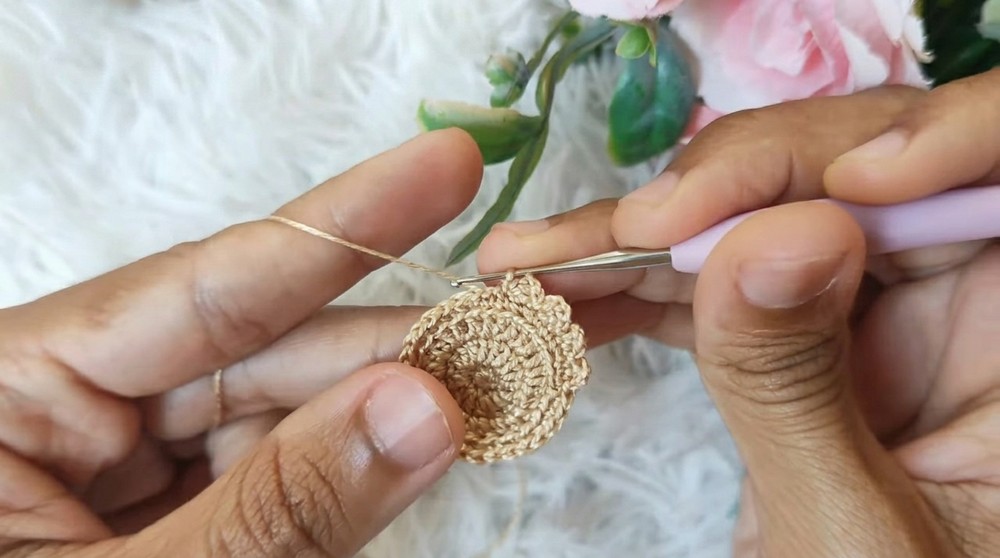
Overview: This step adds a flared, lace-like edge to the circular base, giving it an elegant and finished look.
Part 3: Crochet Heart
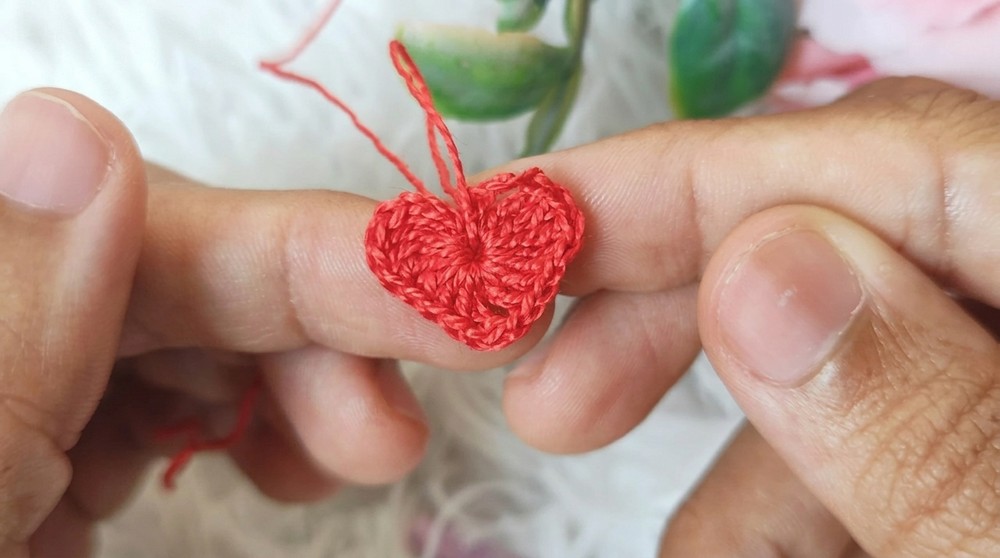
- Start with a Magic Ring using the second thread color (color 2).
- Work 4 Ch to begin, which will count as your foundation.
- Work Double Treble Crochets:
- Yarn over twice, insert the hook into the Magic Ring, and make 4 Double Treble Crochets (Dtr) by pulling through two loops 3 times.
- Create the Heart Points:
- Work 3 Sc into the Magic Ring.
- Ch 1, then make 1 Dtr.
- Form the Lower Heart Curve:
- Work 3 Dc into the Magic Ring.
- Work 4 Dtr into the ring (the second side of the heart should now mirror the first).
- Finish the Heart:
- Ch 4, then secure with a Sl st into the Magic Ring. Pull the tail to close.
- Cut the thread, leaving a small tail for finishing, and weave in the ends.
Assembly & Finishing
- Apply Glue:
- Use a mixture of fabric glue and water to stiffen the pieces. Apply a thin layer to the backside of the earring base and heart using a brush. Allow to dry completely.
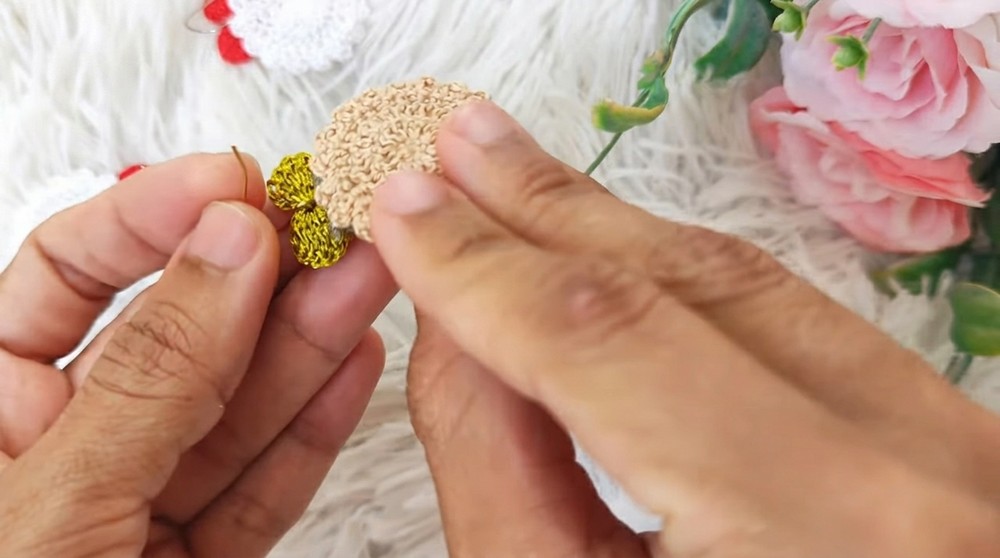
- Attach Heart to Base:
- Use glue to attach the heart to the circular base. Center it by aligning it with the seam lines of the circular rows. Press gently to secure and let dry thoroughly.
- Add Earring Hook:
- Attach the earring hook to the top of the circular base using pliers. Make sure the connection is secure before wearing.
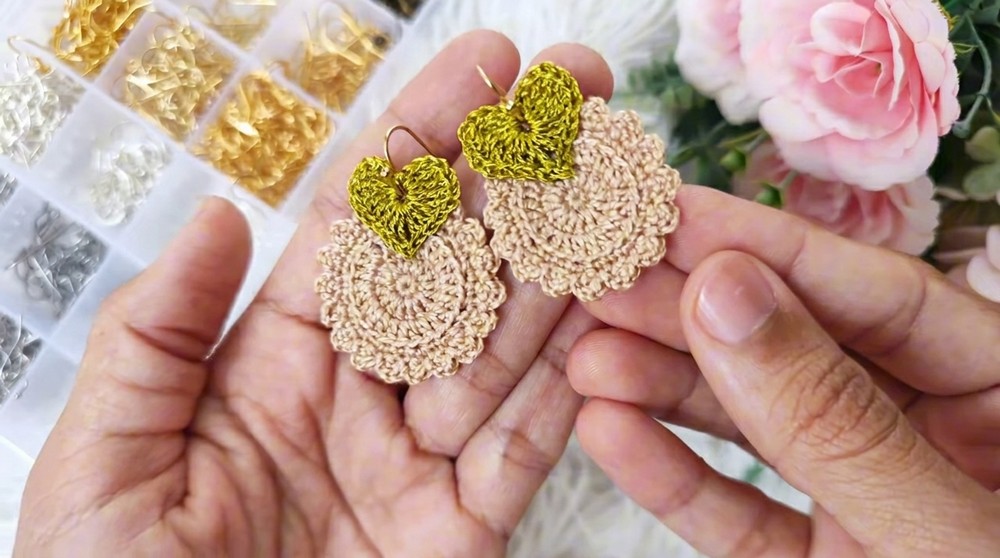
Tip: Let the glue dry completely for at least 24 hours to ensure durability.
Difficulties & Solutions
Challenge: Uneven edges in the picot or decorative layer.
Solution: Ensure consistent tension while chaining or practice picots on scrap thread before starting. Blocking the earring helps achieve smoother edges.
Challenge: Circular base curling or misshapen edges.
Solution: Practice working in rounds with proper tension. Blocking the finished piece and reinforcing it with fabric glue will ensure a flat, crisp finish.
Final Thoughts
This crochet heart earring pattern is perfect for anyone looking to create stylish and meaningful handmade accessories. By combining a circular base with a decorative heart, this pattern is simple yet impactful. Whether you gift these earrings to loved ones or use them to accessorize your own outfits, they’re sure to bring a smile. The added flair of picot stitches and the snug pull of the magic ring makes this project as rewarding as it is fun.