
Easy Crochet Granny Square Earrings Pattern for a Vintage Look
Try the Free Crochet Granny Square Earrings Pattern for fun earrings that add color and joy to your everyday style.
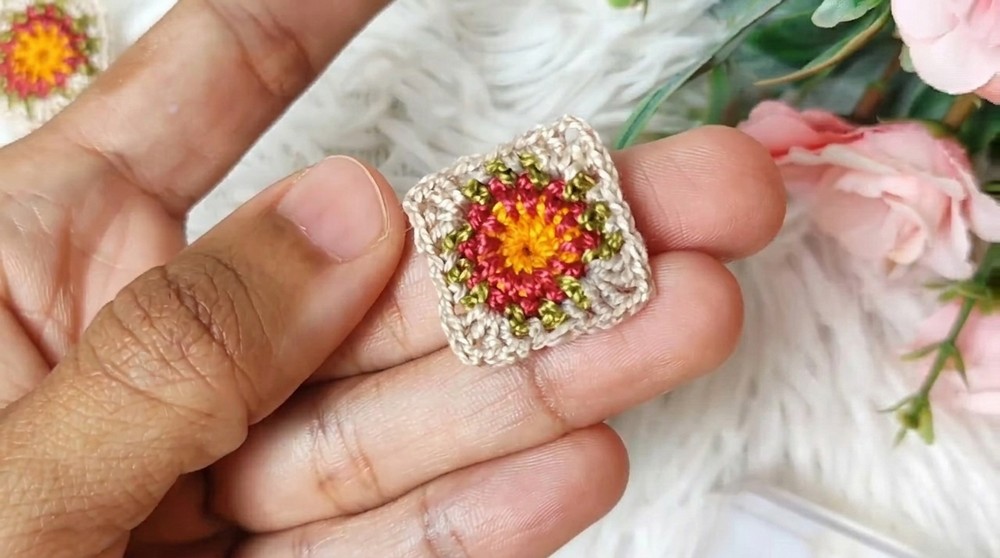
Sometimes, the simplest shapes can become the most charming accessories. These granny square earrings bring a classic crochet pattern into a tiny, wearable form that’s full of personality. Using double crochets and chains, the pattern creates little squares with open spaces that catch the light beautifully. Their bright colors and geometric pattern make them perfect for everyday wear or as a fun pop of style at any casual event. The stitches give the earrings a light and airy feel, so they’re comfortable to wear but still eye-catching.
Graceful Crochet Granny Square Earrings Pattern for Trendsetters
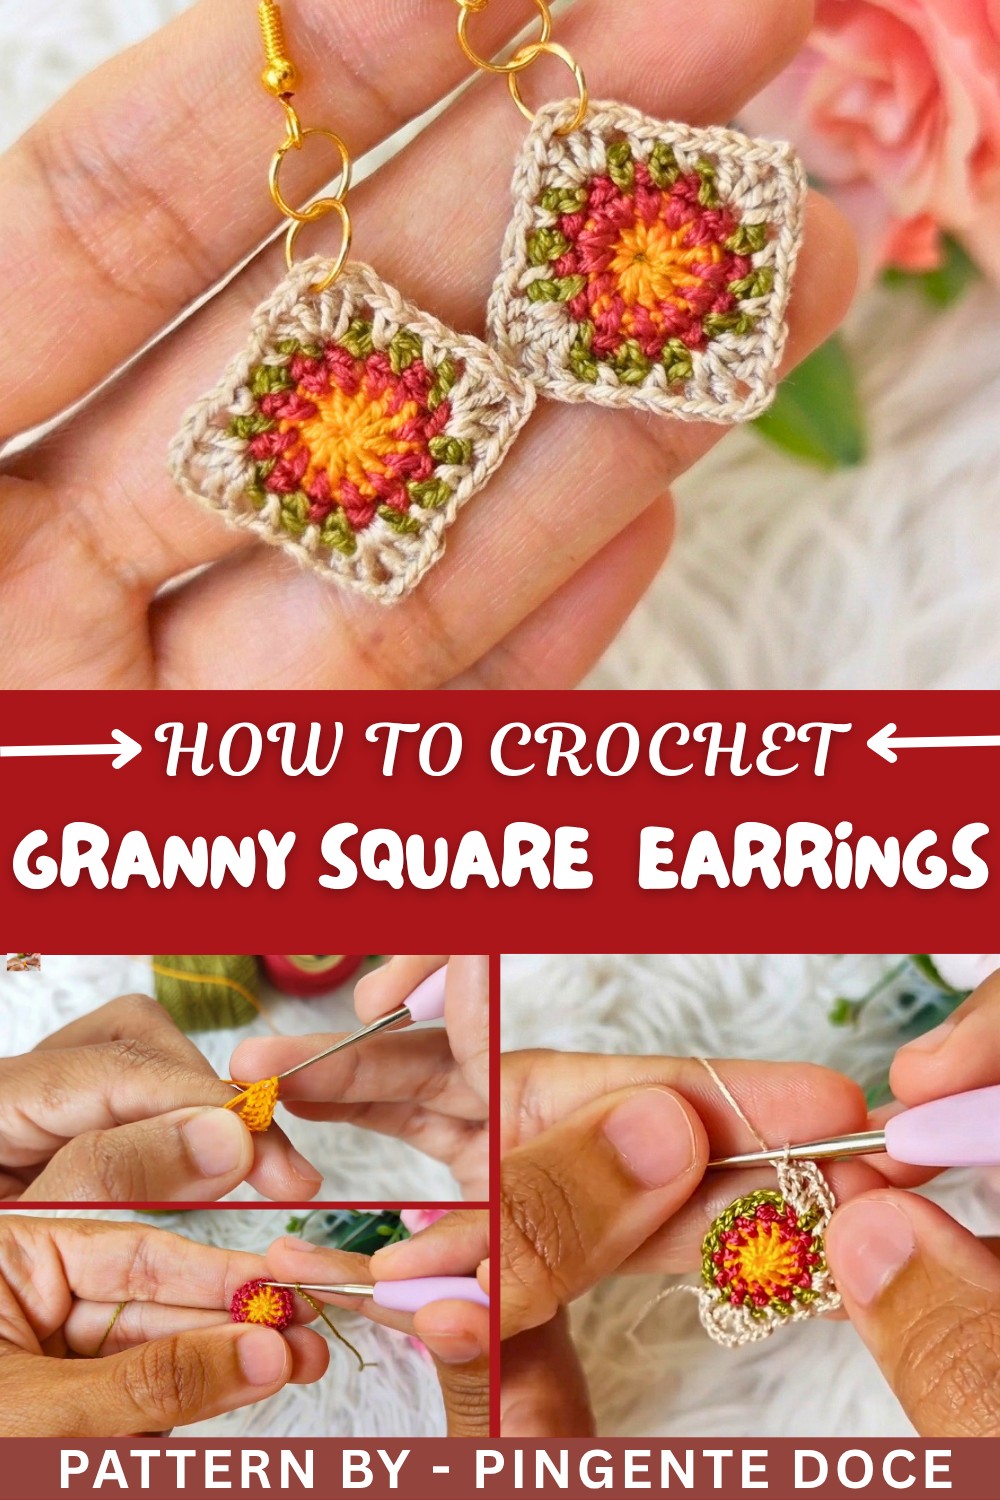
The project starts with a small magic ring, where you work 12 stitches to form the base circle. From there, you build out the square by working rounds of double crochets and chains that create the classic granny square shape. Changing yarn colors between rounds makes the design even more playful and colorful. The edges are finished by carefully weaving in ends and adding a chain-based border, giving a neat look. When you add earring hoops, these squares transform into cute, lightweight pieces that brighten any outfit. A drop of washable fabric glue helps keep everything in place without stiffening the fabric.
Creative Uses of Granny Squares
This classic pattern is very adaptable. Beyond earrings, you can make larger granny squares to create blankets, scarves, or pillows. Smaller squares can be connected into bracelets or pendants as well. By mixing and matching yarn colors, you can personalize each piece to suit your style or gifting needs. This simple yet versatile pattern invites you to explore countless creative projects with just basic crochet stitches.
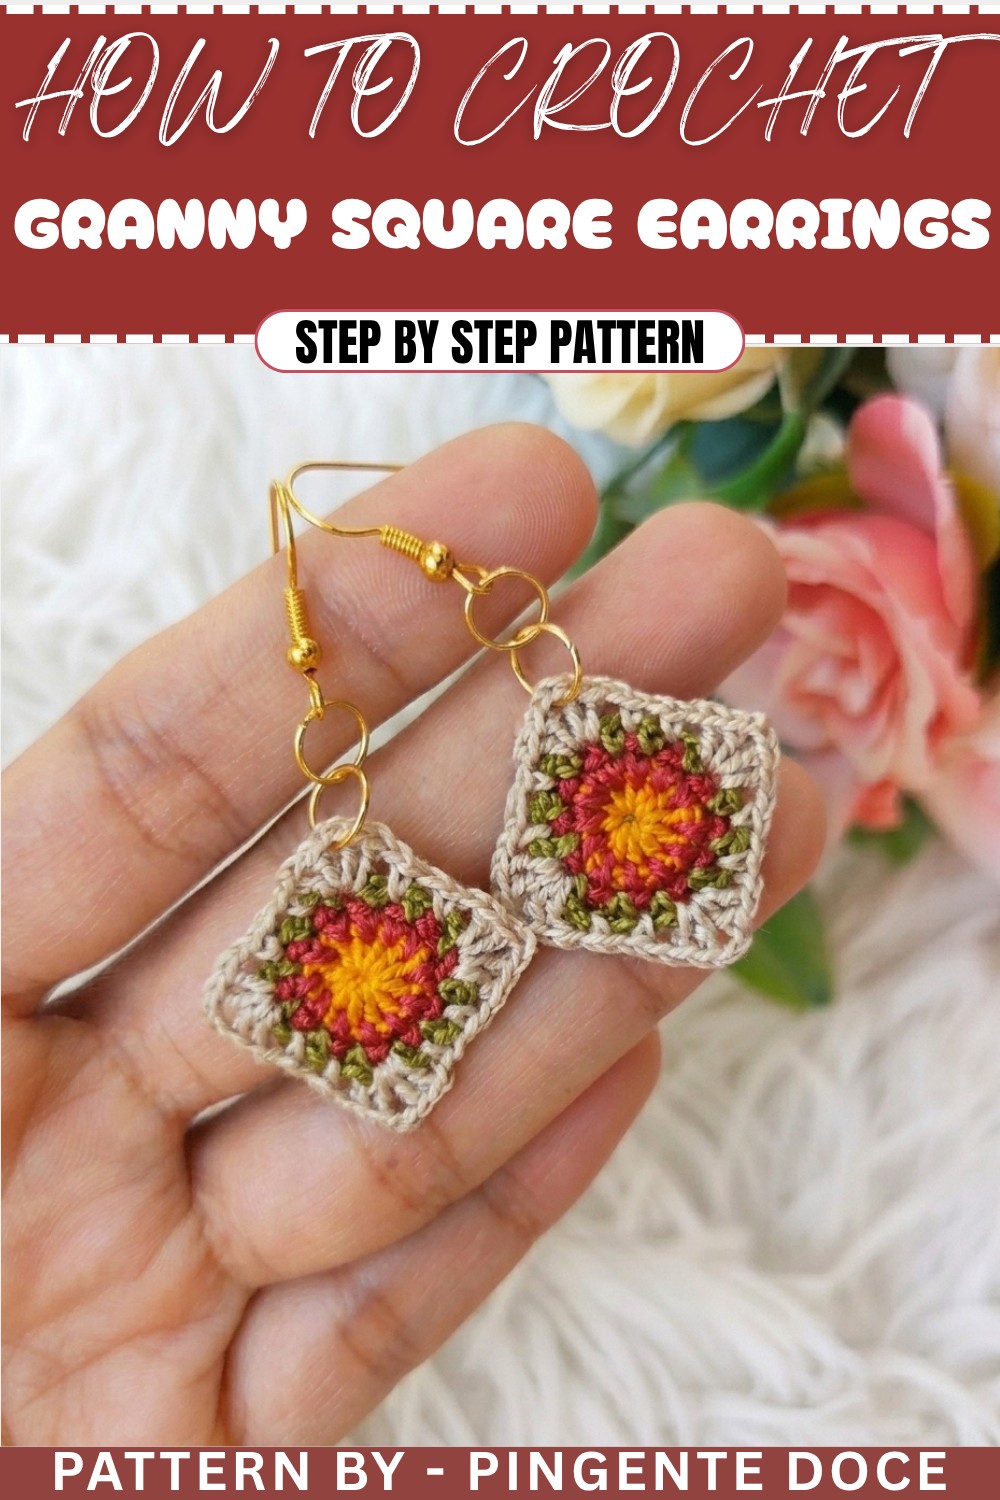
Crochet Circular Earring Pattern
This colorful crochet earring pattern is an elegant, quick-to-make accessory that uses different shades of yarn for beautiful layers and texture. Perfect for festivals, gifting, or everyday wear, this pattern allows you to crochet lightweight earrings with intricate details using basic crochet techniques like a magic ring, chains, single crochets, and double crochets. The final pattern is elevated with picot-like spacing and a beautiful finishing loop, creating visual interest while being light and comfortable to wear.
Skill Level & Terminology
- Skill Level: Beginner to Intermediate
This project is perfect for beginners with basic knowledge of common stitches such as single crochet, double crochet, slip stitches, and how to use a magic ring. Intermediate crocheters will find satisfaction in creating detailed rows with multiple color changes. - Terminology: This pattern uses US Crochet Terms, as follows:
- Magic Ring (MR): A foundational technique for crocheting in the round.
- Chain (Ch): Creates loops for foundation and spacing stitches.
- Single Crochet (Sc): A compact, tight stitch used for structure.
- Double Crochet (Dc): A taller stitch used for design and texture.
- Slip Stitch (Sl st): Used for joining rounds/stitches to avoid gaps.
Materials & Tools
- Thread:
- Lightweight yarn or embroidery floss in four colors (choose contrasting or complementary shades depending on the design you want).
- Hook: 1 mm crochet hook.
- Scissors: For trimming yarn ends.
- Tapestry Needle: For weaving in loose ends and finishing the piece.
- Glue: Washable fabric glue mixed with water, for stiffening the earring.
- Hook and Earring Rings: Jewelry hardware to complete the accessory.
Gauge
Gauge is not critical for this pattern as the design creates a small earring, but consistent tension is important for symmetry. The finished earring will measure approximately 2 inches in diameter depending on yarn and hook size.
Abbreviations List
| Abbreviation | Meaning |
|---|---|
| MR | Magic Ring |
| Ch | Chain |
| Sc | Single Crochet |
| Sl st | Slip Stitch |
| Dc | Double Crochet |
Special Stitch Instructions
Magic Ring (MR):
- Wrap the yarn around your fingers to form a closed loop.
- Insert the hook into the loop, yarn over, and pull up a loop.
- Chain 1 to secure the ring, followed by the specified stitches.
What You’ll Learn & Why You’ll Love This Pattern
What You'll Learn:
- How to crochet in the round using a magic ring.
- Techniques for chaining and creating decorative double crochet clusters.
- Steps to apply jewelry hardware to crochet accessories.
Why You’ll Love It:
This pattern is quick, fun, and elevates simple techniques into elegant earrings. With opportunities to experiment with colors and finishes, these earrings are customizable and make stylish gifts for any occasion.
Finished Size
The final crochet earring measures approximately 2 inches in diameter, perfect for lightweight, eye-catching jewelry.
The Pattern Itself
Part 1: Base Circle (First Color)
Round 1:
- Begin with a Magic Ring (MR).
- Ch 3 (counts as the first Dc), and then work 11 Dc into the ring.
- You will have 12 stitches total, including the chains.
- Cut the thread, tighten the magic ring to close the circle entirely, and secure with a Slip Stitch (Sl st) into the top of the first Dc.
- Use a tapestry needle to weave in the loose ends neatly.
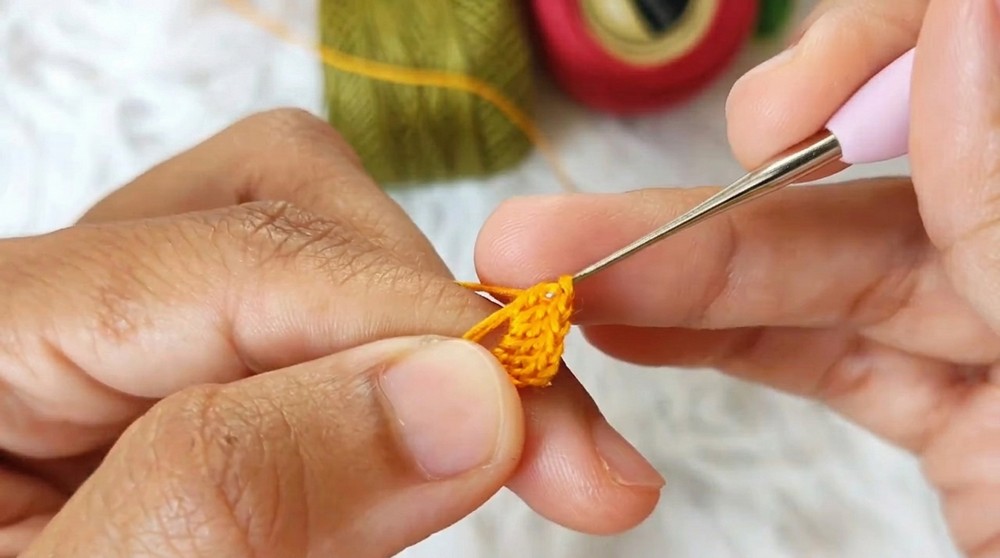
Part 2: Adding Texture (Second Color)
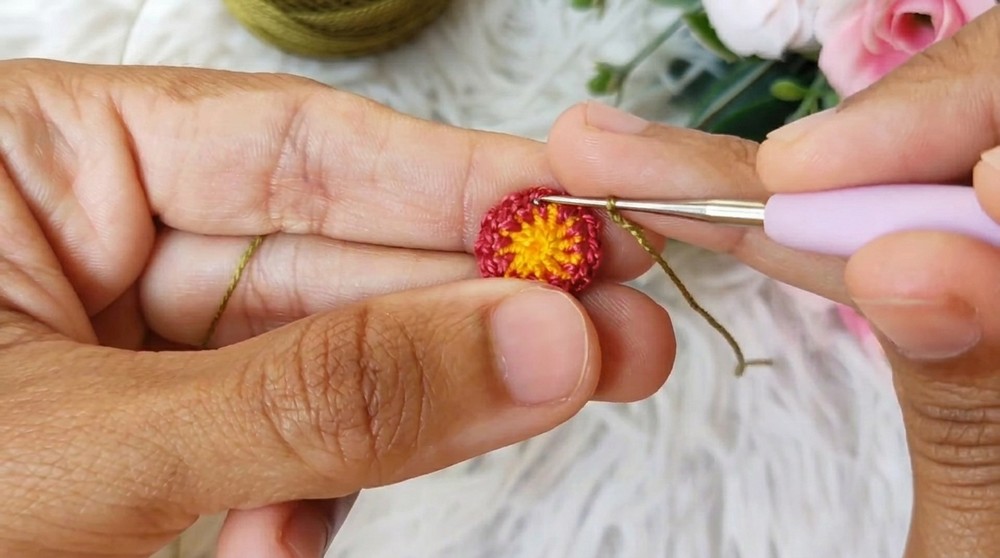
Round 2:
- Attach the second color by making a Slip Knot and inserting the hook into the spaces between the stitches of the first round.
- Work 1 Sc, followed by Ch 1, then continue the sequence: Sc into a space, Ch 1 across all spaces (between the Dc stitches).
- After the last Sc, skip the final chain. Cut the yarn and finish the row with the tapestry needle, hiding the loose ends neatly at the back.
Part 3: Decorative Chain Spaces (Third Color)
Round 3:
- Attach the third color using a Slip Knot and insert your hook into any chain space from Round 2.
- Sc into the chain space and follow with Ch 1.
- Continue making 1 Sc into each chain space, Ch 1 around the circle.
- After completing the row, skip the last chain, cut the thread, and finish using the tapestry needle as before.
Part 4: Creating Petals (Fourth Color)
Round 4:
- Attach the fourth color using a Slip Knot.
- Insert the hook into the first chain space, then follow this sequence for each chain space:
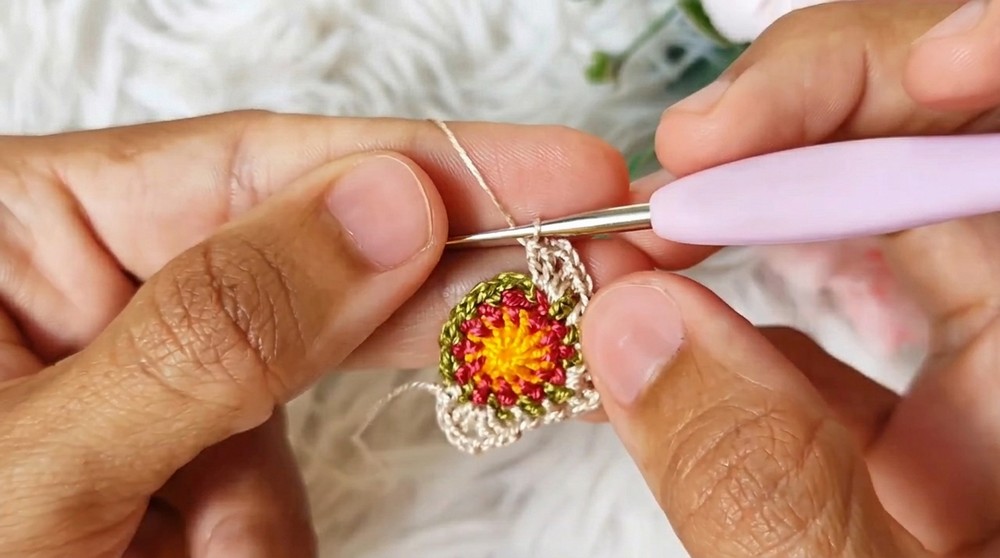
- Sc, Ch 1, 2 Dc, Ch 2, 2 Dc (in the same chain space).
- Ch 1, and Sc in next chain space.
- After completing the full round with decorative clusters, repeat the sequence twice more:
- Work 2 Dc, Ch 2, 2 Dc in one chain space, and Sc in the next chain space.
- Cut the thread and sew in the loose ends.
Assembly & Finishing
- Glue Application:
- Mix fabric glue with water and apply it lightly to the back of the earring using a small brush.
- Allow the piece to dry completely for added stiffness and durability.
- Adding Jewelry Hardware:
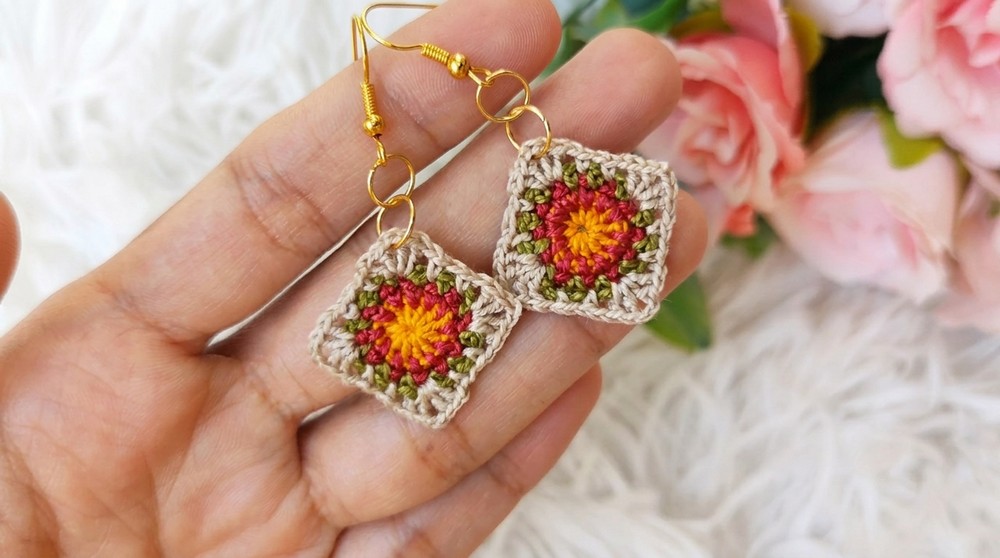
- Attach one small ring at the top of the earring by threading it through a chain space.
- Add a second ring to the first and attach the earring hook.
Difficulties & Solutions
Challenge: Uneven Puff Stitches or Chain Spaces
Solution: Maintain a consistent yarn tension while working across all rows. Check each stitch count after completing a round to ensure symmetry.
Challenge: Flimsy or Misshapen Earrings
Solution: Use fabric glue or a stiffening solution to add structure to the earring and ensure its durability.
Final Thoughts
This crochet circular earring pattern is a beautiful project for beginners or experienced crocheters who want to explore jewelry-making. The intricate yet straightforward pattern showcases color transitions and textured details, making the earrings stylish and customizable. Lightweight and quick to complete, these earrings are perfect for gifting, festive occasions, or everyday wear. By following this pattern, you’ll learn foundational crochet techniques while crocheting a unique piece of wearable art.