
Charming Crochet Fish Earrings Pattern for Summer Style
Spark up your style with the Free Crochet Fish Earrings Pattern for quirky accessories that instantly catch attention.
Finding the perfect lightweight and unique accessory that stands out can sometimes be tricky, but these charming crochet fish earrings solve that problem beautifully. Their playful shape and bright colors bring a fun splash of personality to any outfit while remaining comfortable to wear all day. The pattern highlights the use of single and double crochet stitches, along with strategic increases and color changes to create a colorful, textured fish shape. Whether you’re new to crochet or have some experience, this project is approachable and rewarding, making it easy to add a touch of handmade creativity to your jewelry collection.
Learn this Crochet Fish Earrings Pattern Perfect for Beach Vibes
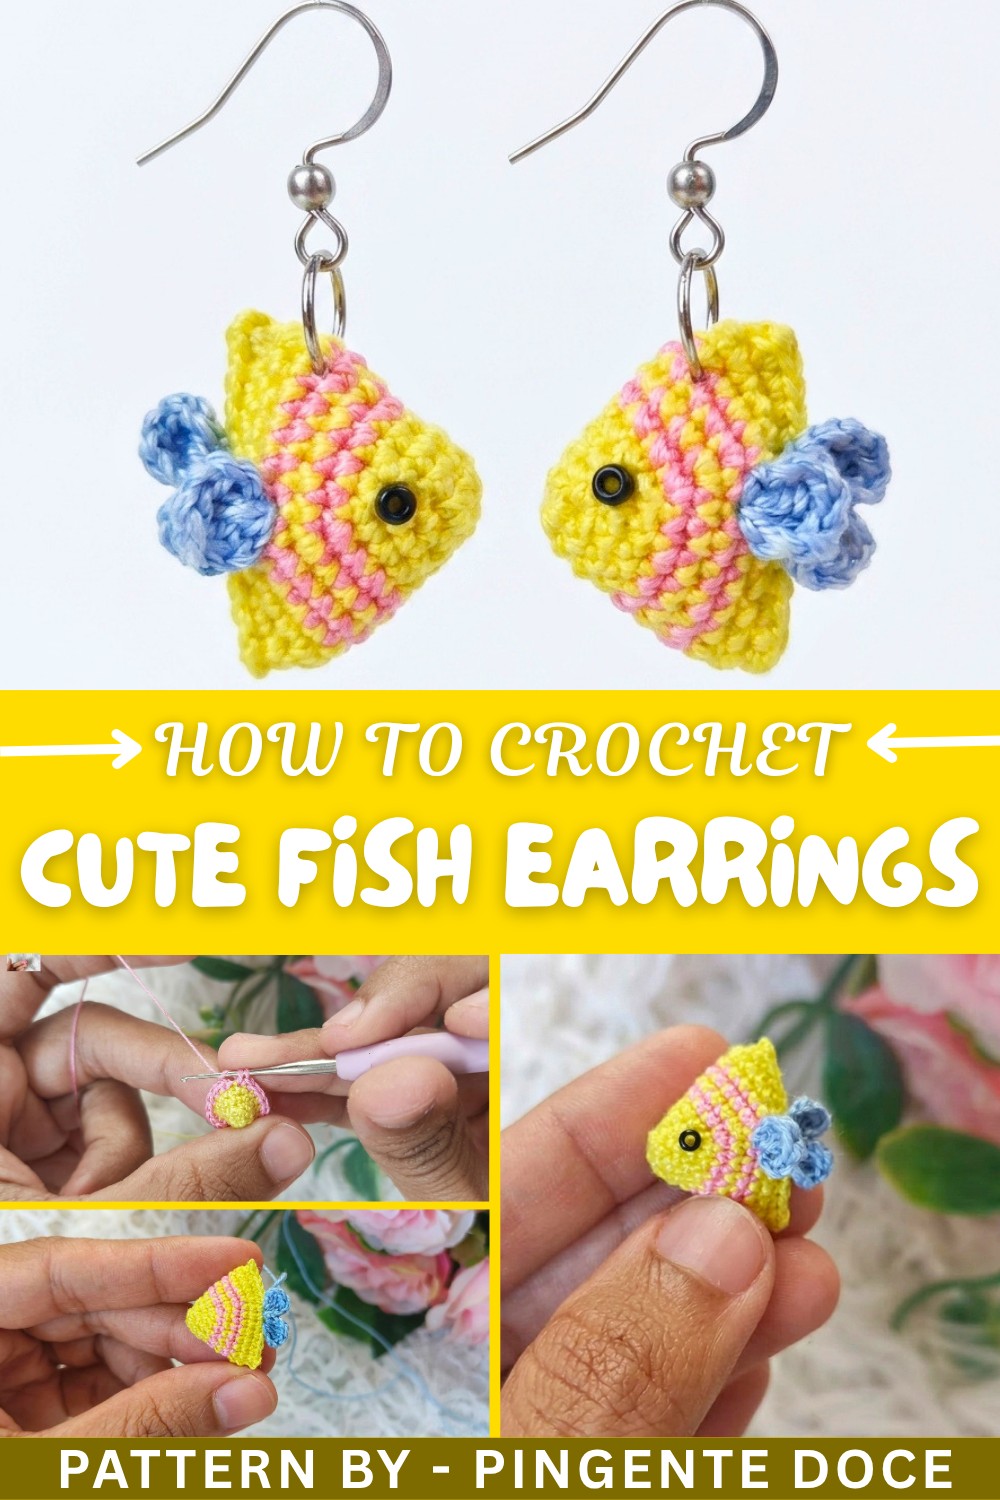
The process begins with a magic ring, building the fish shape stitch by stitch using single and double crochets. Carefully placed increases help shape the body and fins, while changing yarn colors adds lively stripes that bring your little fish to life. Once crocheted, folding, sewing, and a bit of stuffing give it a soft, three-dimensional look. Small added beads create sparkling eyes, giving your earrings a charming finishing touch. In a short time, you’ll have a pair of earrings that are not only stylish but also a fun story to share.
More Ideas to Crochet Using This Pattern
This fish pattern isn’t limited to earrings. You can make larger or smaller versions to create brooches, keychains, or cute ornaments that brighten up any space. Imagine a colorful school of crochet fish as a baby mobile or wall decoration. By playing with size, yarn colors, and finishes, this versatile pattern opens the door to many creative and delightful projects.
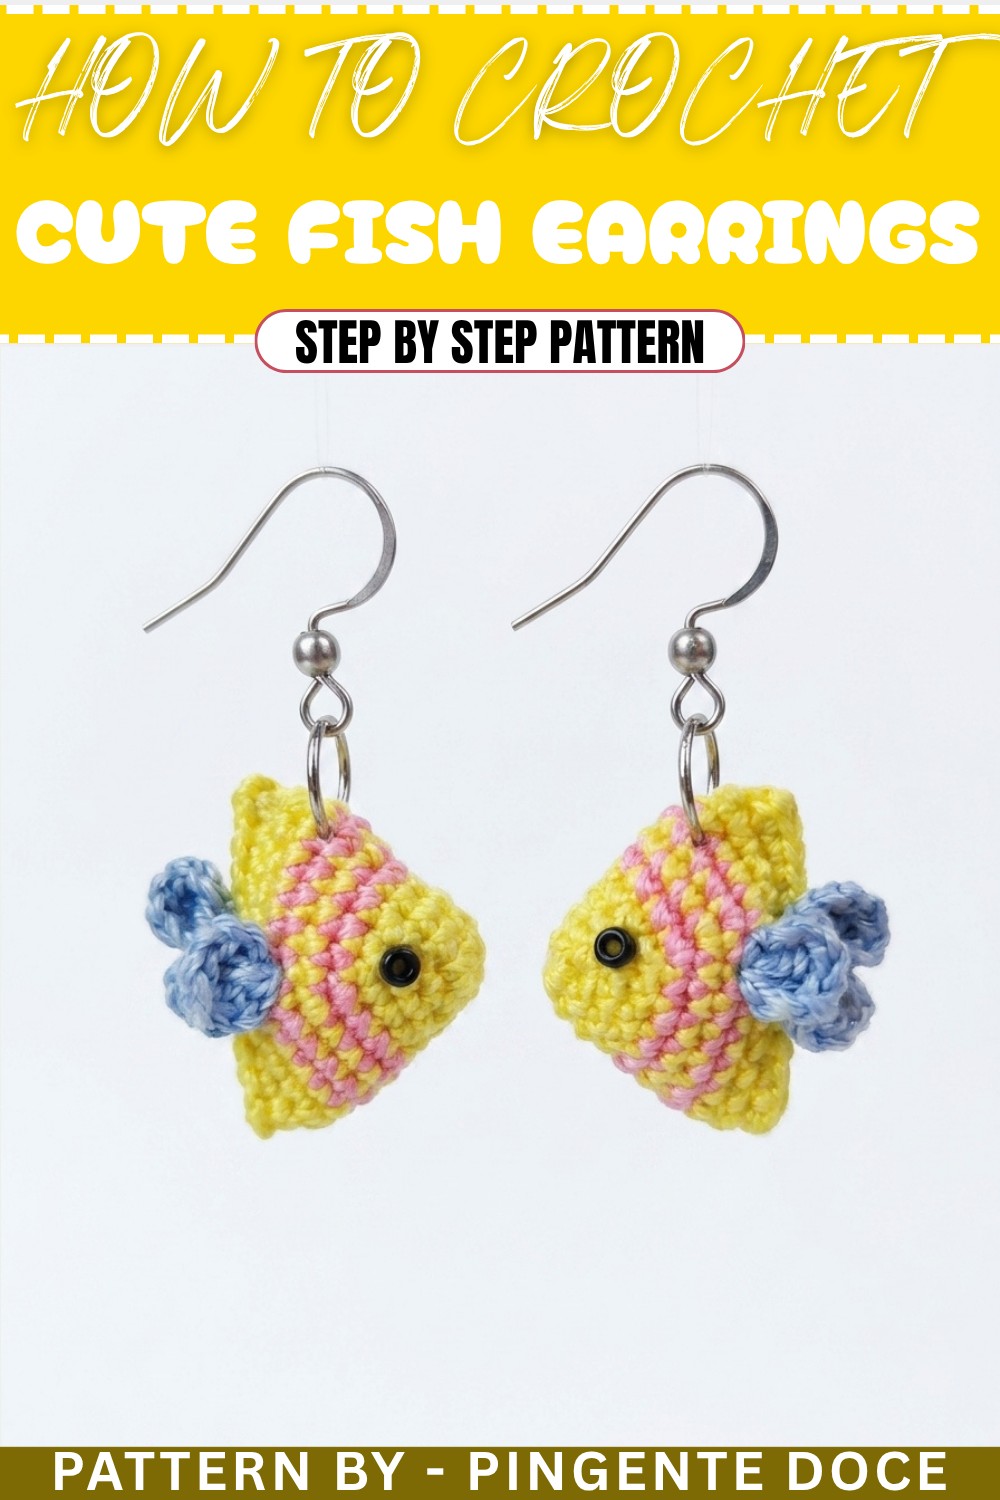
Crochet Fish Earrings Pattern
This crochet fish earring pattern is a fun and creative accessory project, ideal for adding a unique touch to your jewelry collection or for gifting. The step-by-step instructions guide you through creating a cute fish design using basic crochet stitches. It’s quick to make, customizable in colors, and suitable for beginners or experienced crocheters looking for a small, satisfying project. The fish earrings are lightweight, colorful, and perfect for any occasion!
Skill Level & Terminology
- Skill Level: Beginner
This pattern makes use of basic stitches like single crochet, double crochet, slip stitch, and chain stitch. Clear instructions ensure success even for beginners. - Terminology: US crochet terms are used in this pattern:
- Magic Ring (MR): A method to start crocheting in the round.
- Chain (Ch): Basic loop stitches that add height and spacing.
- Single Crochet (Sc): A compact, versatile stitch.
- Double Crochet (Dc): A taller stitch for shaping and structure.
- Slip Stitch (Sl st): For joining rounds and creating a clean finish.
Materials & Tools
- Thread:
- Thin crochet threads in contrasting colors (e.g., yellow, pink, and other bright tones).
- Crochet Hook: 1 mm crochet hook.
- Scissors: To trim yarn ends.
- Needle: For sewing thread ends and assembling the earring.
- Earring Hooks: For making your fish wearable as earrings.
- Beads: Small black beads for the fish's eyes.
- Polyfill (optional): For lightly stuffing the fish body.
Gauge
Gauge is not essential as these are small decorative pieces. However, consistent tension will make the fish appear uniform. Each earring measures approximately 2.5 inches length and 1 inch width when completed.
Abbreviations List
| Abbreviation | Meaning |
|---|---|
| MR | Magic Ring |
| Ch | Chain |
| Sc | Single Crochet |
| Dc | Double Crochet |
| Sl st | Slip Stitch |
| Inc | Increase (two stitches in the same stitch) |
Special Stitch Instructions
Magic Ring (MR):
- Wrap yarn/thread to form a closed loop.
- Insert hook into the loop, yarn over, and pull through.
- Chain 1 to secure, then work the desired number of stitches into the loop.
- Pull the loose thread tail tightly to close the circle.
Increase (Inc):
- Work two stitches into the same base stitch to add volume and shape. For example, two single crochets in one stitch.
What You’ll Learn & Why You’ll Love This Pattern
What You'll Learn:
- How to crochet in the round using the Magic Ring technique.
- How to make increases to shape decorative features like the fish’s tail.
- Techniques to customize small designs into unique jewelry pieces.
Why You’ll Love It:
This pattern is quick, fun, and allows for creative freedom with color and embellishments. You'll enjoy crafting adorable accessories that are lightweight, stylish, and perfectly suited for gifting or wearing at summer events.
Finished Size
The finished fish earrings measure approximately 2.5 inches long and 1 inch wide, making them perfect for wearable accessories.
The Pattern Itself
Part 1: Fish Body
Round 1: Start With the Magic Ring
- Create a Magic Ring (MR).
- Inside the ring, work 6 Sc.
- Pull the thread tail to tighten the ring.
- Sl st into the first Sc to close the round.
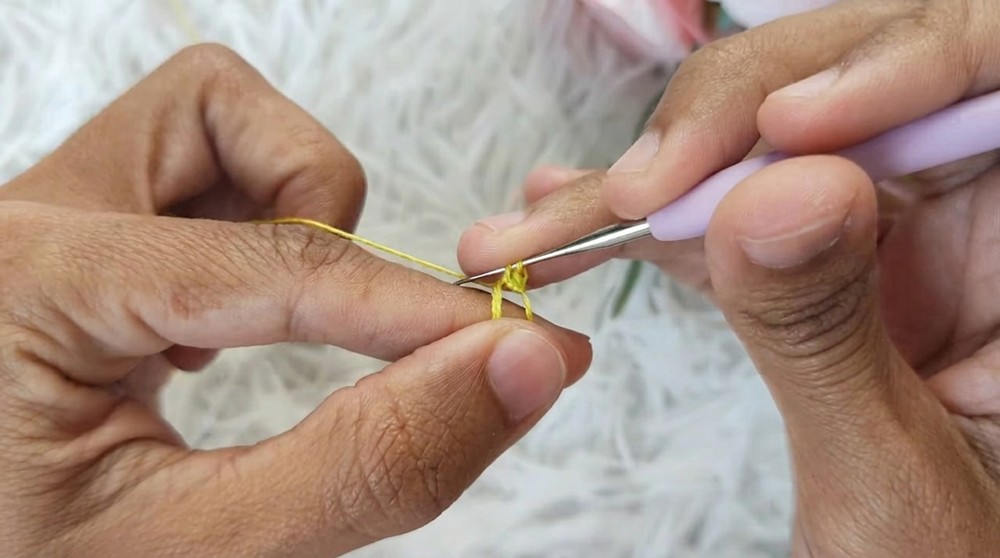
Explanation for Beginners: This forms the base of the fish's body. The magic ring keeps the circular foundation tightly closed.
Round 2: Increases
- Ch 1, and work 1 Sc into the first stitch.
- In the next stitch, work 2 Sc (Inc).
- Repeat the sequence 1 Sc, 1 Inc for a total of 9 stitches.
- Sl st into the starting Sc to close the round.
Explanation for Beginners: This round starts shaping the fish body by adding more stitches evenly across the foundation.
Round 3: Expanding the Body
- Turn the piece to the correct side.
- Secure the leftover thread from the magic ring by knotting and cutting the excess.
- Ch 1, work 1 Sc into the next two stitches.
- In the next stitch, work 2 Sc (Inc).
- Repeat the sequence 2 Sc, 1 Inc for a total of 12 stitches.
- Sl st to close the round.
Explanation for Beginners: Turning the piece ensures it starts forming a flat design. This round expands the fish body further for proper proportions.
Round 4: Continuing the Expansion
- Ch 1, and work 3 Sc (one in each stitch).
- In the next stitch, work 2 Sc (Inc).
- Repeat the sequence 3 Sc, 1 Inc for three sets; you’ll end up with 15 stitches.
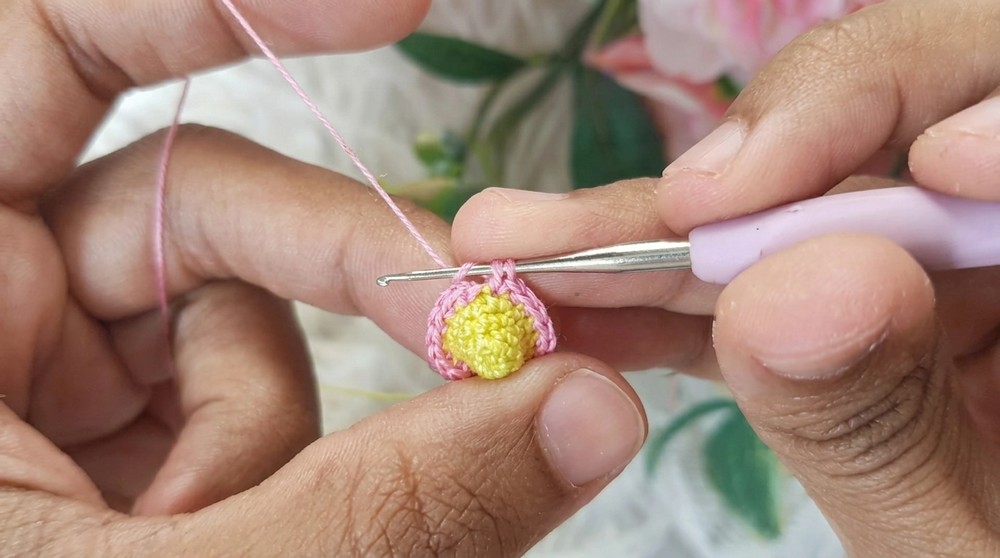
Round 5: Final Expansion Before Tail
- Change thread color after the last stitch by pulling the new color through the last two loops.
- Ch 1, work 4 Sc (one in each stitch).
- In the next stitch, work 2 Sc (Inc).
- Repeat the sequence 4 Sc, 1 Inc for a total of 18 stitches.
Part 2: Creating the Tail
Row 1: Tail Base
- Fold the fish body gently in half and secure the two sides together by crocheting 12 Sc (through both layers).
Explanation for Beginners: This step joins the two halves of the fish body and sets the foundation for the tail.
Row 2: Tail Finish
- Count 5 stitches from the tail section, and insert the needle into the 6th stitch.
- Change thread color.
- Ch 3, work 3 Dc into the same stitch.
- Ch 2, sl st back into the same stitch to form the first fan-like tail section.
Repeat Tail Sections:
- In the next stitch, Ch 2, and work 3 Dc into the same stitch.
- Ch 2, and sl st into the same stitch.
- Continue for the opposite side of the tail.
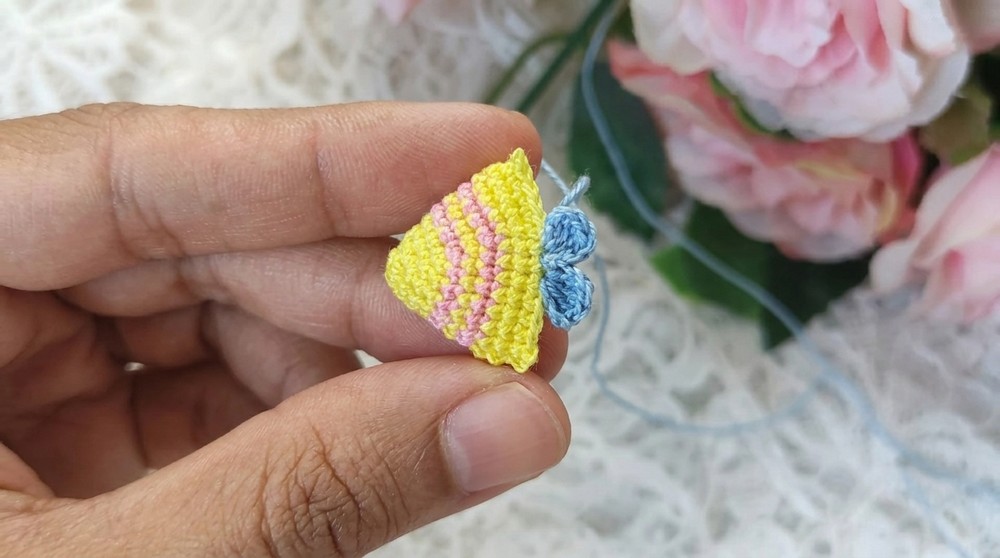
Explanation for Beginners: The tail creates a fan-shaped detail that resembles the fins of a fish.
Part 3: Embellishments and Assembly
Step 1: Stuffing the Fish Body
- Add a small amount of polyfill or stuffing if desired.
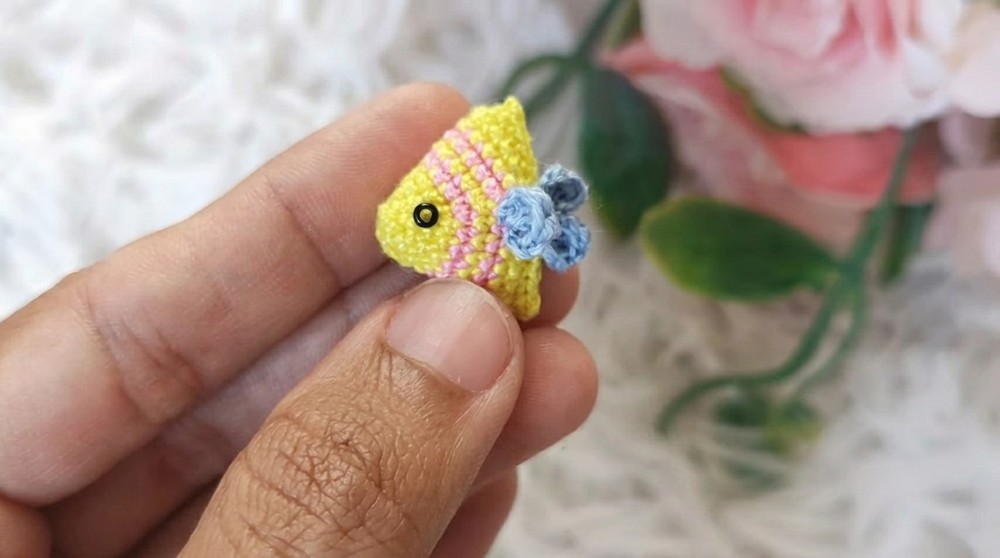
Step 2: Adding Details
- Glue on small black beads as the eyes for each fish.
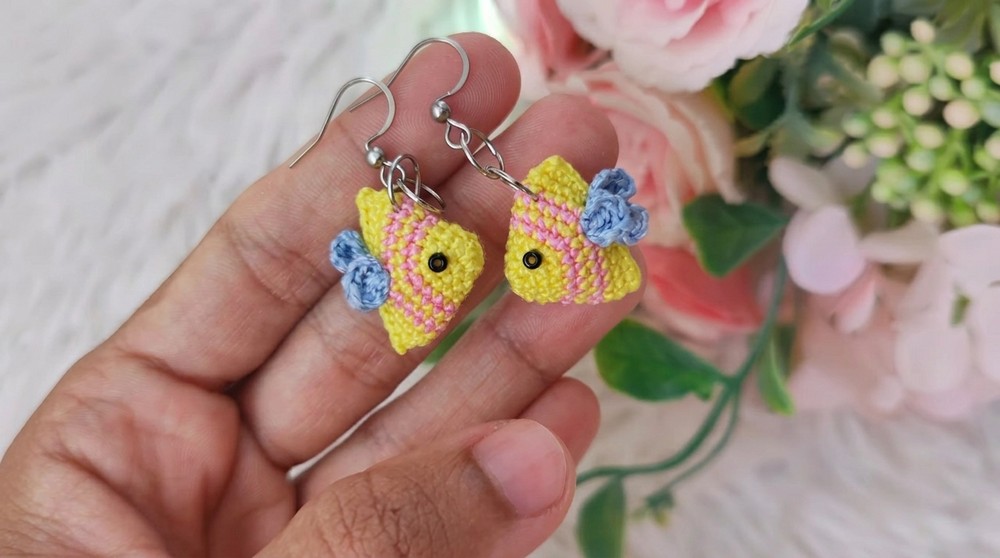
Step 3: Attach Earring Hooks
- Sew or attach earring hooks securely at the top of the fish.
Difficulties & Solutions
Challenge #1: Loose Magic Ring
Solution: Tug the magic ring loop tightly after completing your stitches, then secure it with a knot if necessary to prevent loosening.
Challenge #2: Uneven Tail Sections
Solution: Maintain consistent tension while working the double crochet stitches on the tail. Use stitch markers to ensure symmetry.
Final Thoughts
The crochet fish earrings are a delightful accessory that is fun to create and lovely to wear. Their compact pattern makes them quick, customizable, and portable, letting you crochet a piece of wearable art in no time. The pattern uses basic techniques, allowing beginners to gain confidence while producing a professional-looking finish. Whether you're gifting or creating for yourself, these earrings are sure to make a splash!