
Elegant Crochet Heart Earrings Pattern for Unique Jewelry
Accent your outfits instantly with the Free Crochet Heart Earrings Pattern for dazzling earrings that add playful charm.
Jewelry has a unique way of showcasing personality, and handmade earrings add an extra touch of creativity and charm. These delicate crochet heart earrings radiate a sweet elegance with their lovely heart shape and neat outlines. The beauty lies not only in their pattern but also in their versatility. You can wear them every day or save them for special occasions, making any outfit feel more personal and special. The pattern uses classic crochet techniques such as double crochet, slip stitches, and chains which create a textured and lightweight fabric perfect for earrings. This makes the project both accessible and rewarding for beginners and experienced crocheters alike.
Step by Step Crochet Heart Earrings Pattern for Beginners
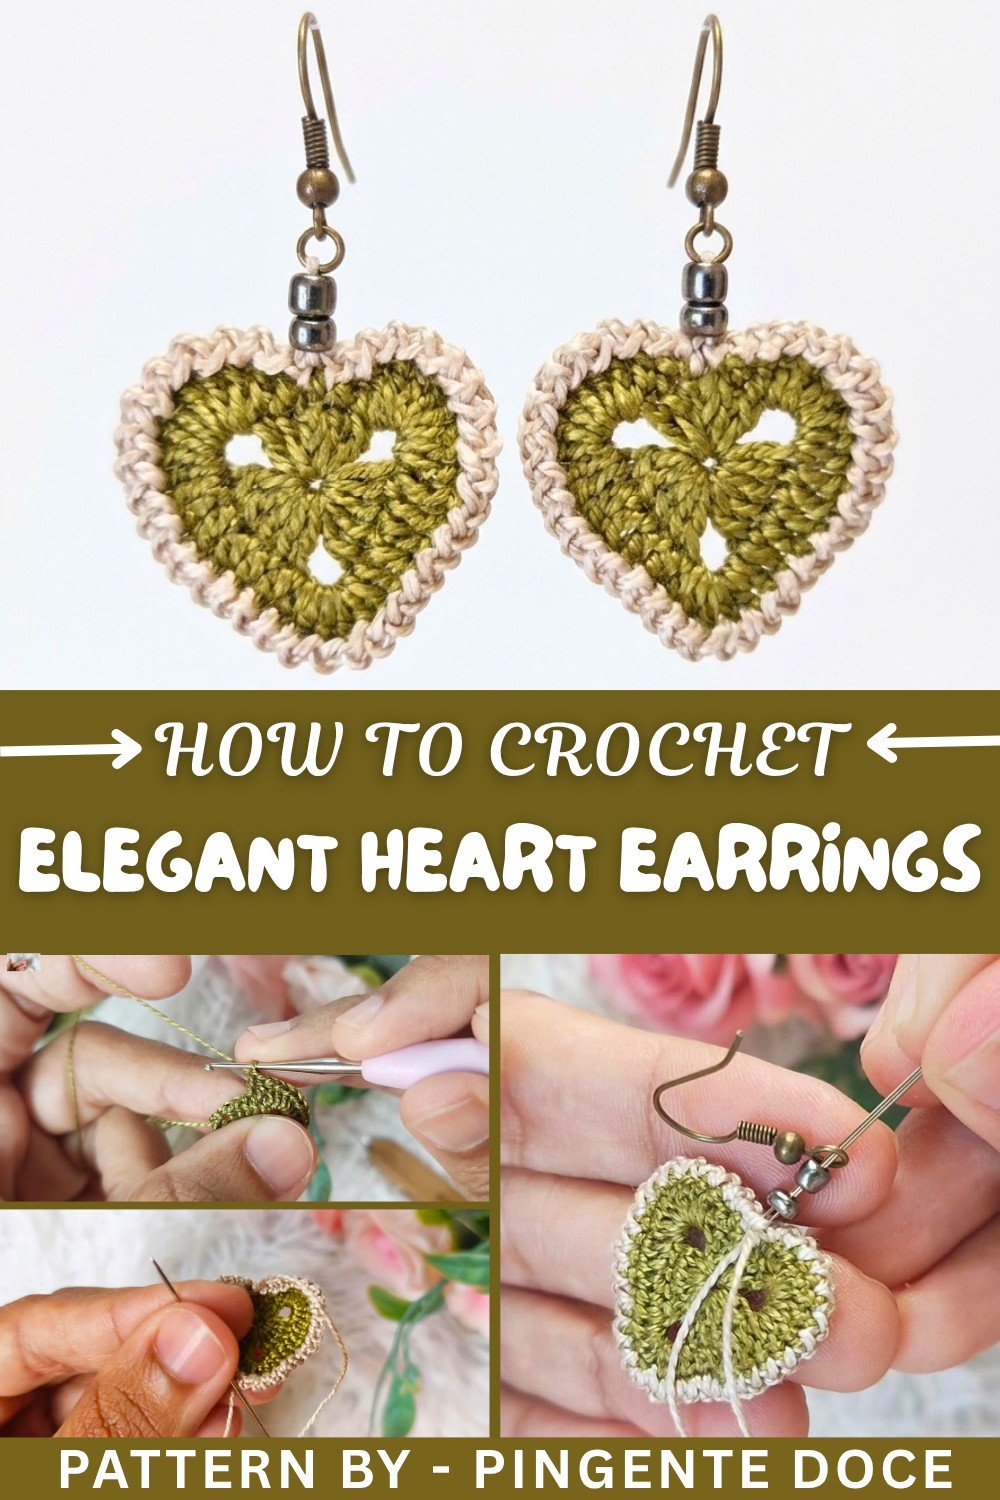
You begin with a magic ring and build the heart shape through carefully worked rows of double crochet and chain stitches. The neat finishing around the edges with slip stitches gives the earrings a polished look and adds durability. Adding a simple outline with contrasting thread highlights the heart's shape beautifully making it stand out. After assembling with basic earring hooks and optional beads, you’ll have charming accessories that showcase your crochet skills and a personal sense of style. The process is quick and enjoyable resulting in a stunning pair that anyone can create with just a bit of practice.
Creative Possibilities Beyond Earrings
This heart-shaped crochet design is wonderfully adaptable for other projects. You can turn the pattern into delicate pendants for necklaces or charming keychains. Bigger versions can become appliqués for scarves, hats, or bags, adding a loving handmade detail. Experimenting with different yarn colors and embellishments like beads or buttons opens the door to endless creative uses, making it a versatile pattern to keep in your crocheting collection.
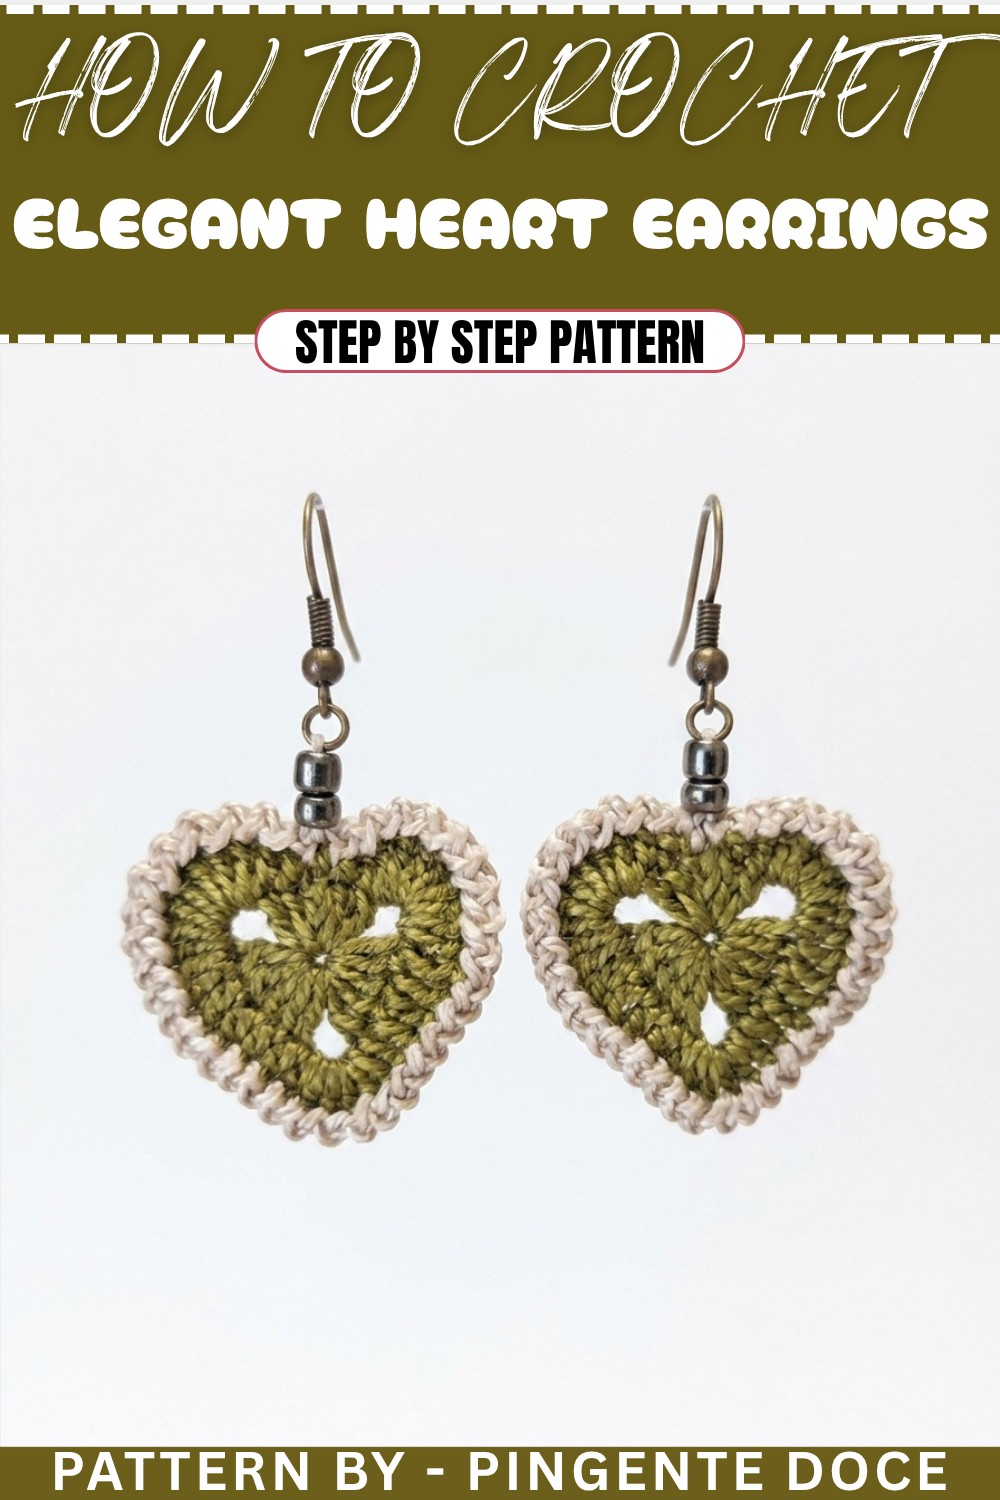
Crochet Elegant Heart Earrings Pattern
Crochet elegant heart earrings are a unique and charming accessory, easy to make and perfect for gifting or wearing to complement any outfit. This step-by-step pattern walks you through crocheting these stylish earrings from a magic ring to final embellishments. Using lightweight thread and simple attachments like beads and hooks, you’ll create a beautiful, delicate piece of jewelry. This is a quick project, ideal for beginners or those looking for a fast, satisfying crochet session.
Skill Level & Terminology
- Skill Level: Beginner
The pattern is straightforward, using accessible stitches like double crochets, single crochets, slip stitches, and chain stitches. Perfect for beginners! - Terminology: US crochet terms are used throughout:
- Magic Ring (MR): A foundation for projects worked in the round.
- Chain (Ch): Loop foundation stitches for height or spacing.
- Single Crochet (Sc): A compact and simple stitch.
- Double Crochet (Dc): A taller stitch for structure and shaping.
- Slip Stitch (Sl st): A joining or finishing stitch.
Materials & Tools
- Thread:
- Thin crochet thread (e.g., Encor thread) in two colors: one for the main heart and one for outlining.
- Hook: 1 mm crochet hook.
- Scissors: For cutting thread.
- Needle: For sewing and hiding ends.
- Hot glue (optional): Resin or fabric glue for stiffening.
- Beads: To embellish the earrings.
- Earring Hooks: For assembling into wearable earrings.
Gauge
Gauge is not critical for this project since it’s small and decorative. The final piece will measure about 2 inches wide and 2 inches tall, perfect for earrings.
Abbreviations List
| Abbreviation | Meaning |
|---|---|
| MR | Magic Ring |
| Ch | Chain |
| Sc | Single Crochet |
| Dc | Double Crochet |
| Sl st | Slip Stitch |
Special Stitch Instructions
Magic Ring (MR):
- Wrap thread around your fingers into a loop.
- Insert the hook into the loop, yarn over, and pull through.
- Chain 1 to secure the loop.
- Work specified stitches inside the loop, then pull the loose thread tail tightly to close.
What You’ll Learn & Why You’ll Love This Pattern
What You'll Learn:
- How to start with a magic ring and work in the round.
- Perfecting increases, decreases, and shaping techniques.
- How to combine crochet with jewelry-making elements for wearable art.
Why You’ll Love It:
This quick and elegant project lets you create unique accessories in no time. With minimal materials and straightforward steps, it’s satisfying and budget-friendly. These earrings are perfect for personal use or gifting, and can be customized with different colors, beads, or embellishments to suit your style.
Finished Size
The finished heart earrings measure approximately 2 inches wide and 2 inches tall, making them lightweight and stylish, perfect for wearing.
The Pattern Itself
Part 1: Heart Foundation
Round 1: Magic Ring Base
- Start with a Magic Ring (MR).
- Ch 3 (counts as the first Dc).
- Work 2 Dc into the magic ring.
- Ch 3, then work 5 Dc into the magic ring.
- Ch 3, work 5 Dc in the magic ring.
- Ch 3, finish with 2 Dc into the ring.
- Pull the thread tail to close the magic ring tightly.
- Sl st into the third chain from the start to close the round.
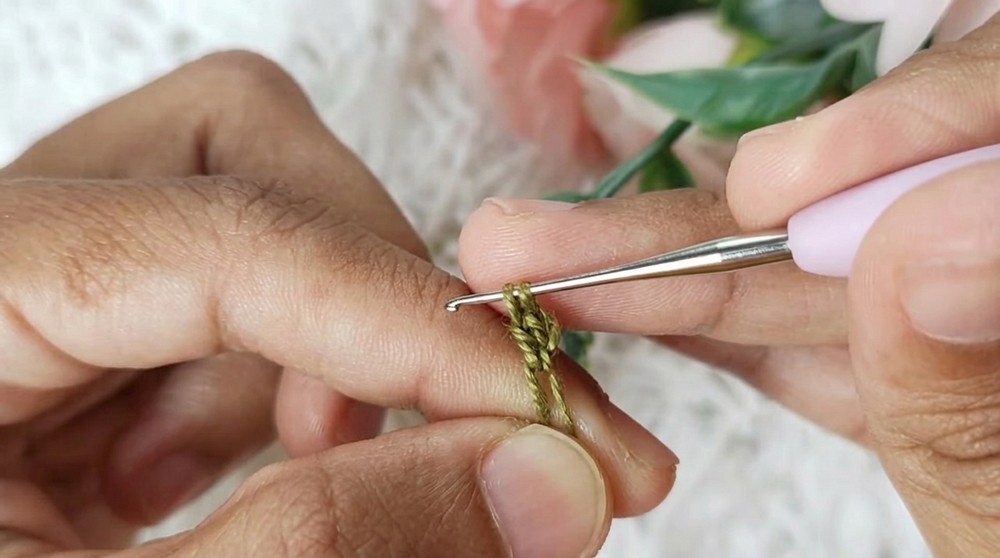
Explanation: This forms the basic heart shape. The alternating double crochets and chains create curves at the top and bottom.
Part 2: Shaping the Heart
Round 2: Midpoint Increases
- Ch 1 and sl st into the next stitch.
- Within the first chain space, crochet 7 Dc.
- On top of the next double crochets:
- Dc in each of the next three stitches.
- Work 2 hdc in the next two stitches.
- In the next chain space, crochet 3 hdc, Ch 1, then 3 hdc in the same space.
- Continue with:
- 2 hdc in the next two stitches.
- Dc in the next three stitches.
- In the next chain space, crochet 7 Dc to finish.
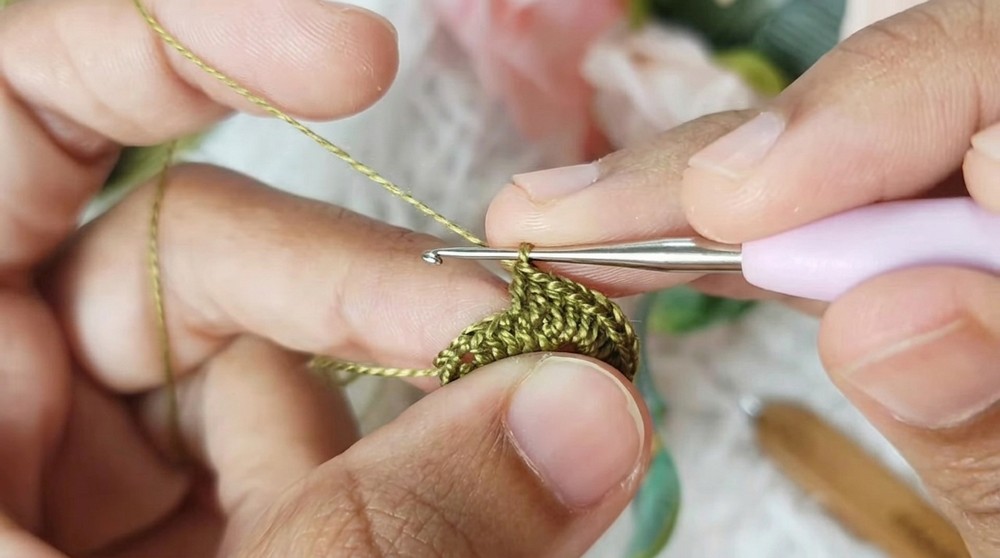
Explanation: These increases and midpoint stitches give the heart rounded curves and symmetry.
Part 3: Adding Outline
Outline the Heart (Second Thread Color)
- Switch to your outline color thread.
- Insert the needle into the first Sc stitch at the bottom of the heart and Ch 1.
- Alternately work Ch 1 and Sl st into each stitch around the heart. Repeat this sequence until the entire heart shape is outlined neatly.
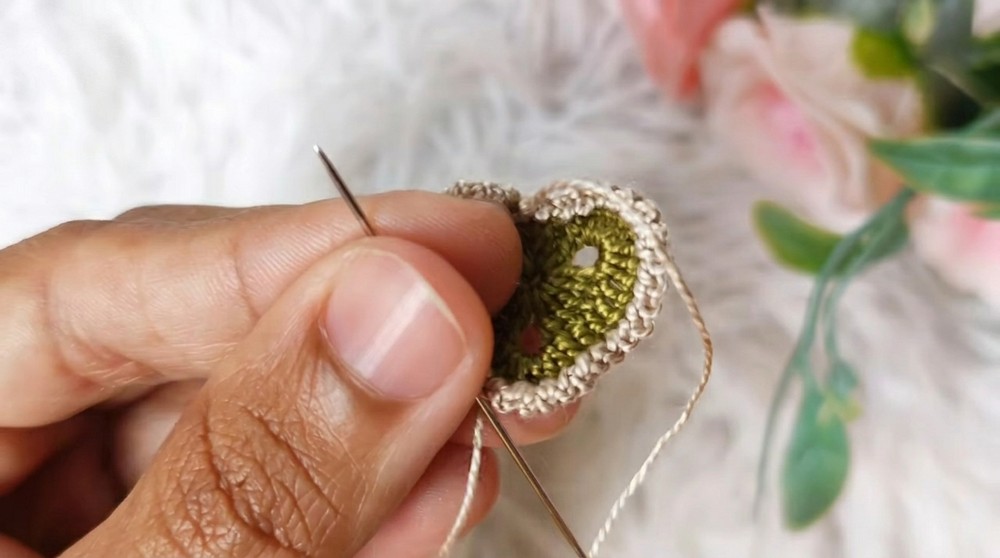
Explanation: This decorative outline adds detail and elegance to the heart.
Assembly & Finishing
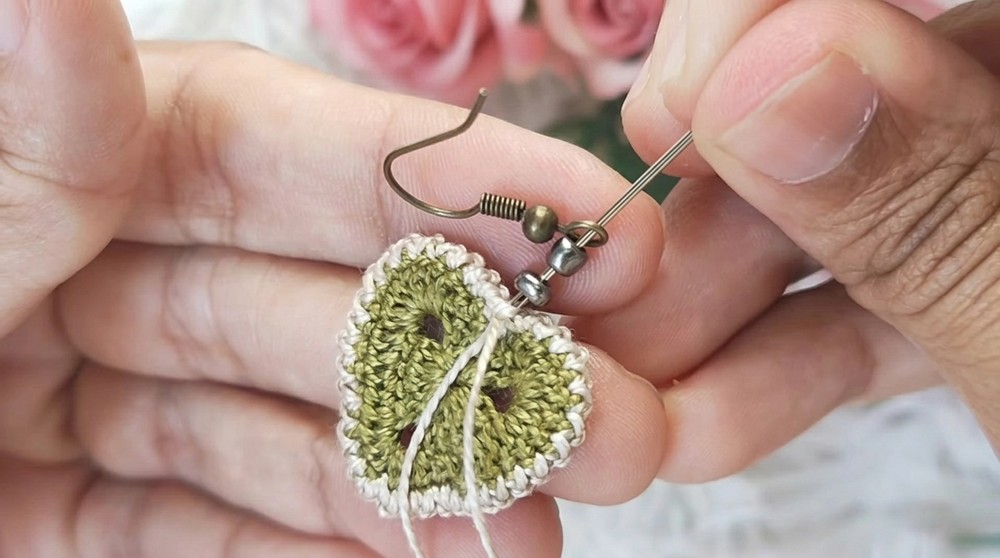
Step 1: Attach Earring Hooks and Beads
- Sew beads around the upper curve of the heart for embellishment.
- Using a needle, add earring hooks at the top center of the heart. Secure tightly.
Step 2: Hide Excess Thread
- Using the sewing needle, weave in any leftover thread ends and hide them inside the stitches.
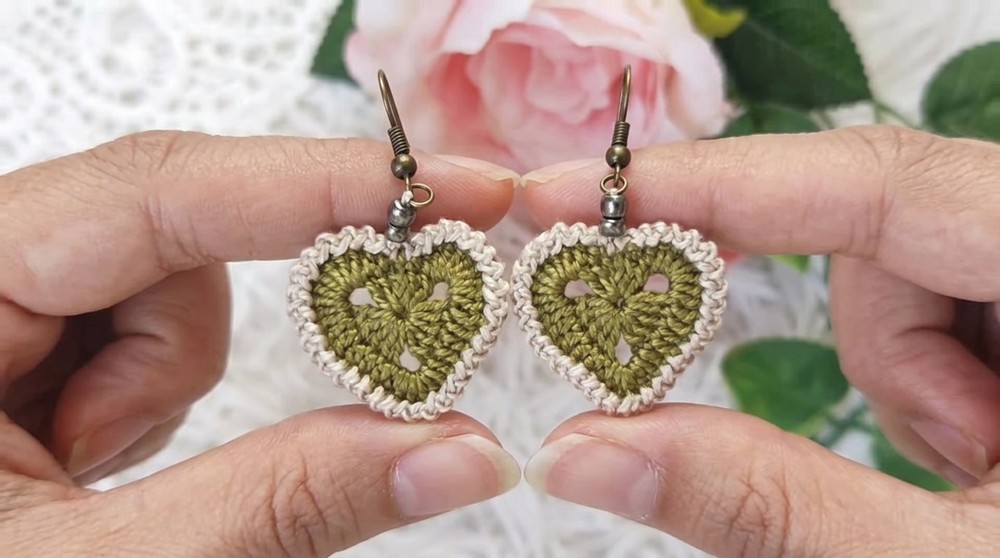
Step 3: Optional Stiffening
- Apply resin, fabric glue, or water-based glue to the back of the heart to stiffen the piece. Let it dry completely to ensure durability.
Difficulties & Solutions
Challenge #1: Loose Magic Ring Closure
Solution: Make sure to pull the thread tail tightly after completing the stitches in the magic ring. This helps keep the foundation secure.
Challenge #2: Uneven Outline
Solution: Check your tension while working on the outline using the second thread color—consistent stitches will ensure a smooth border.
Final Thoughts
The elegant crochet heart earrings are quick to make and absolutely beautiful. Perfect for special events, handmade gifts, or just a touch of individuality in your outfit, this pattern combines basic crochet stitches and jewelry elements to create a unique result. It offers the perfect balance between creativity and skill-building, giving you a stunning finished product you'll love and feel proud to wear or gift.