
Crochet Creepy Cat Earrings Pattern Pattern for Playful Fashion
Inject fun into your accessories and solve styling ruts using a Free Crochet Creepy Cat Earrings Pattern for spooky-chic appeal.
As soon as autumn nights start to get cooler and Halloween decorations appear everywhere, I love making fun and spooky crafts to celebrate the season. One of my favorite projects is this charming pair of creepy cat earrings that blend cuteness with a little edge. The design features a detailed cat silhouette created using special stitches like single crochets, double crochets, triple crochets, and picot stitches to shape the eyes, ears, and body. The variety of stitches makes the texture interesting while keeping the overall pattern simple enough for beginners to follow.
Expand Your Crocheting with This Cat Pattern
This cat motif isn’t only for earrings. You can crochet larger versions to make Halloween decorations like wall hangings or garlands. Smaller motifs can be sewn onto scarves, bags, or hats for a seasonal accent. Imagine a set of cat-shaped coasters or even keychains to add a spooky charm to your everyday items. This pattern lets you bring a touch of fun and creativity to many projects, celebrating Halloween in style anywhere you like.
Unique Crochet Creepy Cat Earrings Pattern for Costume Parties
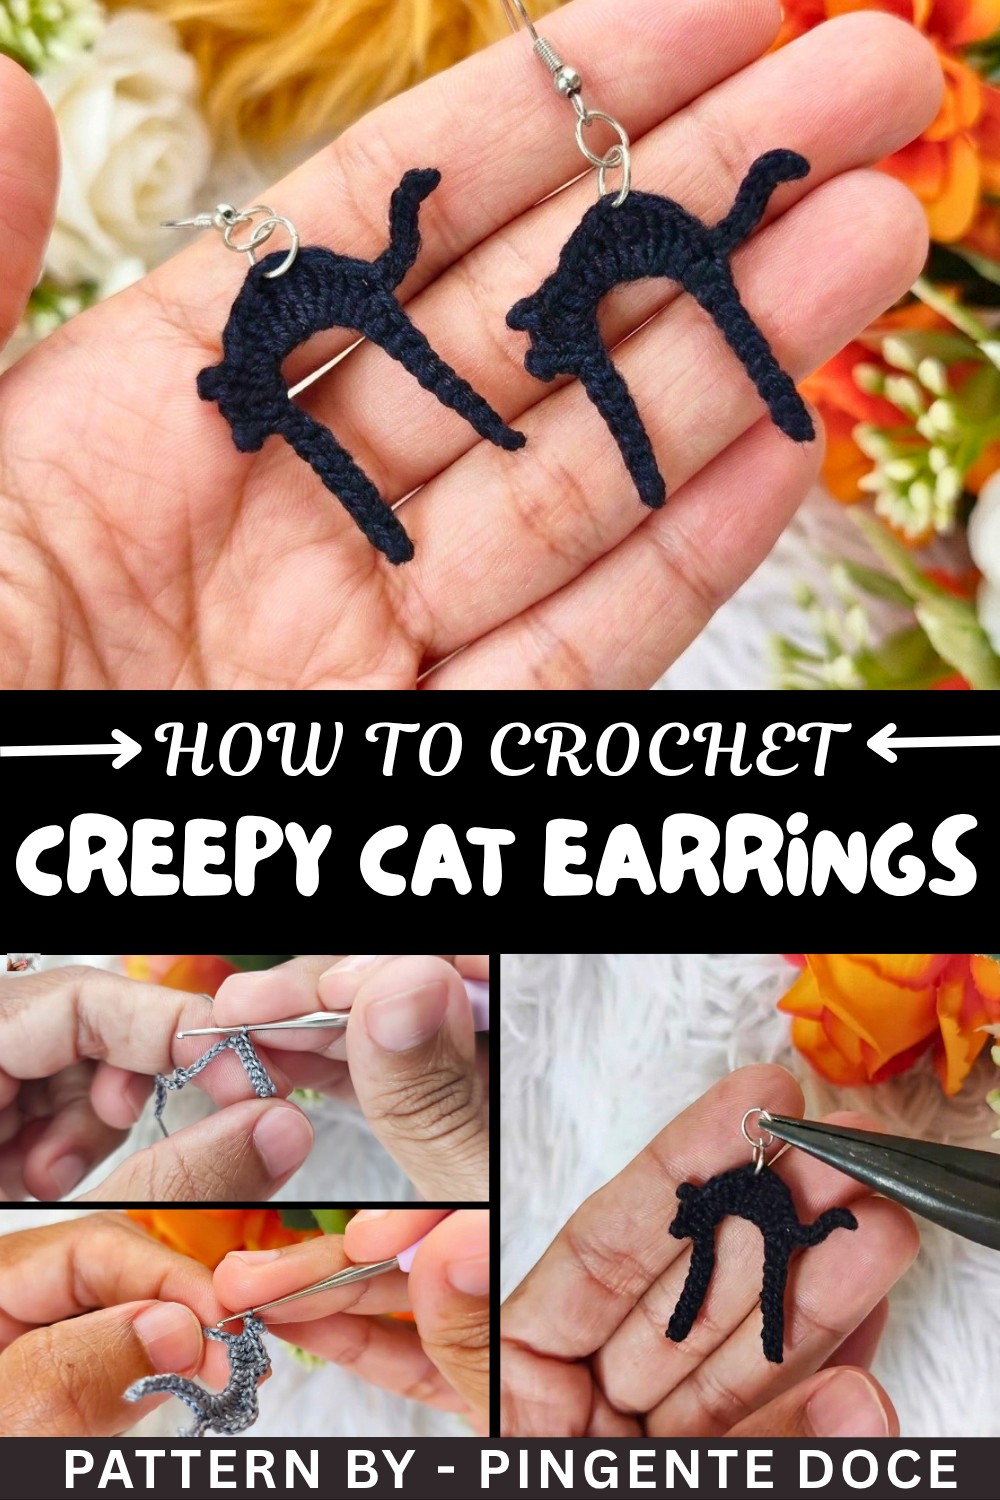
Using fine black thread and a small 1 mm crochet hook allows the piece to stay light and delicate, perfect for wearing as earrings. The magic comes in how the stitches work together to outline the spooky, slightly mysterious cat figure, making these earrings a great accessory for Halloween parties or as a playful touch all autumn long. After finishing the stitching, applying a mix of fabric glue and water on the back hardens the piece gently, helping it hold its shape without being heavy.

Creepy Crochet Cat Earring Pattern
Bring an extra spooky yet adorable accessory to life with this crochet creepy cat earring pattern. Lightweight, stylish, and fun to make, this cat-themed earring is suitable for beginners and intermediate crocheters and can be customized with colors or embellishments.
Introduction
Crochet enthusiasts will adore creating this creepy cat earring just in time for Halloween or as a playful everyday accessory. This project uses simple stitches, including single crochet, double crochet, and treble crochet, layered to create a unique cat silhouette. It's an excellent handmade addition to a costume or a thoughtful seasonal gift for loved ones. Let your creativity shine by making your black cat in classic Halloween colors or something entirely unique.
Uses of This Pattern
- Accessories: A perfect handmade earring for Halloween or cat lovers.
- Gifting: Ideal for a thoughtful, personal Halloween present.
- Decorative Elements: Adapt this pattern for keychains or home decorations for the festive season.
- Crochet Market Appeal: A great product for selling at crochet fairs during spooky season.
Skill Level & Terminology
- Skill Level: Beginner to Intermediate. Familiarity with basic stitches and some shaping techniques is expected.
- Terminology: U.S. Crochet Terms
Materials & Tools
- Thread: Anchor thread #8 (black or a spooky color of your choice).
- Crochet Hook: 1 mm crochet hook or suitable for your thread weight.
- Additional Tools:
- Scissors
- Sewing needle for finishing
- Earring rings and hooks (for assembly)
- Glue and water mixture (serves as a hardener)
- Pliers (to attach earring hardware or embellishments)
Gauge
Gauge is not critical for this project due to the small size. However, tightly crocheted stitches work best to maintain the structure and detail of the design.
Abbreviations List
- ch: Chain
- sl st: Slip Stitch
- sc: Single Crochet
- dc: Double Crochet
- tr: Treble Crochet
Special Stitch Instructions
- Slip Knot: Create a loop with your thread, slip your crochet hook through the loop, and tighten to form a secure knot as your starting point.
- Medium Stitch: Yarn over, insert your crochet hook into the stitch, pull up a loop, yarn over again, and pull through all loops on the hook.
- Treble Crochet (tr): Yarn over twice, insert your hook into the specified stitch, pull up a loop, yarn over, pull through two loops three times.
Finished Size
When completed, the earrings measure approximately 1.5 inches in height. Lightweight and small, they'll be comfortable for wear while still making a bold, spooky statement.
Pattern Overview
This pattern begins with a foundation chain to outline the cat body and ears. Through basic shaping techniques (created by combining single, double, and treble crochet stitches), the final silhouette of the cat emerges. The earring is finished with rings and hardware and hardened with glue for durability.
Pattern Steps
Part 1: Foundation (Chains and Base Row)
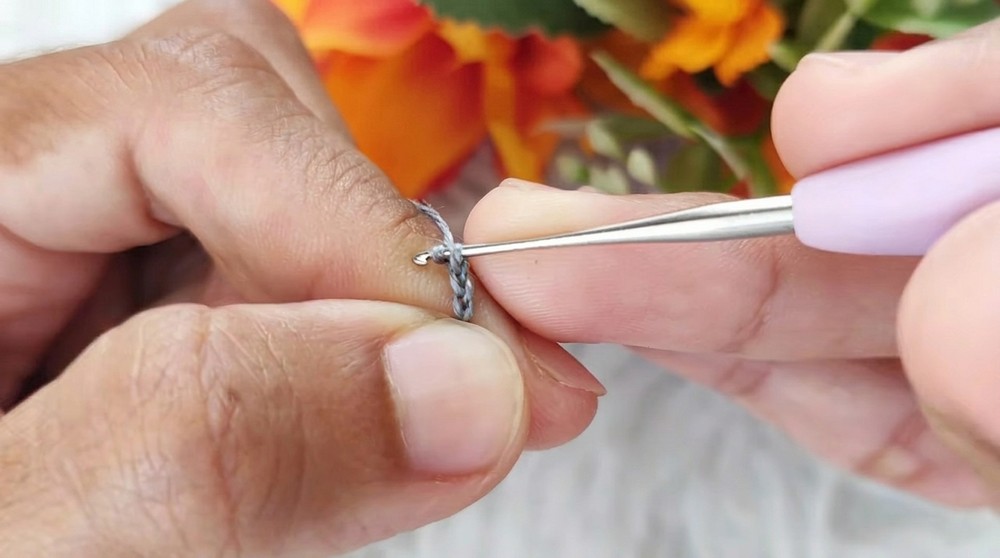
- Start with a Slip Knot and Foundation Chains:
- Make a slip knot.
- Chain 26 ch.
- Work Single Crochet on First Eight Chains:
- Skip the first chain from the hook.
- In the next chain, insert your needle and work 1 sc. Continue crocheting 1 sc into each of the next seven chains (a total of 8 sc).
This forms the flat base of the cat’s body.

Part 2: Creating the Head (Using Double Crochet and Treble Crochet)
- Medium Stitch for the Cat’s Neck:
- On the ninth chain, work 1 medium stitch as described in the special stitches section.
- Cat Body – Adjusting Height with Slip Stitches:
- Chain 8 ch, skip one chain from the base row, and work a sl st in the next chain.
- Continue working 1 sl st into each of the next 6 chains (7 slip stitches in total).
Part 3: Shaping Ears (Double and Treble Crochet)
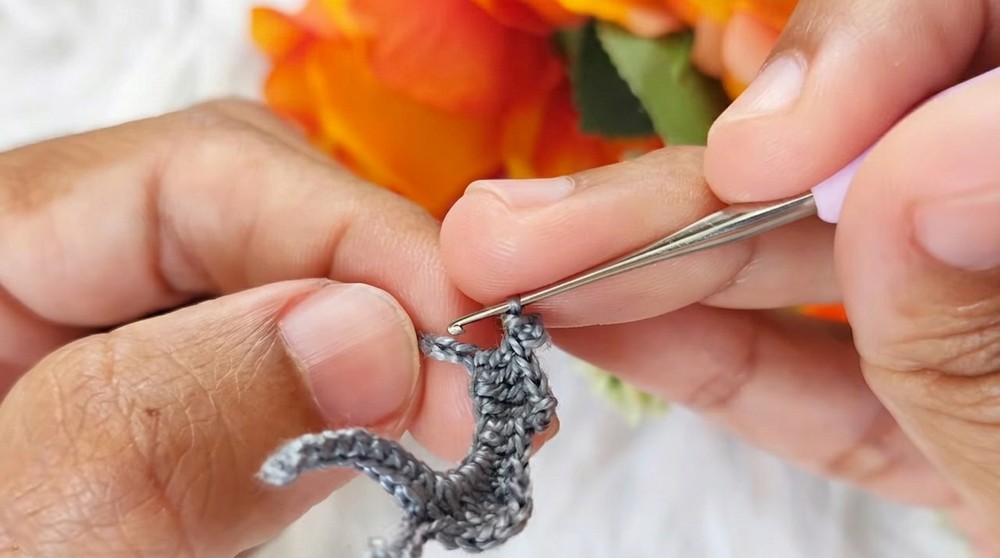
- Form the First Ear Using Double Crochets:
- In the next base chain, work 2 dc in the same chain.
- Yarn over twice, and in the next chain, work 1 treble crochet.
- Create Sharp Point with a Triple Treble Crochet:
- Yarn over 3 times, and in the next chain, work a tr tr, pulling through loops four times to elongate the ear further.
This step defines the sharp, pointy ear characteristic of a cat silhouette.
Part 4: The Second Ear and Finishing the Head
- Mirror the Opposite Ear:
- Repeat the steps for shaping the ear: Start with a double crochet, then progress to a treble crochet and triple treble crochet in the following chains.
- Complete the Shape:
- Work medium stitches and slip stitches as needed to create symmetry for the head and confirm the earring's shape.
Part 5: Finishing the Body (Single Crochet and Tail End)
- Return to the Base:
- After finishing the ears and head section, work 8 sc across the base chains to bring it to a close.
- Fasten Off:
- Extend the final loop, cut the thread, and weave it in to finish the piece using a sewing needle.
Assembly & Finishing
- Harden the Piece:
- Mix a small amount of glue and water, then apply it sparingly to the back of the earring. This step stiffens the piece, ensuring durability while maintaining flexibility for wear.
- Attach Earring Hardware:
- Use pliers to attach the earring hoops and hooks directly to the top of the design.
- Optional:
- Add small embellishments, like beads or mini gems, to enhance the spooky aesthetic.


What You’ll Learn
- Crochet Silhouettes: How to create distinct shapes (like a cat) using basic stitches.
- Textural Details: Combining different stitch heights to add depth and enhance the final design.
- Jewelry Techniques: Turning small crochet projects into wearable accessories.
- Hardening Crochet: Strengthening thread-based designs for maintenance-free usage with glue techniques.
Pattern Difficulties and Solutions
Common Challenges
- Shape Inconsistency:
- Beginners may find uneven ear shaping or body proportions.
- Solution: Count your stitches carefully and maintain uniform tension throughout the piece.
- Thread Slipping in Glue Hardening:
- Over-application of glue can cause excess stiffness or visible glue lines.
- Solution: Use a fine brush to apply glue evenly and avoid oversaturating the thread.
- Assembly Challenges:
- Attaching the earring rings may feel tricky.
- Solution: Use jewelry pliers for precision and ensure a secure closure when attaching the pieces.
Why You’ll Love This Pattern
This pattern is a perfect mix of creativity and simplicity. With just a combination of basic stitches, you can create a beautifully detailed design that represents the spirit of Halloween! Beginners will learn new shaping techniques, while seasoned crocheters will enjoy bringing this unique design to life. Whether you're wearing it for a special occasion or gifting it, this spooky pattern will surely become a favorite.