
Graceful Crochet Little Bee Earrings Pattern for Happy Moments
Energize your look and solve accessory boredom using a Free Crochet Little Bee Earrings Pattern made for cheerful, trendy outfits.
On sunny days, crocheting little bees always brightens my mood because these tiny creatures remind me of nature’s delicate beauty and busy energy. This crochet pattern captures that charm perfectly, creating adorable little bee earrings that are both fun and elegant. The pattern uses simple but thoughtful techniques like magic rings, double crochet stitches, and color changes to form the body and stripes of the bee. Adding details with an inverted magic ring for the wings gives the earrings a soft, delicate look that’s light to wear and full of personality.
Step by Step Crochet Little Bee Earrings Pattern for Happy Vibes
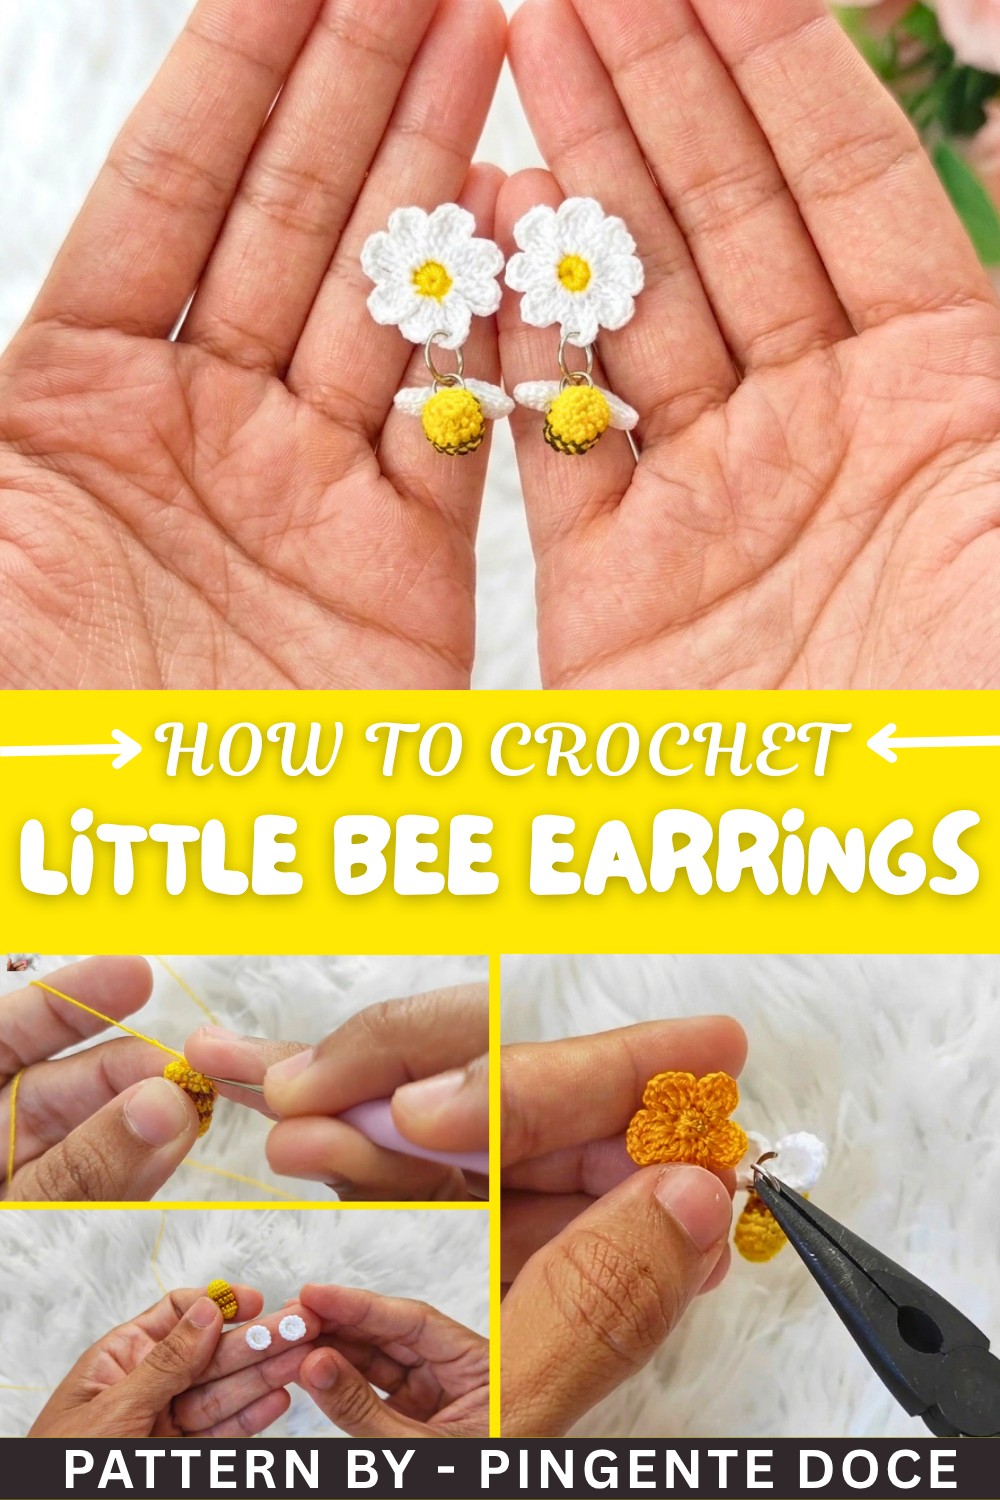
What makes this project especially inviting to beginners is how easy it is to follow the steps. The pattern gently walks you through making two identical pieces for the wings and seamlessly changing yarn colors to create the bee’s characteristic stripes. Working with fine thread and a small 1 mm crochet hook keeps the stitches neat and precise. After stuffing the bee lightly to give it shape, the wings are attached with glue, and the piece is connected to an earring hoop or hook, completing a vibrant and charming accessory that complements any outfit.
More Creative Uses for This Bee Pattern
This bee pattern isn’t limited to earrings; you can also use it to create cute brooches or necklace pendants and bring a bit of buzz to your style. Larger versions would make playful appliques for hats, bags, or scarves, perfect for spring and summer. These bees would also brighten a child’s backpack or pencil case as zipper pulls or keychains. With a little imagination, you can transform this simple pattern into many cheerful gifts and decorations inspired by the busy little bee.
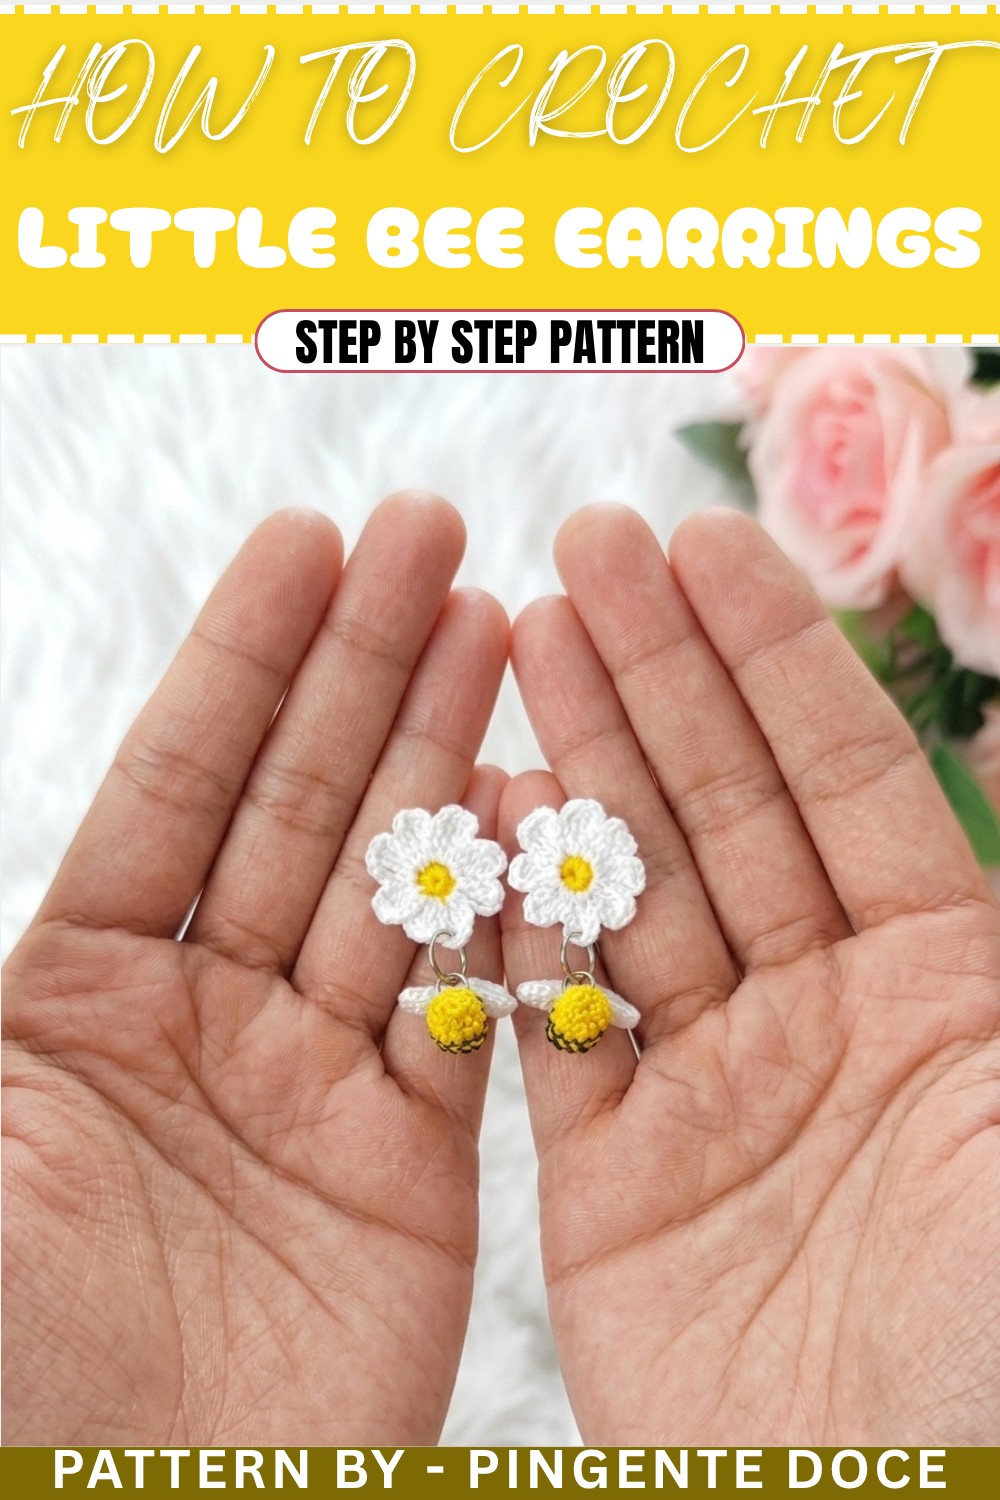
Crochet Bee Earring Pattern
This adorable crochet bee earring is the perfect project for adding fun and playful charm to your jewelry collection. Easy to customize, lightweight to wear, and quick to make, this pattern is ideal for creating gifts, accessories for yourself, or items to sell in your crochet shop. Using basic stitches along with straightforward color changes, the finished bee features stripes, wings, and a cute shape that is sure to impress!
The crochet pattern combines simple crochet techniques with eye-catching design, making it both beginner-friendly and rewarding for more experienced crocheters. The striped body, detailed wings, and a hoop or flower embellishment make this versatile for wear as a stand-alone accessory or as part of a larger decoration. Ideal for everyday wear or fun events, these earrings will certainly attract compliments!
Uses of This Pattern
- Jewelry: Create a unique, handmade earring perfect for nature and animal lovers.
- Gifts: Thoughtful and personalized presents for any occasion.
- Crochet Items: Great option for selling small, fun accessories.
- Decorative Purposes: Transform the bee into keychains, bag charms, or even add them to a larger project like sculptures or ornaments.
Skill Level & Terminology
- Skill Level: Beginner-Intermediate. Familiarity with basic crochet stitches and simple color changes is required.
- Terminology: U.S. Crochet Terms
Materials & Tools
- Thread: Anchor thread #8 (yellow, dark brown, and white, or your preferred colors for the bee).
- Crochet Hook: 1 mm crochet hook, or a hook suitable for your selected thread weight.
- Additional Tools:
- Tapestry or sewing needle for finishing
- Scissors
- Synthetic fiber (for light stuffing)
- Silicone glue or fabric glue (for wing attachment)
- Earring hoop and hook for jewelry assembly
- Pliers (to securely attach hoops or additional hardware if needed)
Gauge
Gauge is not essential for this small project. However, ensure your stitches are tight enough to prevent visible gaps, especially when stuffing the bee.
Abbreviations List
- MR: Magic Ring
- ch: Chain
- sl st: Slip Stitch
- sc: Single Crochet
- dc: Double Crochet
Special Stitch Instructions
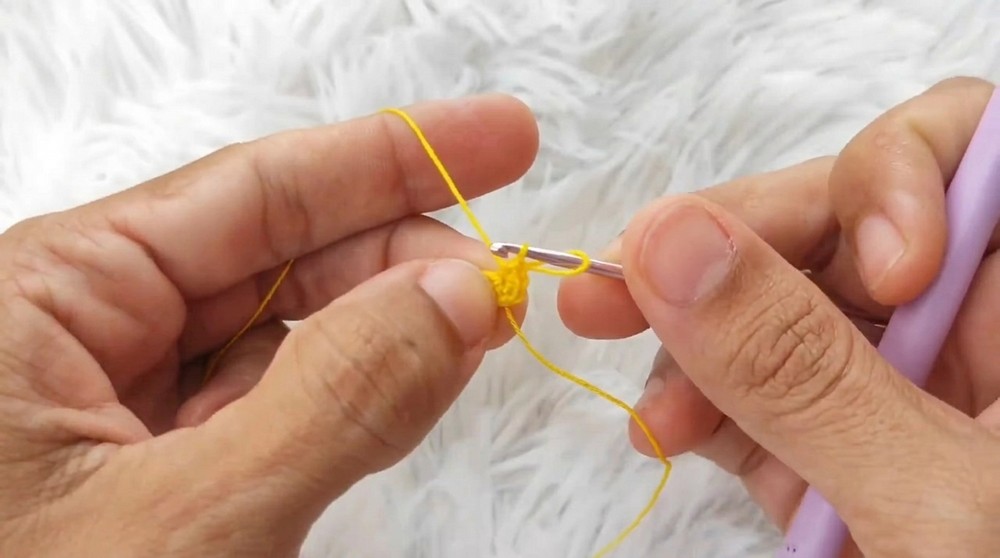
- Magic Ring (MR): Form a loop by wrapping the thread around your finger, insert the hook into the loop, pull up a loop, and chain 1 to secure. Work stitches into the ring.
- Color Changes: To switch colors, stop when 2 loops are on the hook for the last stitch, then yarn over with the new color and pull through both loops. Secure the new color by tying a knot or weaving the ends in.
Finished Size
The completed crochet bee earring is approximately 1.5 inches in height and lightweight, making it comfortable to wear as jewelry.
Pattern Overview
This pattern begins with a magic ring, forming a cute bee body worked in yellow and brown stripes with gradual increases and simple decreases. The wings are crocheted as separate tiny pieces and glued securely to the bee. The addition of earring hooks and optional embellishments like flowers or additional hoops completes the earring.
Pattern Steps
Part 1: Bee Body (Rounds 1–6)
- Round 1: Start with a Magic Ring (MR). Work 6 dc into the MR.
- Pull the magic ring tightly and make a sl st in the first dc to close the round.
This creates the base of the bee's body.
- Round 2:
- Begin with ch 1. Work 2 dc in each stitch around.
- You should have 12 stitches at the end of this round. Close with a sl st in the first dc.
This round increases the size of the bee’s body.
- Rounds 3–4:
- Work 12 sc (stitch over stitch) in each round. Use one sc per stitch and close each with a sl st.
These two rows form the rounded middle of the bee's body.
Part 2: Color Changes and Stripes (Rounds 5–7)
- Color Change to Brown:
- On the last stitch of Round 4, leave 2 loops on the hook and attach the brown thread by pulling it through the loops. Tie off the yellow thread but do not cut it.
- Round 5 (Brown):
- Work 12 sc using the brown thread, one sc in each stitch. Close the round with a sl st.
- Color Change Back to Yellow:
- On the last stitch of the previous round, leave 2 loops on the hook, switch back to yellow, and pull through the loops to secure.
- Round 6 (Yellow):
- Repeat 12 sc (one-per-stitch) in yellow. Close with a sl st.
- Switch to Brown for Round 7:
- Using the same method as before, change to brown and repeat 12 sc. Tie off securely at the end of the round.
Part 3: Closing the Body (Round 8)
- Final Round and Stuffing:
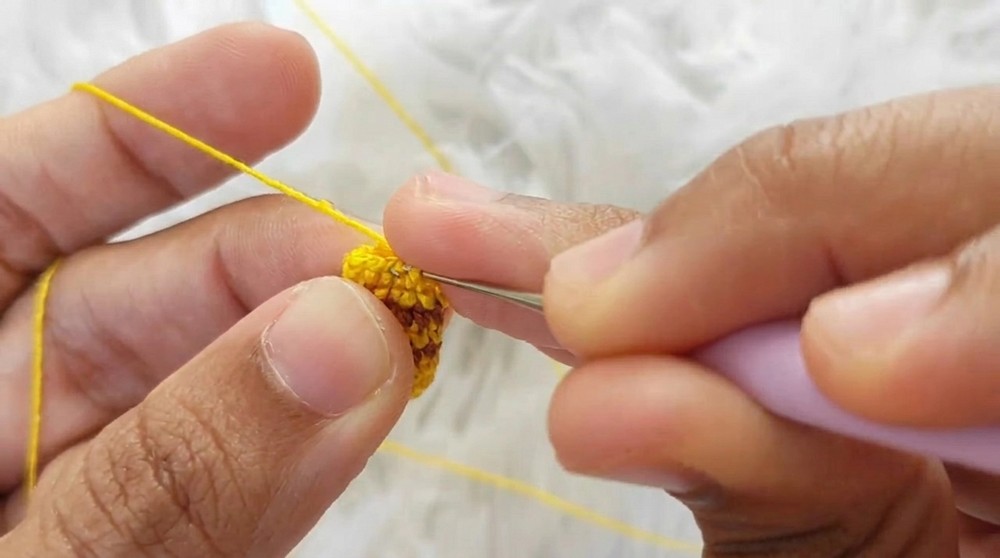
- Before starting the decreases, stuff the body lightly with synthetic fiber.
- Work 6 sc decreases, inserting the hook into the outer loops of the next two stitches. Pull through to close.
- Finish the Body:
- Extend the final loop and cut the thread. Use a sewing needle to create an inverted magic ring by threading across the remaining loops and pulling to securely close the top.
This technique seals the bee shape and ensures a tight, clean finish.
Part 4: Wings
- Creating the Wings:
- Begin with a magic ring and work 6 sc into the ring.
- For rounds 2 and 3, work sc in each stitch to build a small circular shape.
- Make two identical wings.
- Attaching the Wings:
- Use silicone glue or fabric glue to attach the wings to the back of the bee, positioning them symmetrically on either side. Let the glue dry completely.
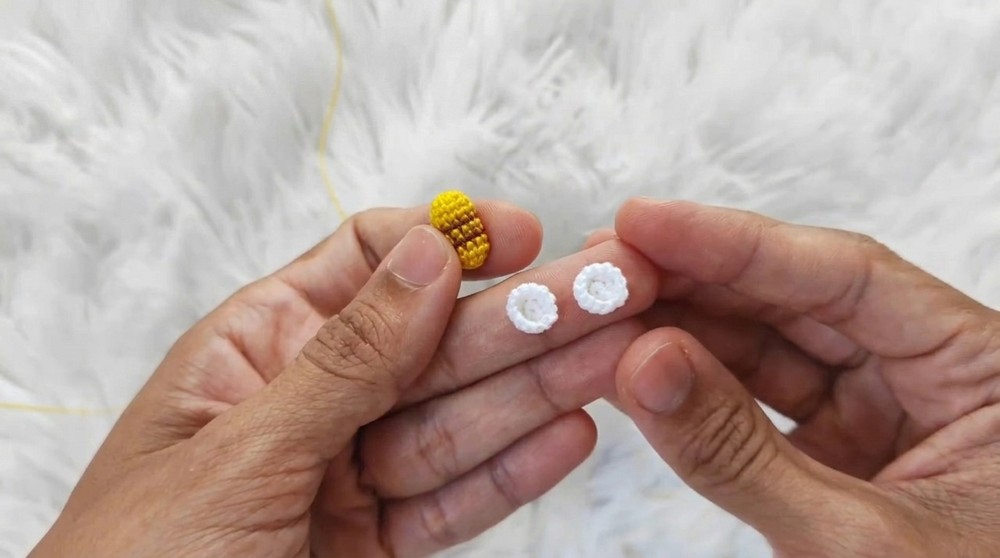
The wings add the iconic bee silhouette to the piece.
Part 5: Assembly and Finishing
- Attach the Earring Hardware:
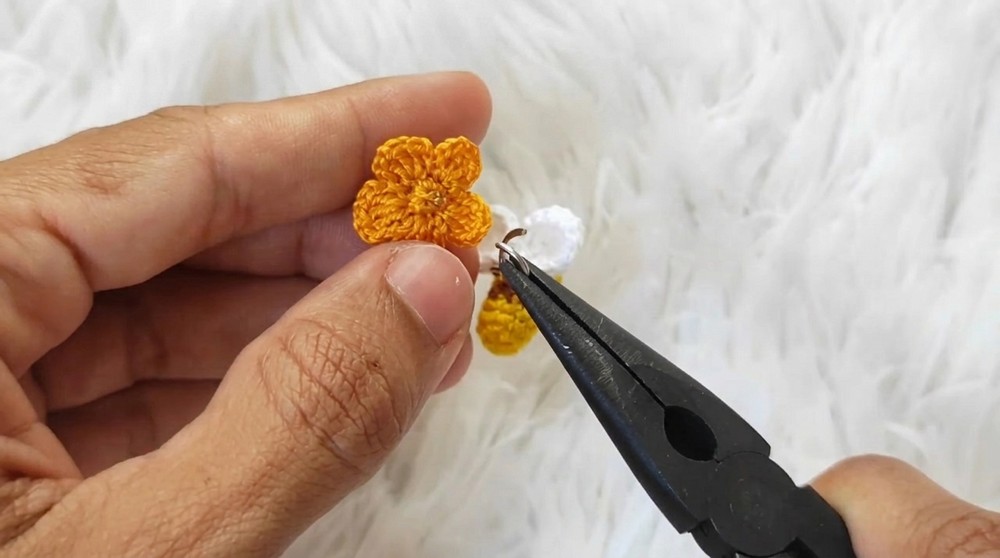
- Use pliers to open the earring hoop. Secure it around the middle stripe (Row 4) or add other elements like small flowers for embellishment.
- Harden the Piece:
- Mix fabric glue with water. Apply this mixture sparingly to the back of the bee to stiffen the piece for lasting durability.
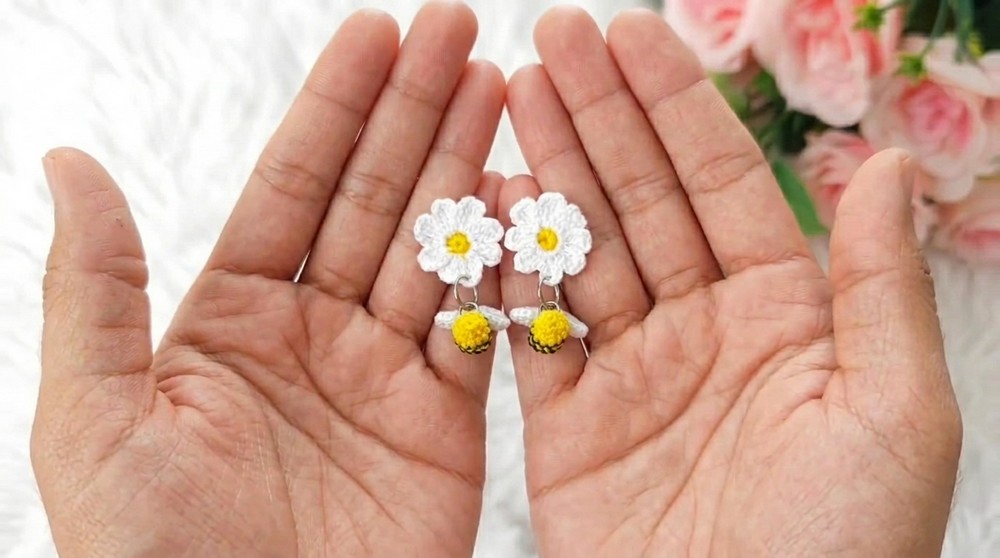
What You’ll Learn
- Color Striping: Practice seamless color changes to create uniform stripes.
- Shaping Techniques: Learn how to create a spherical, stuffed body with gradual increases and seamless decreases.
- Small Detailing: Work with tiny stitches for intricate details such as wings and stripes.
- Combination of Crochet and Jewelry-Making: Integrate crochet pieces with jewelry components for wearable art.
Pattern Difficulties and Solutions
Common Challenges
- Uneven Tension During Color Changes:
- Stitch tension can change when switching colors, causing uneven rows.
- Solution: Pull the new color snugly but not overly tight. Practice in a swatch to gain confidence.
- Decreases Not Tight Enough:
- Gaps may appear in the last row due to loose decreases.
- Solution: Always work into the outer loops of the stitches for a tighter finish and seal with the inverted magic ring.
- Wing Attachment:
- Wings may shift during gluing.
- Solution: Use pins to hold wings in place while the glue dries to ensure a perfect position.
Why You’ll Love This Pattern
This crochet bee earring is charming, quick to create, and endlessly customizable. It’s the perfect introduction to color changes, shaping, and creative jewelry-making. Whether for yourself, as a gift, or for sale, the finished pattern is guaranteed to bring a smile to anyone who sees it. Its tiny size makes it joyful and lightweight to wear, while its adorable design celebrates the creativity of crochet.