
How to Crochet Slipper Earrings Pattern for Eye Catching Style
Try something new and skip normal earrings with a Free Crochet Slipper Earrings Pattern that's cute and fun for your look.
Have you ever noticed how a small, simple accessory can brighten up your whole day? These little crochet slipper earrings pattern bring a cozy and charming touch to any outfit. They have a soft, rounded shape that looks like tiny slippers, making them both adorable and unique. What makes this pattern special is the use of single crochet and double crochet stitches, along with clever color changes, which give the earrings a neat, textured look. These stitches combine to form smooth curves and little details that make the slippers stand out.
Quick Crochet Slipper Earrings Pattern for Cute & Creative Touches

This pattern is quick to make and uses basic stitches, so it’s perfect for beginners or anyone who enjoys a simple but satisfying project. You start by creating a chain and working single crochets around it to form the base shape. Then, by adding double crochets and a little bit of color magic, the slippers take their cute and cozy form. The pattern also includes easy finishing touches like slip stitches and simple sewing steps to hold everything together nicely. The final earrings are lightweight and comfortable, ideal for daily wear or as handmade gifts that show care and style.
Other Creative Items from This Pattern
The stitches and shapes in this pattern are versatile and can be used beyond earrings. For example, you could make keychains, small brooches, or decorative charms for bags or jackets. If you use felt or fabric glue as suggested, you can add a firm backing, making these pieces even more durable. Playing with color combinations could also turn these little slippers into mini ornaments or even playful zipper pulls—adding a personal touch to many accessories.
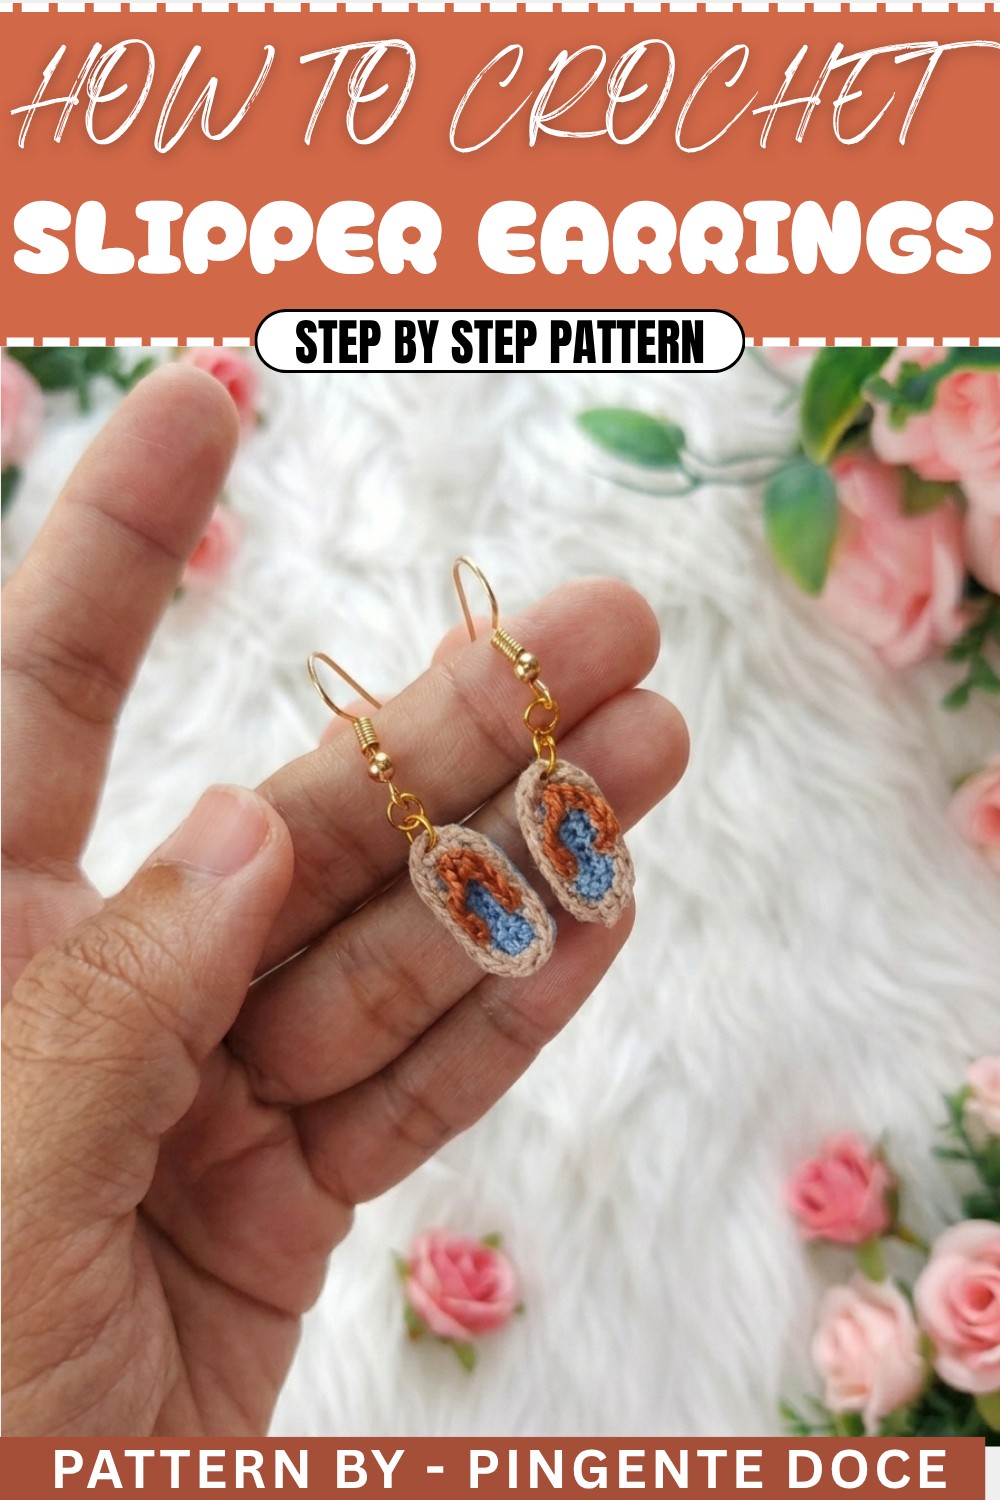
Crochet Slipper Earrings Pattern
Earrings are the perfect way to express creativity and personality, and this crochet slipper earring pattern is a quick and stylish project you’ll love to make. Featuring elements of texture, layers, and elegance, this pattern is lightweight and designed for comfort. Whether you’re accessorizing an outfit or creating a thoughtful handmade gift, this pattern is bound to bring compliments. Follow this step-by-step pattern for instructions on making these beautiful and delicate leaf earrings in no time.
Uses of This Pattern
- Fashion Accessory: Wearable as earrings, pendants, or even as charms for keychains.
- Gift Idea: Handmade earrings make thoughtful and unique presents.
- Additional Crochet Applications: These leaves can also be used as embellishments for bags, hats, or scarves!
Skill Level & Terminology
- Skill Level: Beginner
- Terminology: U.S. Crochet Terms
Materials & Tools
- Yarn:
- Anchor thread or yarn in three colors (e.g., dark brown, light green, and other accent colors of choice).
- Tools & Extras:
- 1 mm crochet hook.
- Scissors.
- Sewing needle.
- Fabric glue (optional for securing threads).
- Earring hooks.
- Small piece of felt (for reinforcing the back).
- Pliers (to attach the earring hardware).
Gauge
Gauge is not essential for this project. However, ensure consistent tension for a proportional and neat finish.
Abbreviations List
- ch: Chain
- sc: Single Crochet
- sl st: Slip Stitch
- hdc: Half Double Crochet (medium stitch)
- dc: Double Crochet
Special Stitch Instructions
Working in the Back Loop Only (BLO):
- Each stitch has two loops: the front loop (closest to you) and the back loop (farthest from you).
- To crochet in the back loop only, insert your hook into the back loop instead of under both loops, then work the indicated stitch.
Finished Size
Each completed earring measures approximately 1.5-2 inches long, depending on your yarn and tension.
Pattern Overview
This pattern starts with a chain foundation, which will be expanded into a leaf shape by strategically increasing and decreasing in different areas to form the curves of the leaf. After crocheting the primary leaf shape, you’ll use a second color for a decorative outer border. A small hanger piece in brown is added to complete the design, and you’ll finish the earring with hardware for a professional and elegant result.
Step-by-Step Pattern
Part 1: Crochet the Leaf Base
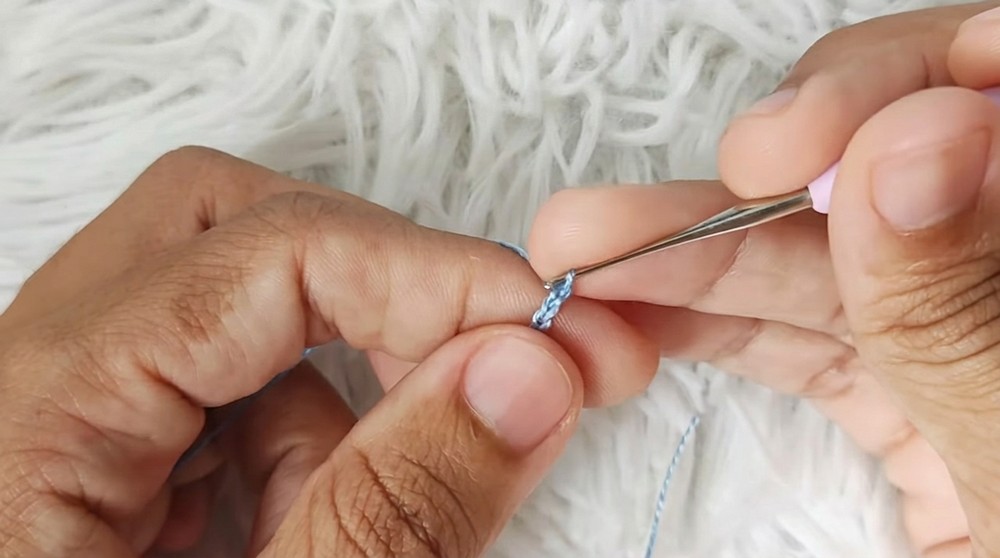
- Foundation Chains:
- With your chosen yarn color (e.g., light green), create a slip knot and leave a long thread tail (this tail will later be used for finishing).
- Crochet 8 chains (ch).
- Round 1:
- Skip the first chain and work:
- 2 single crochets (sc) in the second chain.
- Work 1 sc into each of the next 6 chains (one in each chain).
- In the last chain, 3 sc into the same chain space to create a curve.
→ This creates the base and initial curve of the leaf. If this seems too tight, keep your tension even and pull gently to ensure you don’t tighten the chains.
- Skip the first chain and work:
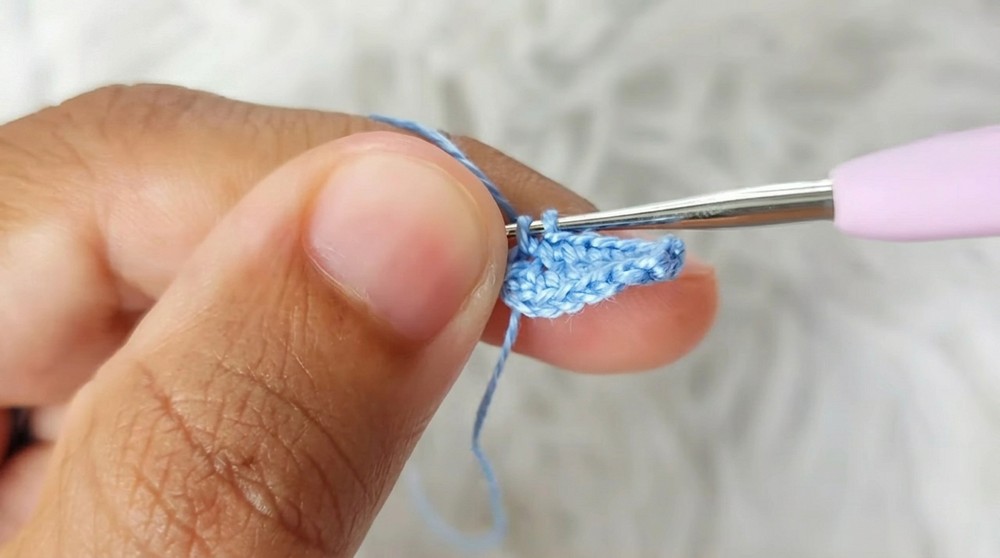
- Round 2:
- Turn to crochet along the other side of the foundation chain, so you’re working into the back loops.
- Work 6 sc (1 sc in each chain) along the other side, hiding the initial thread as you crochet.
- At the end, change to your accent color (optional) by undoing the last loop and pulling the new color through the final loops of the last single crochet.
→ With this step, your two halves of the leaf begin to take shape. The color change adds a decorative element and variety to the design.
- Turn to crochet along the other side of the foundation chain, so you’re working into the back loops.
Part 2: Create the Decorative Border
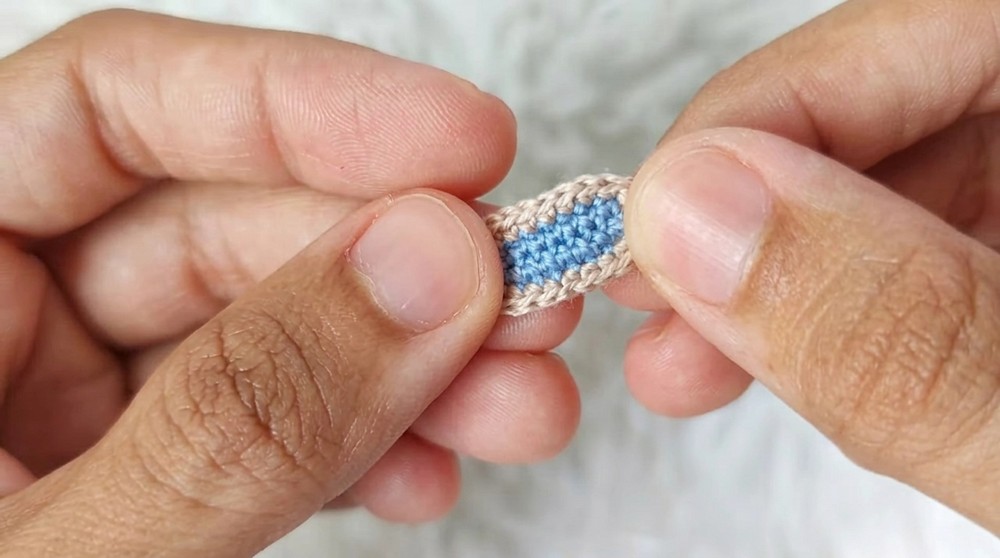
- Round 3 (Accent Color):
- Attach your new color and ch 1.
- In the first stitch: 2 sc (an increase).
- In the next 6 stitches: Crochet 1 sc in each stitch.
- In the 7th stitch (initial bottom of foundation chain): 3 sc to form the curve.
- Continue working around with 6 sc on the other side of the chains.
- End the round with 2 sc in the final stitch.
→ The decorative border frames your leaf and defines its shape. Use contrasting or complementary colors for more visual impact.
- Finishing the Leaf:
- Close the round with a slip stitch in the first sc.
- Ch 1, cut the yarn, and bring the thread to the back using a needle.
→ With this final step, your main leaf shape is complete! Now, let's add some finishing touches.
Part 3: Add the Hanger Loop
- Start Hanger:
- With dark brown yarn, leave a tail and create a slip knot.
- Work 6 chains (ch).
- Row 1:
- Skip the first chain and work:
- In the second chain, crochet 1 sl st.
- Work sl st in the remaining 4 stitches.
- Skip the first chain and work:
- Attach the Hanger:
- Slip stitch to close the circular hanger. Cut the thread, leaving a tail.
- Use your sewing needle to attach the hanger to the top of the leaf’s base, where the starting chain was created.
→ You now have both the decorative leaf body and the small loop to hold the earring hook.
- Slip stitch to close the circular hanger. Cut the thread, leaving a tail.
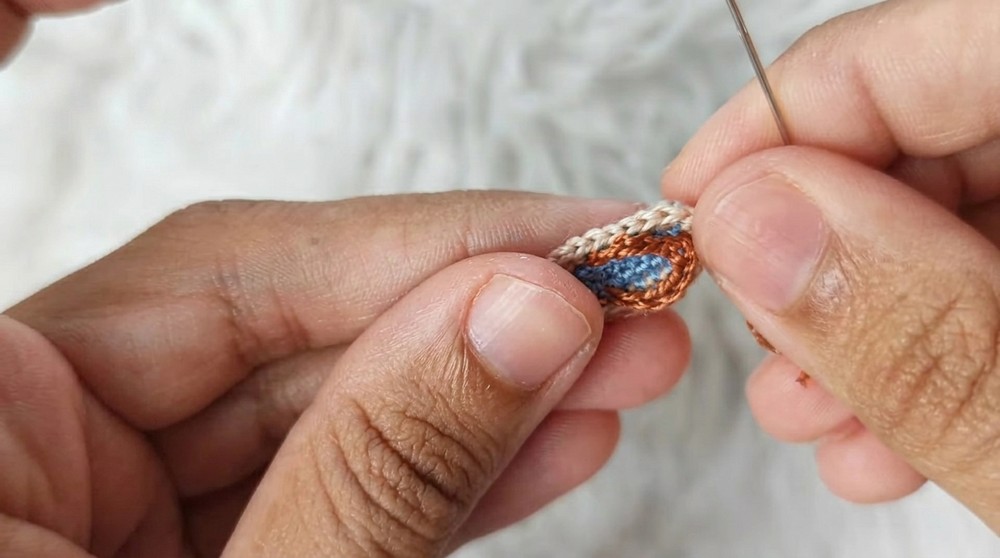
Part 4: Attach Felt (Optional)
- Reinforcement:
- Cut a small piece of felt, slightly smaller than the base of the leaf.
- Glue the felt onto the back of the leaf or use a second crocheted leaf piece to sandwich as a backing.
- Secure in Place:
- Once the glue is dry, use scissors to trim the felt or fabric until it aligns perfectly with the outer edges of the leaf.
→ Adding this extra structure improves durability and creates a cleaner, more professional-looking finish.
Part 5: Earring Assembly
- Add the Hardware:
- Use pliers to attach the earring hook to the top small loop (brown hanger).
- Ensure the hook is securely fastened to prevent it from slipping.
- Finishing Touches:
- Trim any remaining yarn threads.
- Add fabric glue over the area where the yarn ends are concealed for stability and longevity.
→ Your crochet leaf earring is now complete and ready to wear! Repeat the process for the second earring to complete the pair.
- Trim any remaining yarn threads.

What You’ll Learn
- Shaping Techniques: Learn methods to shape 3D crochet pieces like leaves.
- Basic Stitch Transitions: Practice seamless use of single crochet, slip stitch, and half double crochet.
- Assembly Skills: Gain confidence in working with yarn, hardware, and glue to finalize craft projects.
Difficulties and Solutions
Common Challenges
- Tension Issues:
- Uneven tension can distort the shape of the leaf.
- Solution: Work with consistent hand pressure and ensure stitches are evenly sized by counting each row.
- Visible Color Changes:
- Sometimes, changing yarn colors leaves noticeable joins.
- Solution: Change color while working the last yarn-over and pull through of the previous stitch.
- Unstable Assembly:
- Poorly attached hardware can loosen during use.
- Solution: Use pliers to secure the earring hoop tightly. Add fabric glue where necessary for added durability.
Why You’ll Love This Pattern
This crochet leaf earrings project is absolutely adorable and ideal for crocheters who enjoy making quick and unique accessories. The ability to personalize colors, yarn types, and proportions makes this pattern endlessly creative. Best of all, the final result is lightweight, stylish, and reminiscent of nature’s beauty.