
Easy Crochet Christmas Tree Ornament Pattern for Festive Joy
Upgrade your holiday decorations using the Free Crochet Christmas Tree Ornament Pattern for festive charm that feels handmade.
A handmade touch to holiday decorations brings extra warmth and joy to the season. This charming crochet Christmas tree ornament pattern is both simple and delightful to make, using basic stitches that create a beautiful, lacy effect. You will work mainly with single crochet (sc), double crochet (dc), and slip stitches (sl st), which together form the tree’s triangular shape and detailed texture.
Free Crochet Christmas Tree Ornament Pattern for Cozy Holiday Decor
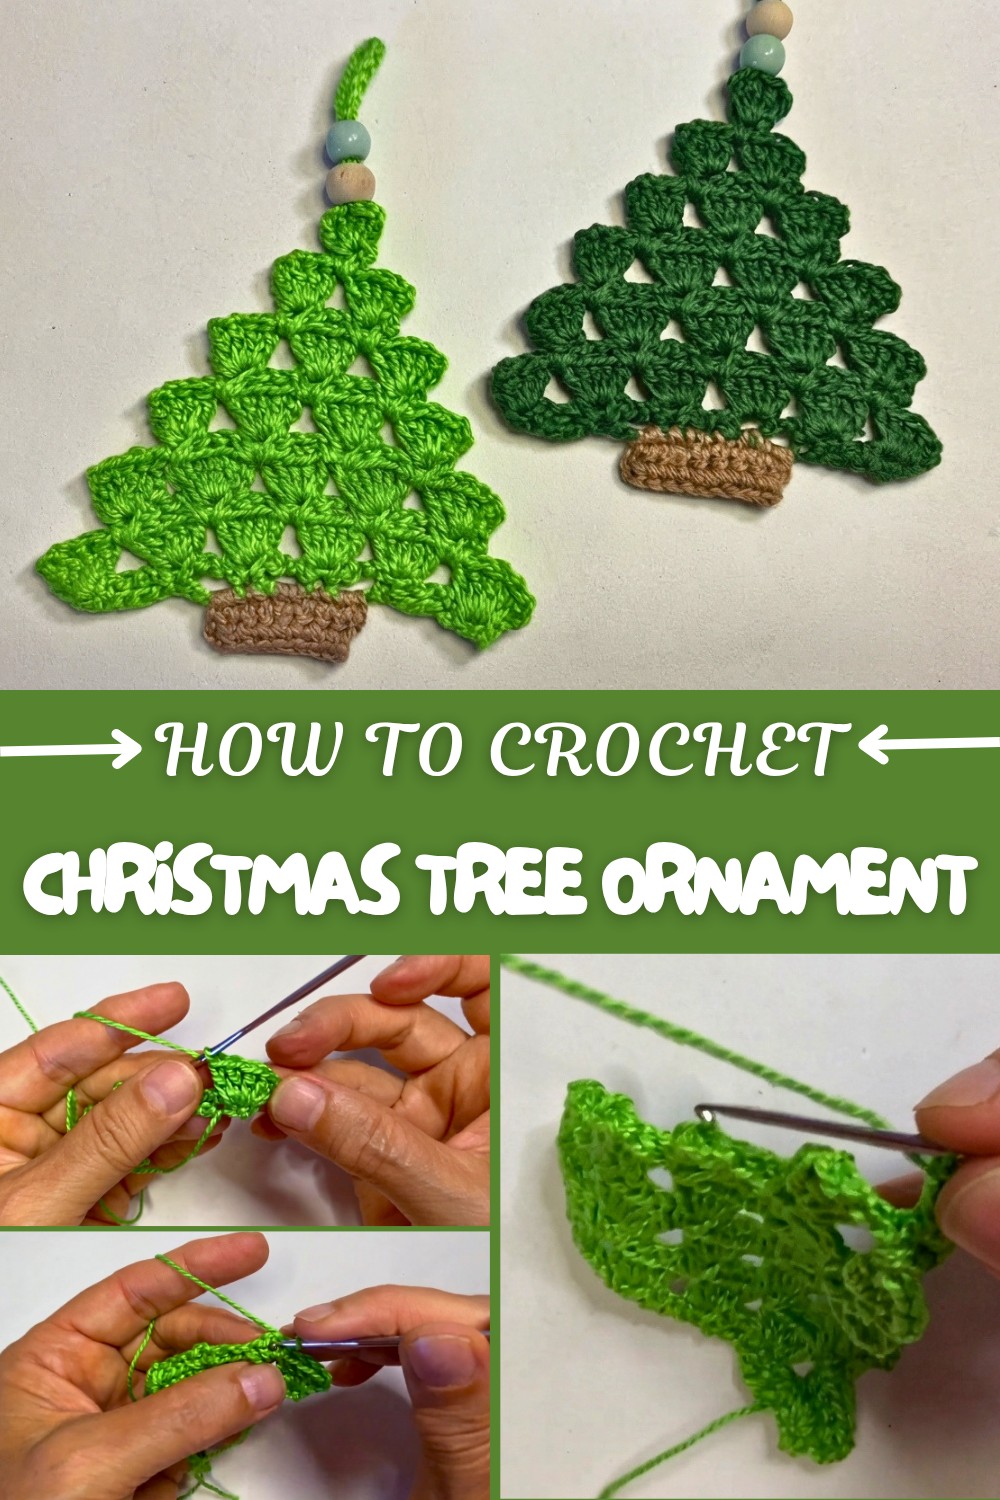
Starting with a foundation chain and building rows with clusters of double crochet stitches makes the pattern easy to follow, even for beginners. The alternating rows of single crochet and double crochet clusters add a lovely layered effect that captures the look of a real Christmas tree. The ornament is finished off with a small “pot” at the base using brown yarn and simple rows of single crochet to give your tree a complete, polished look.
More crochet projects with this pattern
The stitches and techniques used in this tree ornament work well for other holiday-themed decorations like stars, snowflakes, or small wreaths. The combination of chaining, single crochet, and double crochet clusters can be adapted to create garlands or festive coasters. Crocheting with beads and stiffening your projects also opens opportunities for making durable ornaments and gifts for family and friends. This pattern provides a lovely introduction to easy decorative crochet that adds personality and cheer to your holiday craft collection.
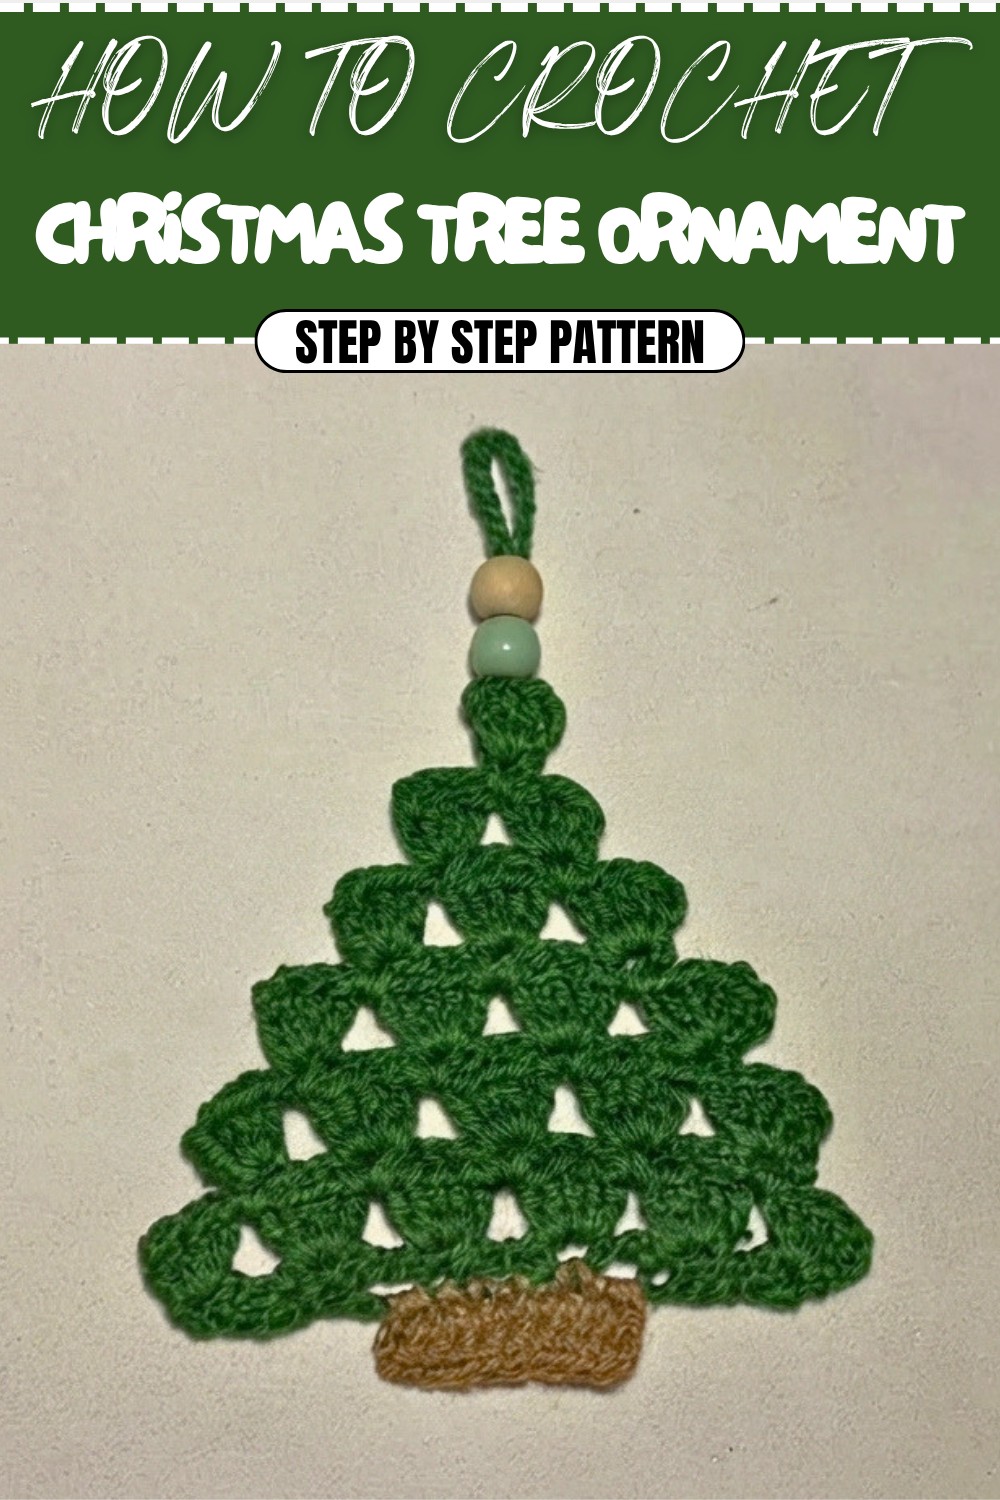
Crochet Pattern: Christmas Tree Ornament
Celebrate the holiday season with this Christmas Tree Ornament crochet pattern! Perfect for decorating your tree, creating garlands, or gifting handmade decor to loved ones. This easy-to-follow pattern incorporates simple stitches and decorative techniques, making it suitable for beginners and engaging for advanced crocheters. This pattern includes instructions for crafting the tree, its pot, attaching beads, and stiffening the ornament so it retains its shape. By using different yarn colors, beads, and embellishments, you can customize each tree to fit your holiday theme.
What You'll Learn from This Pattern
- How to create structured crochet shapes using alternating rows of stitches.
- Techniques for stiffening crochet to preserve the ornament's form.
- Attaching embellishments (like beads) to enhance the final presentation.
- Combining simple stitch techniques to create functional, festive decor.
Skill Level & Terminology
- Skill Level: Beginner
- Terminology: US Crochet Terms
This pattern uses basic stitches such as single crochet (sc), slip stitch (sl st), and double crochet (dc), with simple increases and decreases.
Materials & Tools
- Yarn:
- Green: For the Christmas Tree
- Brown: For the pot
- Optional: Other colors for embellishments or decorations
- Hook: Crochet hook size 2.5 mm–3 mm
- Other Tools:
- Scissors
- Tapestry needle
- Beads (for decorations)
- Pliers or iron wire (optional, for bead placement)
- Glue and brush (for stiffening the tree)
Gauge
Exact gauge is not necessary for this project. However, tight stitches will produce a firm and sturdy ornament. Using a 3 mm hook with lightweight yarn (milk cotton yarn or similar) will yield good results.
Abbreviations
| Abbreviation | Meaning |
|---|---|
| ch | Chain |
| sc | Single Crochet |
| sl st | Slip Stitch |
| dc | Double Crochet |
Special Stitch Instructions
- Slip Stitch (sl st): Insert the hook into the stitch, yarn over, and pull through both loops on the hook.
- Double Crochet (dc): Yarn over, insert the hook into the stitch, yarn over and pull up a loop (three loops on hook). Yarn over, pull through two loops, yarn over and pull through the last two loops.
Finished Size
The completed ornament measures approximately 8 cm (3 inches) tall, depending on your tension and type of yarn used.
What Stitches Are Used in This Pattern?
This pattern primarily uses the following stitches:
- Single crochet (sc): For the pot and parts of the tree.
- Double crochet (dc): To create textured clusters on the tree.
- Slip stitch (sl st): For seamless joins and shaping.
The Pattern Itself
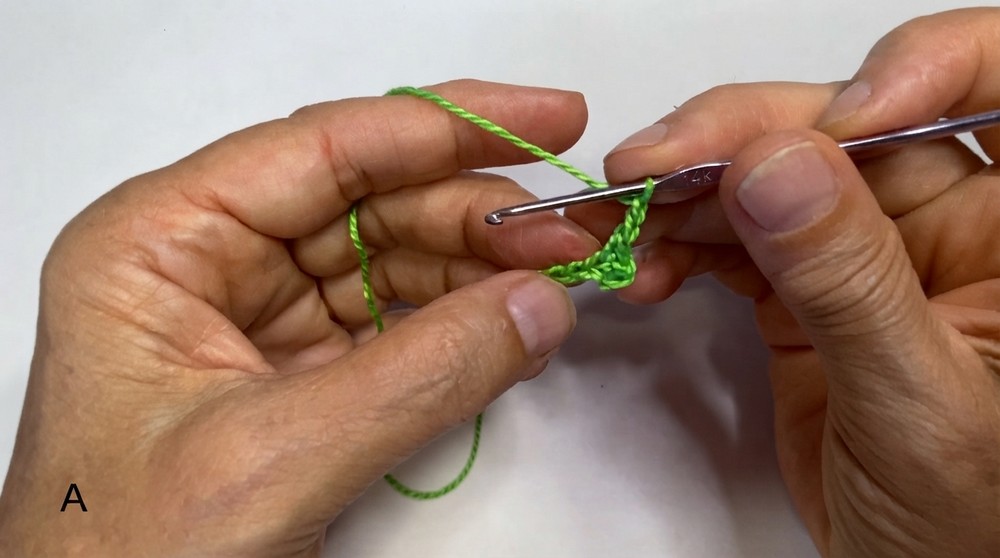
Step 1: The Tree
- Row 1:
- Create a slipknot and ch 24.
- Work 1 sc into the 4th ch, followed by ch 2.
- Skip 3 sts and work into the next stitch: 1 sc, ch 2, 1 sc.
- Ch 2, repeat across the row.
At the end of Row 1, you will have a series of spaces formed by chains and single crochets. These spaces will set up the structure of the tree.
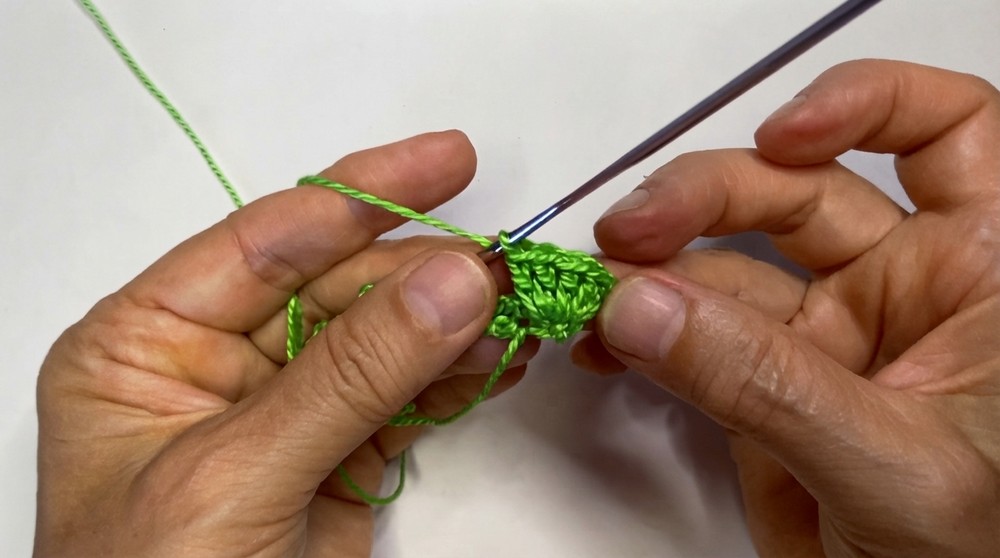
- Row 2:
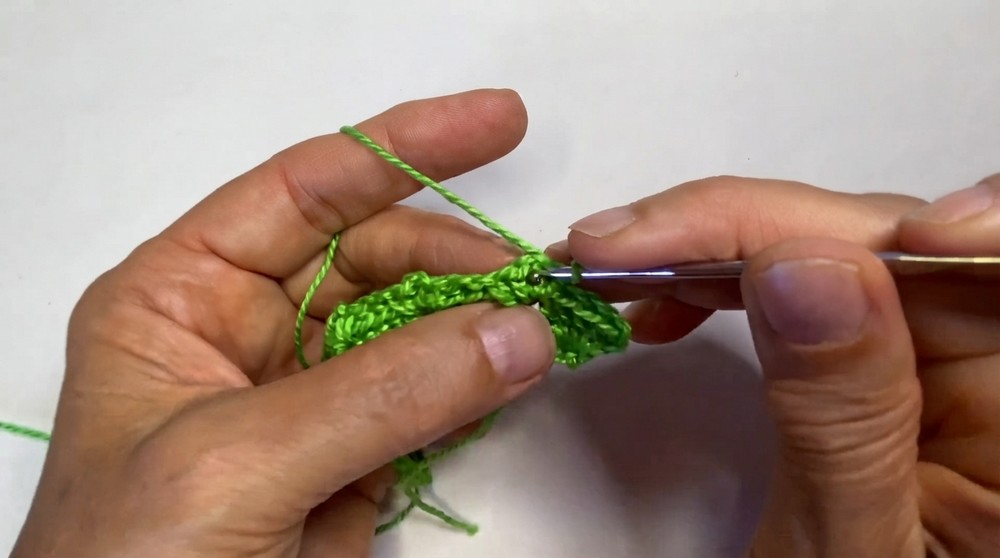
- Turn your work and make a sl st into the first space.
- Ch 3 (counts as 1 dc), then work 4 dc into the same space.
- Work 5 dc into each space across the row.
This row creates the rounded sections for the tree’s layers.
- Row 3:
- Turn your work. Sl st into the 2nd stitch, sl st into the next stitch, and 1 sl st into the space.
- Ch 3, followed by 1 sc + ch 2 + 1 sc into the space.
- Ch 2, repeat across the row with 1 sc + ch 2 + 1 sc in each space.
Row 3 marks the beginning of decreasing for the tree to shape it as you work upwards.
- Row 4:
- Turn your work and repeat Row 2 (clusters of 5 dc in each space).
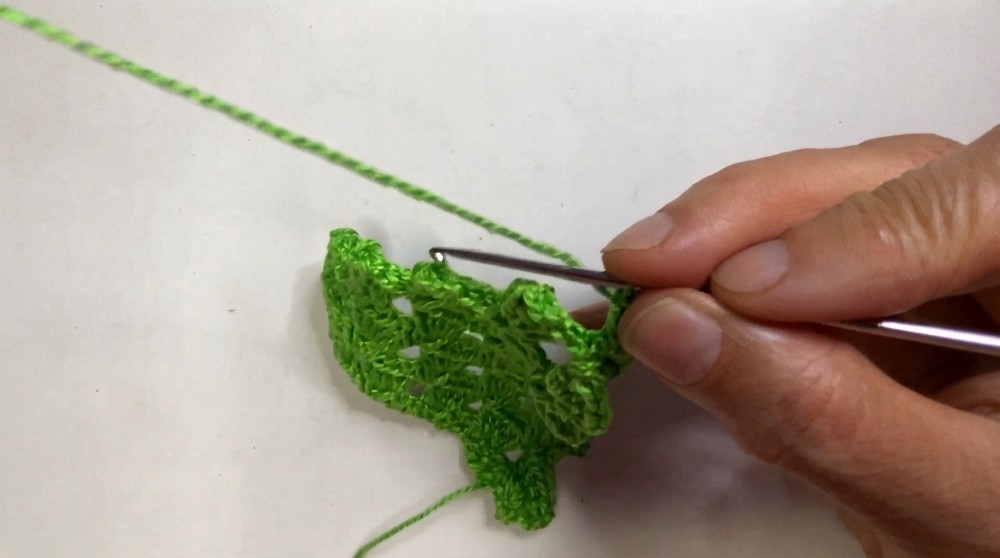
- Rows 5–Top:
- Alternate Row 3 and Row 2, gradually decreasing stitches to shape the tree as you reach the tip.
Decrease by skipping stitches gradually in corners until the final row is reached.
Step 2: The Pot
- Start:
- Insert the brown yarn into one of the tree spaces and ch 1.
- Row 1:
- Work 2 sc in the same space, followed by 1 sc in the next space. Repeat 2 sc, 1 sc, across. (8 sc total)
- Rows 2–3:
- Work 1 sc in each st across, ch 1, and turn.
The pot provides a sturdy base for the tree and can be customized with different colors.
Step 3: Weaving the Tails
- Use a tapestry needle to weave in all the yarn tails securely to give the ornament a neat finish.
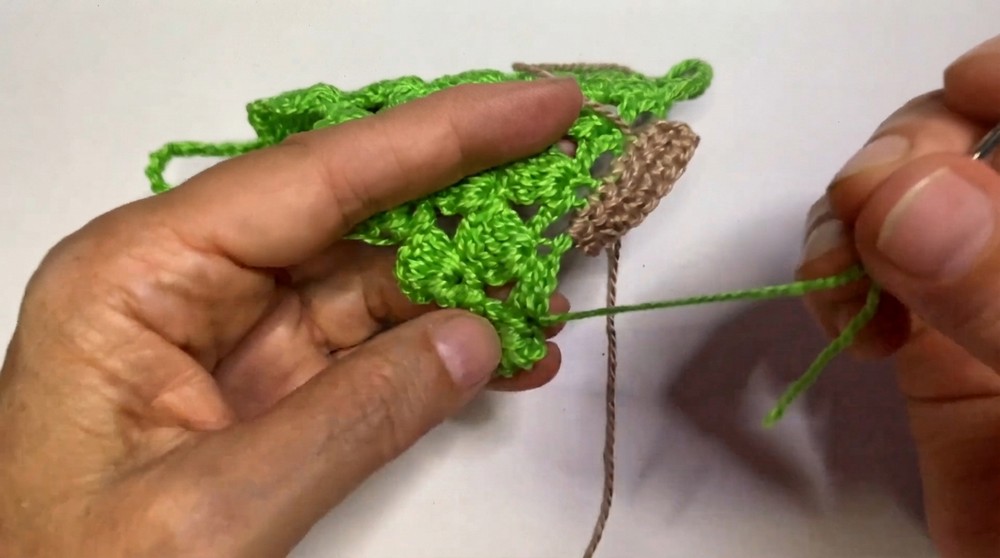
This step keeps the ornament looking tidy and ensures durability during handling.
Step 4: Attaching Beads
- Attach your beads by sewing them onto the tree. Place them randomly to emulate Christmas ornaments.
- If threading the beads is difficult, use pliers or a piece of wire to ease the process.
Step 5: Stiffening the Tree
- Mix glue with water in a small container (approximately 2 parts glue to 1 part water).
- Using a brush, spread the glue mixture evenly over the crochet tree, ensuring all parts are coated.
- Allow it to dry for several hours until stiffened.
This process ensures your ornament maintains its shape when hanging or handling.
Step 6: Final Assembly
- Use the remaining yarn or glue to attach the pot to the tree securely.
- Add a hanging loop (chain or hook) at the top of the tree for garlands or tree decorations.
Assembly & Finishing
After finishing the tree, pot, and beads, ensure everything is securely attached. Add final touches by fluffing the decorations and trimming loose ends. The ornament can be hung on your Christmas tree or incorporated into garlands for your holiday decor.
Why I Love This Pattern
This Christmas Tree Ornament pattern is both timeless and incredibly versatile. It’s simple enough for beginner crocheters yet sophisticated enough to wow as part of your holiday decorations. The addition of beads and stiffening techniques adds a polished, professional element, while the ability to customize colors makes each ornament unique. You can create a whole set for a festive garland or keep it as a standalone centerpiece.