
Crochet Cupcake Amigurumi Pattern for Sweet Handmade Decor
Enrich your accessory collection with the Free Crochet Cupcake Amigurumi Pattern for a playful plush perfect for display or gifting.
There’s a special joy in stitching something small and sweet that brings a smile every time you see it. This crochet cupcake uses basic stitches like single crochet, increase, and decrease, along with a pretty border made from double crochet stitches that give the frosting a lovely texture. Beginning with a magic ring ensures the cherry on top starts off perfectly round and neat.
Crochet Your Own Cupcake Amigurumi Pattern for Playful Toy Collections
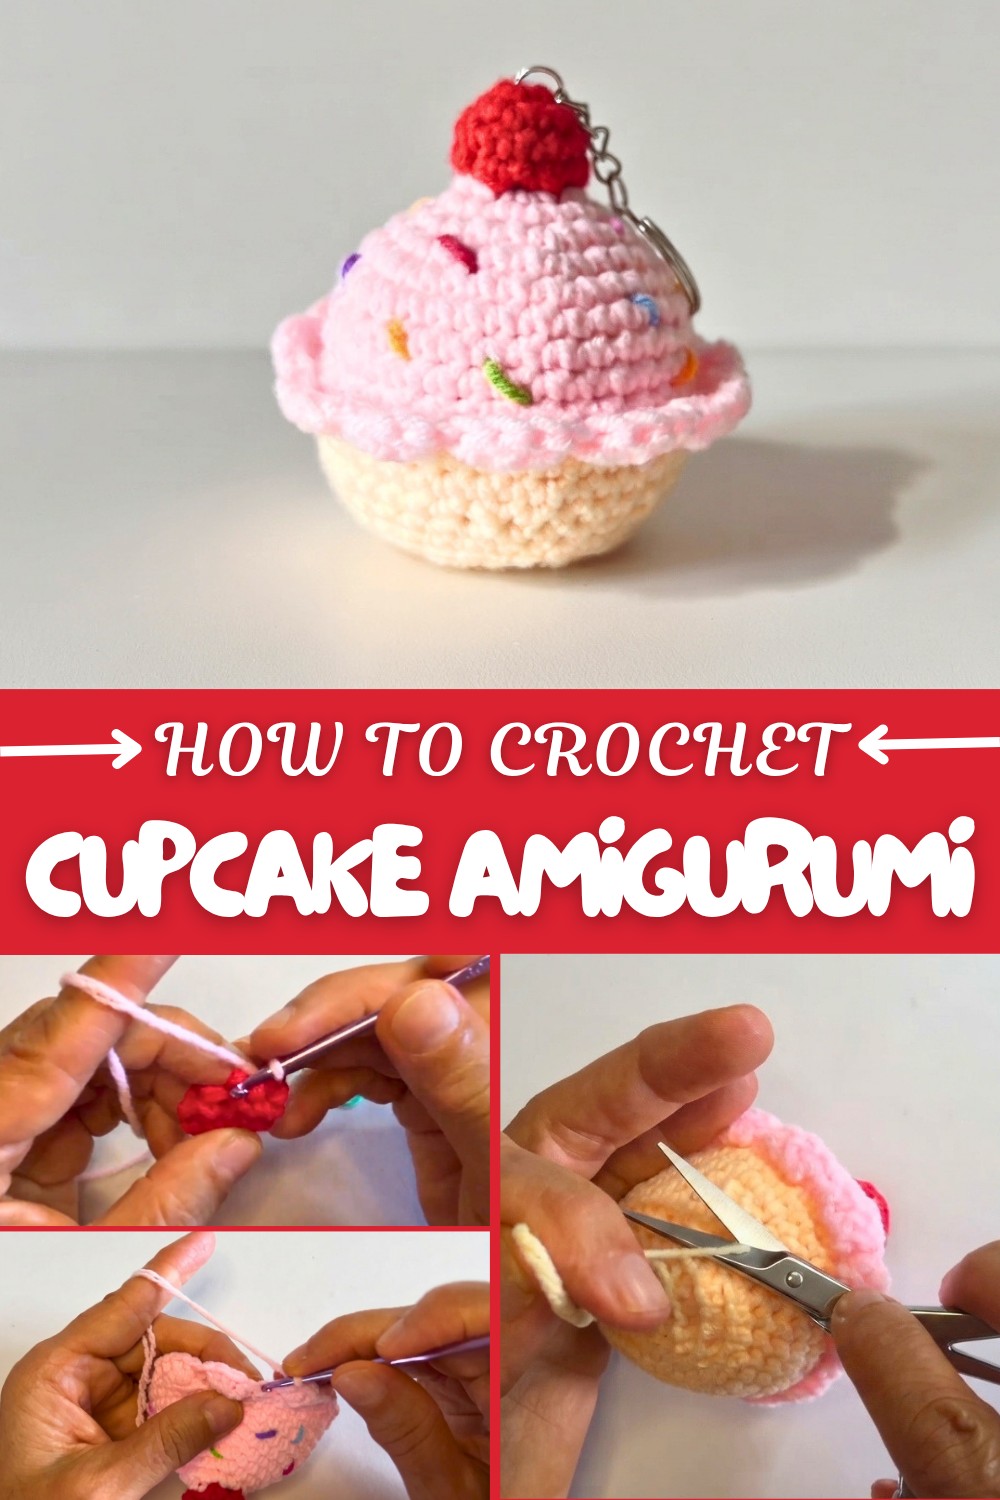
The pattern carefully shapes each cupcake section—the cherry, frosting, and cake—with clear instructions, making it easy to follow for beginners. Bright, colorful sprinkles stitched onto the frosting add a cheerful touch that makes this little amigurumi stand out. Once sewn and stuffed, the cupcake becomes a soft, squeezable charm that works wonderfully as a keychain or cute room decoration.
Working with these stitches also teaches useful crochet techniques, including how to work in rounds and how to crochet into front loops only, offering a unique texture. Because the pattern is small and quick to finish, it’s ideal for gifting or keeping close as a fun little accent.
More projects you can try
The stitches and techniques used here lend themselves well to making other mini amigurumi treats like donuts, ice cream cones, or tiny fruit charms. The decorative border can be adapted to add interest to scarves, blankets, or hats. This pattern provides a solid foundation for many simple and charming crochet projects that bring a pop of color and joy to everyday life.
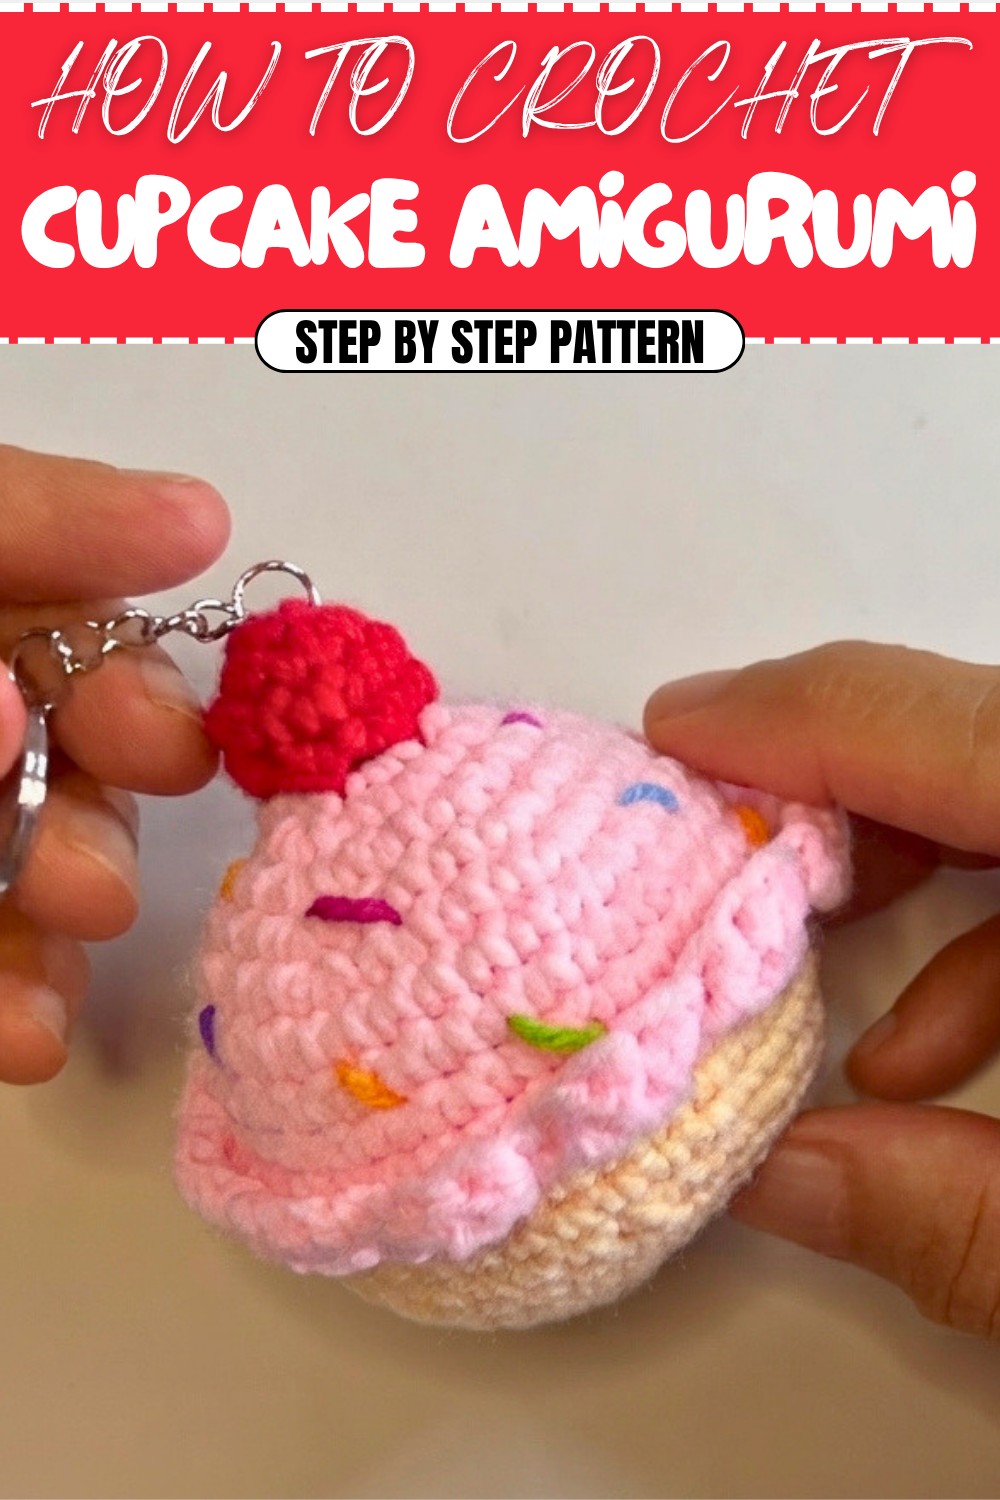
Crochet Pattern: Cupcake Amigurumi
Create your own sweet and adorable Crochet Cupcake Amigurumi with this step-by-step guide. Whether you're making it as a decorative charm, a gift, or a keychain, this easy pattern provides all the details you need for a polished and delightful result. This project is compact, colorful, and perfect for crocheters looking to experiment with textures and fun embellishments like sprinkles.
This crochet pattern incorporates basic stitches like single crochets, increases, and decreases, with a few decorative techniques for added flair. You can also customize each cupcake by changing the yarn colors and adding unique sprinkles to match your style or occasion.
Skill Level & Terminology
- Skill Level: Beginner
- Terminology: US Crochet Terms
This pattern is designed for crocheters who are comfortable working in rounds and are familiar with basic techniques like increasing and decreasing. Even if you're new to these skills, this pattern is an excellent place to start and learn.
Materials & Tools
- Yarn:
- Milk Cotton Yarn in three colors:
- Color 1: For the topping (e.g., pink or white)
- Color 2: For the cherry (e.g., red)
- Color 3: For the cake (e.g., brown or beige)
- Optional: Bright-colored yarns for the sprinkles
- Milk Cotton Yarn in three colors:
- Hook: 3 mm crochet hook
- Other Tools:
- Scissors
- Tapestry needle
- Stitch marker
- Polyfill stuffing
- Keychain or keyring (optional)
- Pliers (optional, for attaching the keychain)
Gauge
Gauge is not necessary for this small amigurumi project, but working with a 3 mm crochet hook and milk cotton yarn will produce a firm fabric that retains its shape after stuffing.
Abbreviations
| Abbreviation | Meaning |
|---|---|
| MR | Magic Ring |
| ch | Chain |
| sc | Single Crochet |
| sc2tog | Single Crochet 2 Together (Decrease) |
| st | Stitch |
| inc | Increase (2 sc in one st) |
| BLO | Back Loop Only |
| sl st | Slip Stitch |
| dc | Double Crochet |
Special Stitch Instructions
- Magic Ring (MR): Create an adjustable loop where you work your first stitches. Pull the tail tightly to close the loop.
- Single Crochet 2 Together (sc2tog): Insert the hook into the first st, yarn over, pull up a loop. Insert the hook into the next st, yarn over, pull up a loop (3 loops on hook). Yarn over and pull through all 3 loops.
- Double Crochet (dc): Yarn over, insert the hook into the stitch, yarn over, pull up a loop (3 loops on hook). Yarn over and pull through 2 loops, yarn over, and pull through the remaining 2 loops.
- Decorative Border (Front Loop Only): Work your stitches into the front loop of a row only, leaving the back loop unworked to create a detailed edge.
Finished Size
The completed cupcake measures approximately 6 cm tall (2.5 inches) and 5 cm wide (2 inches), depending on your tension and yarn.
What You'll Learn from This Pattern
- Crocheting in rounds using a magic ring.
- Combining increases and decreases to create 3D shapes.
- Creating decorative scalloped edges with double crochet stitches in the front loop only.
- Basic sewing techniques for assembling amigurumi parts.
What Stitches Are Used in This Pattern?
This project uses the following stitches:
- Single crochet (sc): Used for the main structure of the cupcake, including the cherry, topping, and cake.
- Increases (inc): To shape the rounded sections.
- Decreases (sc2tog): To taper and define the shape.
- Double crochet (dc): For the scalloped decorative border on the topping.
The Pattern Itself
Step 1: Cherry
- Round 1:
- Begin with a MR, ch 1, and work 6 sc into the ring. (6 sts)
- Round 2:
- 1 sc in the first st, 2 sc in the next st, repeat around. (12 sts)
- Round 3:
- Work 1 sc in each st around. (12 sts)
- Round 4:
- Work 6 sc2tog (decreases). (6 sts)
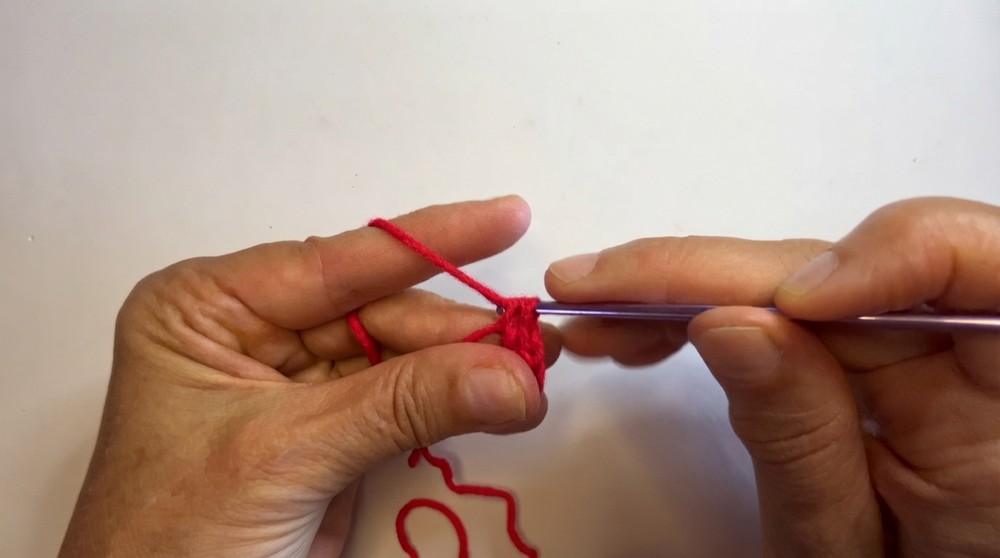
Tip: At this point, stuff the cherry lightly with polyfill. Switch to your cupcake topping color in the last stitch.
Step 2: Topping
- Round 1:
- Work 2 sc in each st around (increase). (12 sts)
- Round 2:
- 1 sc, 2 sc in the next st, repeat around. (18 sts)
- Round 3:
- 1 sc in the next 2 sts, 2 sc in the next st, repeat around. (24 sts)
- Round 4:
- 1 sc in the next 3 sts, 2 sc in the next st, repeat around. (30 sts)
- Round 5:
- 1 sc in the next 4 sts, 2 sc in the next st, repeat around. (36 sts)
- Rounds 6–9:
- Work 1 sc in each st around. (36 sts)
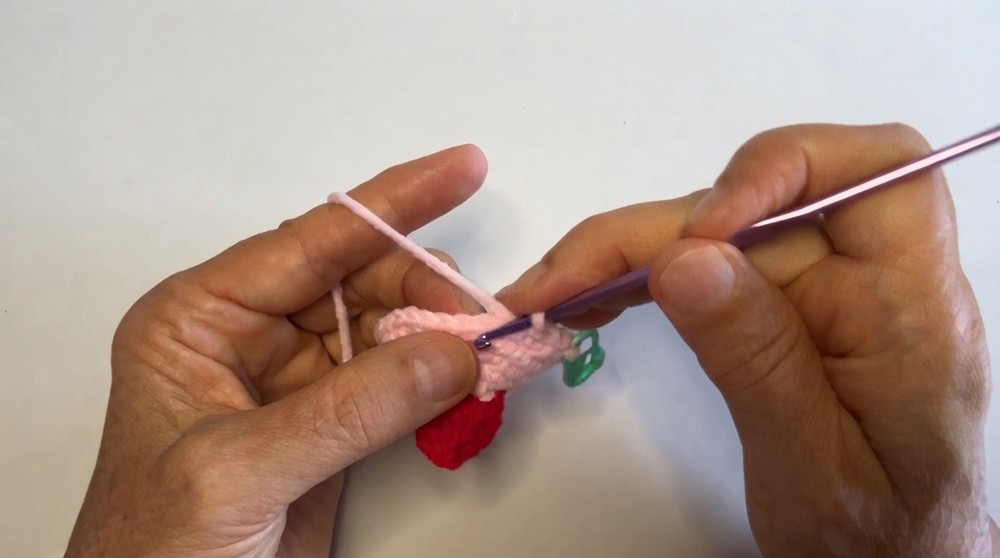
- Round 10 (Border):
- Work in the BLO for this round: Skip 1 st, 3 dc in the next st, sl st in the next st, repeat around to create the scalloped border.
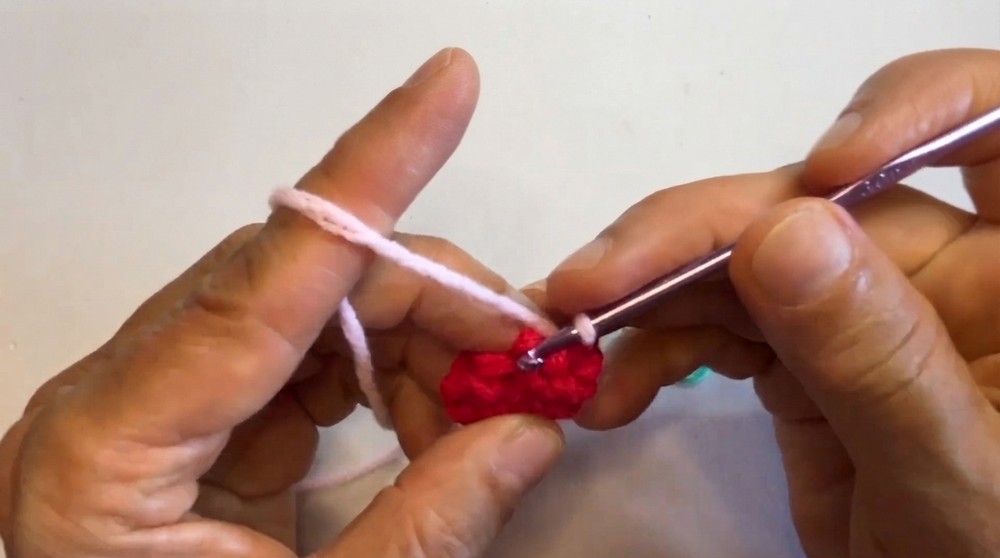
Step 3: Sprinkles
- Use bright-colored yarns to create decorative sprinkles.
- Sew small stitches randomly on the topping using the tapestry needle.
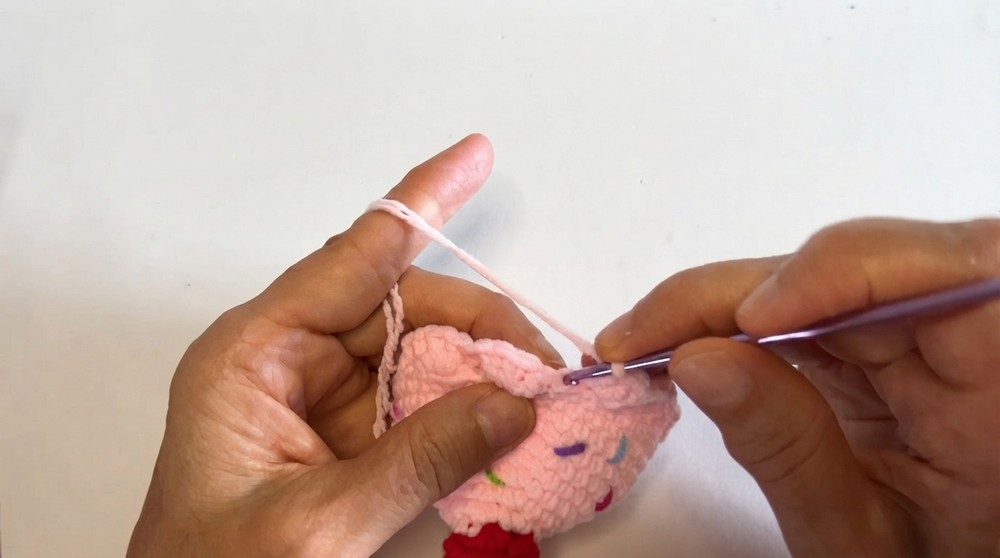
Tip: You can also embroider neat, short lines with yarn scraps to simulate sprinkles.
Step 4: Cake Base
- Round 1:
- Using the next color, 1 sc in each st of the edge of the topping. (36 sts)
- Rounds 2–3:
- Work 1 sc in each st around. (36 sts)
- Round 4:
- 1 sc in the next 4 sts, sc2tog, repeat around. (30 sts)
- Rounds 5–6:
- 1 sc in each st around. (30 sts)
- Round 7 (BLO):
- Work 1 sc in the next 3 sts, sc2tog, repeat around. (24 sts)
- Round 8:
- 1 sc in the next 2 sts, sc2tog, repeat around. (18 sts)
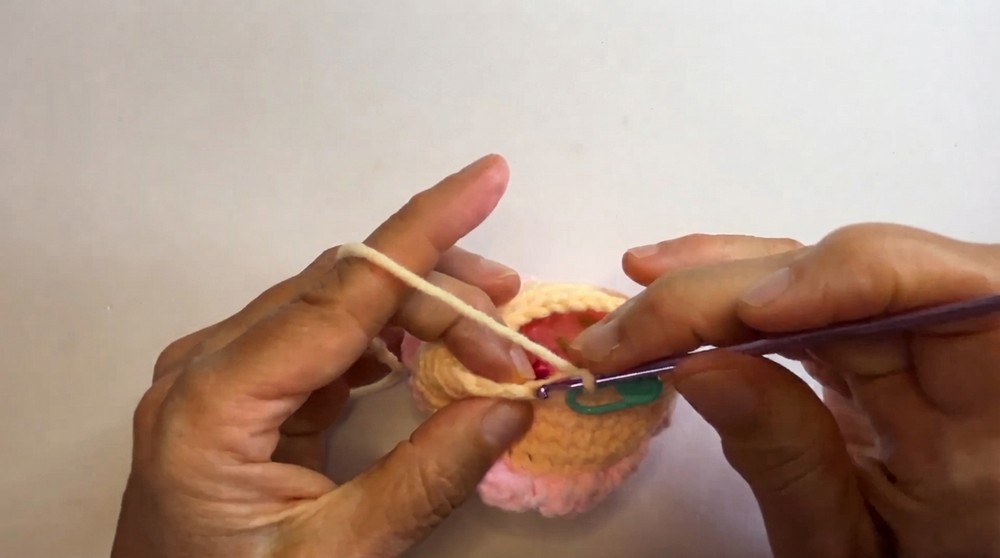
Stuff the base before proceeding to the final rounds.
- Round 9:
- 1 sc, sc2tog, repeat around. (12 sts)
- Round 10:
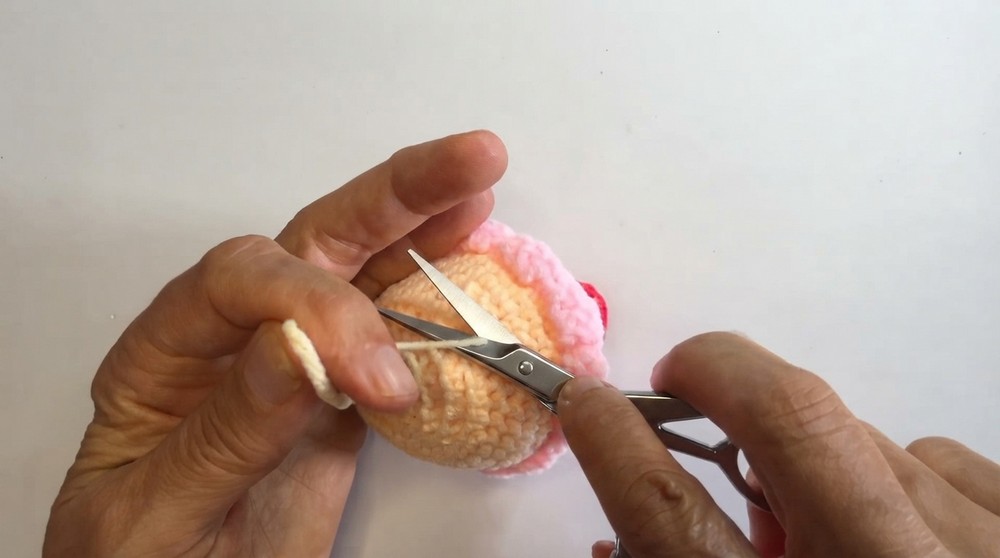
- Pull up a long piece of yarn and cut it off. Sew the edge closed with the tapestry needle and weave in the ends.
Step 5: Assembly
- Sew the cherry to the center of the topping.
- Set the topping on the cake base and sew them securely together.
- Add a keychain to the top of the cherry if you wish to use the cupcake as a charm or keyring.
Why I Love This Pattern
This Crochet Cupcake Amigurumi pattern is so cute and versatile! You can customize the colors to match any theme, from pastel cupcakes to vibrant rainbow designs. It's a quick project, ideal for beginners, and provides an opportunity to experiment with shapes, textures, and embellishments. The finished product makes a great charm, gift, or decoration.