
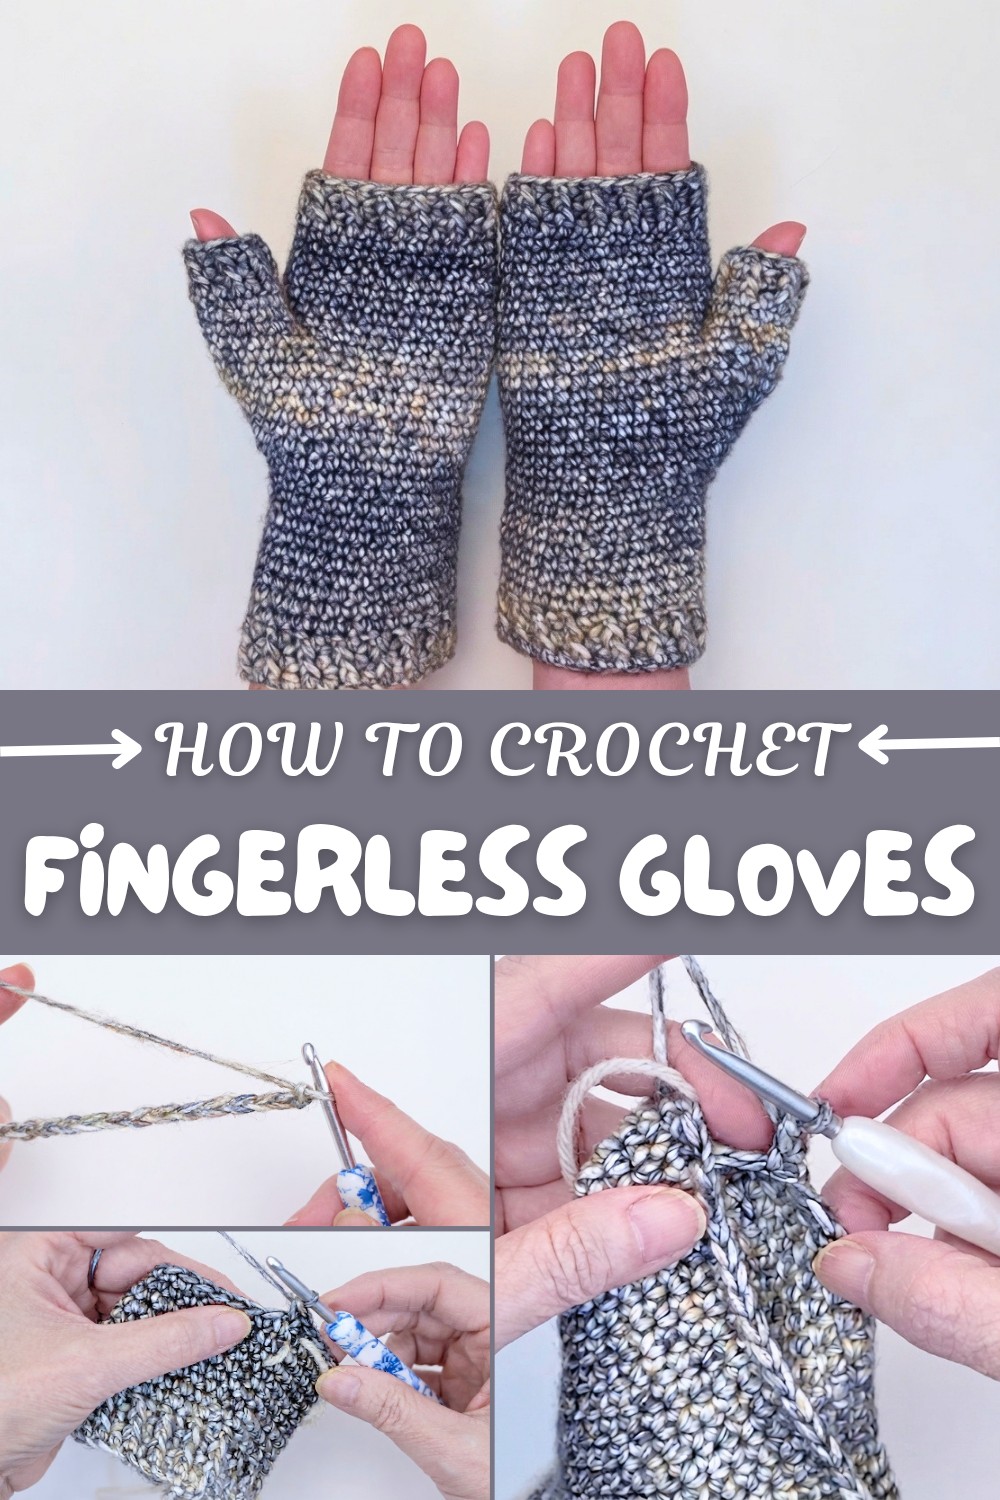
How to Free Crochet Fingerless Gloves Pattern for Stylish Warmth
Easily enhance warmth and flexibility on the go with a Free Crochet Fingerless Gloves Pattern that’s both trendy and practical.
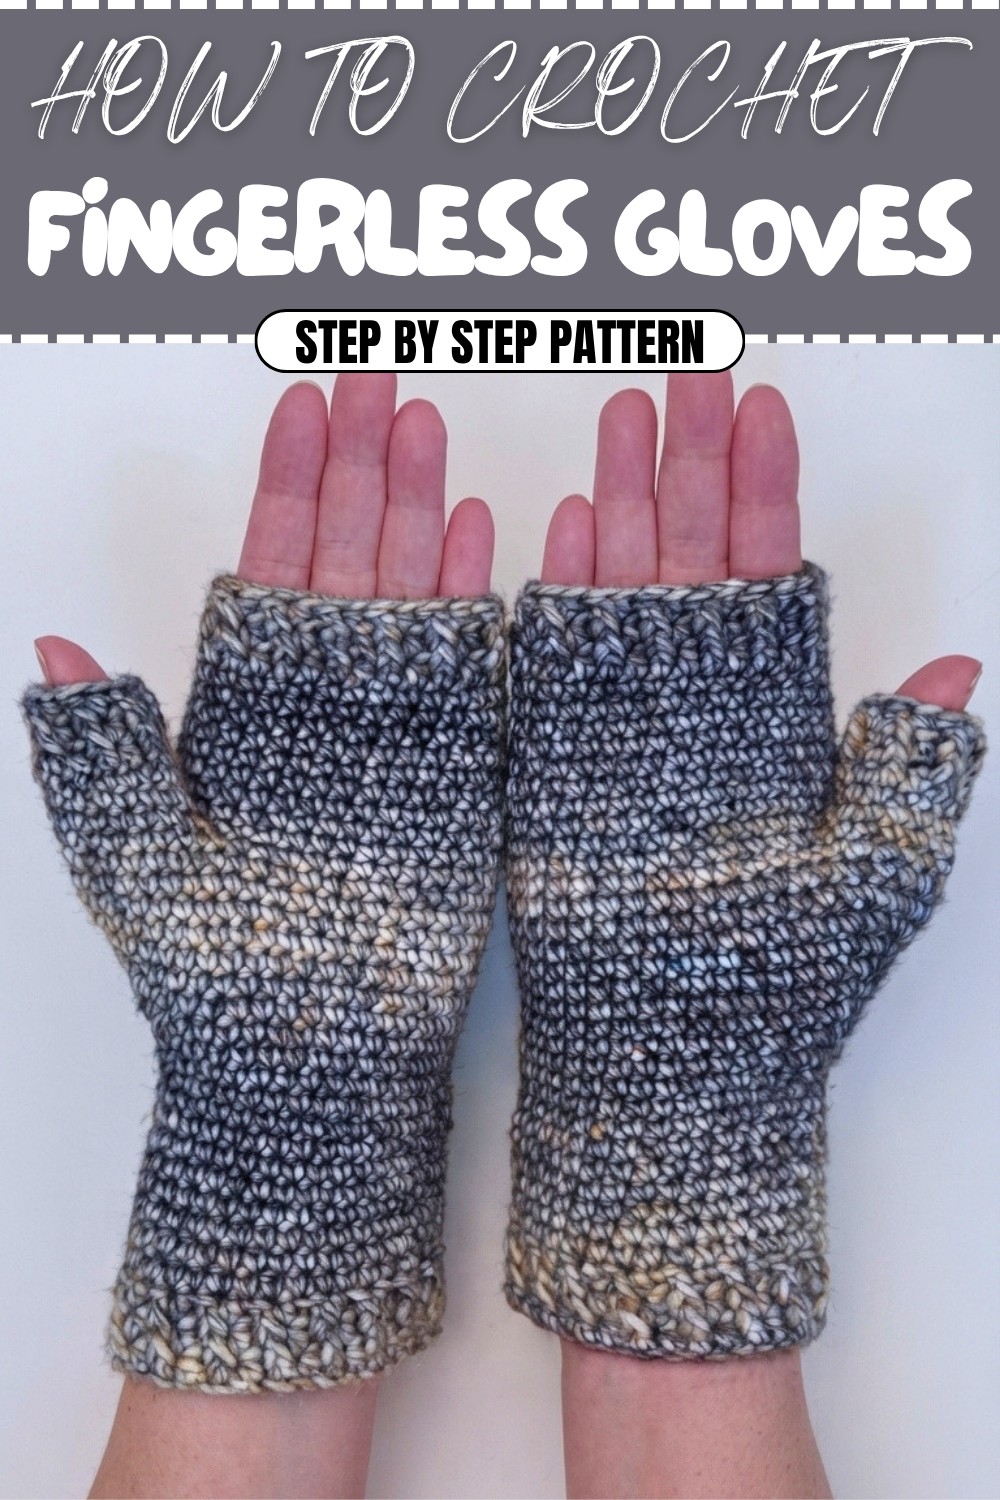
Staying warm while keeping your fingers free can be a real challenge during chilly days. That’s why fingerless gloves are such a fantastic accessory; they keep your hands cozy without stopping you from texting, typing, or crocheting. This simple crochet pattern is designed for anyone who wants a practical yet stylish pair of gloves that are quick to make and comfortable to wear. Using a soft, medium-weight yarn and a size 5 hook, this pattern fit snugly and showcase a lovely textured cuff that adds a special touch.
Learn this Free Crochet Fingerless Gloves Pattern in Simple Steps
The magic of this pattern lies in the use of half double crochet stitches combined with front post double crochet stitches, creating a beautiful raised and ribbed texture on the cuff. Working your stitches into the bottom loops gives a thick, heart-shaped edge that feels great against your skin. The glove body and thumb section are built mainly with single crochet stitches worked in a spiral, making the fabric dense and stretchy enough to fit comfortably. This technique is perfect for beginners wanting to learn how to work in rounds without joining with slip stitches.
Other Fun Projects Using This Pattern
The stitches and techniques used in this fingerless glove pattern are very versatile. You can use the same ribbed stitch combination to crochet cozy headbands or stylish wrist warmers. The sturdy single crochet spiral method works wonderfully for making snug hats or even soft mugs cozy sleeves. Playing around with these stitches also opens the door to creating warm blankets and textured scarves that have lovely ribbed patterns. Whether you want small accessories or larger projects, learning this pattern builds a great foundation for many crochet creations.
Fingerless Gloves Crochet Pattern: Step-by-Step Guide
Create a stylish and practical pair of fingerless gloves with this easy-to-follow crochet pattern. Designed to keep your hands warm while ensuring full mobility for activities, these gloves are perfect for both beginners and intermediate crocheters. Follow along as we work through the cuff, body, thumb, and fingerless sections—step by step.
This pattern is ideal for cooler weather, providing the warmth you need while still allowing you to comfortably use your hands for tasks like typing, driving, or crafting. The pattern uses a mix of half double crochet (hdc), front post double crochet (fpdc), and single crochet (sc) to add texture and structure.
Skill Level:
Beginner to Intermediate
Terminology:
US crochet terms are used throughout this pattern.
What You’ll Learn From This Pattern
- Techniques for creating a textured cuff edge using front post stitches.
- How to crochet a smooth spiral for the glove body and thumb.
- Working increases and decreases for shaping.
The project is great for those wanting to create something practical that also looks polished and stylish. Enjoy learning new texture-building techniques while making a functional accessory!
Materials & Tools
- Yarn: Size 4 medium-weight yarn (choose soft and durable yarn for comfort).
- Crochet Hook: Size 5 mm (H/8).
- Notions: Yarn needle for weaving in ends, scissors, stitch markers.
Gauge
14 stitches x 9 rows (in single crochet) = 4 inches.
Abbreviations List
Below are the abbreviations you'll use:
- ch: Chain
- sc: Single Crochet
- hdc: Half Double Crochet
- fpdc: Front Post Double Crochet
- st(s): Stitch(es)
- sl st: Slip Stitch
Special Stitch Instructions
Front Post Double Crochet (fpdc):
This stitch creates raised edges that add texture to your project. Here's how to do it:
- Yarn over and insert the hook around the post of the stitch below (from front to back and out again to the front).
- Pull up a loop so you have 3 loops on your hook.
- Yarn over and pull through 2 loops, leaving 2 loops on the hook.
- Yarn over again and pull through the final 2 loops.
Finished Size
The gloves measure approximately:
- Width (cuff): 8.5 inches (21.5 cm)
- Length: Adjustable depending on the number of rounds.
The Pattern Itself
Getting Started
Begin your gloves by creating the foundation chain for the cuff. adjust the chain length to fit your wrist comfortably. The project uses spiral rounds for the body to eliminate visible seams.
Cuff (Rounds 1-3)
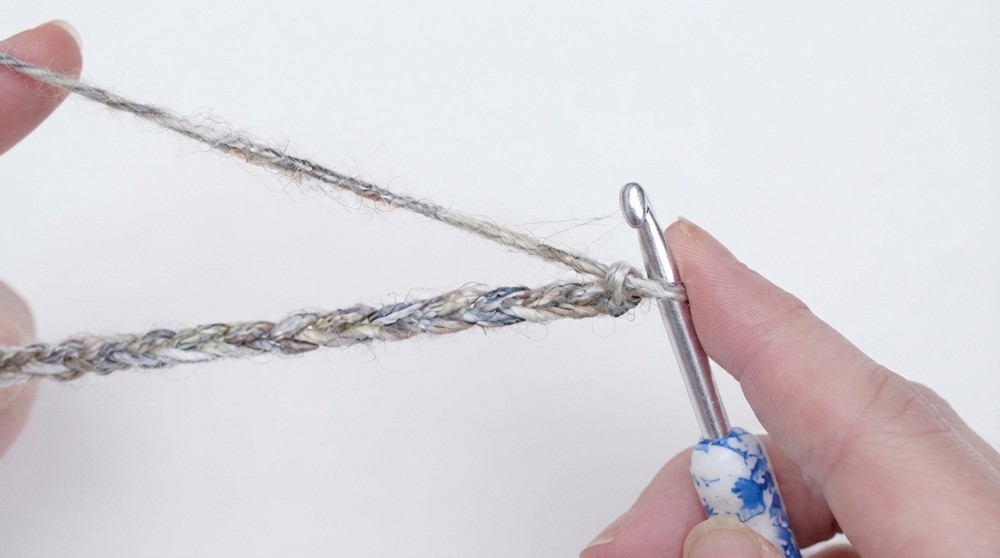
- Foundation Chain: Begin with an even number of chains. For adult large gloves, chain 32 (approximately 8.5 inches wide).
- Slip stitch into the first chain to form a ring.
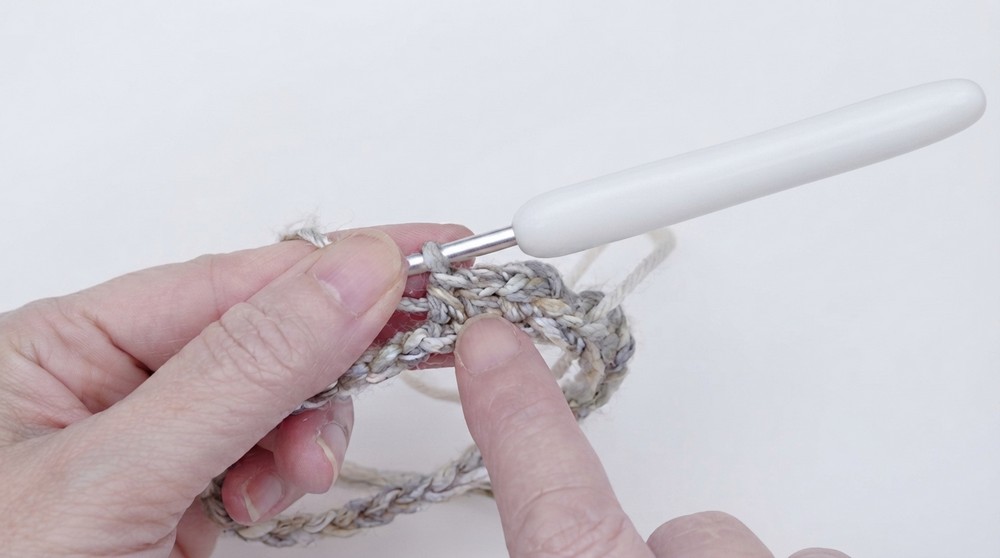
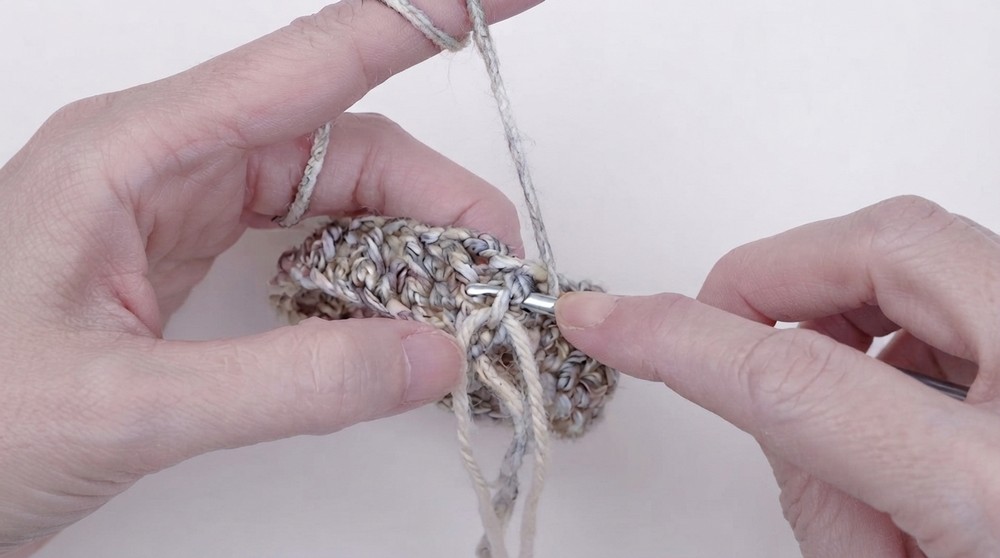
- Round 1:
- Chain 2 (counts as a hdc).
- Work 1 hdc into each chain around.
- Slip stitch to the top of the beginning chain to join.
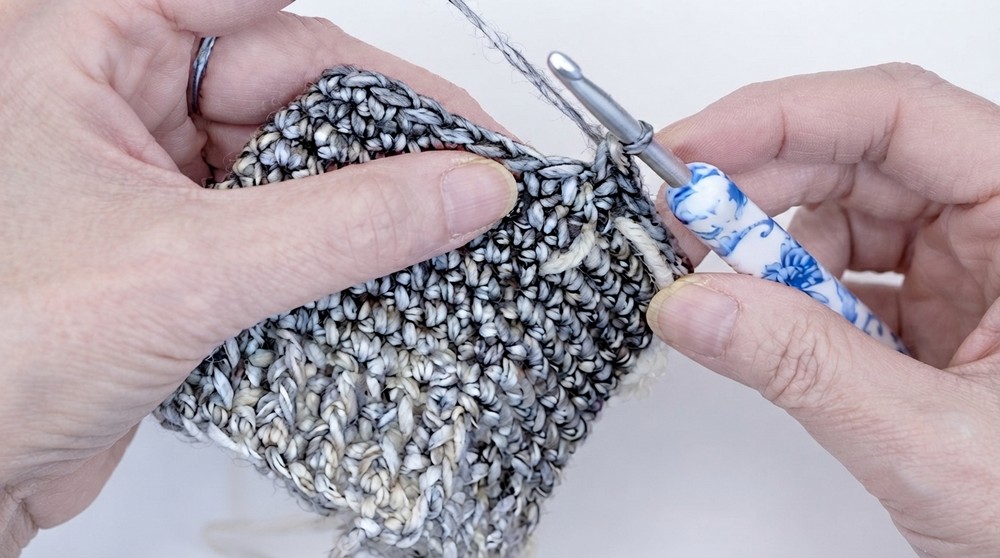
- Round 2:
- Chain 2 (counts as a hdc).
- Alternate stitches as follows: 1 fpdc around the next post, then 1 hdc in the next stitch.
- Repeat this fpdc, hdc sequence around.
- Slip stitch to the beginning chain to close the round.
- Round 3: Repeat Round 2 (fpdc into fpdc, hdc into hdc) for a textured cuff edge.
The cuff provides a snug and stretchy starting point. The alternating fpdc and hdc stitches create a ribbed texture that holds its shape well.
Glove Body (Rounds 4-12)
- Round 4:
- Chain 1 (does not count as a stitch).
- Work 1 sc into the same stitch. Place a stitch marker to mark the first stitch of the round.
- Work 1 sc into each stitch around.
- Continue Spiral Rounds: Work in a continuous spiral for 9 rounds (or until your cuff reaches the desired length).
- Do not slip stitch between rounds; instead, start the next round directly into the first stitch of the previous round.
- Adjust as needed: For longer gloves, simply add more rounds of single crochet.
The body of the glove is created by smooth and consistent single crochet stitches in a spiral. Marking the first stitch helps maintain clean rows.
Thumb Increases (Rounds 13-21)
- Round 13:
- Work 2 sc into the first stitch. Mark the middle stitch of the increase for reference.
- Work 1 sc into each remaining stitch around.
- Rounds 14-15:
- Continue as in Round 13, adding 1 stitch increase at the start of each round.
- Round 16:
- Begin with 2 sc in the stitch before the marked stitch.
- Work 1 sc into the middle stitch, then 2 sc into the stitch after the middle stitch.
- Rounds 17-21: Alternate between rounds with 1 increase and 2 increases to shape the base of the thumb.
These carefully placed increases create the curve for the thumb opening while maintaining a balanced and symmetrical shape.
Thumb Section
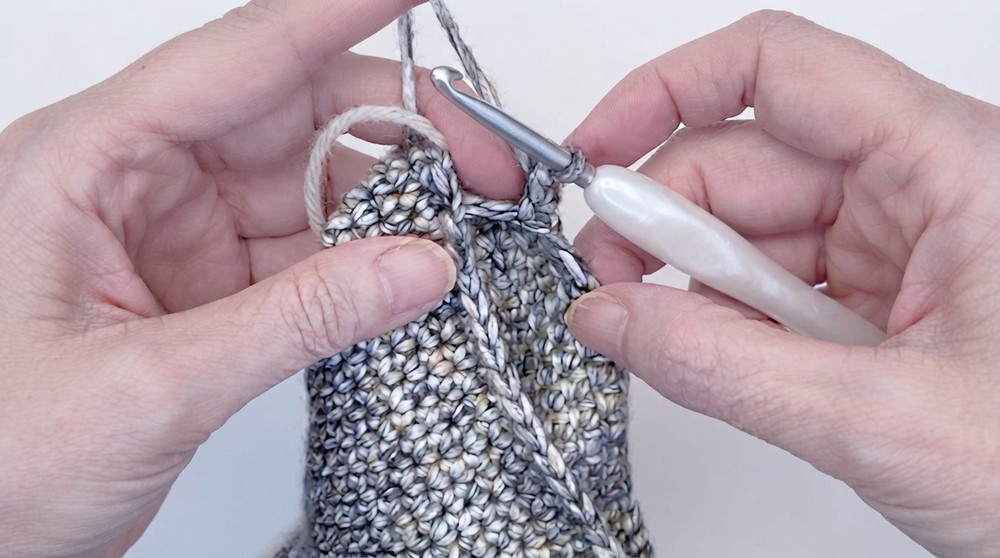
- Thumb Opening:
- Count backwards 6 stitches from the last stitch and mark it. Count 7 stitches backwards on the opposite side and mark this point as well.
- Chain 7 to connect the front and back (this will form the thumb opening).
- Work 1 sc into each stitch of the chain and surrounding stitches in a spiral.
- Complete 9 spiral rounds.
- Thumb Edging: Work as follows:
- First round: 1 hdc in each stitch.
- Second & Third rounds: Alternate fpdc and hdc to create a textured thumb edge.
- Fasten off and weave in ends.
The thumb section requires careful counting and attention to detail for a perfect fit. The edging gives the thumb a polished finish.
Fingerless Section
- At the opposite side of the thumb, attach the yarn with a slip knot.
- Work 9 spiral rounds of sc, inserting the hook into each stitch of the spiral.
- After 9 rounds of sc, repeat the edging pattern from the cuff:
- First round: hdc in each stitch.
- Second & Third rounds: Alternate fpdc and hdc for texture.
- Fasten off and weave in loose ends.
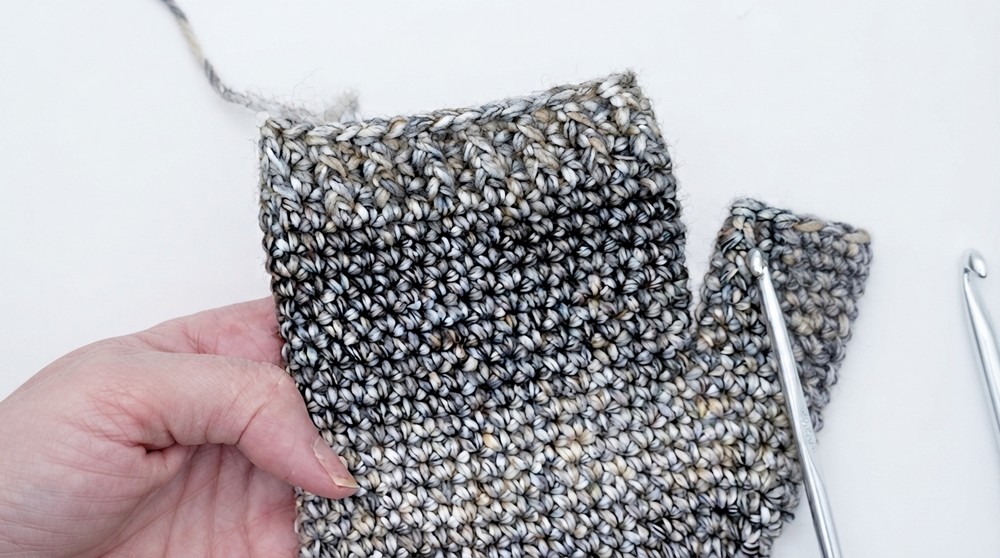
This section finalizes the gloves, leaving your fingers free while providing warmth.
Assembly & Finishing
- Weave in ends using a yarn needle to ensure a clean finish.
- Block the gloves lightly if needed to refine the shape.
Difficulties & Solutions
- Joining Chains without Twisting: Before joining the foundation chain, lay it flat to prevent twists.
- Maintaining Spiral Rounds: Use a stitch marker in the first stitch of the round to avoid losing track.
- Thumb Opening/Shape: Mark your increase points for symmetry and balance around the thumb.
Why You'll Love This Pattern
This fingerless glove pattern strikes the perfect balance between functionality and style. The textured cuff, smooth spiral body, and thumb shaping allow you to practice foundational crochet skills while making something practical and beautiful. It’s a fast, rewarding project that’s great for gifting or personal use!