
Crochet Retro Daisy Granny Square Pattern for Vintage Vibes
Update your crochet collection as the Free Crochet Retro Daisy Granny Square Pattern adds playful flower power to every stitch.
Bright petals and cheerful colors come together in this retro daisy granny square that turns simple crochet stitches into a playful floral design. Using the double crochet stitch as the main stitch, along with chains and slip stitches, this pattern builds soft, textured petals that contrast beautifully with an open, airy background. The special touch lies in how the pattern shifts the round flower into a neat square by mixing different stitch heights, giving it a unique shape that feels both timeless and fresh.
Eco-Friendly Crochet Retro Daisy Granny Square for Colorful Projects
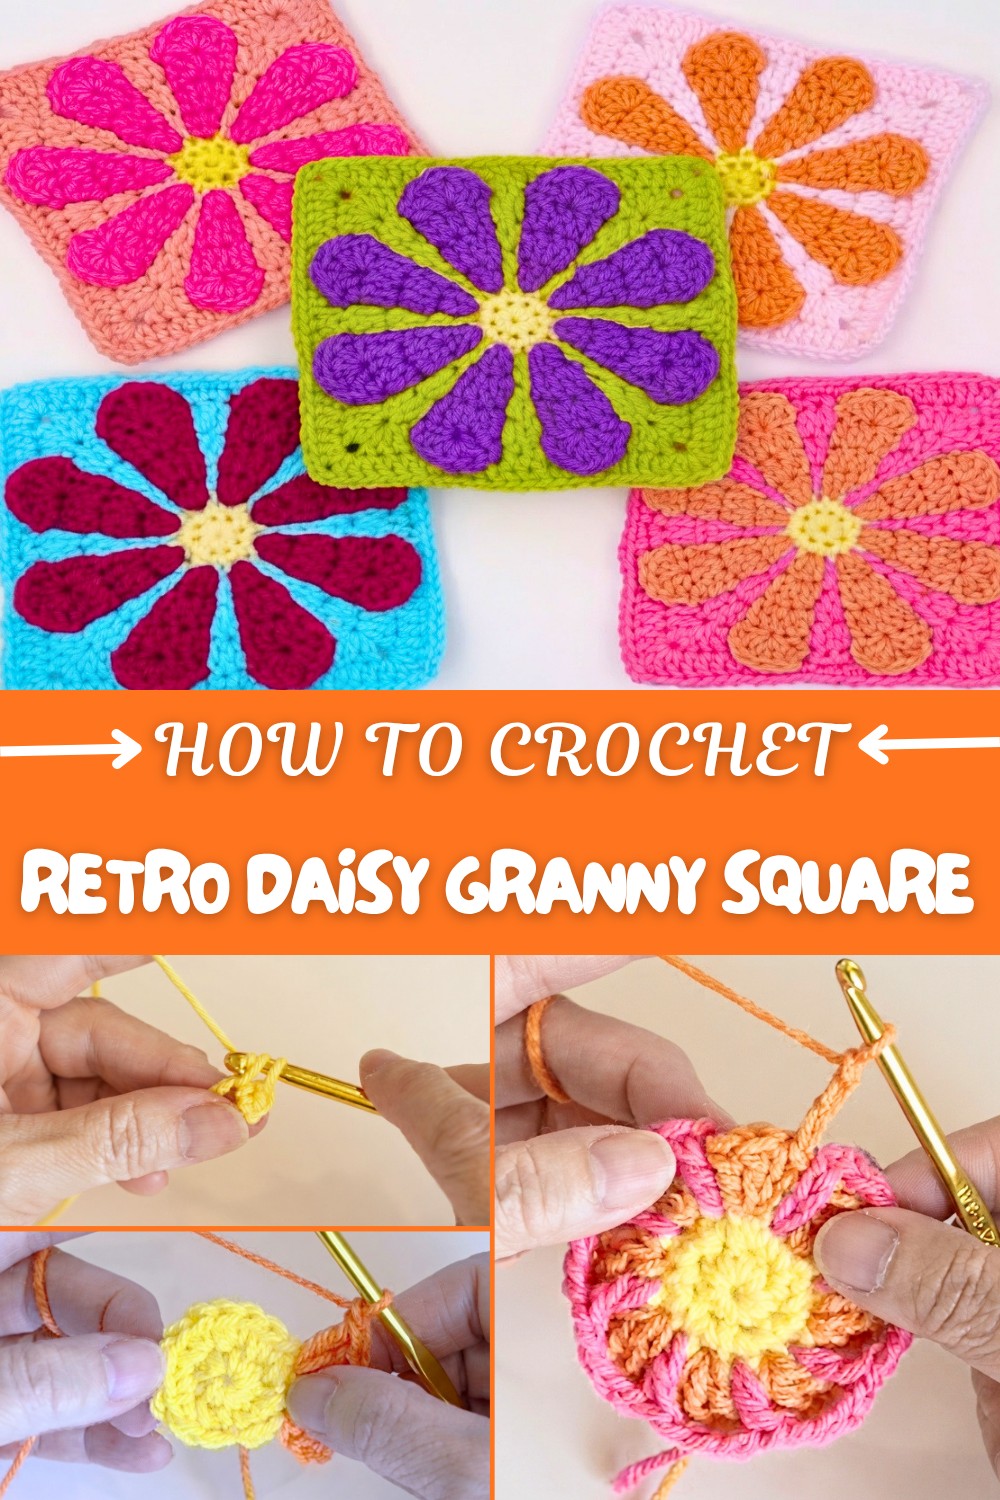
This pattern is perfect for beginners because it focuses on easy-to-learn stitches like increases and cluster stitches while guiding you to make a lovely motif full of dimension and charm. The combination of solid petals and delicate spaces creates a balanced look that works wonderfully for blankets, cushions, scarves, or bags. Each granny square can become a bright spot of color and warmth in your handmade projects.
Beyond making individual squares, this pattern opens the door to many possibilities. You can join multiple squares to make vibrant throws or experiment with color arrangements for eye-catching wall hangings and table runners. The stitches you practice here also pave the way for other designs featuring floral or geometric patterns, offering a friendly introduction to a variety of crochet styles and techniques.
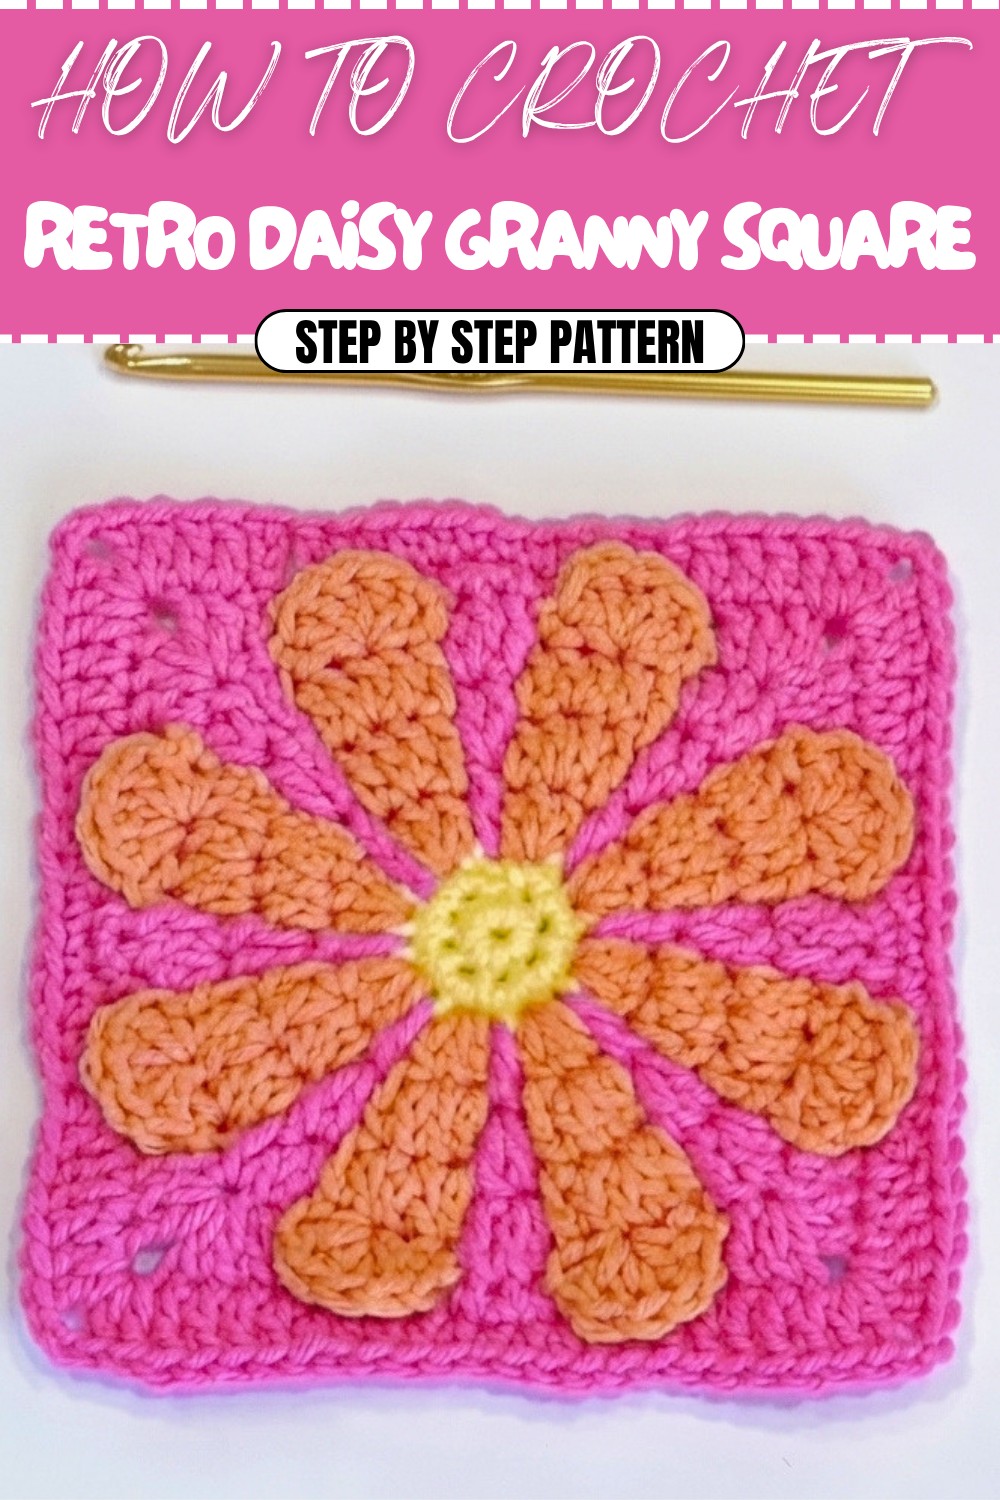
Daisy Granny Square Crochet Pattern
This Daisy Granny Square pattern is a versatile and beautiful design that combines texture and color to create a charming, flower-inspired motif. It can be used for making blankets, pillows, bags, or table runners. This pattern provides detailed, step-by-step instructions to walk you through creating a daisy square. Whether you're a beginner or seasoned crocheter, follow along to create this delightful piece!
Skill Level & Terminology
- Skill Level: Easy to Intermediate
- Terminology: Instructions use US crochet terms. Adapt to UK terms if needed (e.g., US "single crochet" = UK "double crochet").
Materials & Tools
- Yarn: Worsted weight yarn in 3 contrasting colors (Color A, B, C).
- Color A: Center disc
- Color B: Petals
- Color C: Background
- Crochet Hook: 4.5mm or 5mm hook (depending on tension).
- Additional Tools: Scissors, tapestry needle for weaving ends, and stitch marker (optional).
Gauge
Gauge is not crucial for this pattern. However, ensure uniform stitch tension.
Abbreviations List
- ch: Chain
- sc: Single Crochet
- dc: Double Crochet
- sl st: Slip Stitch
- st: Stitch
- sk: Skip
- sp: Space
Special Stitch Instructions
- Magic Circle: Loop the yarn into a circle, pull a loop through, and crochet into the circle instead of chaining to form a ring.
- Cluster: Group of stitches worked into one base stitch or space for added texture.
Finished Size
Approximately 5 x 5 inches, depending on yarn and hook size.
The Pattern Itself
Center Disc (Using Color A)
- Start with a Magic Circle:
- Wrap yarn into a circle, creating an adjustable ring.
- Ch 1 to secure the circle.
- Round 1:
- Work 8 sc into the magic circle.
- Sl st to the first sc to join.
- Round 2:
- Work 2 sc in each st (16 sc total).
- Sl st to the first sc and fasten off.
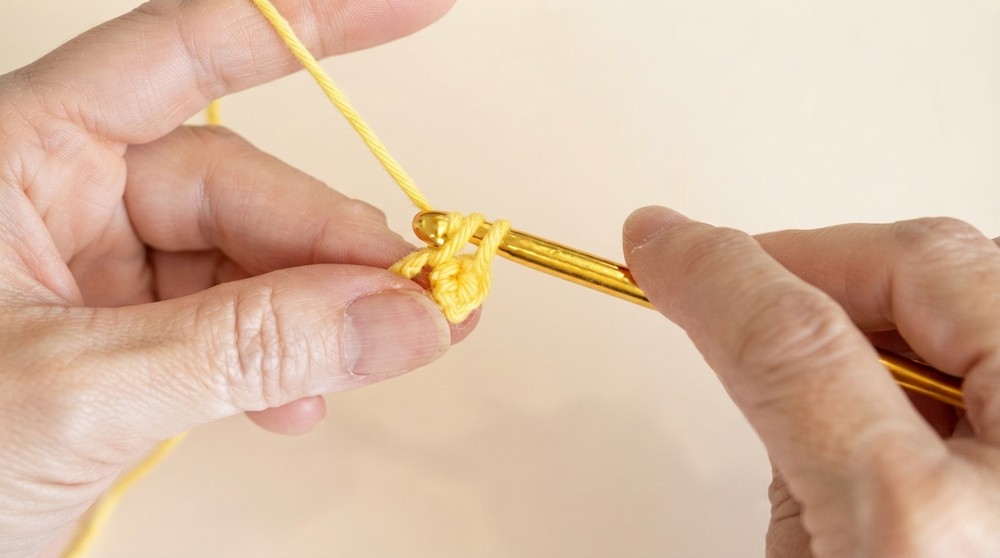
Note: The center disc is complete. If you're new to crochet, the magic circle technique creates a neat, tight center.
Petals (Using Color B)
Round 1 of Petals:
- Attach Color B yarn with a sl st into any stitch from the previous round.
- Ch 3 (counts as the first dc). Work 2 dc in the same stitch.
- You should now have 3 dc in one stitch (a petal cluster).
- Ch 1, sk 1 st, and work 3 dc in the next stitch.
- Repeat this sequence (Ch 1, sk 1 st, 3 dc) around.
- Sl st to the top of the beginning ch-3 to complete the round.
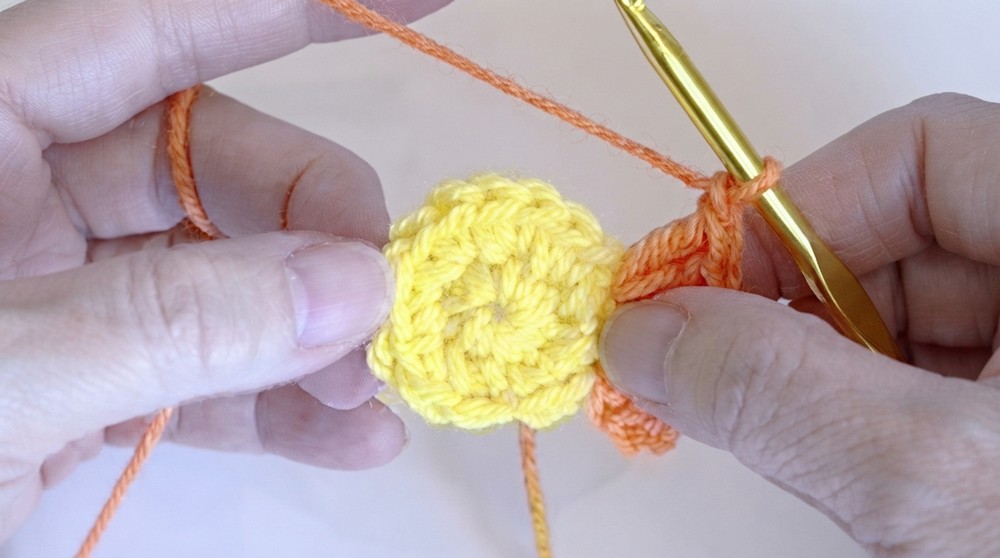
Note: At the end of this round, you will see a ring of petals forming. Set this yarn aside.
Background (Using Color C)
Round 1 of Background:
- Attach Color C yarn between any two petals with a sl st.
- Ch 3 (counts as 1 dc), and dc in the same space.
- Ch 4, sk 3 sts, 2 dc in the space between petals, and repeat around.
- Sl st to the top of the starting ch-3 to join.
Note: The background adds structure to the square. Ensure stitches are even for a balanced look.
Building Petals: Round 2 (Using Color B)
- Reattach Color B yarn to any petal cluster.
- Ch 3 and work the following sequence:
- 2 dc in the next stitch
- 1 dc in the next stitch
- Total: 4 dc per petal.
- Ch 2 for spacing, and repeat across.
- Sl st to complete the round.
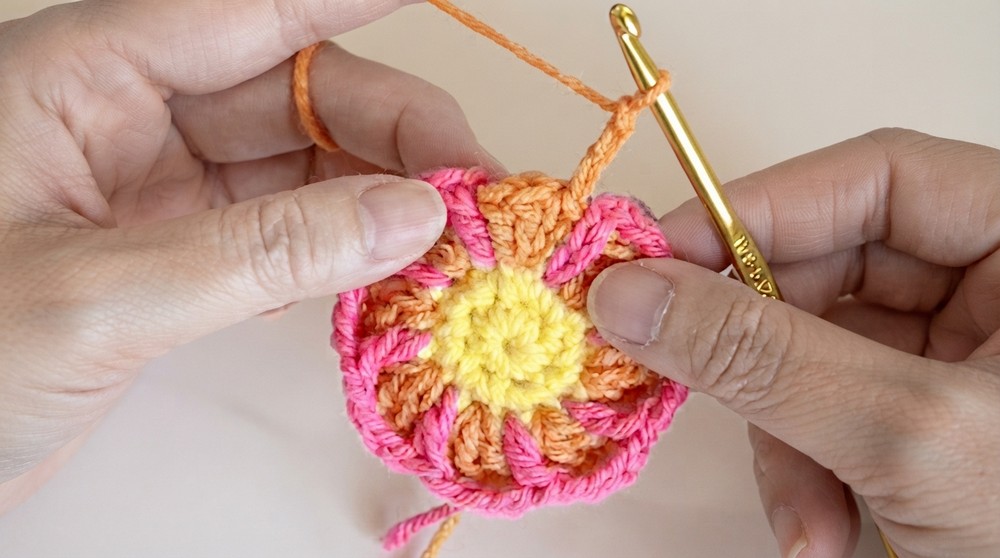
Note: The petals broaden at this stage. Don't forget to bring the background yarn to the side.
Expanding Background: Round 2 (Using Color C)
- Attach Color C yarn with a sl st in any chain space.
- Ch 3, dc in the next st, and work a 2-dc increase in the next stitch.
- Ch 5, skip stitches, and repeat the same sequence around.
- **Sl st to complete the round.
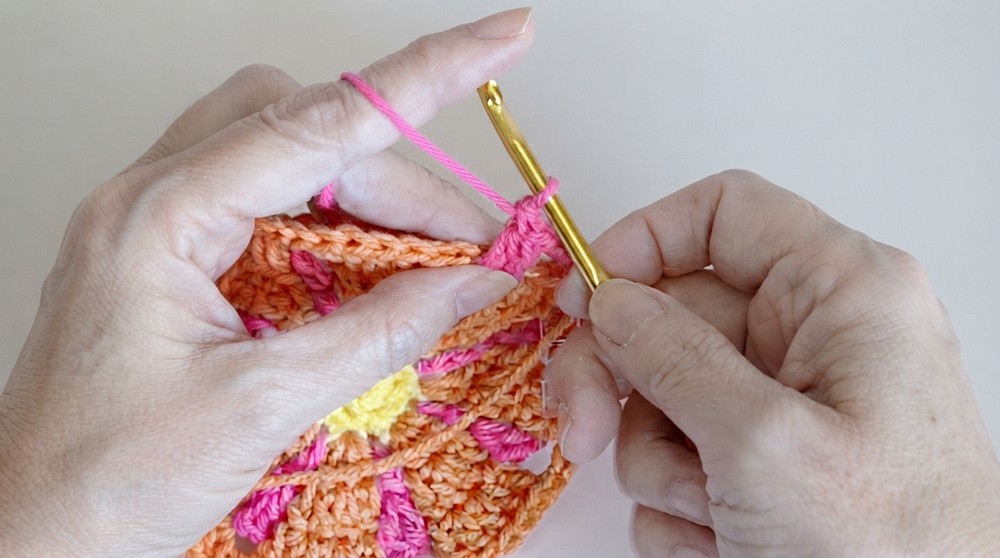
Note: The background expands to balance the petals' width. The square begins to take shape.
Final Round for Petals (Using Color B)
- Work a shell cluster: 5 dc in the edge of a petal.
- Anchor the shell with a sl st, then ch 4, sk 3 sts, and repeat around.
Note: Shell clusters define and finish the petals elegantly.
Convert Flower to Square: Round 1
- Reattach Color C yarn for the square border.
- Begin a corner:
- Ch 3, 2 dc, ch 2, 2 dc in the same stitch.
- Work stitches as follows:
- 1 dc, 1 hdc, sl st in the petal center, 1 hdc, 1 dc.
- Sc in background stitches and repeat across.
- At each corner, use the corner sequence.
- Complete the round with a sl st and fasten off.
Border Round 2
Follow the same steps as the previous round, ensuring the square border is even with neat edges around the floral circle.
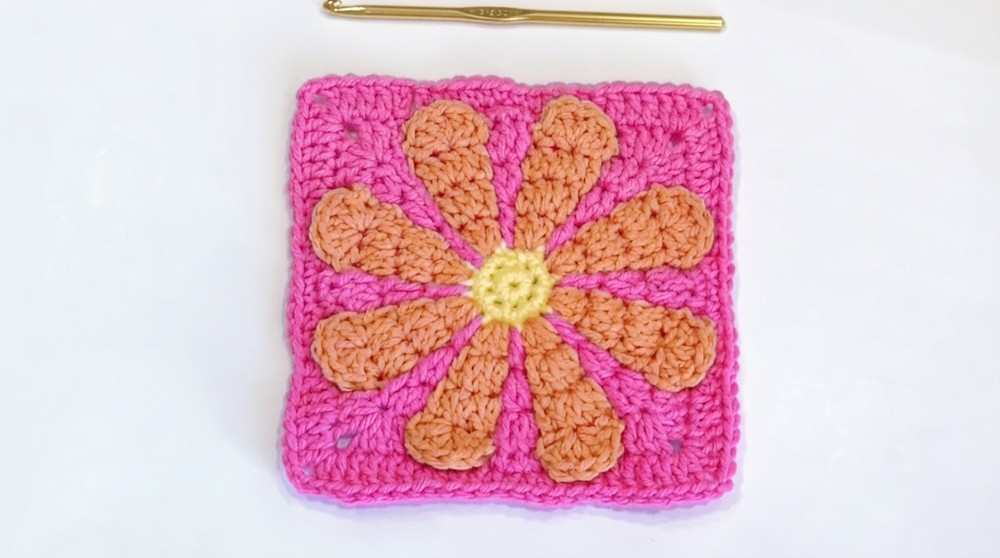
Note: This round secures the dimensional flower within a square.
Assembly & Finishing
- Weave in loose ends with a tapestry needle.
- Block the squares (optional) for a crisp, professional finish.
- Join squares using slip stitches or whip stitch according to your project.
Why You'll Love This Pattern
This pattern combines simplicity with elegance. The contrast between the delicate petals and structured square background makes it beginner-friendly yet visually appealing. You can use various color combinations to customize this project, making it perfect for personal use or gifting.
Difficulties and Solutions
Common Difficulties
- Struggling with the Magic Circle: The magic circle technique can be tricky for beginners as it requires keeping tension while forming an adjustable loop.
- Switching Between Yarns: Alternating between the petal and background yarns may tangle the threads or cause uneven tension.
- Maintaining Consistent Stitches in the Square Conversion: Crocheting uniform corners and evenly distributed stitches to achieve the square shape can be a challenge.
Solutions
- Mastering the Magic Circle: Practice making the loop several times before beginning the actual project. You can also opt for chaining four stitches and forming a ring if the magic circle feels daunting.
- Managing Yarns While Switching: Use yarn clips or fasten the unused yarn temporarily to avoid tangling. Always bring the inactive yarn to the front to maintain a neat appearance.
- Achieving a Perfect Square: Check stitch counts frequently as you work and adjust tension where needed. Block the square after completing it to give your work a cleaner, more structured shape.
These tips will help you overcome potential hurdles and ensure your creativity flows seamlessly throughout the project!