
Easy Crochet Market Bag Pattern for Everyday Shopping
Stylish and simple, this Crochet Market Bag Pattern shows how to make a strong, roomy bag that's great for shopping, errands, and everyday use.
If you want a simple and useful project, making a reusable tote is a great idea. The crochet market bag pattern is perfect for this. It creates a light but strong bag that you can use for shopping, beach days, or everyday carry.
Simple Easy Crochet Market Bag Pattern That Anyone Can Enjoy
The bag has an open stitch pattern that makes it stretchy and roomy, so it fits lots of groceries without losing shape. Its round shape and long handles make it easy to carry by hand or over your shoulder, and the breathy stitches help keep things fresh inside.
Usually, this bag is made with cotton yarn because it’s strong and soft, which helps the bag keep its shape while feeling nice to touch. The bag’s base starts as a flat circle or oval, then grows into a roomy bag. The stitches are easy to learn, great if you’re new to crochet. I recommend using yarn that is washable and durable since you’ll want to use the bag many times.
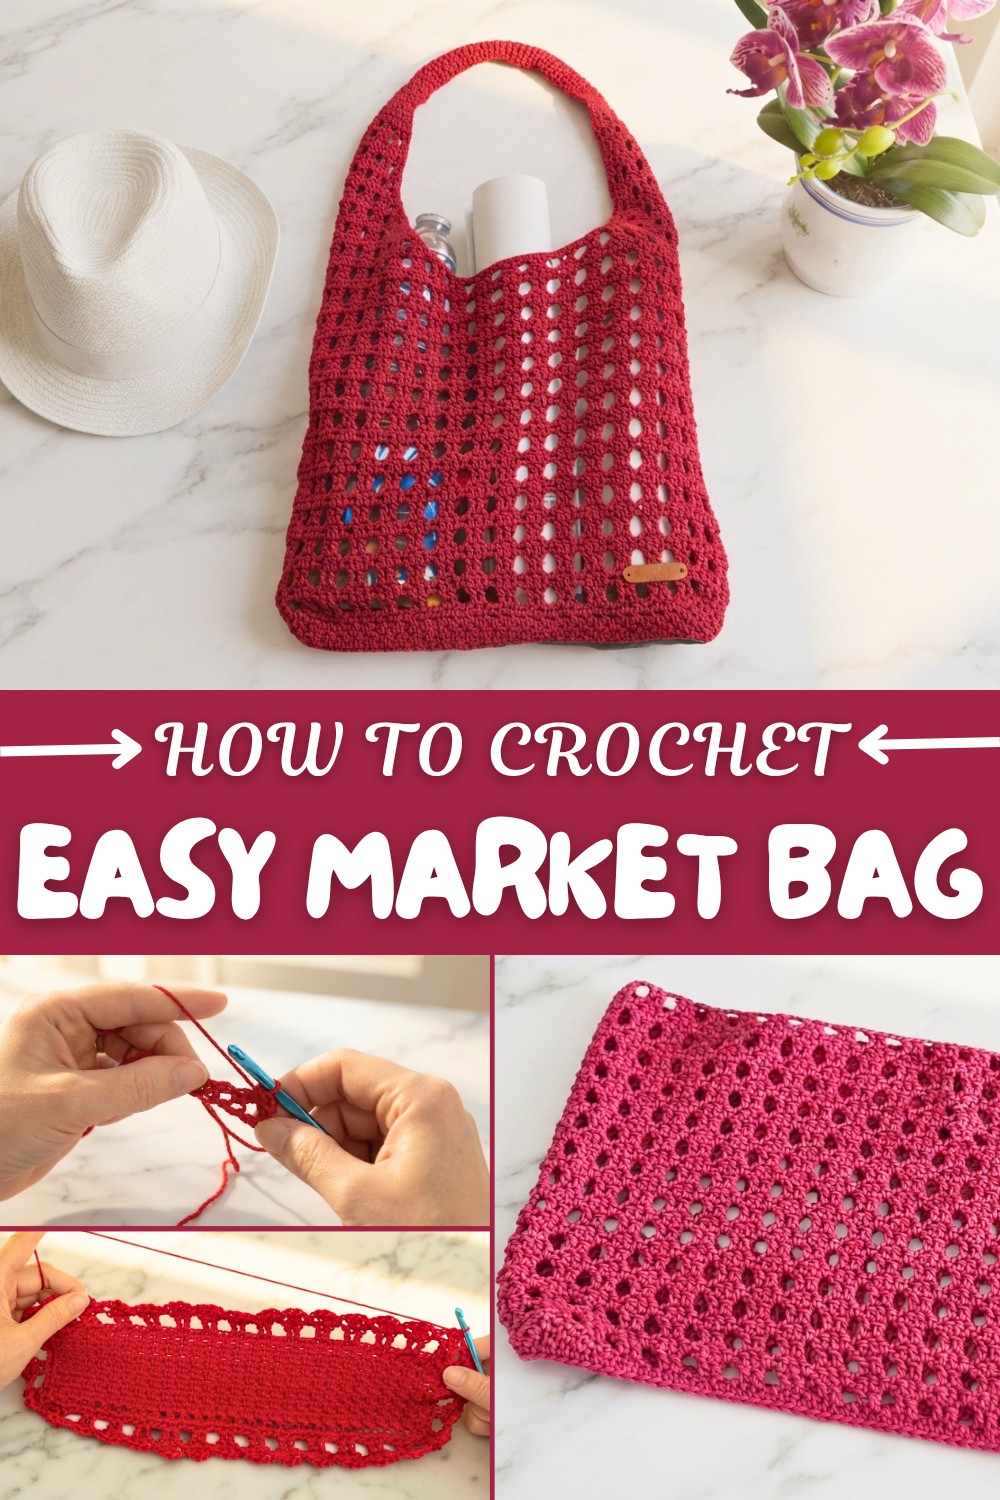
I made this design because I wanted a nice, eco-friendly alternative to plastic bags that still looked good. It’s a quick project that you can easily adjust make the bag bigger or smaller, add pockets, or line it if you want. These bags are also great gifts for friends who like handmade and useful things. Feel free to try different colors and yarn to make your own special crochet market bag.
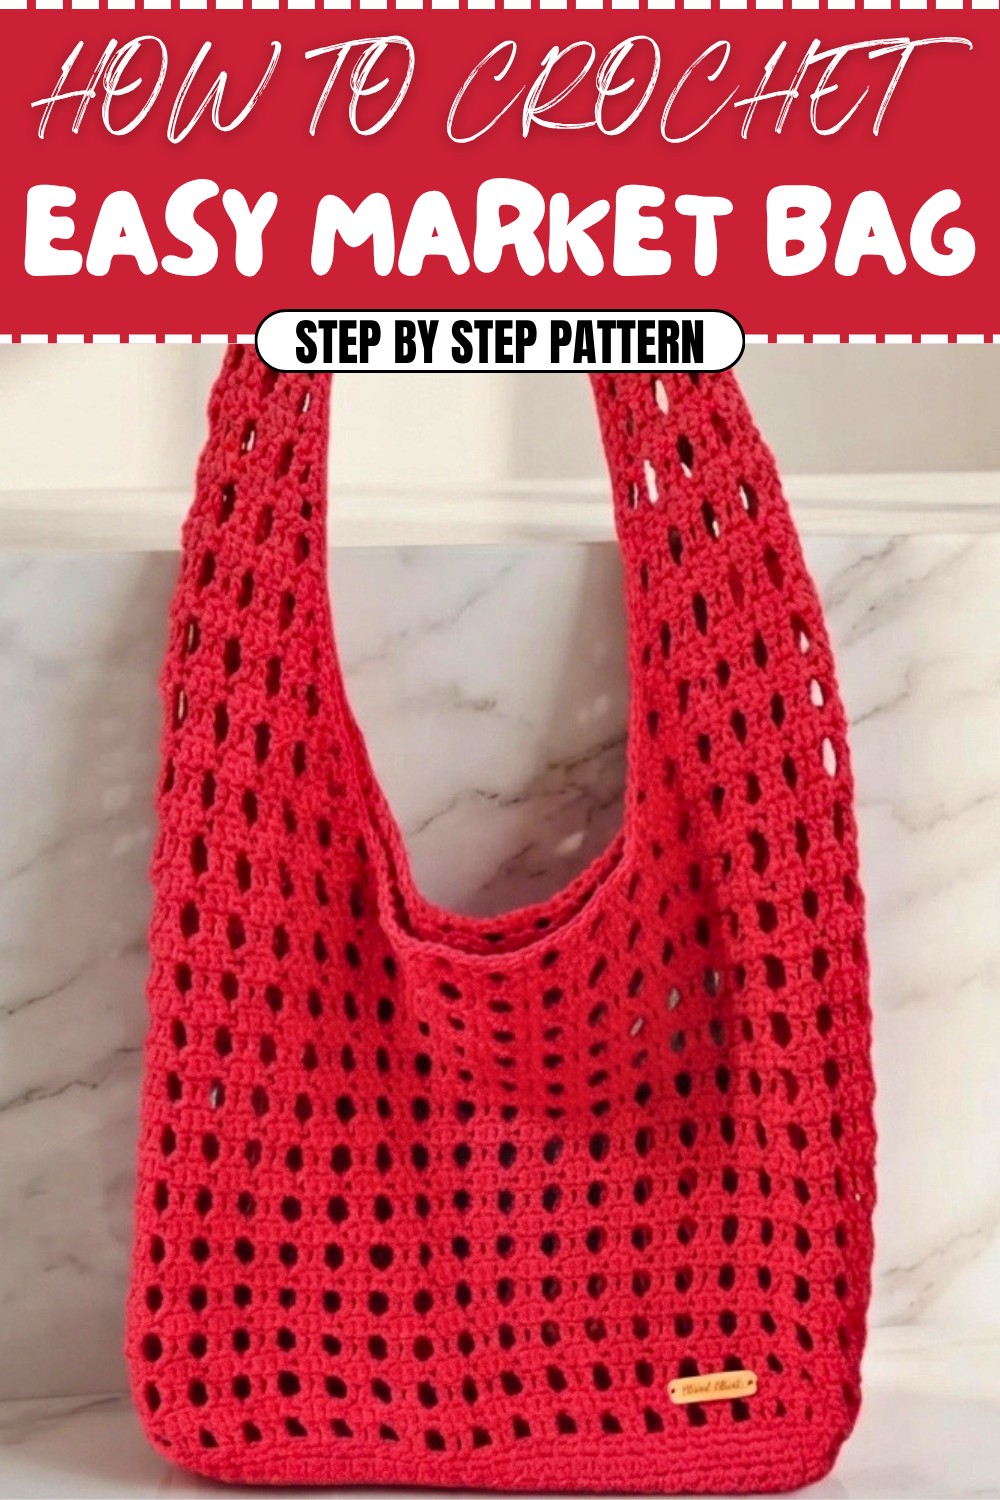
Certainly! Here is the pattern with all rounds and chains clearly highlighted and bulleted for easier reading:
Crochet Market Bag Pattern – Step-by-Step Detailed Pattern
Pattern Notes
- Worked primarily in rounds after creating a rectangular foundation chain.
- Uses moss stitch for texture and strength on the base and handles.
- The handle is adjustable in length to accommodate personal preferences. Keep in mind the strap stretches slightly after use.
- The stitch pattern alternates between single crochet and double crochet to create structural interest.
- Marker placement is essential for shaping the bag edges and handles accurately.
Skill Level
Beginner to Intermediate: Knowledge of basic crochet stitches such as chain, single crochet (sc), and double crochet (dc) is needed. Experience with increasing/decreasing stitches and working in rounds is helpful but not mandatory.
Materials
- Size 4 cotton yarn (recommended for durability and ease of care)
- Crochet hook size 5 mm (H-8)
- Stitch markers
- Yarn needle for weaving in ends
- Scissors
Measurements / Sizing
- Base size: 54 chains long (customizable using multiples of 4 + 2 chains)
- Height: 26 rounds for bag body, plus handle length adjustments as desired.
- Total finished bag size will depend on yarn tension and size adjustments.
Gauge
- Gauge is not critical for this project, but consistent tension ensures even edges and neat stitch definition.
- Stitch pattern alternates between single crochet and moss stitch rows (single crochet + chain 1 spaces on alternating rounds).
Stitch Abbreviations
- ch = chain
- sc = single crochet
- dc = double crochet
- st(s) = stitch(es)
- sl st = slip stitch
- bmp = back bump of the chain (working in back loops)
- sp = space
- skip = skip a stitch or chain
Special Stitches
Moss Stitch:
- Row 1: Chain 2 (counts as first sc), skip first ch, sc in next ch working in the back bump of the chain. Ch 1, skip 1 ch, sc in next ch repeat until end.
- Row 2: Chain 2, skip first sc, sc in next ch-1 space. Ch 1, skip 1 sc, sc in next ch-1 space repeat.
Decreasing Stitches (Combined Double Crochets):
- Yarn over, pull up a loop from next stitch but do not complete dc, yarn over and pull up loop in following stitch, then yarn over and pull through all loops on hook to combine stitches.
The Crochet Pattern!
Step 1: Foundation Chain
- Tie a slip knot.
- Chain 54 for the base (use multiples of 4 + 2 for rectangular base; adjust if making round or oval base).
- Mark the 54th chain to keep track.
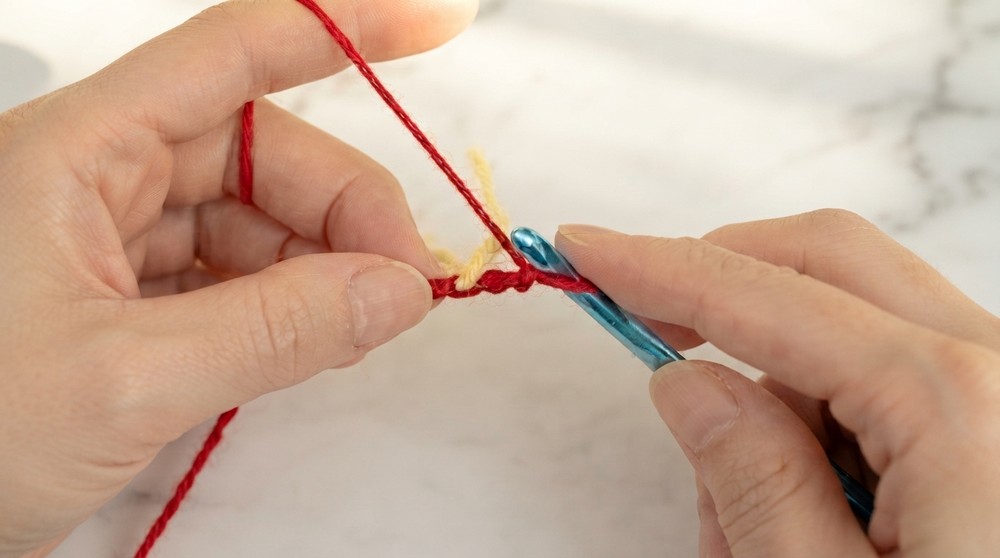
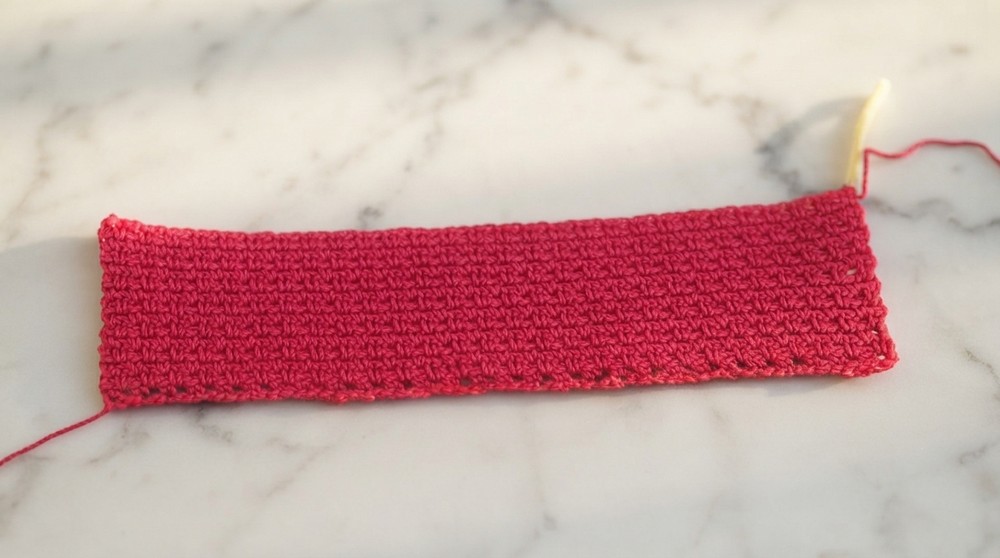
Step 2: Base – Moss Stitch Foundation Row 1
- Chain 2 (counts as first stitch).
- Skip first chain, sc in next chain working in the back bump of the chain.
- Ch 1, skip 1 chain, sc in next chain. Repeat sequence across the row.
- At last 2 chains, skip one chain and sc in final chain.
- Row complete.
Step 3: Base – Moss Stitch Row 2
- Turn work.
- Chain 2 (counts as first sc).
- Skip first stitch, sc in next chain space.
- Ch 1, skip 1 stitch, sc in next chain space. Repeat to end.
- Finish last stitch in the chain 2 space from previous row’s beginning.
- Repeat this row pattern for 14 rows total to complete base.
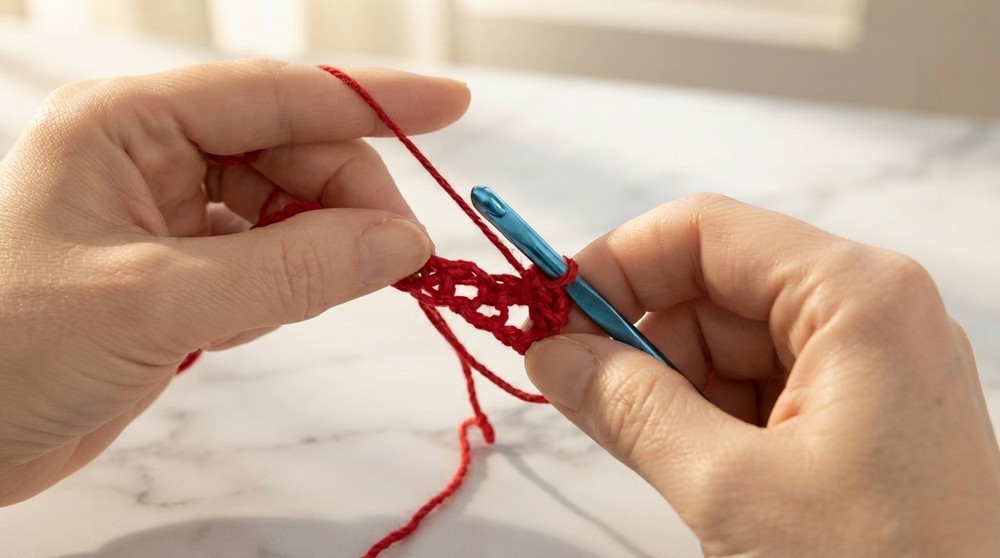
Step 4: Joining Base Sides
- The long sides (54 sc stitches each) form front and back.
- The short sides (14 stitches each) form sides of bag.
- Work 1 sc in each stitch along one long side (54 sc), then work 14 sc on one short side.
Step 5: Side Edges and Rounds
- Repeat sc stitches on remaining back long side and short side to close round.
- Slip stitch to first sc to join Round 1.
Step 6: Round 2 – Create Pattern with Double Crochet
- Chain 3 (counts as dc).
- Dc in next stitch.
- Chain 2, skip 2 stitches, 2 dc in next 2 stitches.
- Repeat around entire bag edge.
- Slip stitch to beginning of round to join.
Step 7: Round 3 – Alternate Pattern
- Chain 3 (counts as dc).
- Dc in next stitch.
- Chain 1, sc in chain space, chain 1.
- 2 dc in next 2 stitches.
- Repeat around.
- Slip stitch to join.
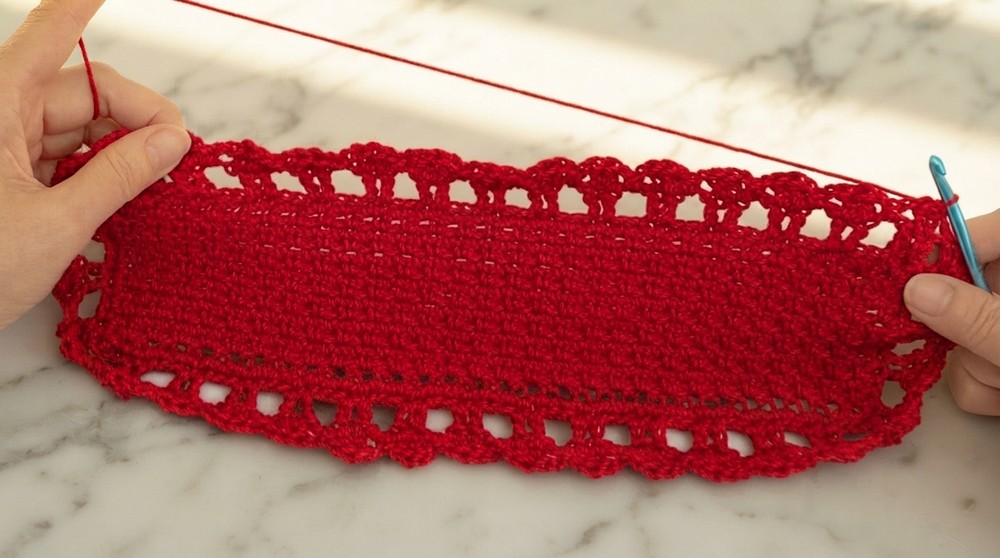
Step 8: Repeat Rounds 4 through 26
- Alternate Round 2 and Round 3 pattern to build bag height up to 26 rounds (or desired height).
Step 9: Handle Preparation
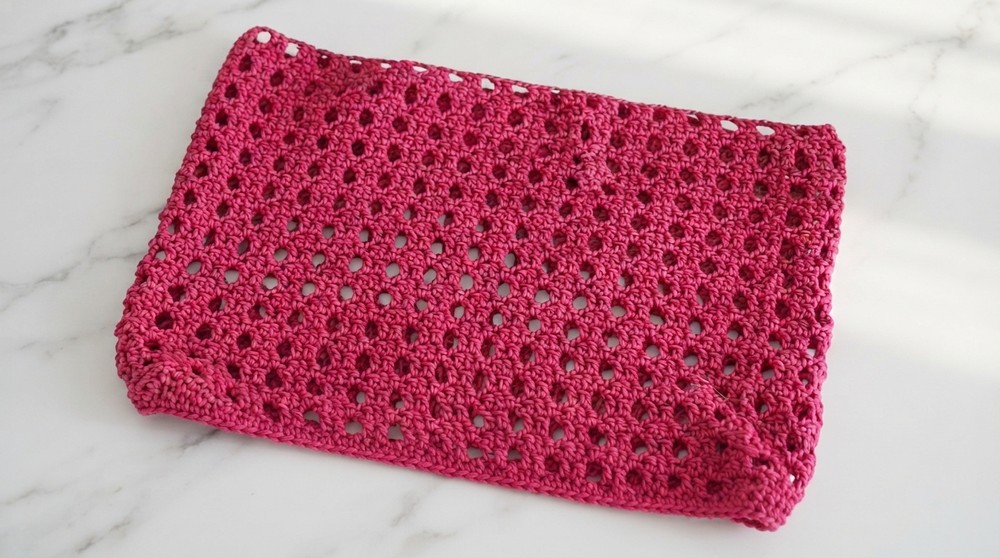
- Place stitch markers at all four corners of bag.
- Count stitches from markers towards center of each side and mark center points.
Step 10: Handle – Round 1
- Start at marker on one side, join new yarn.
- Chain 1, skip first stitch, dc in next stitch.
- Combine first two stitches by decreasing as instructed.
- Repeat Round 2 pattern until reaching opposite marker.
Step 11: Handle – Round 2
- Turn work.
- Chain 3 (counts as dc).
- Skip 3 stitches, 2 dc in next 2 stitches.
- Continue pattern across.
- On last 4 stitches: Chain 1, skip 2 stitches, dc in last stitch.
- Note: decreases cause stitches to lean inward shaping handle.
- Repeat Rounds 1 and 2 shaping until Round 6.
Step 12: Handle – Row 7
- Switch to moss stitch.
- Chain 1, skip first two stitches, sc in next stitch.
- Chain 1, skip 1 stitch, sc.
- Continue across row, combine last two stitches into single sc.
- Stop decreasing on the next row.
Step 13: Handle – Moss Stitch Rows
- Continue moss stitch same as base (start each row with chain 2, end with sc, chain 1 between sc stitches).
- Work 36 rows (or desired length) for handle center part on both sides.
Step 14: Join Handles
- Adjust handle length as desired (strap stretches after use).
- Join two sides of handle using slip stitches or preferred method.
Step 15: Edge Finishing
- Using single crochet, stitch evenly along all bag edges to smooth and stabilize.
- Finish with slip stitches for neatness.
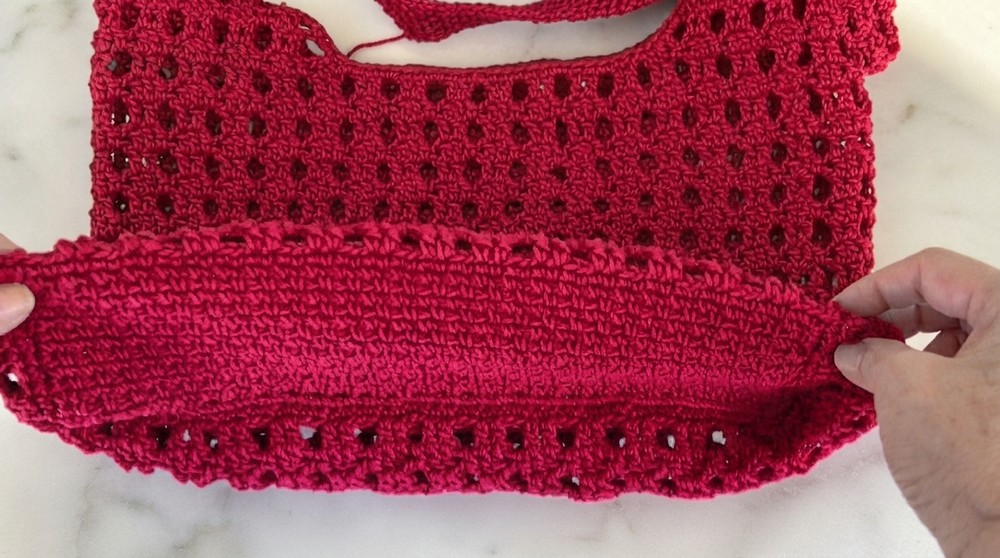
Assembly & Finished Size
- Base: Approximately 54 chains wide (adjust for multiples of 4 + 2).
- Height: 26 rounds for bag body.
- Handle: 36 rows moss stitch plus shaping rounds for tapered edges.
- Bag suitable for storing typical market items, folds flat for easy storage.
- Strap length adjustable to individual preference, accounting for stretching.
Summary
This quick and easy crochet market bag pattern creates a versatile, sturdy bag suitable for shopping, casual outings, or everyday use. Made with simple stitches like single crochet and double crochet, it works up fast—typically finished in under 3 hours. The bag features a rectangular base, moss stitch detailing, and a comfortable handle ideal for beginner to intermediate crocheters.