
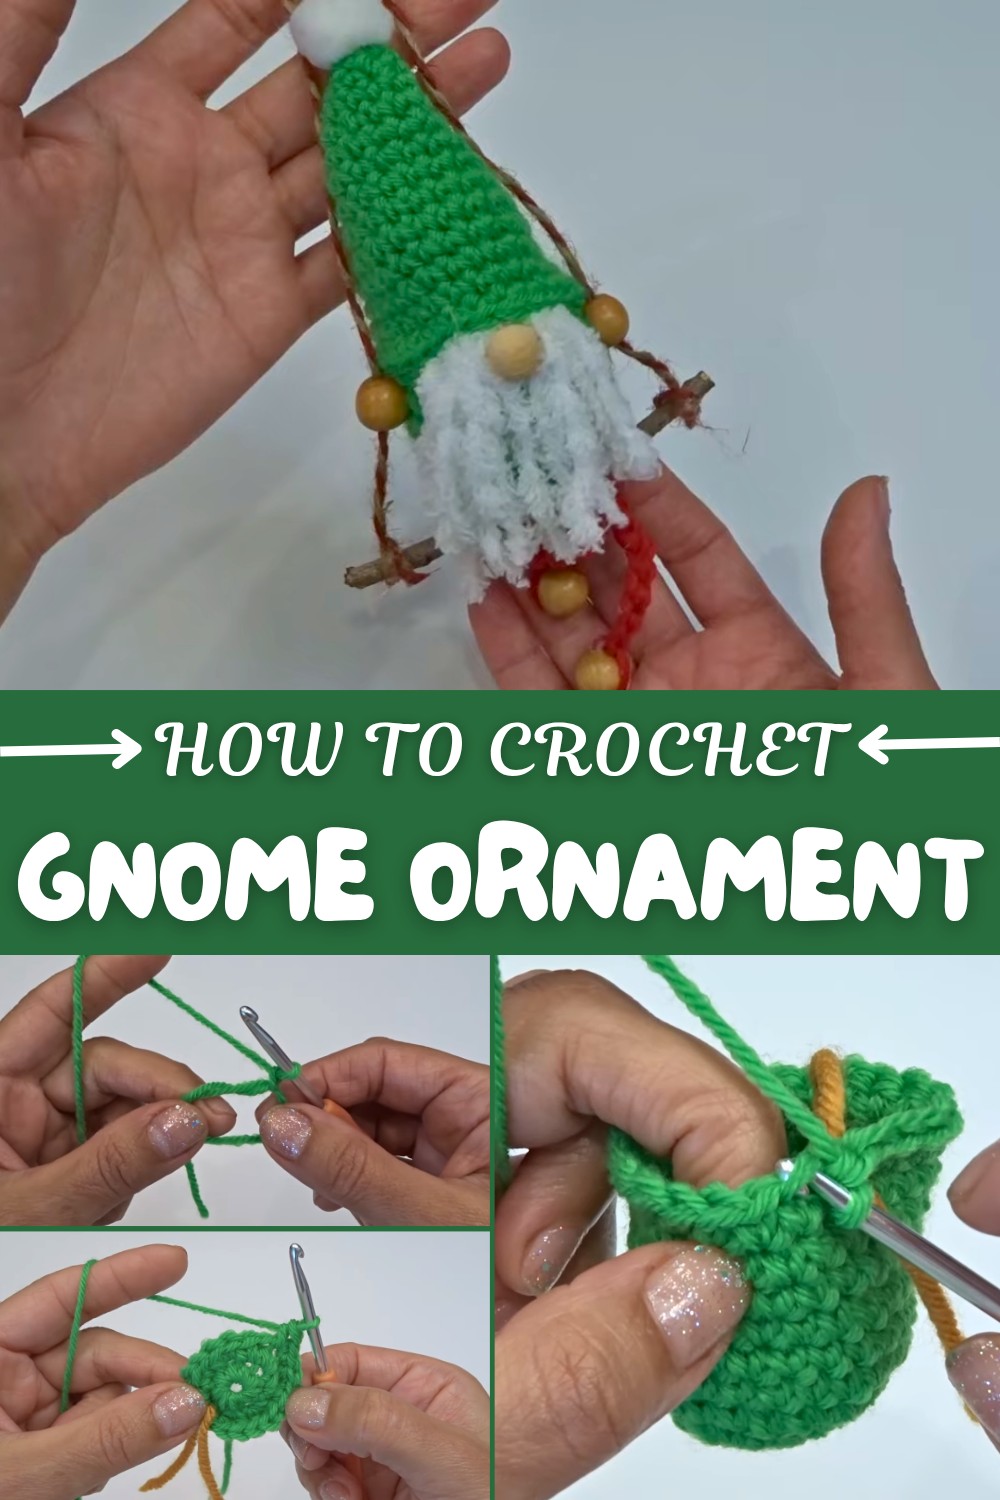
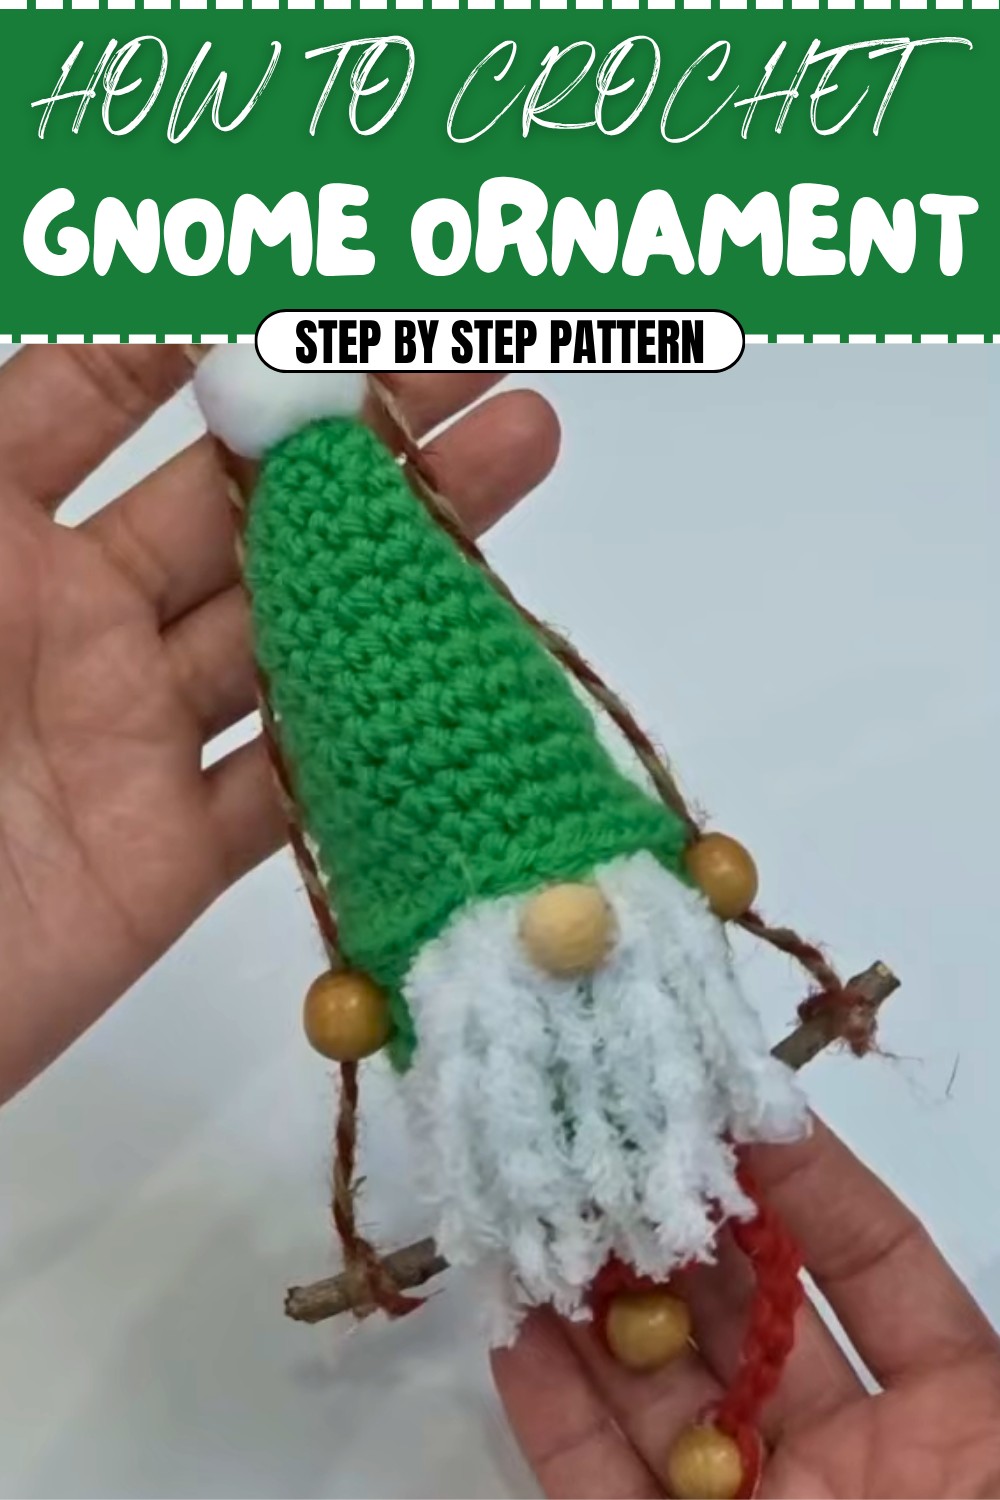
How to Cute Crochet Gnome Ornament Pattern for Holiday Fun
Spruce up your festive style with the Free Crochet Gnome Ornament Pattern and delight guests with cheerful handmade gnome ornaments.
Creating a tiny gnome ornament is a delightful way to bring a touch of handmade charm to your home or holiday decorations. This project is perfect for those who want to try something fun and simple with crochet. Using basic single crochet stitches along with increases and decreases, you will shape a cute, rounded body and a snug hat with ease. Adding a fluffy yarn beard and small wooden beads for arms and legs gives this little figure a warm, cozy personality that stands out.
Free Crochet Gnome Ornament Pattern for Whimsical Holiday Décor
Starting with a magic ring helps you work in the round smoothly, which is a great skill for beginners to practice. The pattern’s combination of single crochet stitches, increases to grow the shape, and invisible decreases to taper it creates a satisfying rhythm that’s easy to follow. Stuffing the body adds volume and softness, while the medium-weight yarn keeps the project manageable. Finishing touches like pom-poms and cords give the gnome a playful look that’s full of character.
This pattern is also a stepping stone to making other charming handmade creations. By mastering these stitches and shaping techniques, you can make miniature animals, festive elves, or other small amigurumi figures. You can customize your projects with different yarns and colors to create unique, heartfelt gifts or decorations any time of the year. This simple yet thoughtful crochet pattern opens many creative doors for your crocheting journey.
Crochet Gnome Ornament Pattern
Create an adorable gnome ornament with this easy step-by-step crochet guide that’s beginner-friendly and highly customizable. This gnome makes a lovely decoration for the holiday season or adds charm to any space year-round. The pattern uses single crochet stitches, magic rings, increases, decreases, and requires only a small amount of yarn. Whether you’re new to crochet or experienced, this quick project will bring plenty of joy and satisfaction.
Skill Level & Terminology
Skill Level: Beginner
Terminology: US Crochet Terms
Materials & Tools
- Yarn:
- Small amounts of number four medium weight yarn for the body and hat (green and red suggested).
- Plush yarn (eyelash yarn or regular white yarn) for the beard.
- Hook:
- 4 mm crochet hook (main sections).
- Optional: 3.5 mm hook for working with beads.
- Other Supplies:
- Wooden beads (5 total).
- A 4-inch stick (or use a similar dowel stick, branch, or skewer).
- A small pom pom.
- Cord (for hanging the ornament).
- Hot glue.
- Polyfill stuffing.
Gauge
Gauge is not crucial for this pattern as it’s intended to be decorative. However, adjust your hook size if the stitches are too loose or tight to ensure the ornament holds its shape.
Abbreviations List
- sc: Single Crochet
- ch: Chain
- sl st: Slip Stitch
- inc: Increase (2 sc in one stitch)
- dec: Decrease (2 stitches combined into one)
- st(s): Stitch(es)
Special Stitch Instructions
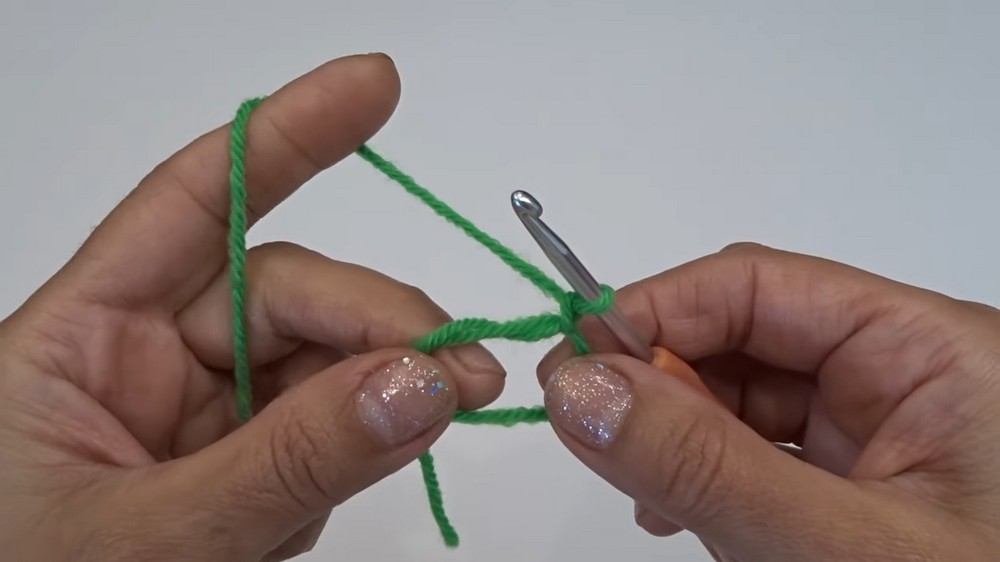
Magic Ring:
A magic ring creates a tightly closed center for round crochet projects.
- Wrap yarn around two fingers to create a small loop.
- Insert the hook into the loop, pull up a loop, and chain 1 to secure.
Invisible Decrease:
This technique provides a neat decrease:
- Insert your hook into the front loop of the next stitch.
- Insert your hook into the front loop of the following stitch.
- Yarn over and pull through both front loops, then yarn over again and pull through all loops on the hook.
Finished Size
The gnome ornament measures approximately:
- Body: 3 inches in height.
- Hat: 2 inches tall.
- Beard: 1 inch visible length.
- Completed Ornament (from tip of hat to bottom of legs): 6–7 inches.
What You'll Learn
- Techniques for Small Projects: How to use small amounts of yarn creatively, including shaping the body, hat, and accessories.
- Working in Rounds: Perfecting your skills with magic rings and circular construction.
- Decreases and Texture: Using invisible decreases and yarn types for texture.
- Assembly: Learn how to glue and attach accessories for a polished, complete look.
By the end of this project, you'll master shaping techniques and assembly methods to create charming handmade decorations that can be gifted or proudly displayed.
The Pattern
Crocheting the Body
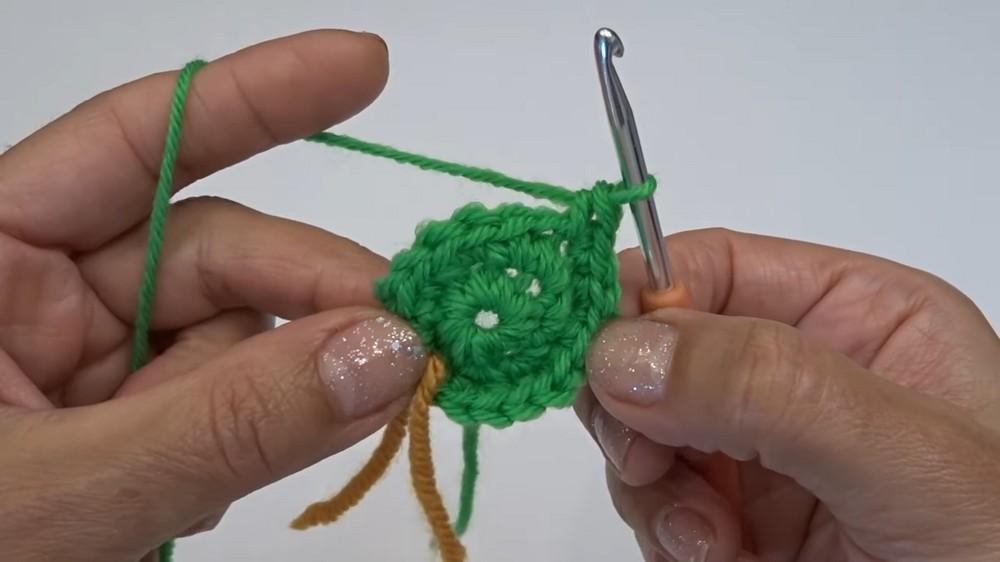
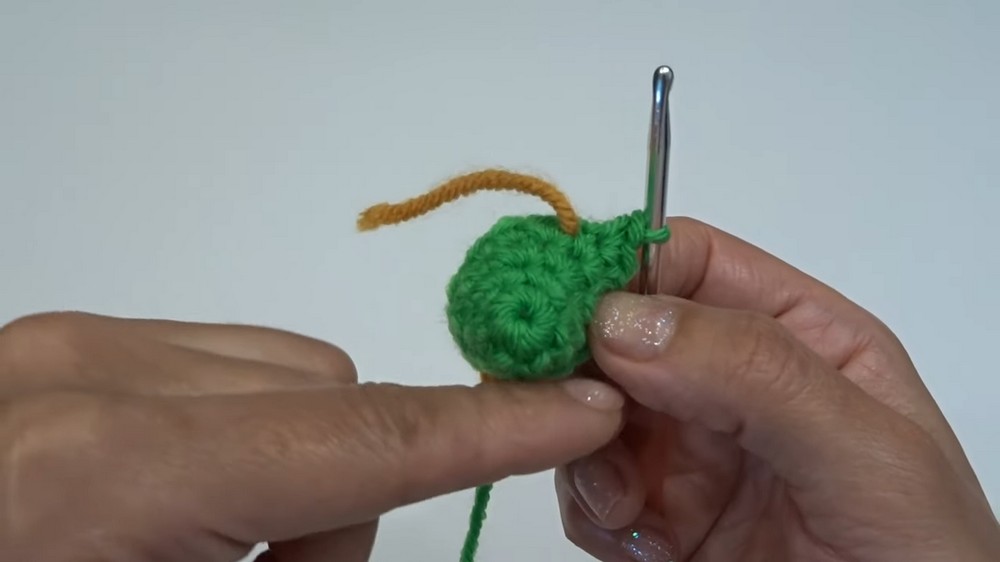
Round 1:
- Start with a magic ring, and ch 1.
- Work 8 sc into the magic ring.
- Pull the yarn tail tightly to close the ring.
At the end of Round 1: You should have 8 sts.
Begin the gnome's foundation with the magic ring, which creates a tidy, circular starting point.
Round 2:
- Place a stitch marker at the beginning of the round.
- Work 2 sc into each stitch around.
At the end of Round 2: You should have 16 sts.
Round 3:
- Work 1 sc into the first stitch, and then 2 sc into the next stitch (increase).
- Repeat (1 sc, 2 sc) around the entire round.
At the end of Round 3: You should have 24 sts.
Rounds 4–11:
- Work 1 sc in each stitch around.
At the end of Round 11: You should still have 24 sts.
These rounds form the cylindrical shape of the gnome’s body.
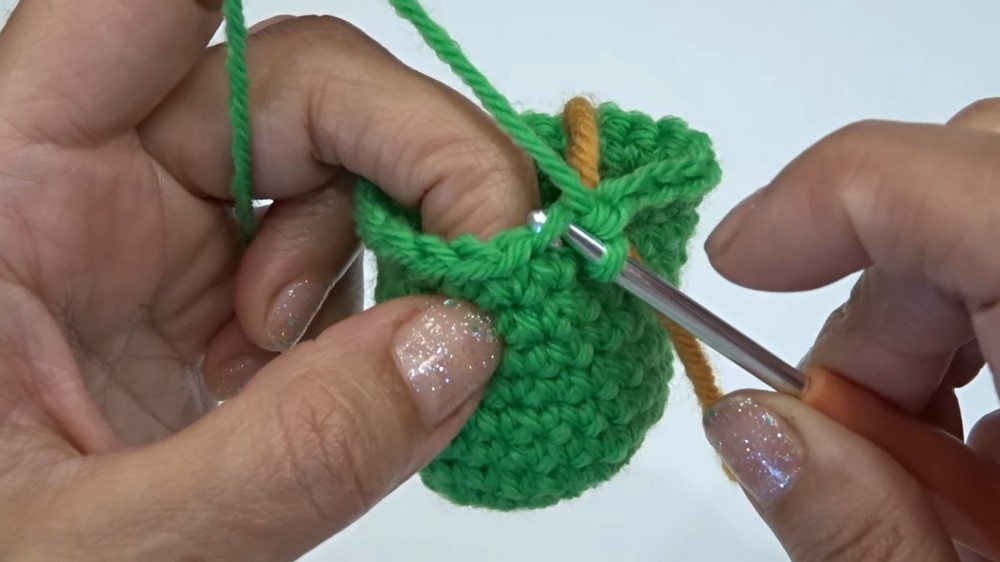
Round 12: (Invisible Decrease Round)
- Work 1 sc into the first stitch, then invisible decrease over the next two stitches.
- Repeat (1 sc, 1 dec) around.
At the end of Round 12: You should have 16 sts.
Round 13:
- Work invisible decreases around.
At the end of Round 13: You should have 8 sts.
Stuff the Body:
- Use polyfill stuffing to fill the body. Push the stuffing into the cylinder using the handle of your crochet hook as needed.
Close the Opening:
- Work 4 decreases to close the opening further.
- Sl st into the next stitch and fasten off.
Crocheting the Hat
Round 1:
- Start with a magic ring, and ch 1.
- Work 6 sc evenly into the ring. Pull the loop tightly to close the ring.
At the end of Round 1: You should have 6 sts.
Round 2:
- Work 2 sc into the first stitch (increase).
- Work 1 sc into each remaining stitch except the last stitch.
- In the last stitch, work 2 sc again.
At the end of Round 2: You should have 8 sts.
Rounds 3–10:
- Repeat Round 2, gradually increasing by 2 sts per round.
At the end of Round 10: You should have 24 sts.
Larger rounds ensure the hat fits comfortably over the body.
Rounds 11–14:
- Work 1 sc into each stitch around.
At the end of Round 14: The hat should reach an elongated, cone-like shape suitable for placement on the gnome.
Stuff the Hat:
- Insert a small amount of polyfill stuffing.
Crocheting the Legs (Optional)
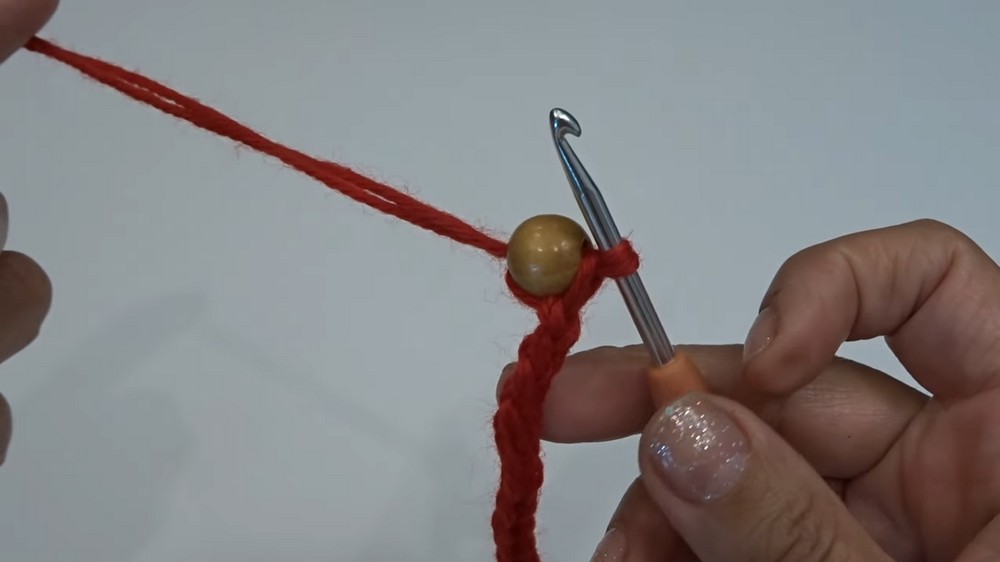
- Cut 80 inches of red yarn. Fold it in half to find the middle point.
- Use a wooden bead as the foot. Insert the yarn through the bead and ch 20.
- Attach a second bead to the other end using a smaller crochet hook.
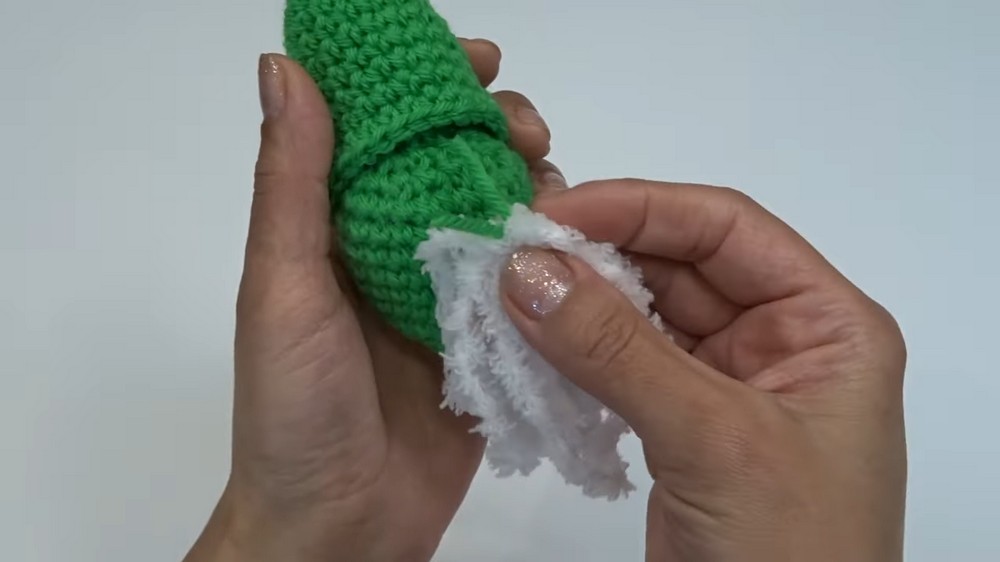
Making the Beard
- Cut an 8-inch strip of green yarn for securing the beard.
- Use white plush yarn (or eyelash yarn) and wrap it six times around your fingers. Cut the loops.
- Tie the loops together with the green yarn into a bunch.
Gluing the Gnome Together
- Attach the Hat: First glue the back of the hat to the body and then adjust it to cover the beard.
- Attach the Arms: Glue two wooden beads to the sides of the hat, ensuring they are evenly aligned.
- Attach the Legs: Glue the legs to the bottom of the body.
Cord for Hanging
- Tie a cord around the stick handle and insert a wooden bead onto the cord.
- Make a loop at the top of the cord to hang the ornament.
Why You'll Love This Pattern
This crochet gnome project is fun, quick, and perfect for seasonal decor or gifting. The pattern teaches beginner skills with creative applications, such as working in rounds, invisible decreases, and assembling components.