
Free Crochet Christmas Snowman Pattern For Holiday Charm
Brighten your holidays with this cute Crochet Christmas Snowman Pattern which is perfect for making cozy holiday gifts.
Looking for a cute, handmade decoration to add some holiday cheer? The Crochet Christmas Snowman Pattern is a fun and easy project to try. It has a soft, round shape with a bumpy texture made from simple crochet stitches. Little details like a hat, scarf, and buttons make the snowman extra special and full of personality.
You can make the snowman in different sizes, from small ornaments to bigger pieces for your table or shelf. It’s easy to change colors or add small extras, like mittens or a carrot nose, to make it your own.
Cozy Crochet Christmas Snowman Pattern for Holiday Decorating
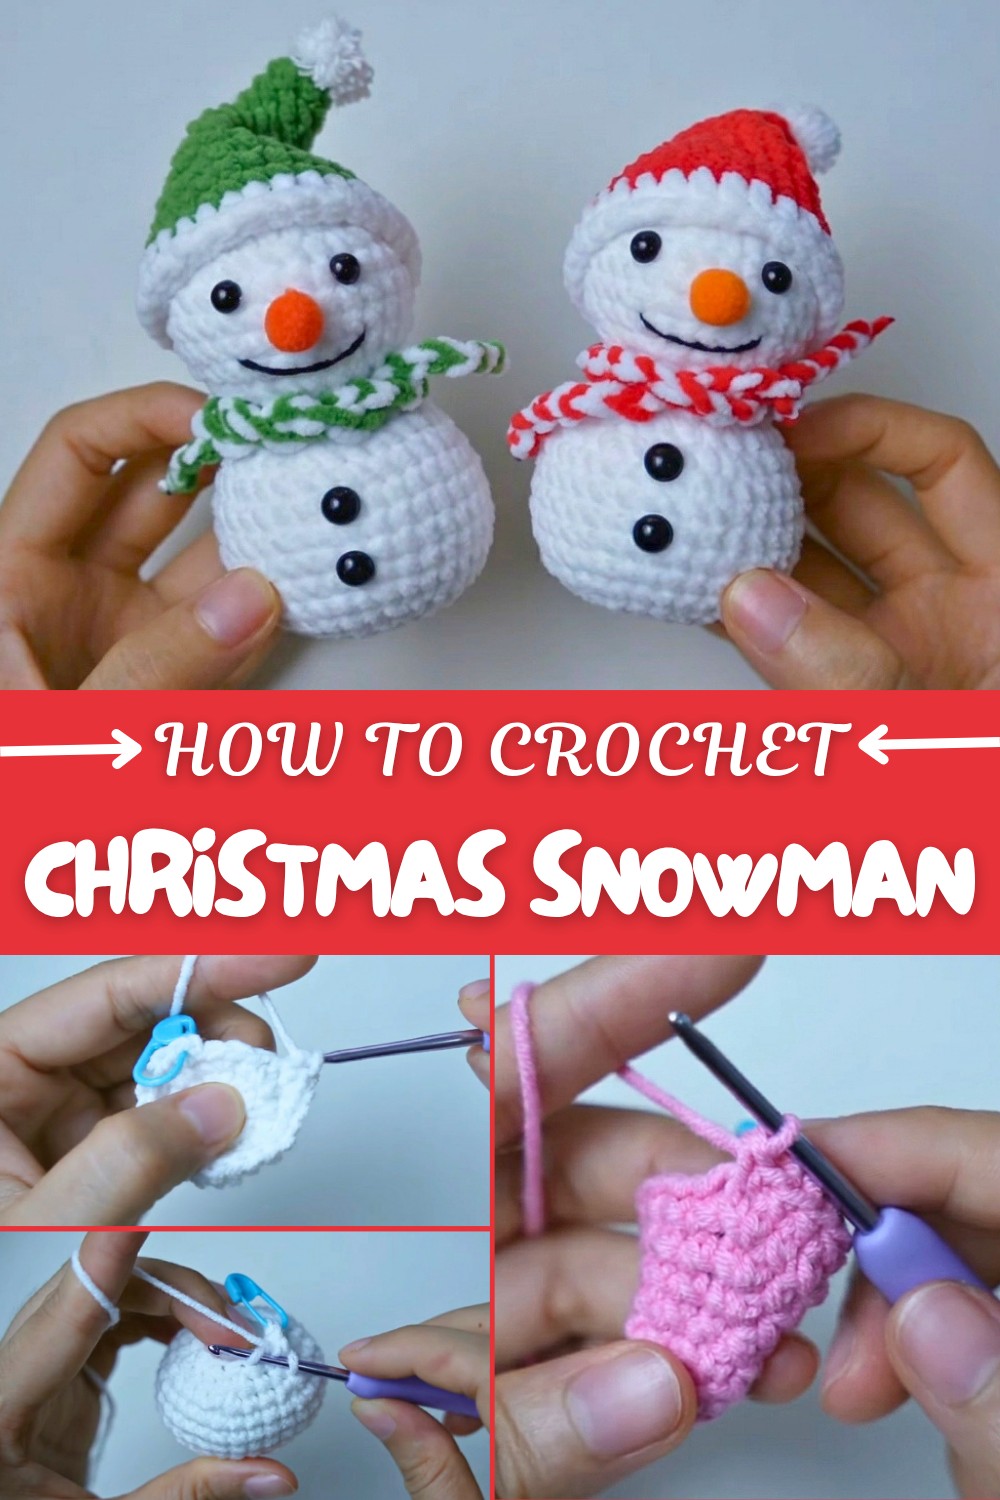
The snowman is made using basic crochet skills, working in circles and shaping with increases and decreases. A helpful tip is to keep your stitches even so the snowman keeps its shape well.
This crochet snowman is great for many uses hang it on your Christmas tree as a festive ornament, use it as a cute gift topper, or place it on a mantel or windowsill to brighten up your home. It also makes a thoughtful handmade gift for friends and family during the holidays.
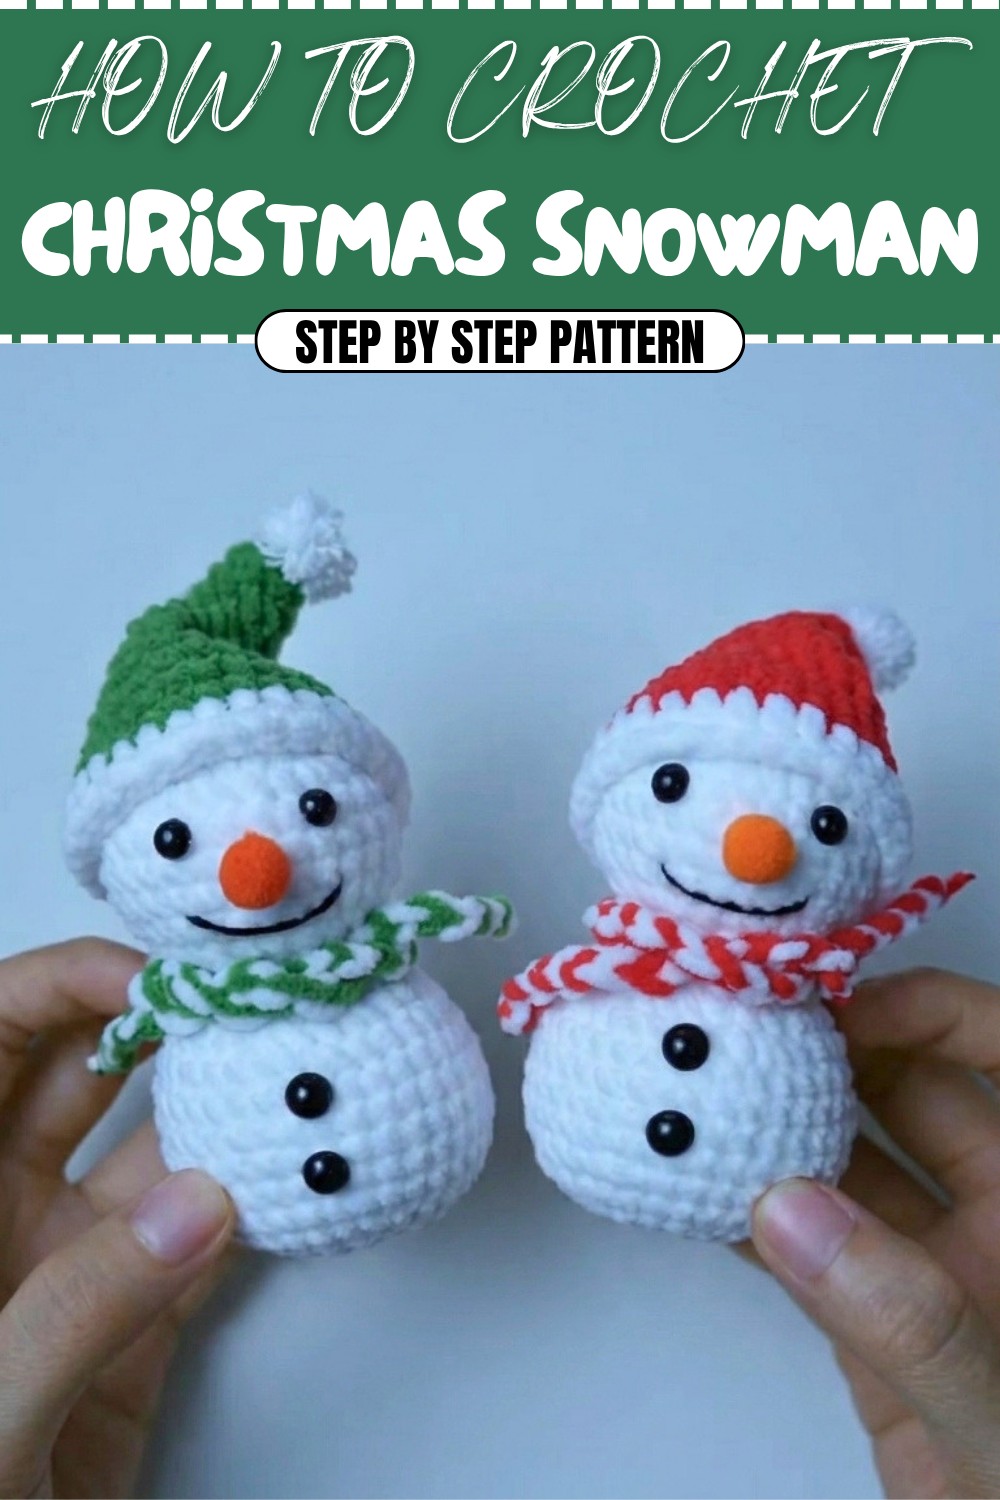
The design is inspired by the fun and cozy feeling of winter holidays. It works best with soft, medium-thick yarn that shows off the stitch texture and feels nice to touch. Yarns with a little shine or fuzz add a warm, cozy look. You can get creative by trying different colors and accessories to match your style. Have fun with your stitching.
Crochet Snowman with Santa Hat – Detailed Step-by-Step Pattern
Pattern Notes
- This pattern is worked in continuous rounds unless otherwise mentioned.
- Use a stitch marker to mark the beginning of each round for easier counting.
- The yarn tails are carried along when working color changes or joining new yarn.
- Stuff the snowman firmly to give it a nice shape before closing.
- Hot glue is used to attach safety eyes, pom poms, and features after crocheting.
Skill Level
Beginner to Intermediate
Suitable for crocheters familiar with basic stitches and comfortable working in the round and doing simple increases and decreases.
Materials
- Five-ply cotton yarn or thin chenille yarn (milk cotton recommended)
- Crochet hook 2.5 mm
- 6 mm plastic safety eyes (for eyes and buttons)
- 1 cm orange pom pom (for nose)
- Hot glue gun and glue sticks
- Darning needle (for sewing and embroidery)
- Stitch marker
- Scissors
- Fiberfill stuffing
Measurements / Sizing (Optional Schematic)
- Snowman height (head + body): approximately 12 cm (4.7 inches)
- Santa hat height: approx. 7 cm (2.8 inches)
- Scarf length: customizable, suggested ~15 cm (6 inches)
Gauge
Not critical for this project, but stitches should be tight enough to hold stuffing firmly.
Stitch Abbreviations
- ch = chain
- sc = single crochet
- inc = increase (2 sc in same stitch)
- dec = decrease (single crochet two stitches together)
- sl st = slip stitch
- hdc = half double crochet
- FLO = front loop only
- BLO = back loop only
Special Stitches
Magic Ring: Used to start rounds for a tight closed center.
Decrease (dec): Insert hook into front loops of next two stitches, yarn over, pull through loops on hook as one stitch.
Crochet Pattern
Head and Body
Start with a magic ring:
- Wrap yarn around your index and middle finger as described to form a loop for the magic ring.
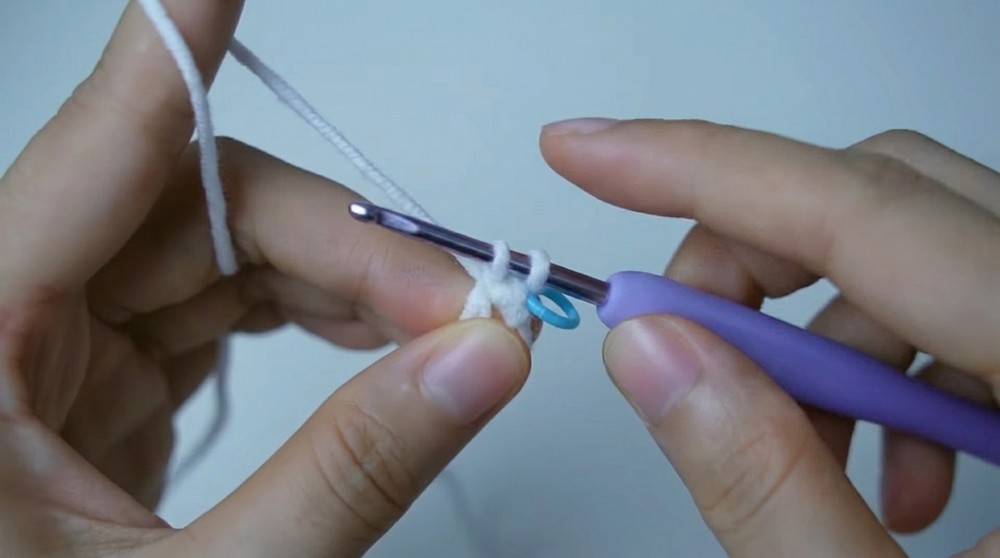
Round 1:
- 6 sc into magic ring. Pull tail to close tightly. Join with sl st to first sc. Mark this stitch.
Round 2:
- Ch 1. Inc in each stitch around (2 sc in each stitch). 12 sts. Join with sl st.
Round 3:
- Ch 1. 1 sc, inc repeat 6 times. 18 sts. Join.
Round 4:
- Ch 1. 2 sc, inc repeat 6 times. 24 sts. Join.
Round 5:
- Ch 1. 3 sc, inc repeat 6 times. 30 sts. Join.
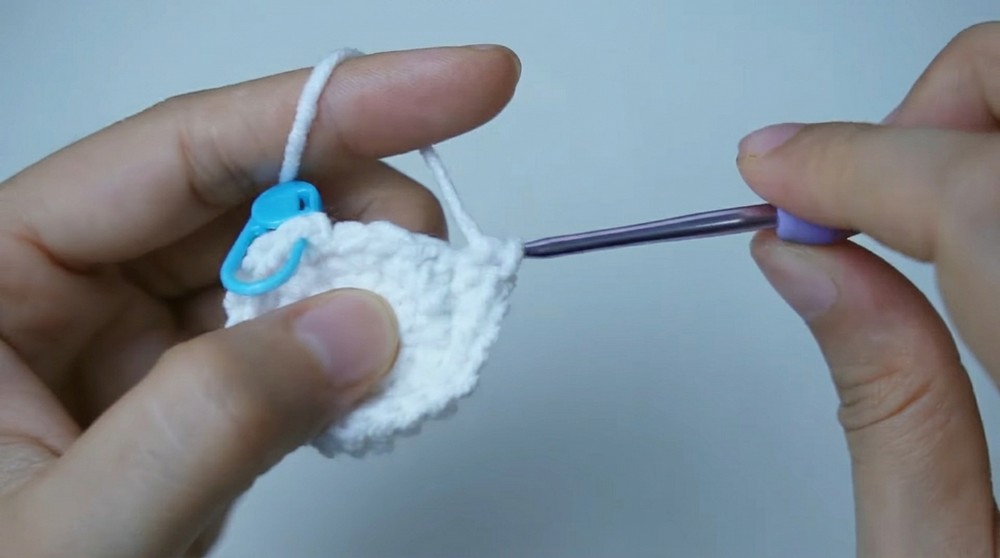
Round 6:
- Ch 1. 1 sc in each stitch around. 30 sts. Join.
Rounds 7-9:
- Repeat Round 6. (30 sts per round)
Round 10:
- Ch 1. 3 sc, dec repeat 6 times. 24 sts. Join.
Round 11:
- Ch 1. 2 sc, dec repeat 6 times. 18 sts. Join.
Round 12:
- Ch 1. 1 sc, dec repeat 6 times. 12 sts. Join.
- Stuff head firmly.
Round 13 to 16 (Body begins):
- Work in front loops only (FLO) to create ridge:
- Round 13: Ch 1. 1 sc, inc repeat 6 times. 18 sts. Join with sl st.
- Round 14: Ch 1. 2 sc, inc repeat 6 times. 24 sts. Join.
- Round 15: Ch 1. 3 sc, inc repeat 6 times. 30 sts. Join.
- Round 16: Ch 1. 4 sc, inc repeat 6 times. 36 sts. Join.
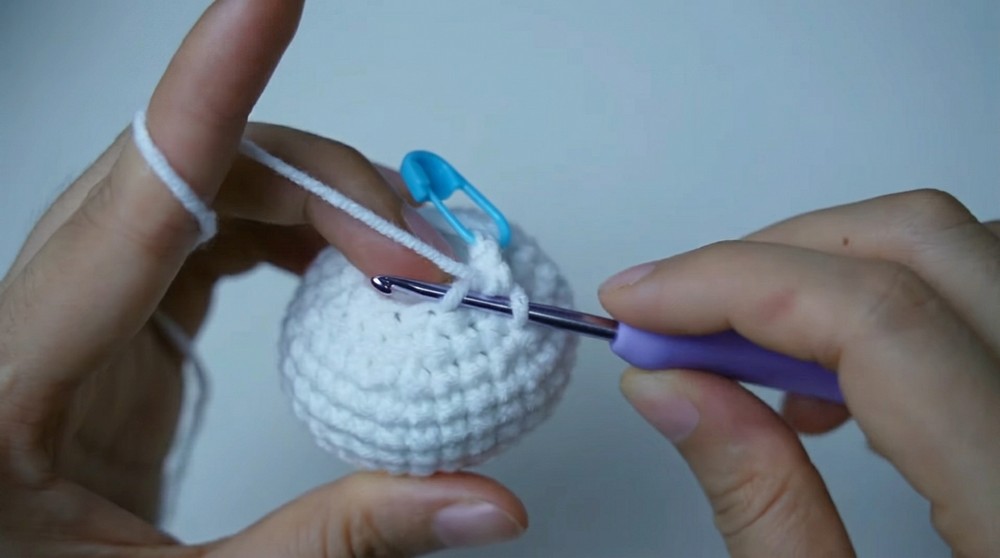
Rounds 17-21:
- Ch 1. 1 sc in each stitch around. 36 sts per round. Join after each.
Round 22:
- Ch 1. 7 sc, dec repeat 4 times. 32 sts Join.
Round 23:
- Ch 1. 2 sc, dec repeat 8 times. 24 sts Join.
Round 24:
- Ch 1. 1 sc, dec repeat 8 times. 16 sts Join.
- Stuff body firmly.
Round 25: (Closing body)
- Ch 1. Dec 8 times. 8 sts. Join. Finish off leaving a long tail.
- Weave tail through front loops of last round and pull tight to close securely.
- Secure and weave in ends.
Facial Features and Buttons
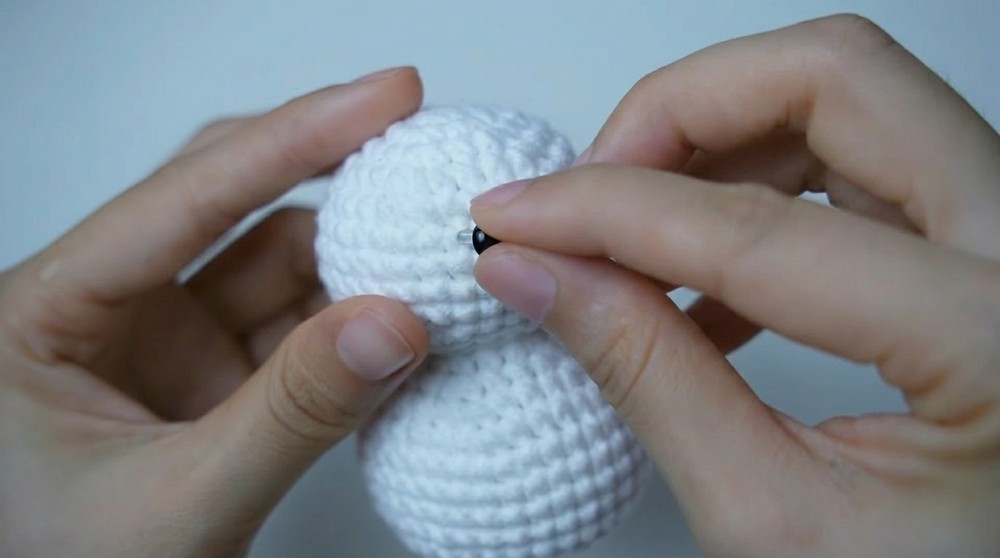
- Attach 6 mm plastic eyes on round 6 of the head, about five stitches apart using hot glue.
- Glue the 1 cm orange pom pom centered on round 7 for the nose.
- Use black yarn, separate into two strands, and embroider the mouth on round 9 with a darning needle.
- Attach 6 mm or 7 mm plastic eyes on the body for buttons at desired locations with hot glue.
Santa Hat
Magic Ring:
- 6 sc in magic ring; pull tight and join. Mark last stitch. Total 6 sts.
Round 2:
- Sc in each stitch around; 6 sts.
Round 3:
- 1 sc, inc repeat 3 times. 9 sts.
Round 4:
- Sc in each stitch. 9 sts.
Round 5:
- 2 sc, inc repeat 3 times. 12 sts.
Round 6:
- 3 sc, inc repeat 3 times. 15 sts.
Round 7:
- 4 sc, inc repeat 3 times. 18 sts.
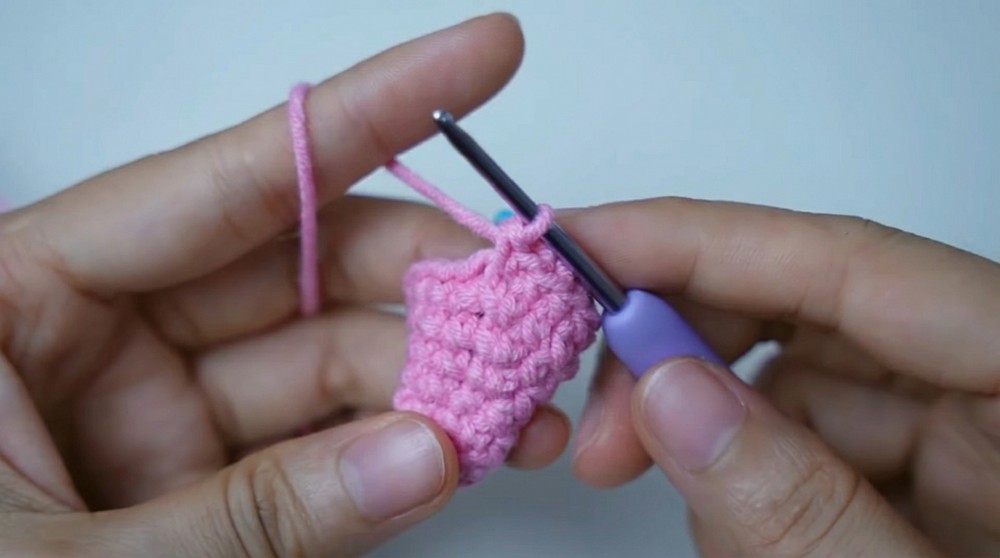
Round 8:
- 5 sc, inc repeat 3 times. 21 sts.
Round 9:
- 6 sc, inc repeat 3 times. 24 sts.
Round 10:
- 7 sc, inc repeat 3 times. 27 sts.
Round 11:
- 8 sc, inc repeat 3 times. 30 sts.
Rounds 12-13:
- Sc in each stitch around. 30 sts.
Round 14 (Switch to white yarn):
- Ch 2. Make 1 hdc in each stitch around. 30 hdc. Join and chain 1.
Round 15:
- Sl st in each stitch around to form brim. Join, fasten off and weave in ends.
- Attach white pom pom to the hat’s tip with glue.
- Fold hat to make a crease and secure with glue.
Scarf
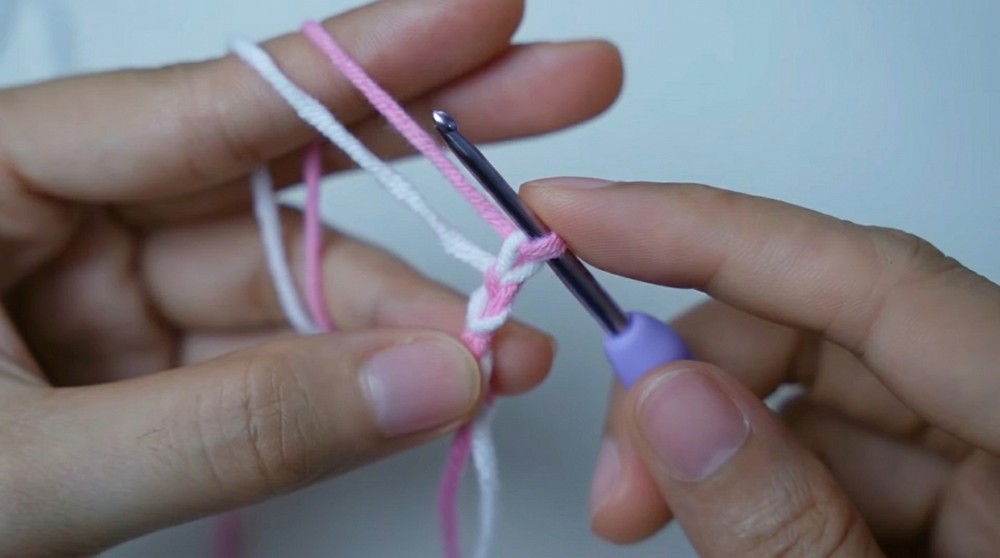
- Hold two strands of yarn in two different colors together.
- Make a slip knot with the two strands.
- Alternate making one chain stitch with one color, then one chain stitch with the other color repeatedly until desired scarf length is reached.
- Cut yarn and secure with a knot.
Assembly & Finished Size
- Attach the Santa hat to the snowman’s head or leave as a removable accessory.
- Wrap the scarf snugly around the snowman’s neck.
- Optional: Add extra embellishments like beads or glitter glue for a festive look.
- Finished snowman height approx. 12 cm (4.7 inches) excluding hat.
- Santa hat approx. 7 cm tall (2.8 inches).
- Scarf length adjustable, recommended ~15 cm (6 inches).
Summary
This crochet project features an adorable snowman wearing a Santa hat, perfect for Christmas decorations, gifting, or tree ornaments. The pattern includes making the snowman’s head and body as one piece, adding facial features and buttons, crocheting a festive Santa hat, and finishing with a colorful scarf. The project uses basic crochet stitches and some shaping techniques, making it accessible and fun for beginners and intermediate crocheters alike.
This detailed crochet snowman pattern guides through every step from foundation to festive finishing touches. Follow carefully for a warm, cheerful handmade decoration that brings holiday magic right to your crochet hook.